Image swatch has always been a reliable choice for stores selling items like apparel, cosmetics, furniture, wigs, flooring, and other products where color or material variation matters. It also reduces customer frustration when the real product color is different from the swatch color on your online store.
So, this article covers the step-by-step methods to help you add image swatches and customize their look on your current theme, without any coding effort. Let’s get started!
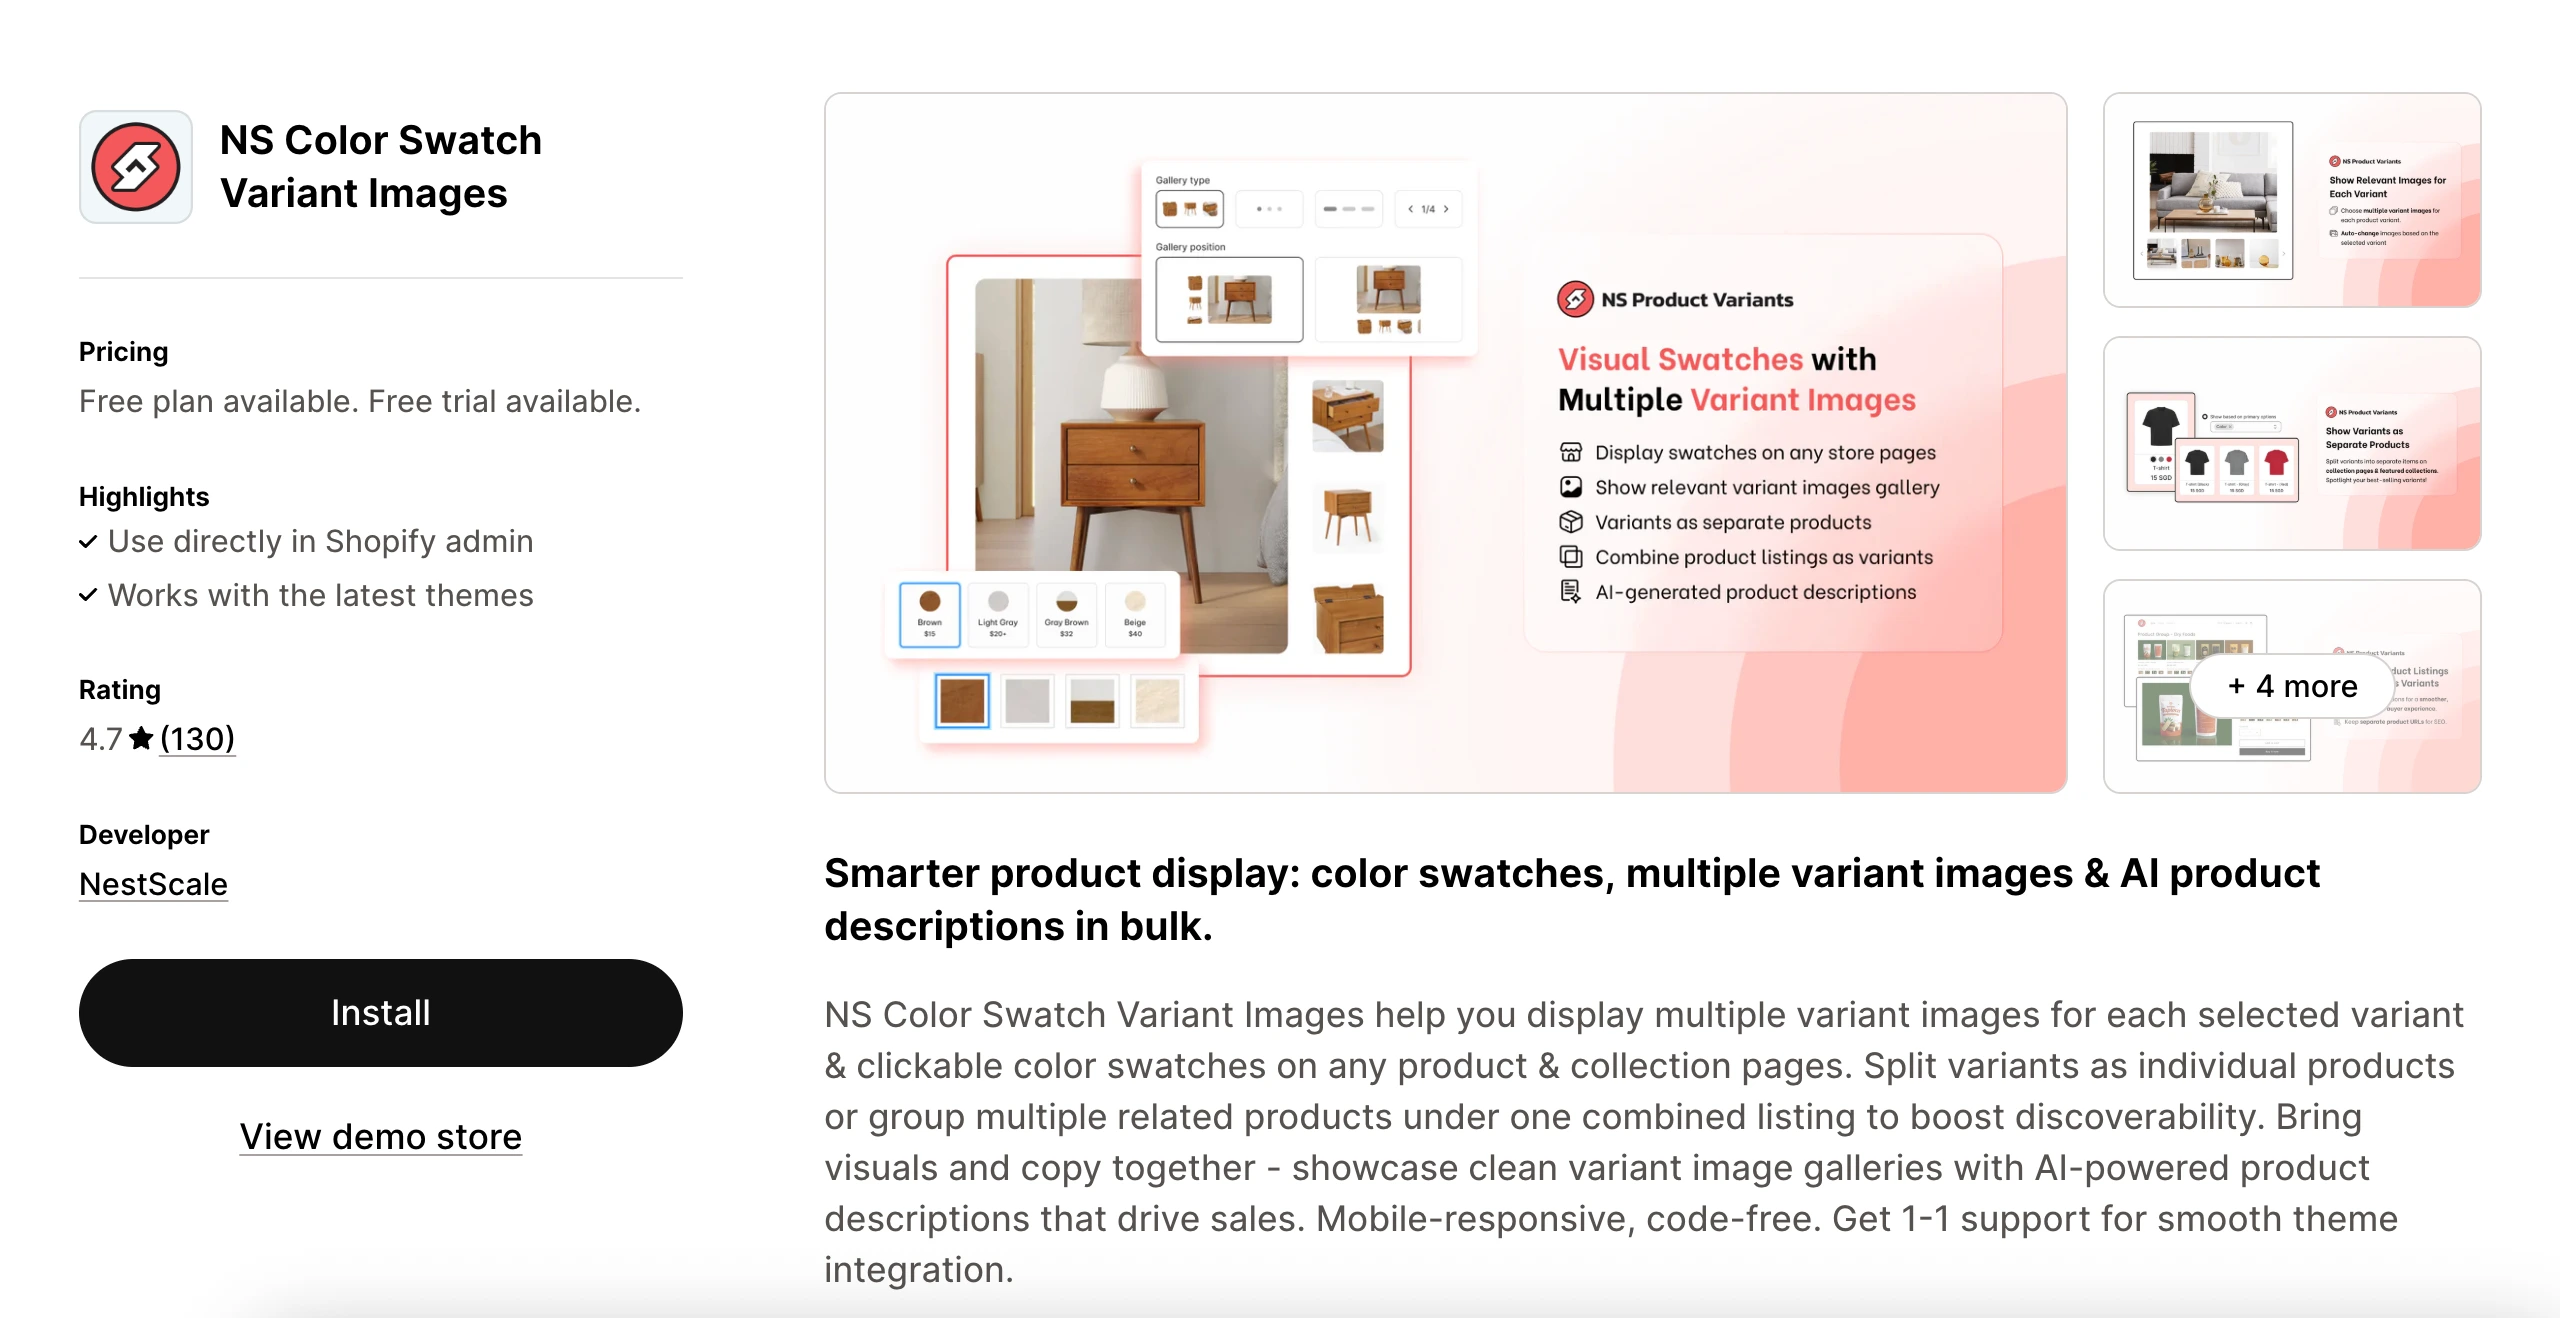
Step 1: Install NS Color Swatch Variant Images
1. Head over to the Shopify App Store and search for NS Color Swatch Variant Images.
2. Click Install to add it to your store.
3. Once installed, open your Shopify Admin, type the app name into the search bar, and click to launch it.
Step 2: Embed the app to active image swatches on your store pages
1. Follow the onboarding steps displayed in the app dashboard.
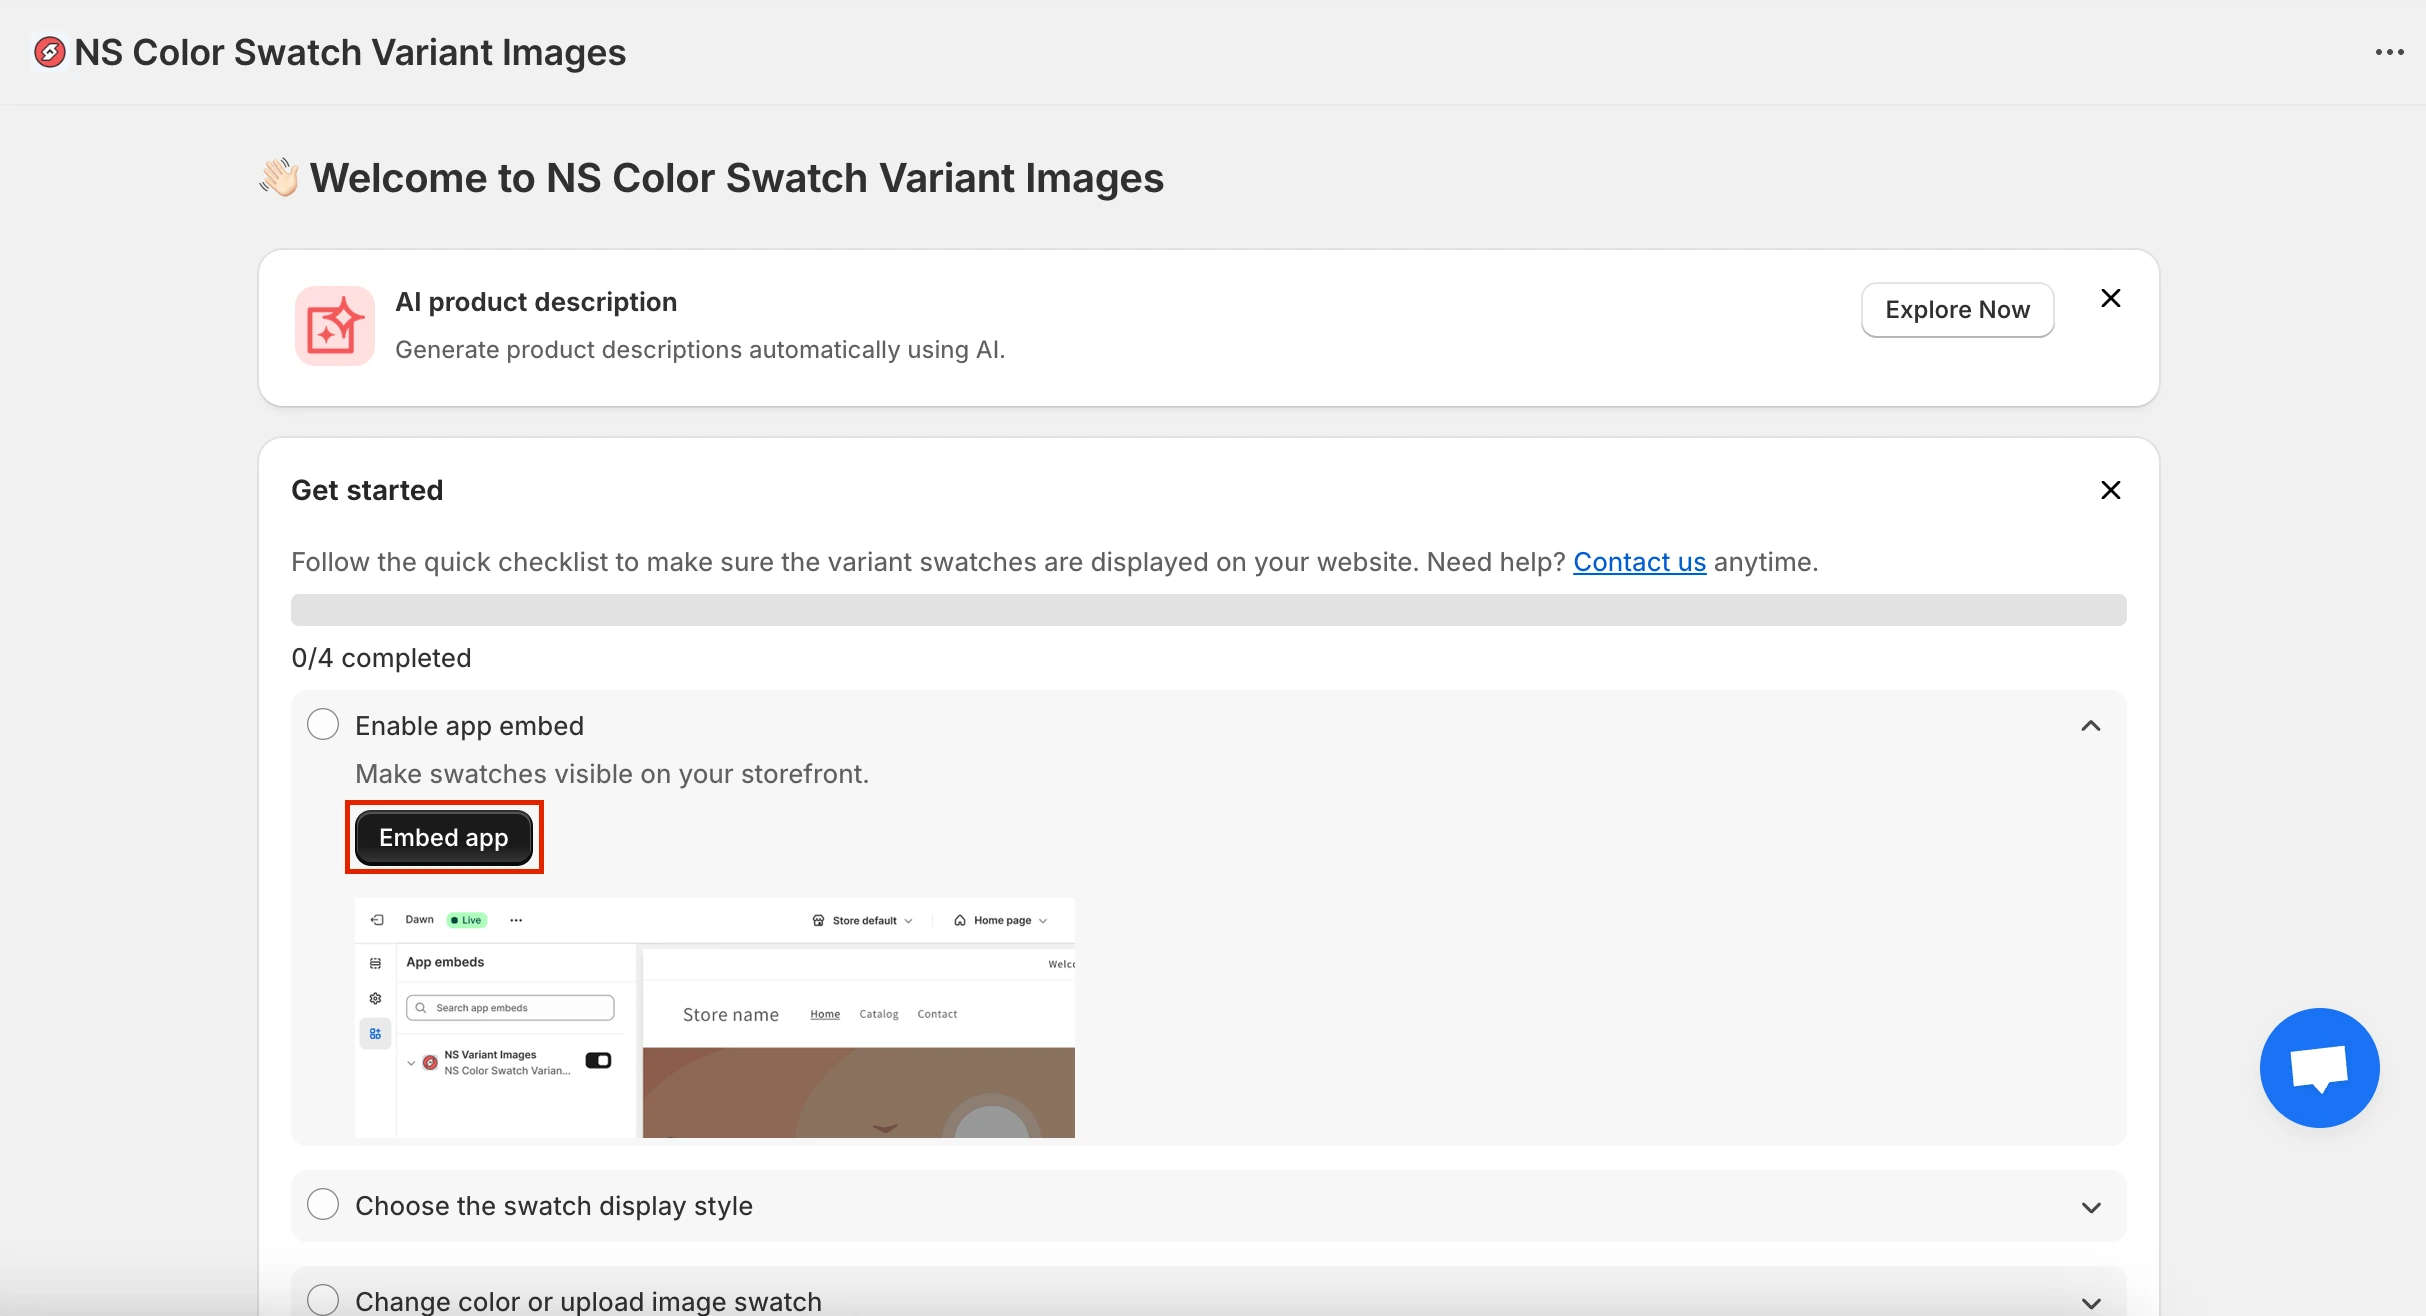
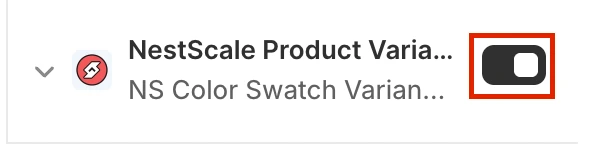
2. Go to App Embeds, switch the toggle on for NS Color Swatch Variant Images, and click Save to activate it.
Step 3: Custom variant images for image swatches
1. From the app menu, navigate to Option Configuration.
Options of your latest 20 products will show up here. If you can’t find the options you need, click Add product options to add them manually.
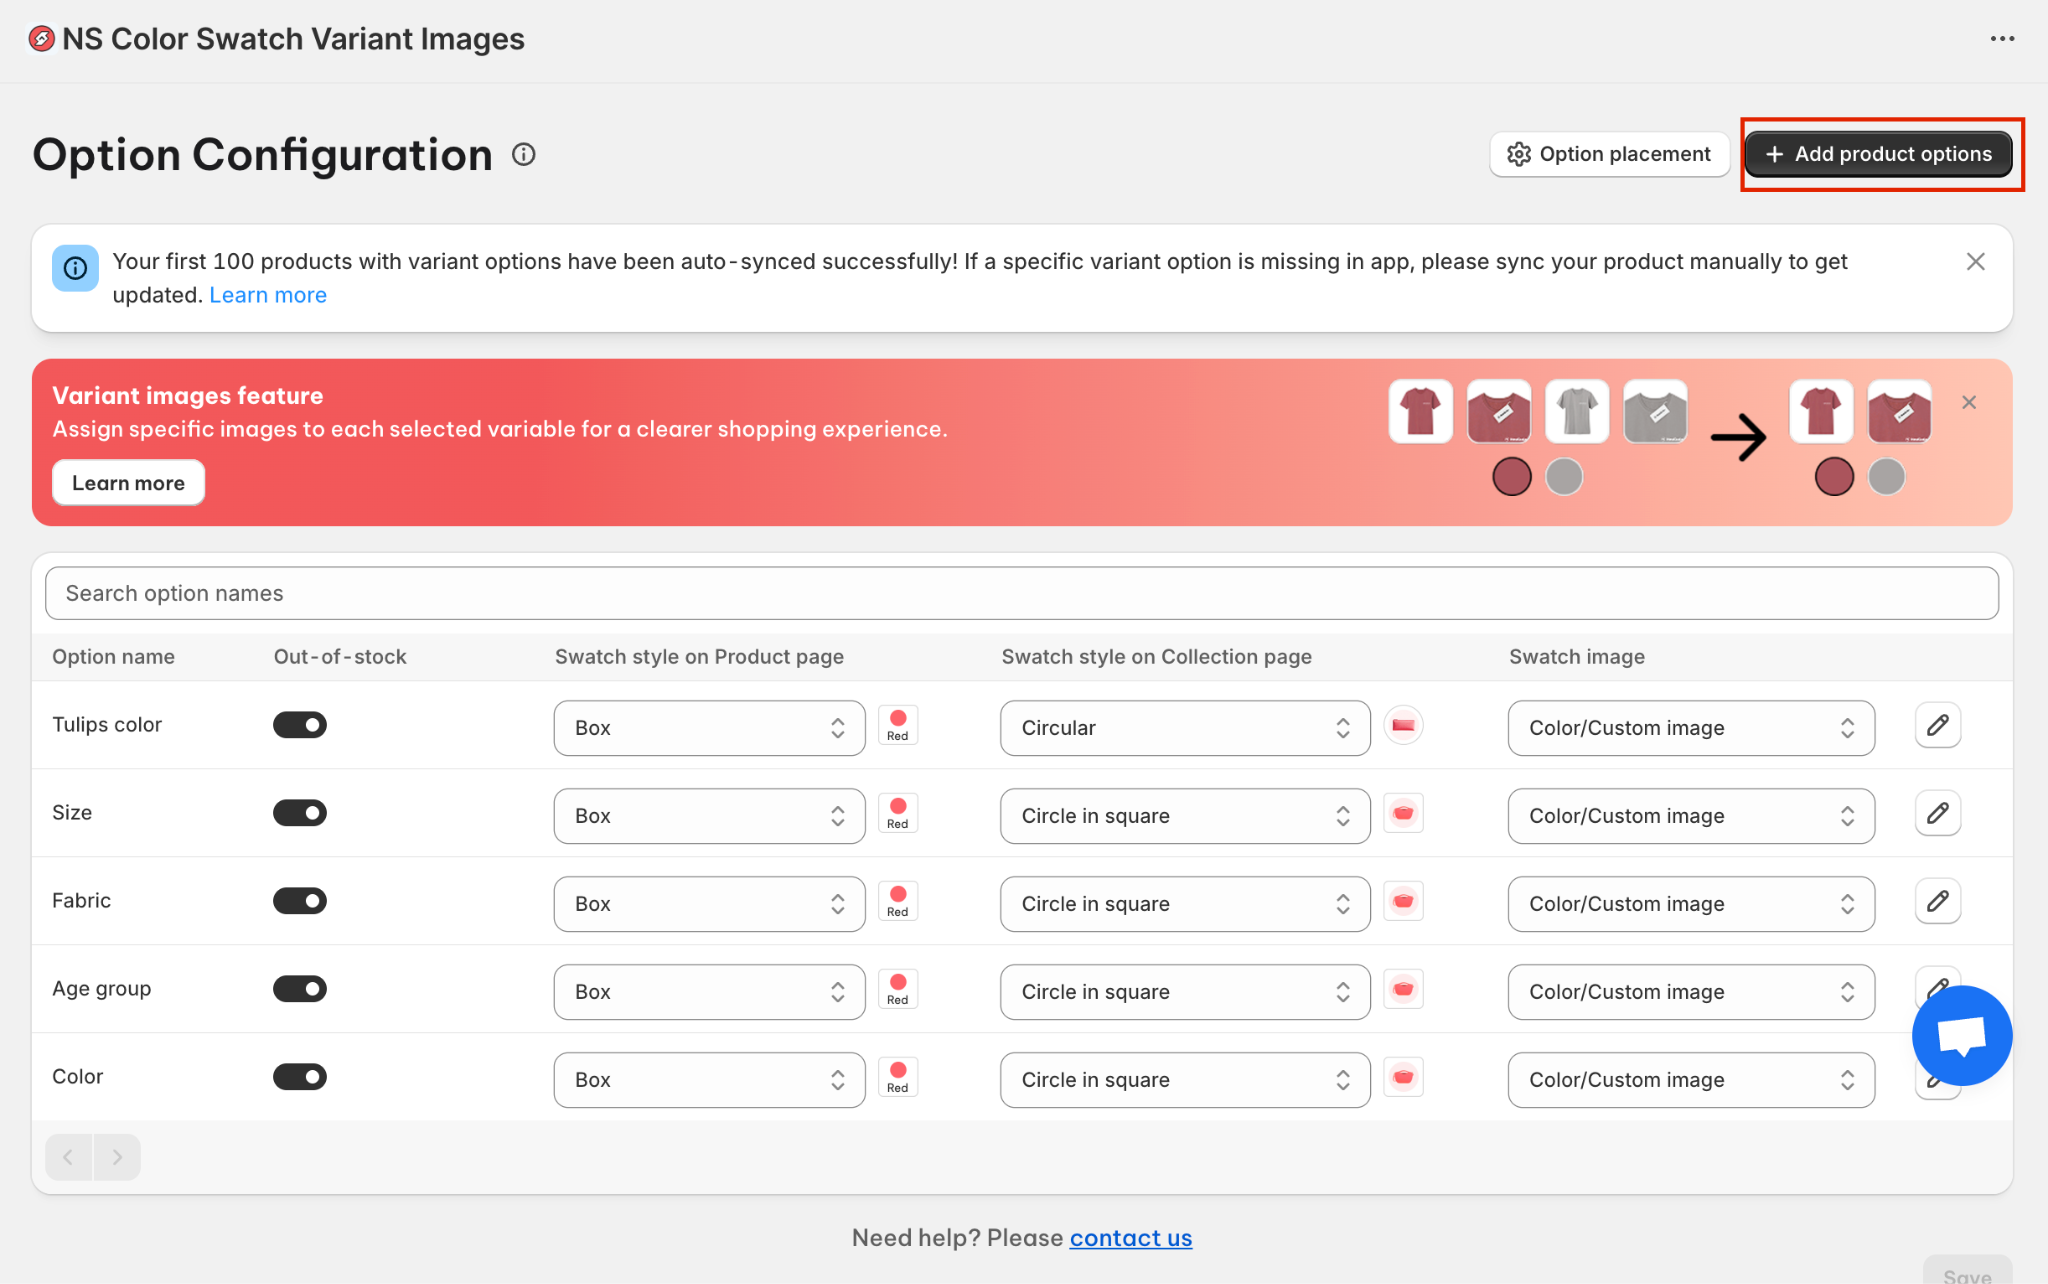
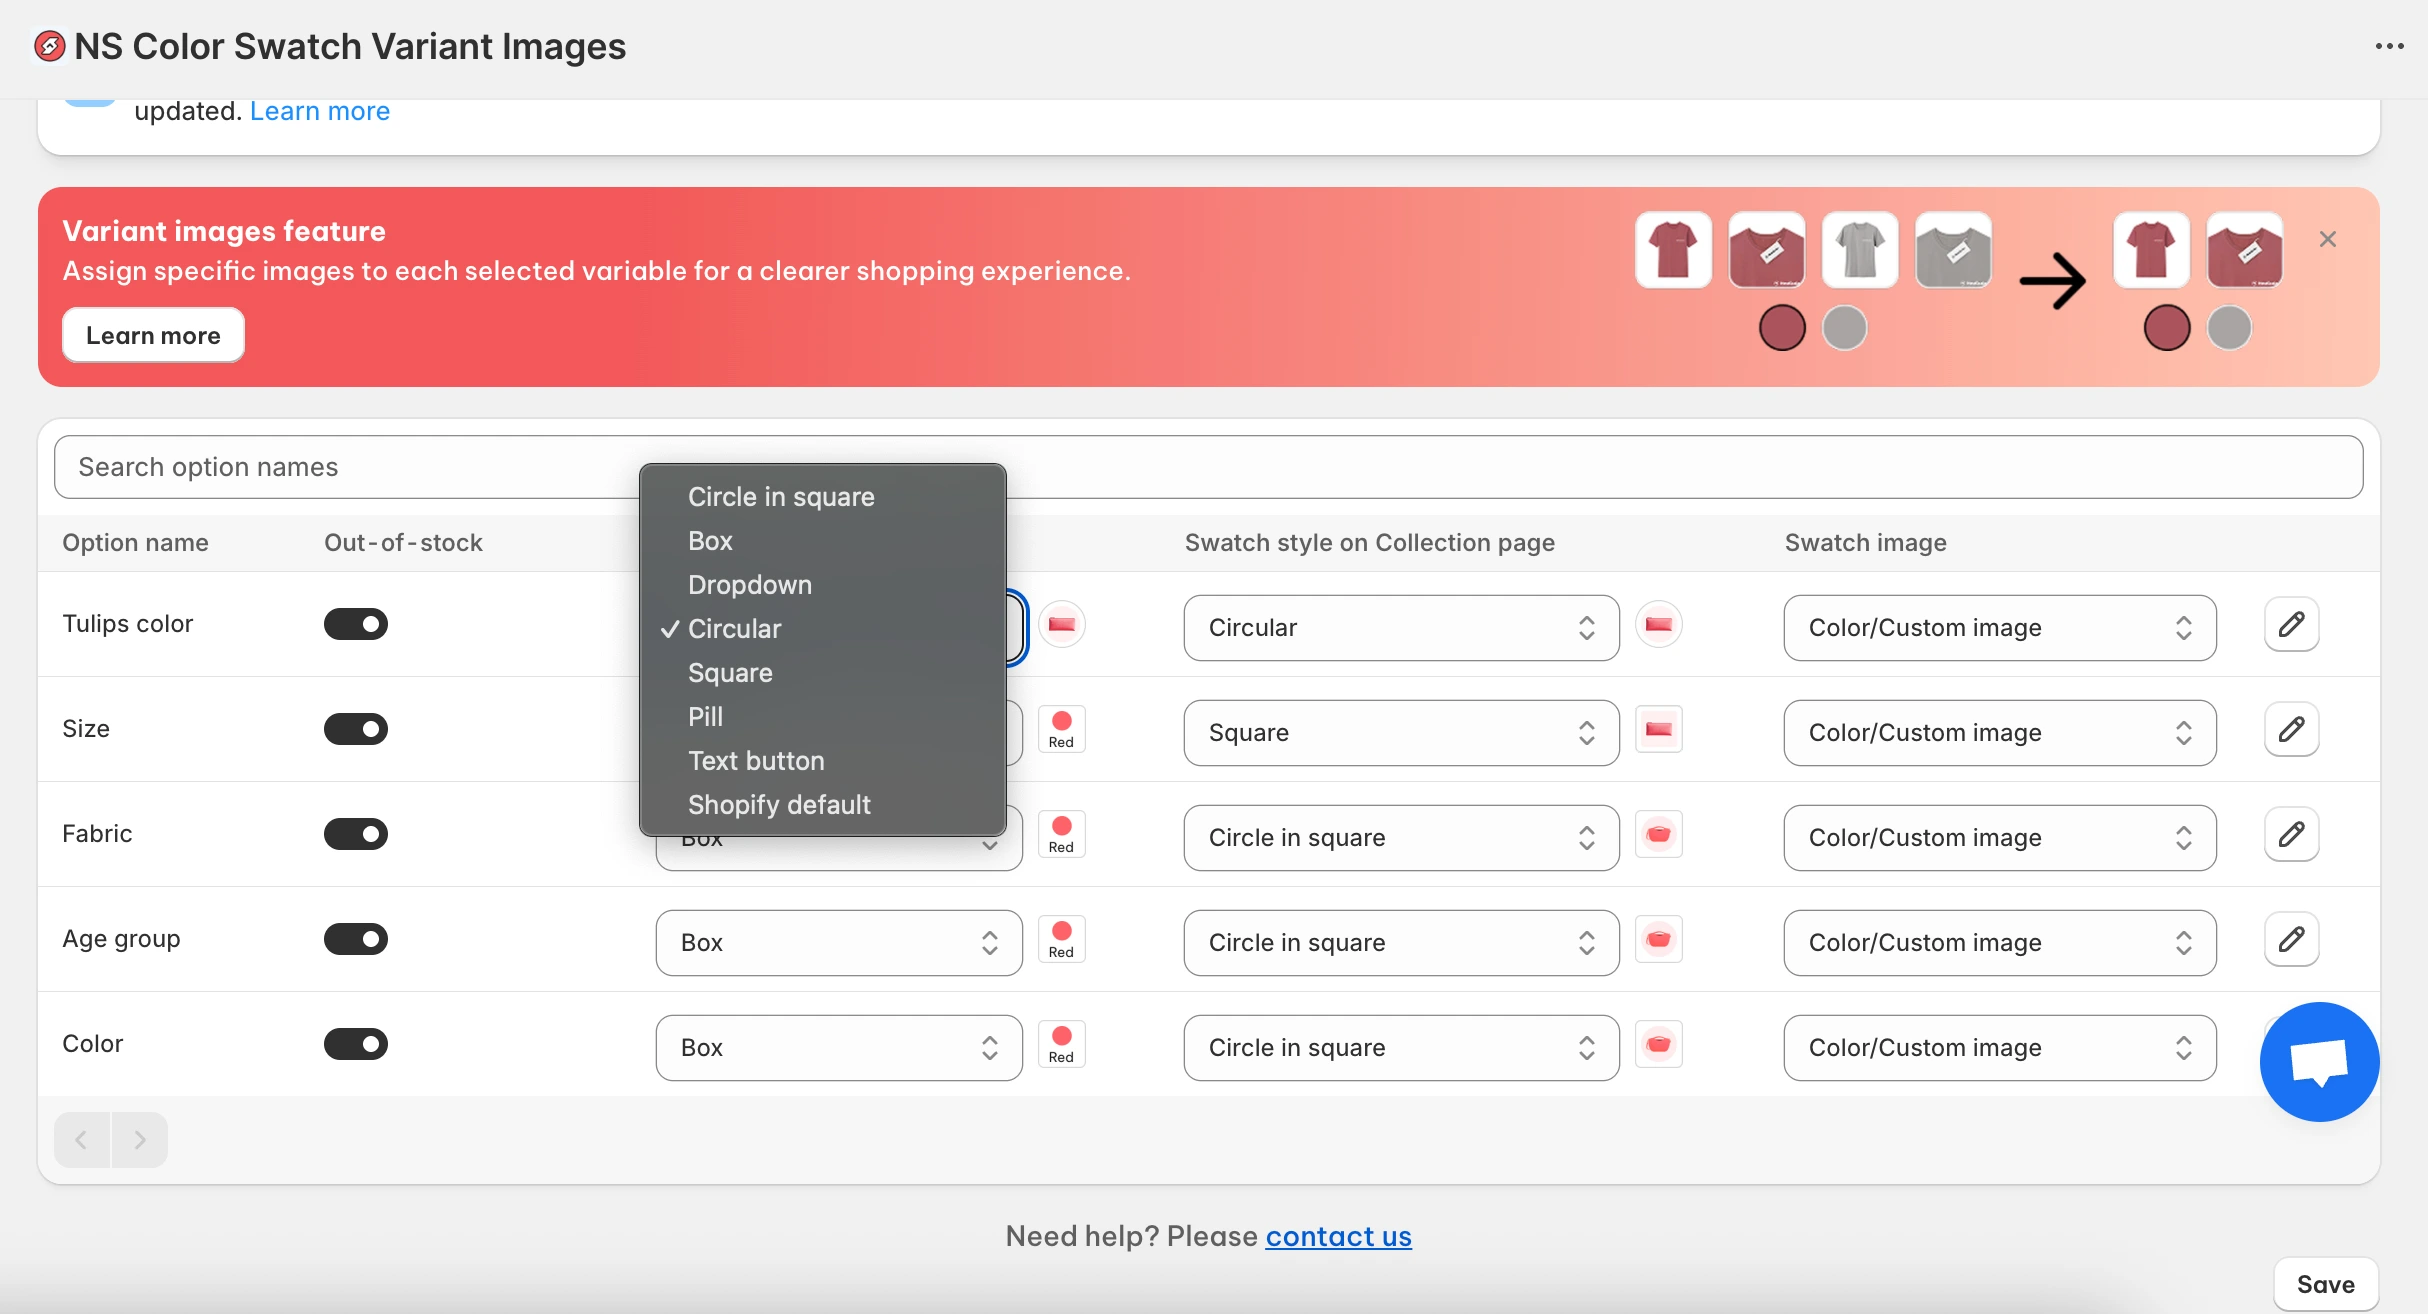
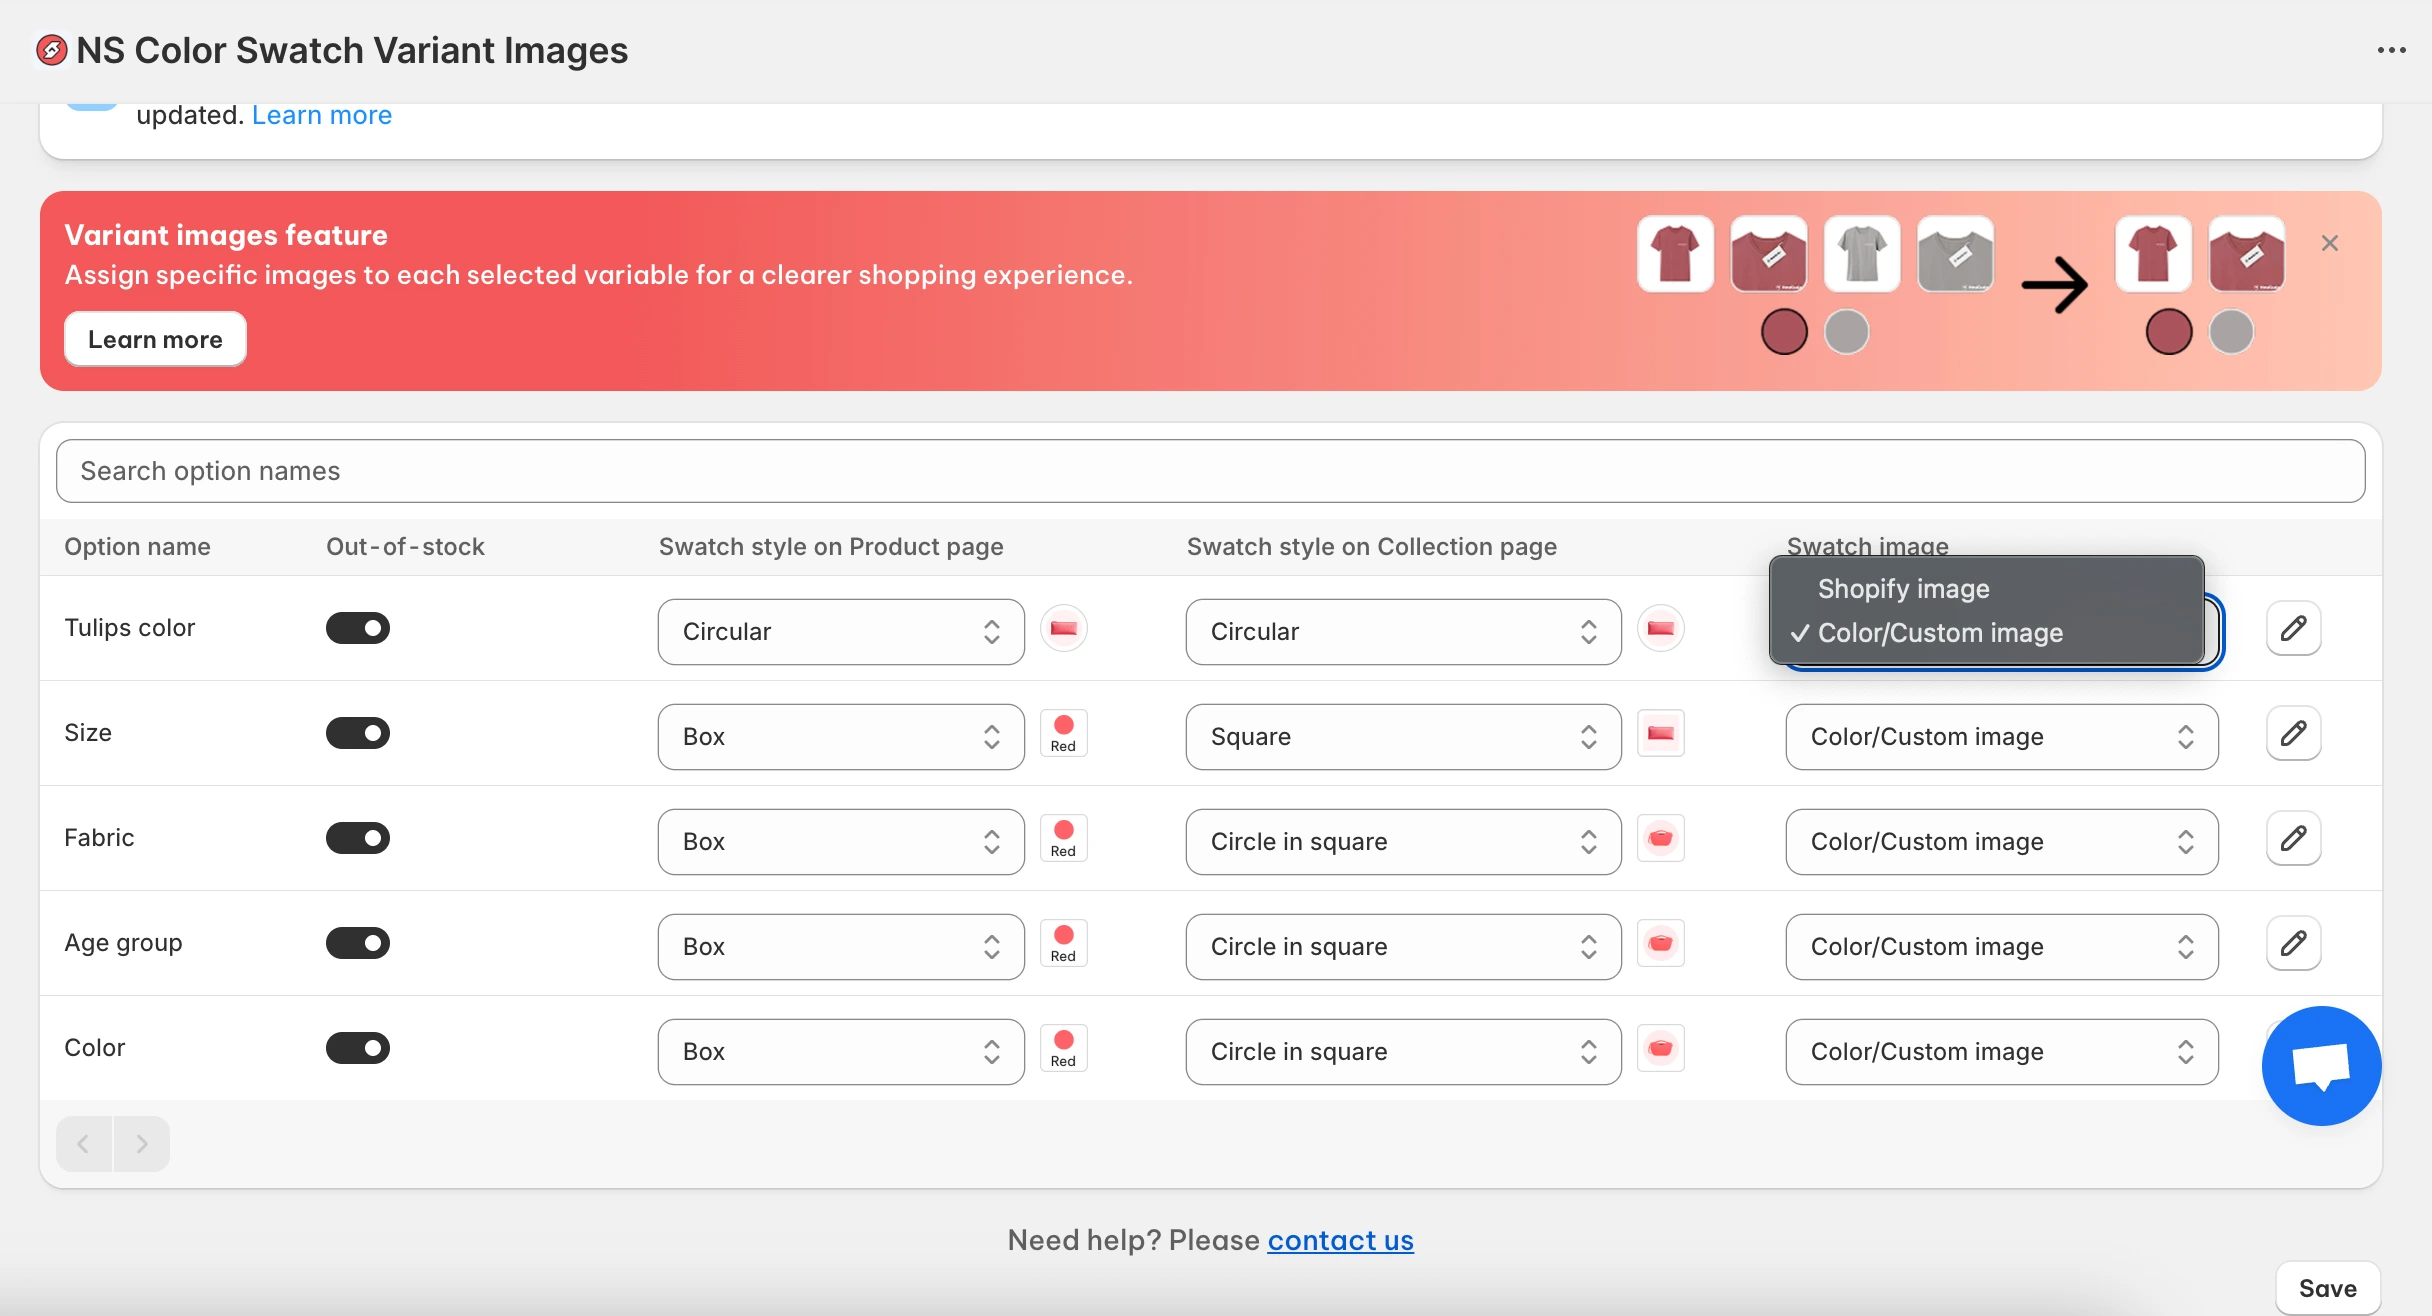
2. Choose the swatch style you’d like to use from the dropdown.
3. Choose to use your current Shopify variant images for variant swatches or upload custom images.
4. Click the pencil ✏️ to upload custom variant images from your computer.
5. Upload an image swatch directly from your computer for each color variation.
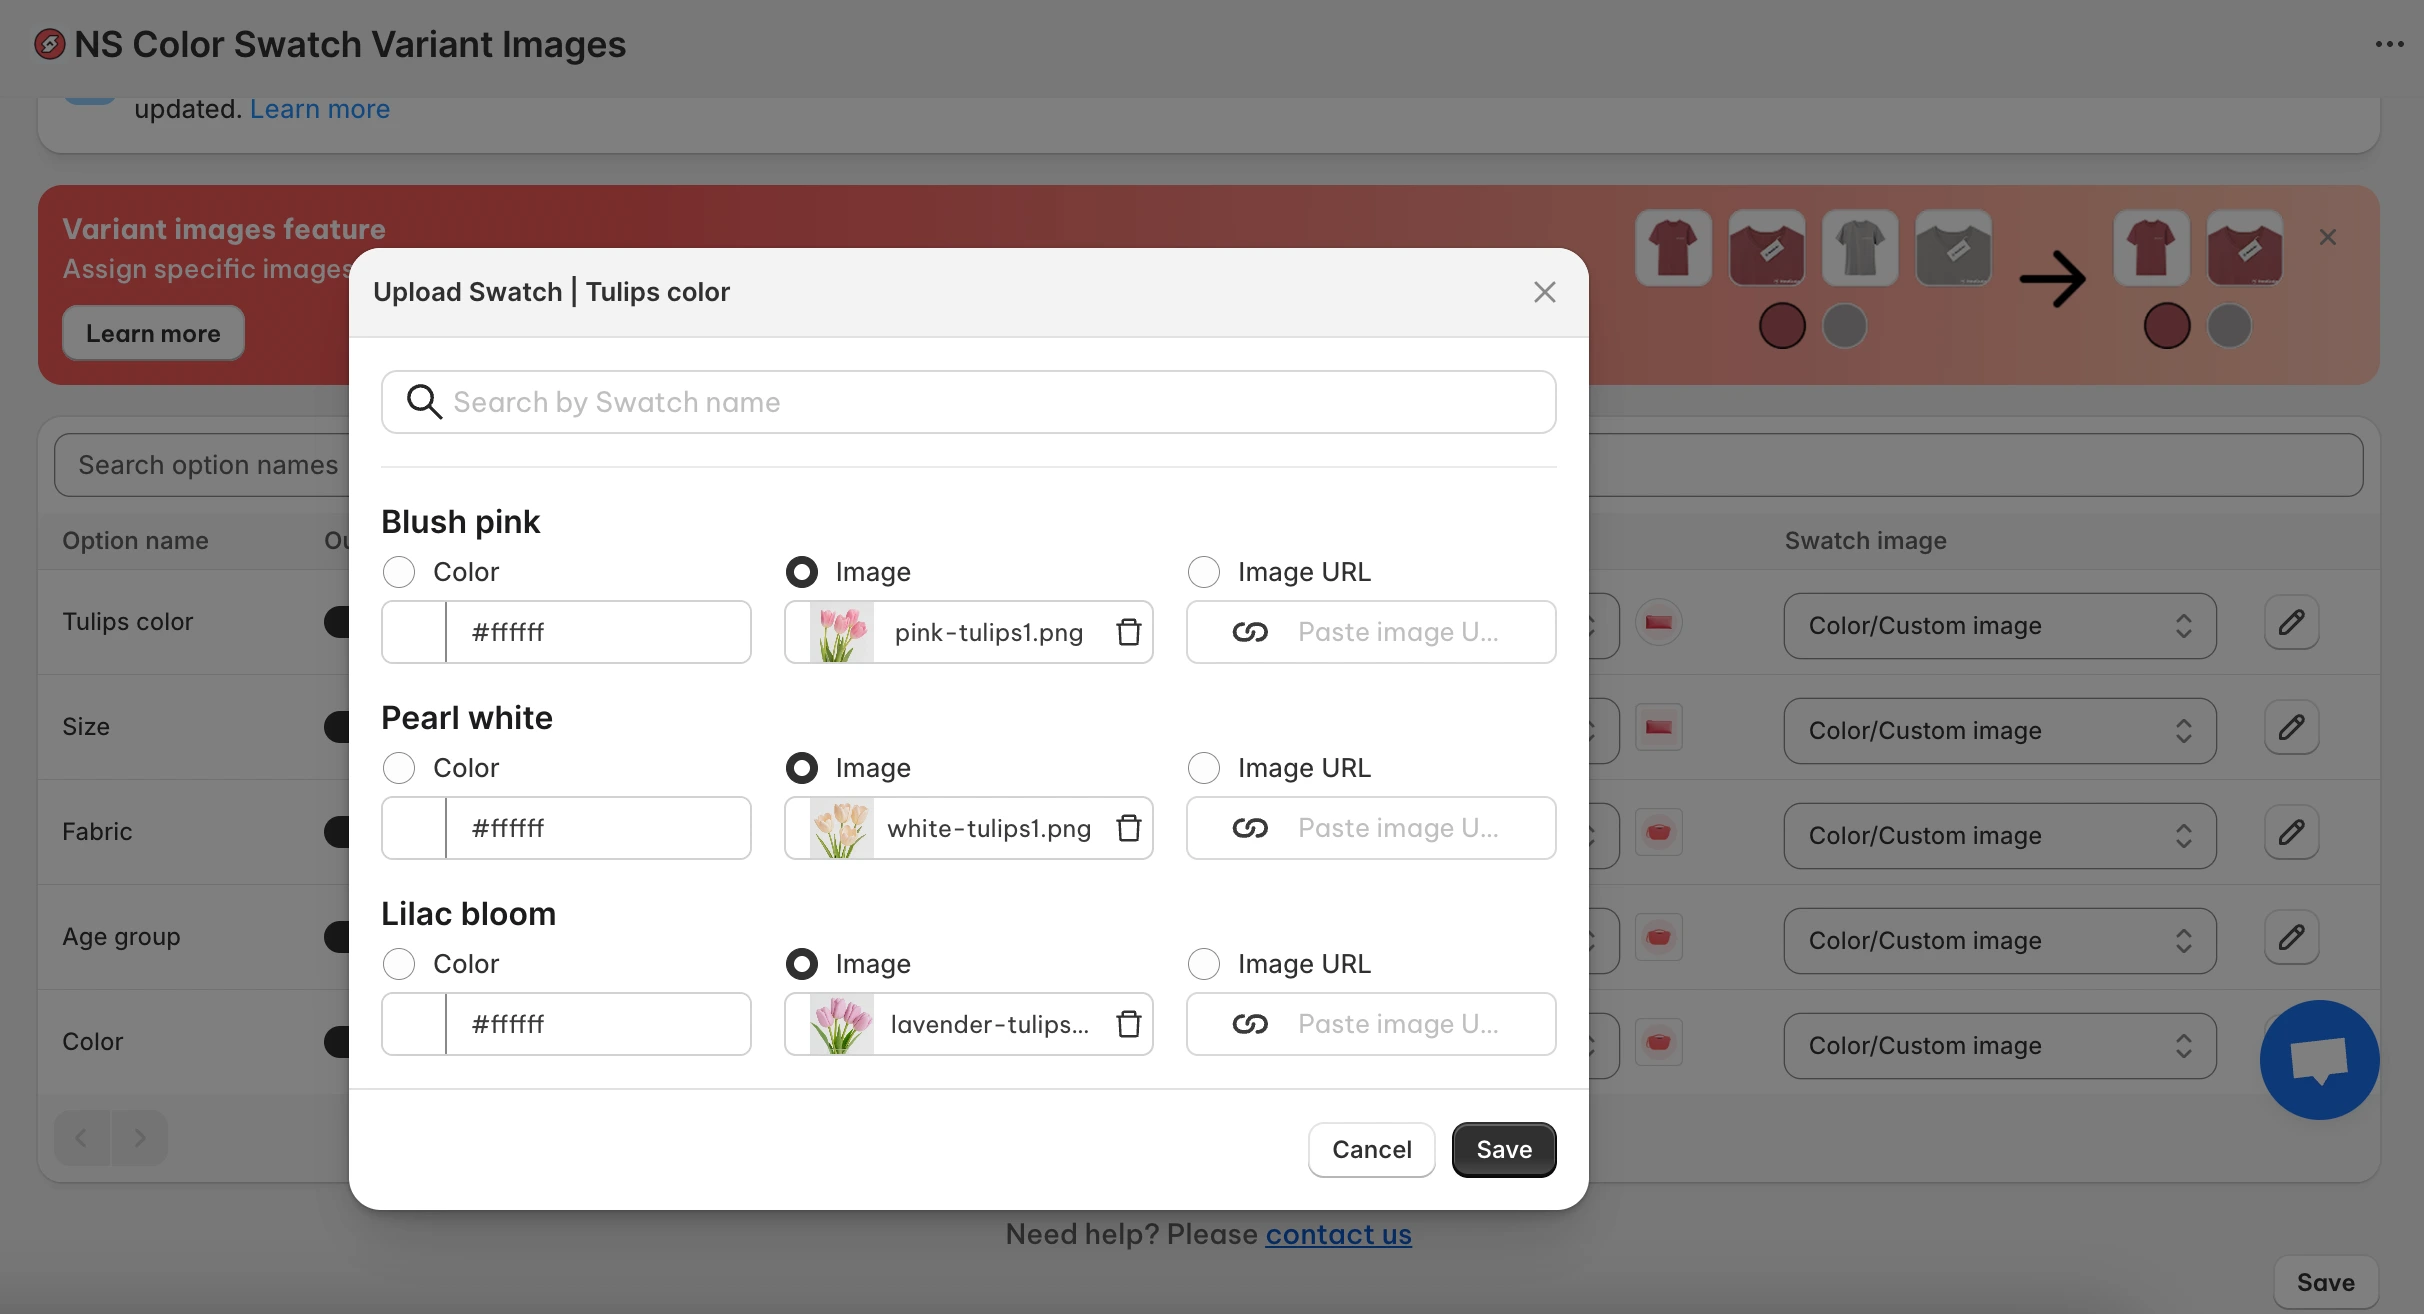
6. Press Save to apply the updates.
Step 4: Customize the image swatch design
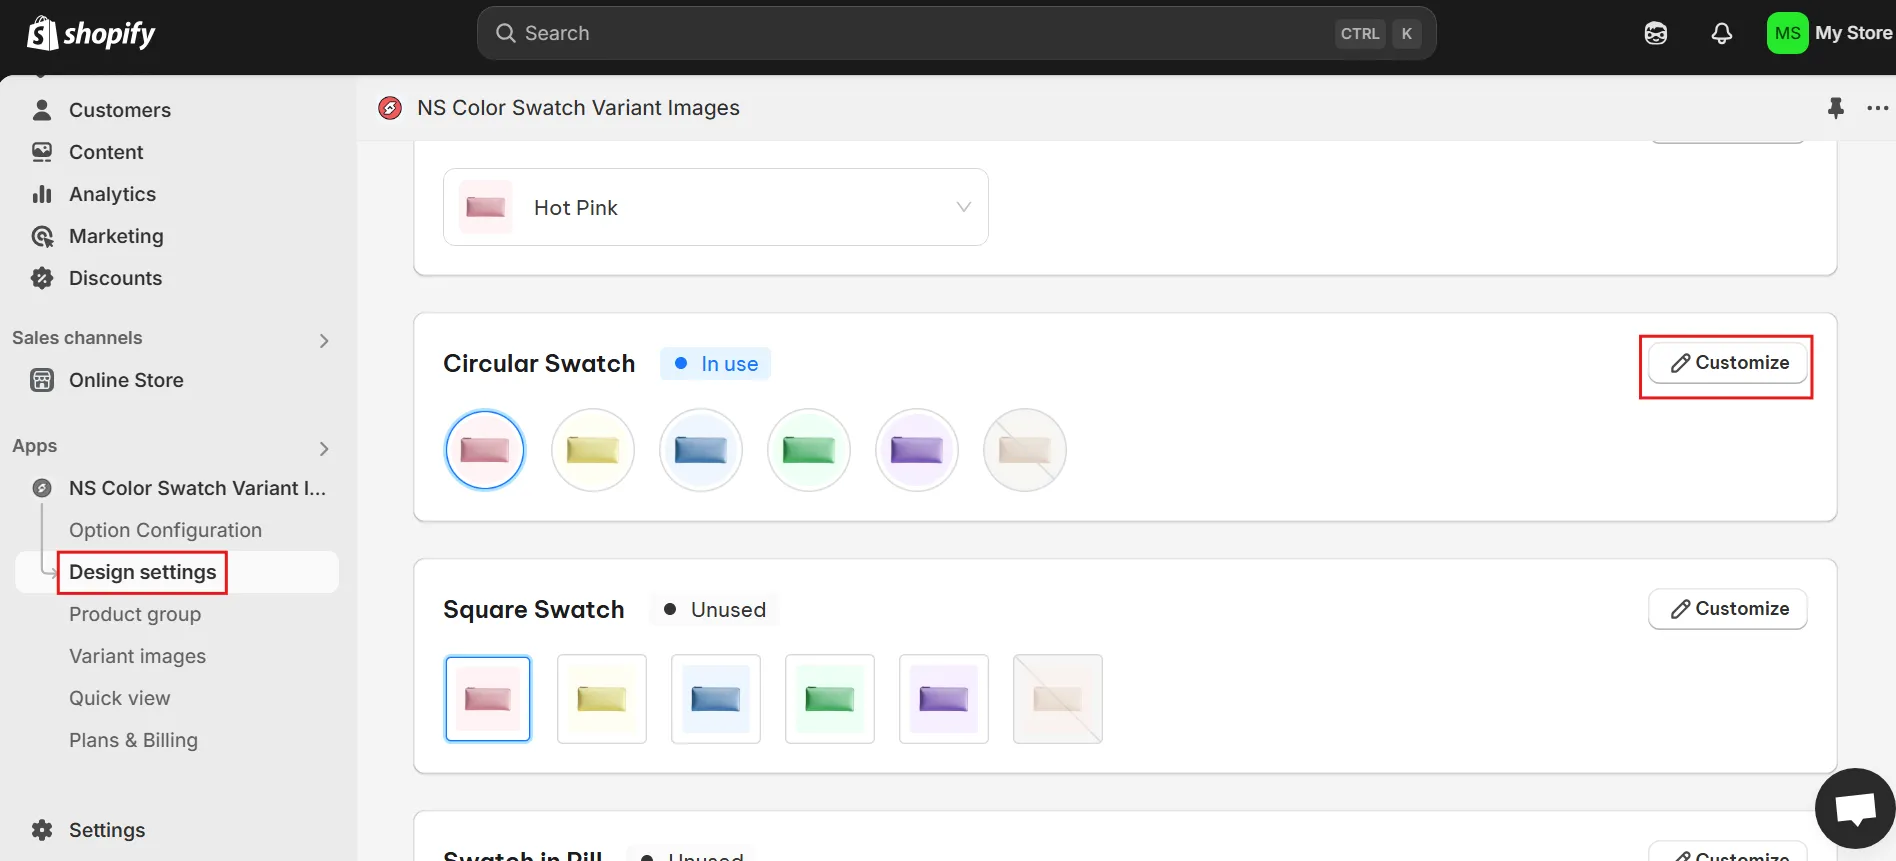
1. Go to the Design Settings section in the menu.
2. Find the swatch style you’re working with and click Customize.
💡 Tip: Look for the “In use” tag to easily spot your active swatch style.
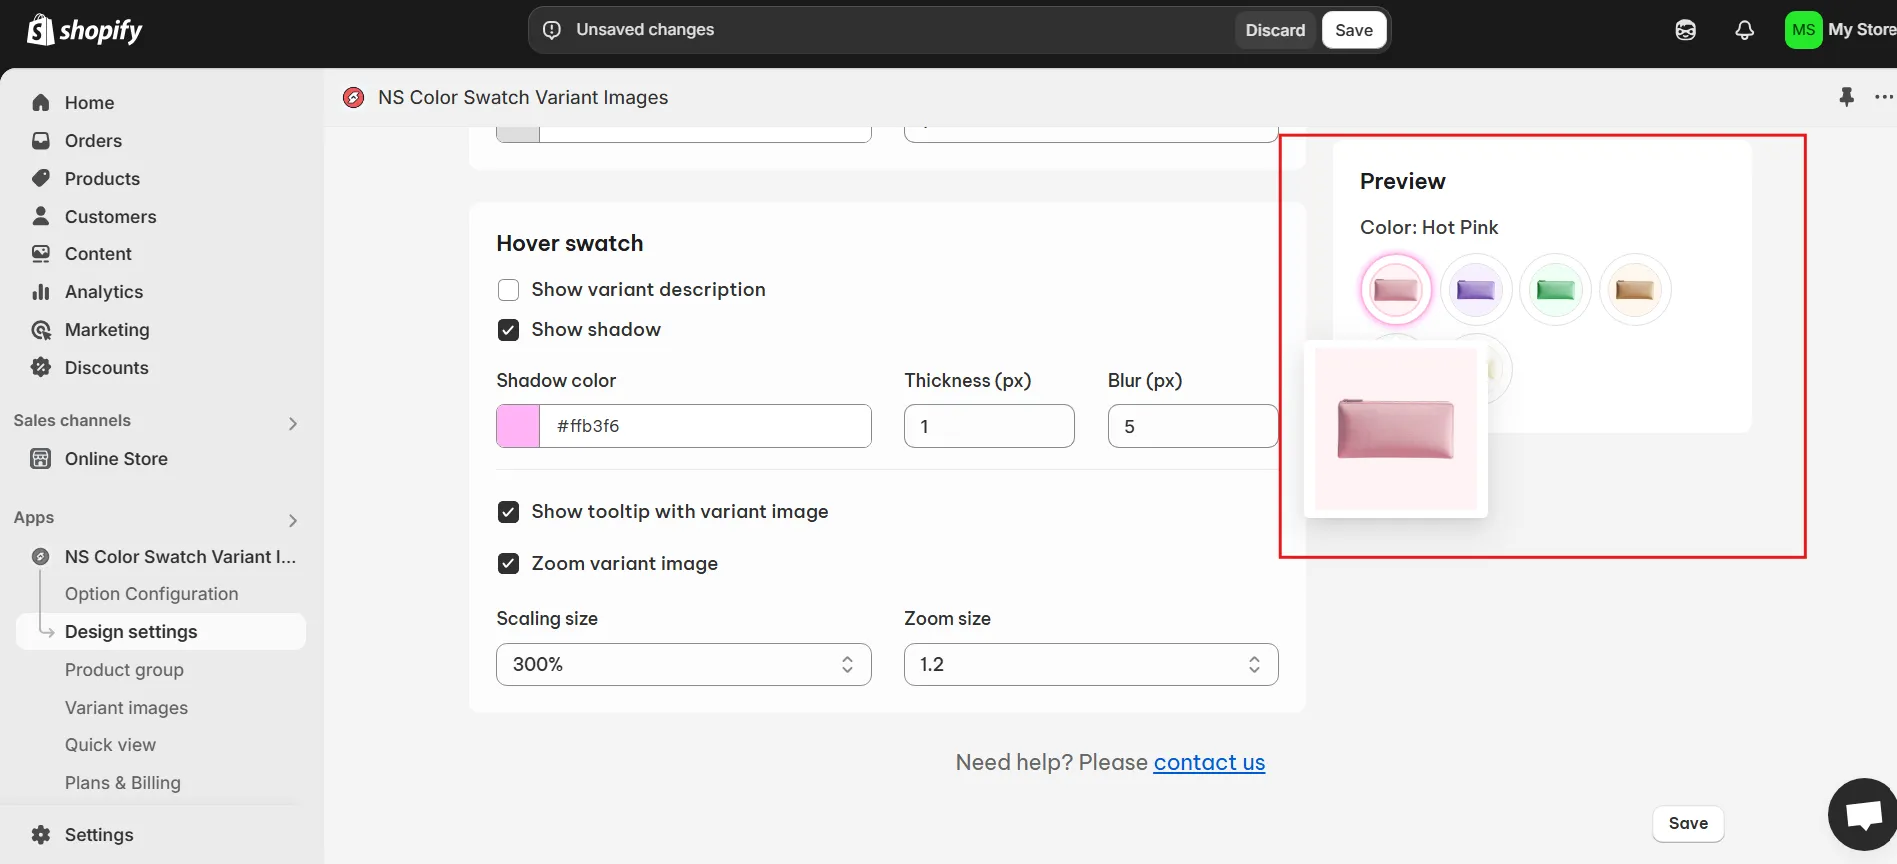
3. You can modify various design elements, including:
- Swatch size
- Background color
- Border color
- Hover effect
- Tooltip appearance
- Variant description text
💡 Tip: Use the Preview feature to see how each change looks in real-time.
3. After customizing, make sure to click Save.
4. Head to your online store and view your product pages to see the newly added image swatches in action.

✨ Want to save time and access advanced features?
If you manage a store with lots of products or numerous variants, you can streamline your workflow by upgrading to the Growth or Pro plan of NS Color Swatch Variant Images. These plans unlock powerful features like:
- Add image swatches on the collection page
- Support for multiple variant images (displayed per variant)
- Option to combine products and display as variants
- Split variants into separate products on collection
- Quick view popups for faster product browsing
- AI-generated product descriptions in your brand voice
With these upgrades, you can scale your swatch setup efficiently while delivering a polished, user-friendly experience to shoppers.
FAQs
How to use variant images as swatches in Shopify?
In the Growth or Pro plan of NS Color Swatch Variant Images, you can have color swatches displayed automatically using your current variant images in Shopify. However, you can also do this manually with our thorough step-by-step guide above.
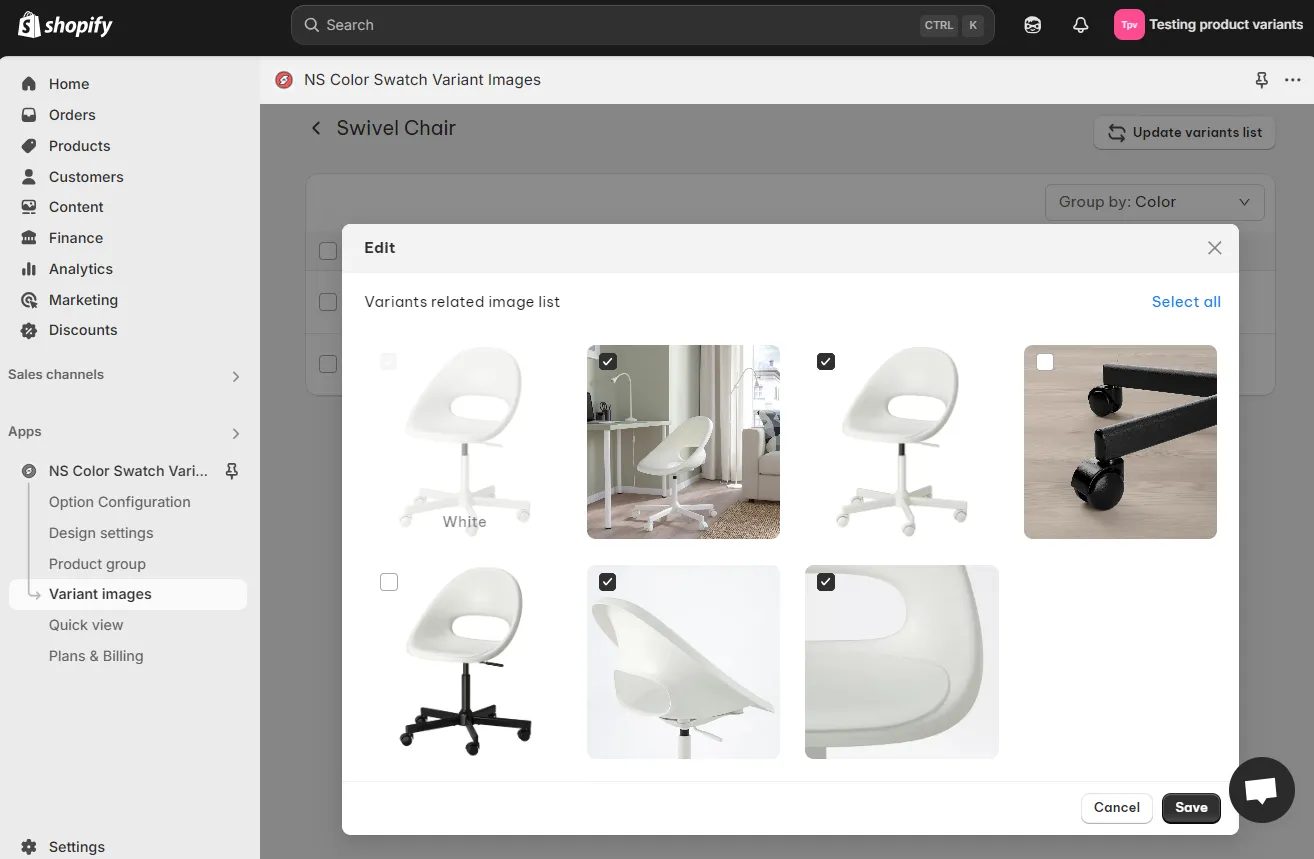
How can I make variant images change to the selected swatch?
You can do this by assigning specific variant images to each variant in NS Color Swatch Variant Images using the Variant Image feature.