In this tutorial, we’ll show you how to add Shopify color swatches on Collection page so your customers can see what options your products offer before they click to view it in details. Furthermore, you can also customize how your swatches look on the Collection view to make them match your store appearance and look more enticing.
A 5-minute guide to show Shopify color swatches on collection page
You’ll only need around 5 minutes to display and customize your color swatches look on the collection view (homepage, collection, categories, etc.). Let’s get started.
Step 1: Set up NS Color Swatch Variant Images
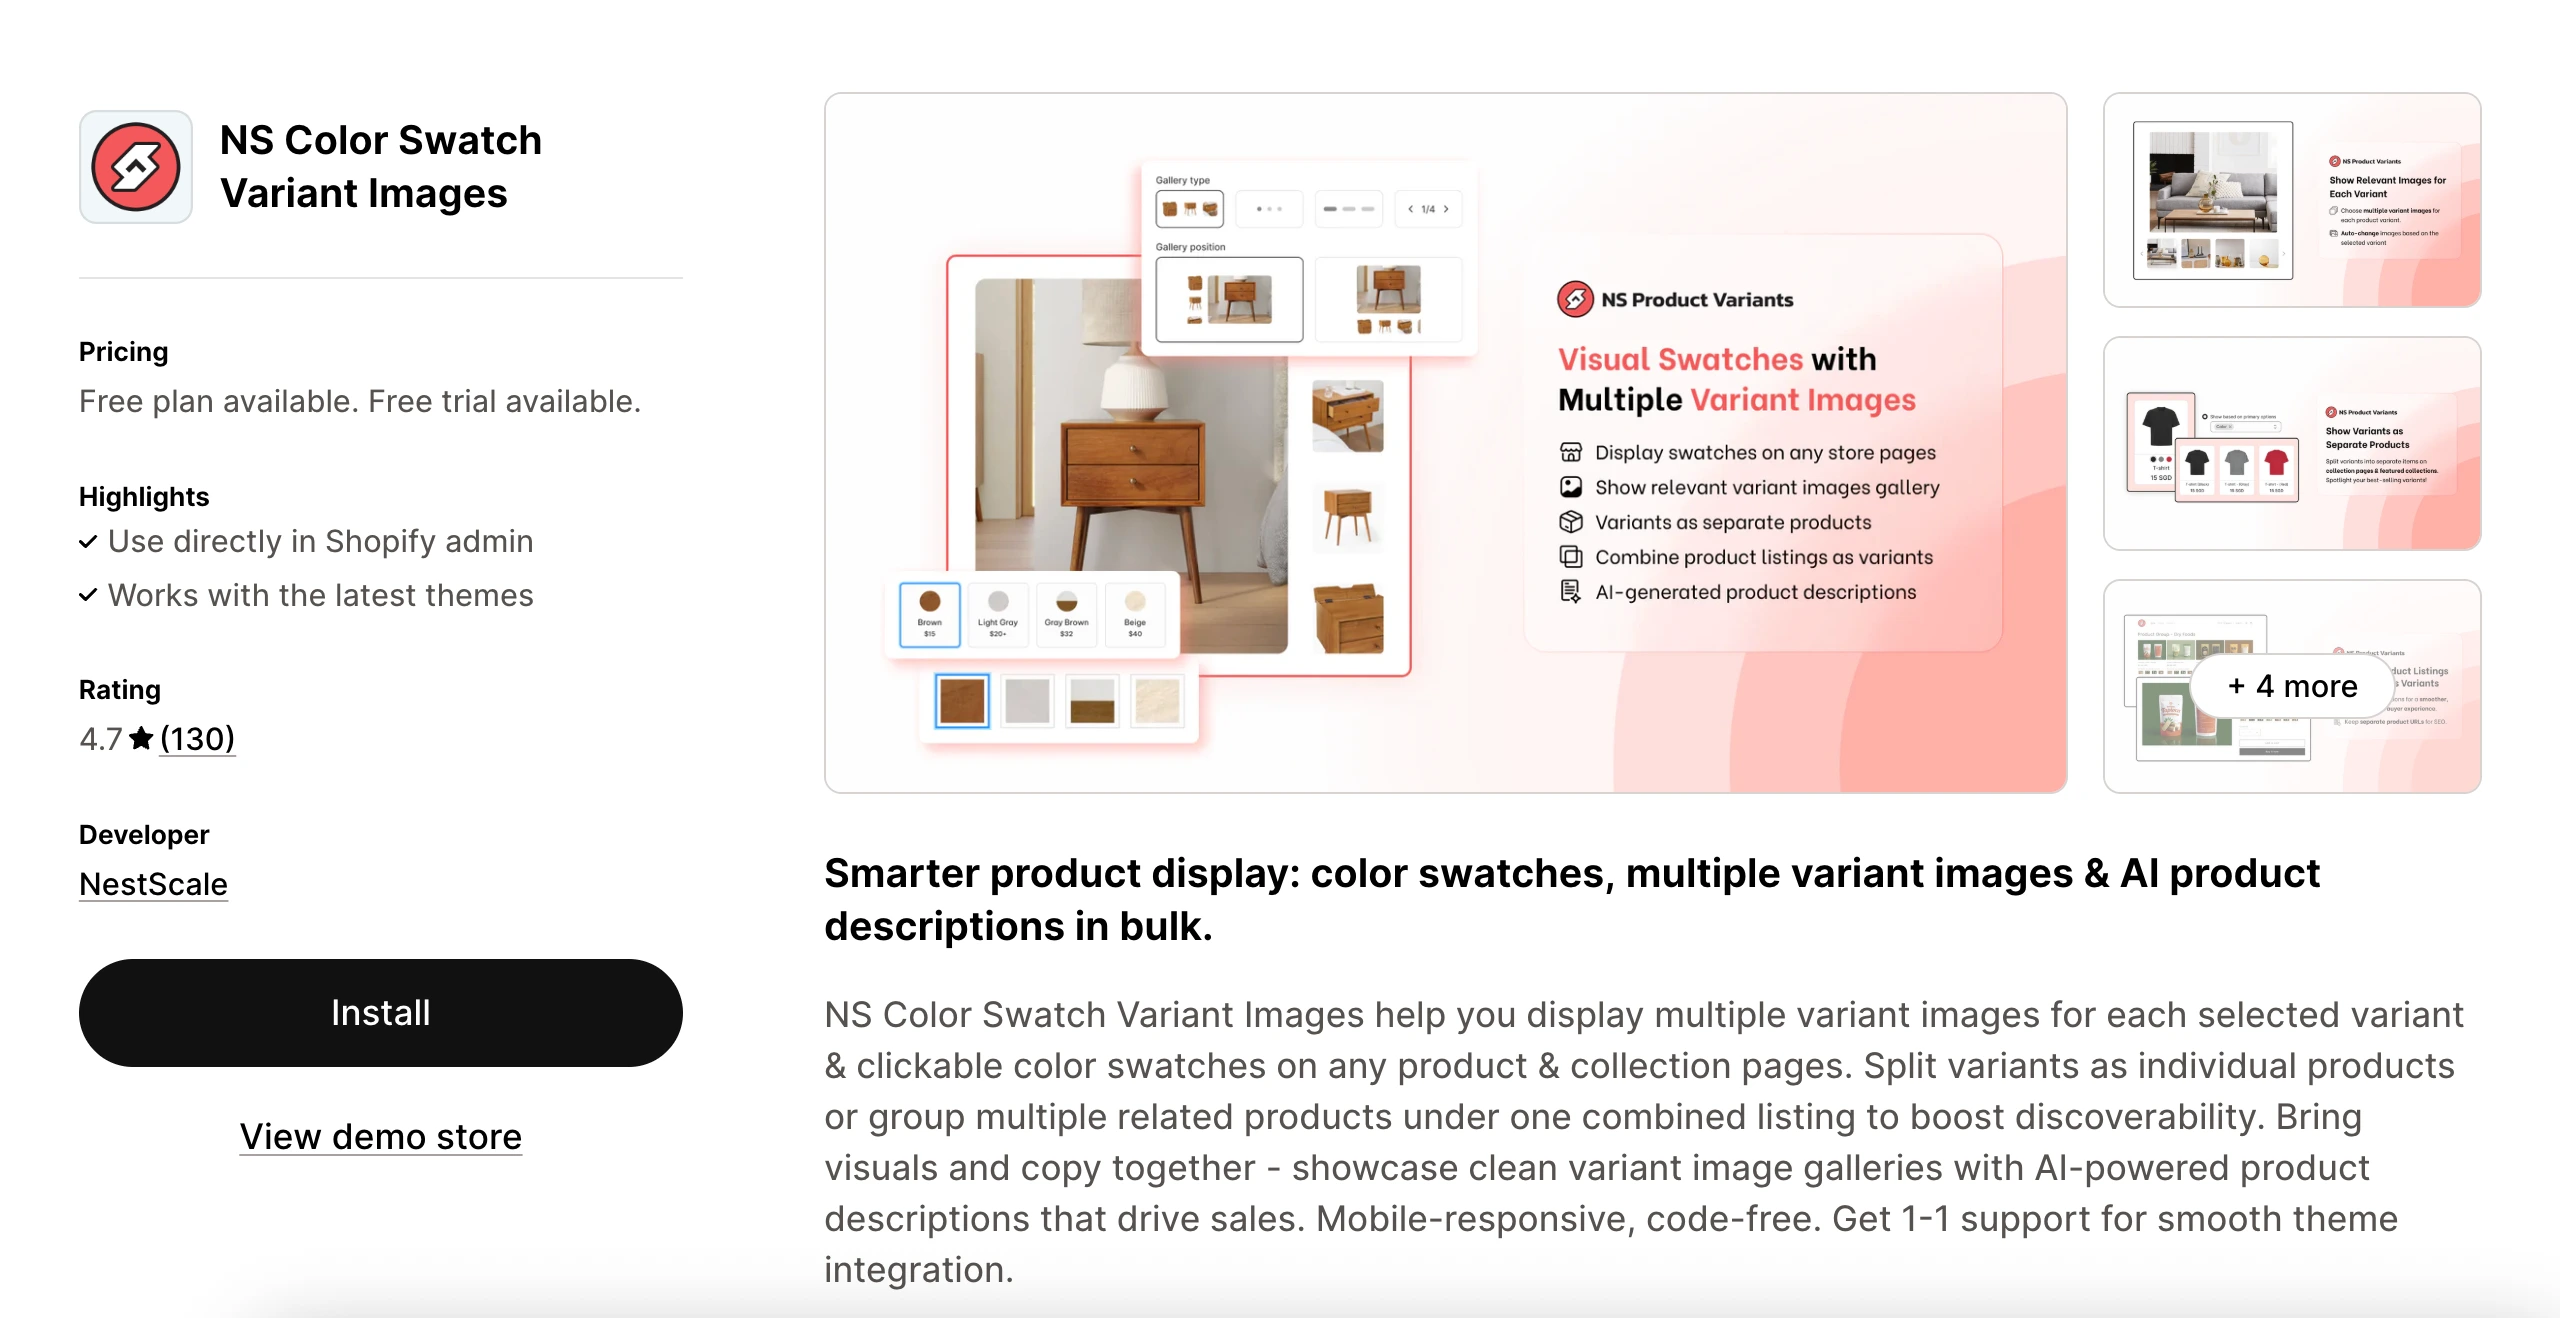
1. Go to the Shopify App Store and search for NS Color Swatch Variant Images.
2. Click Install and then Open the app.
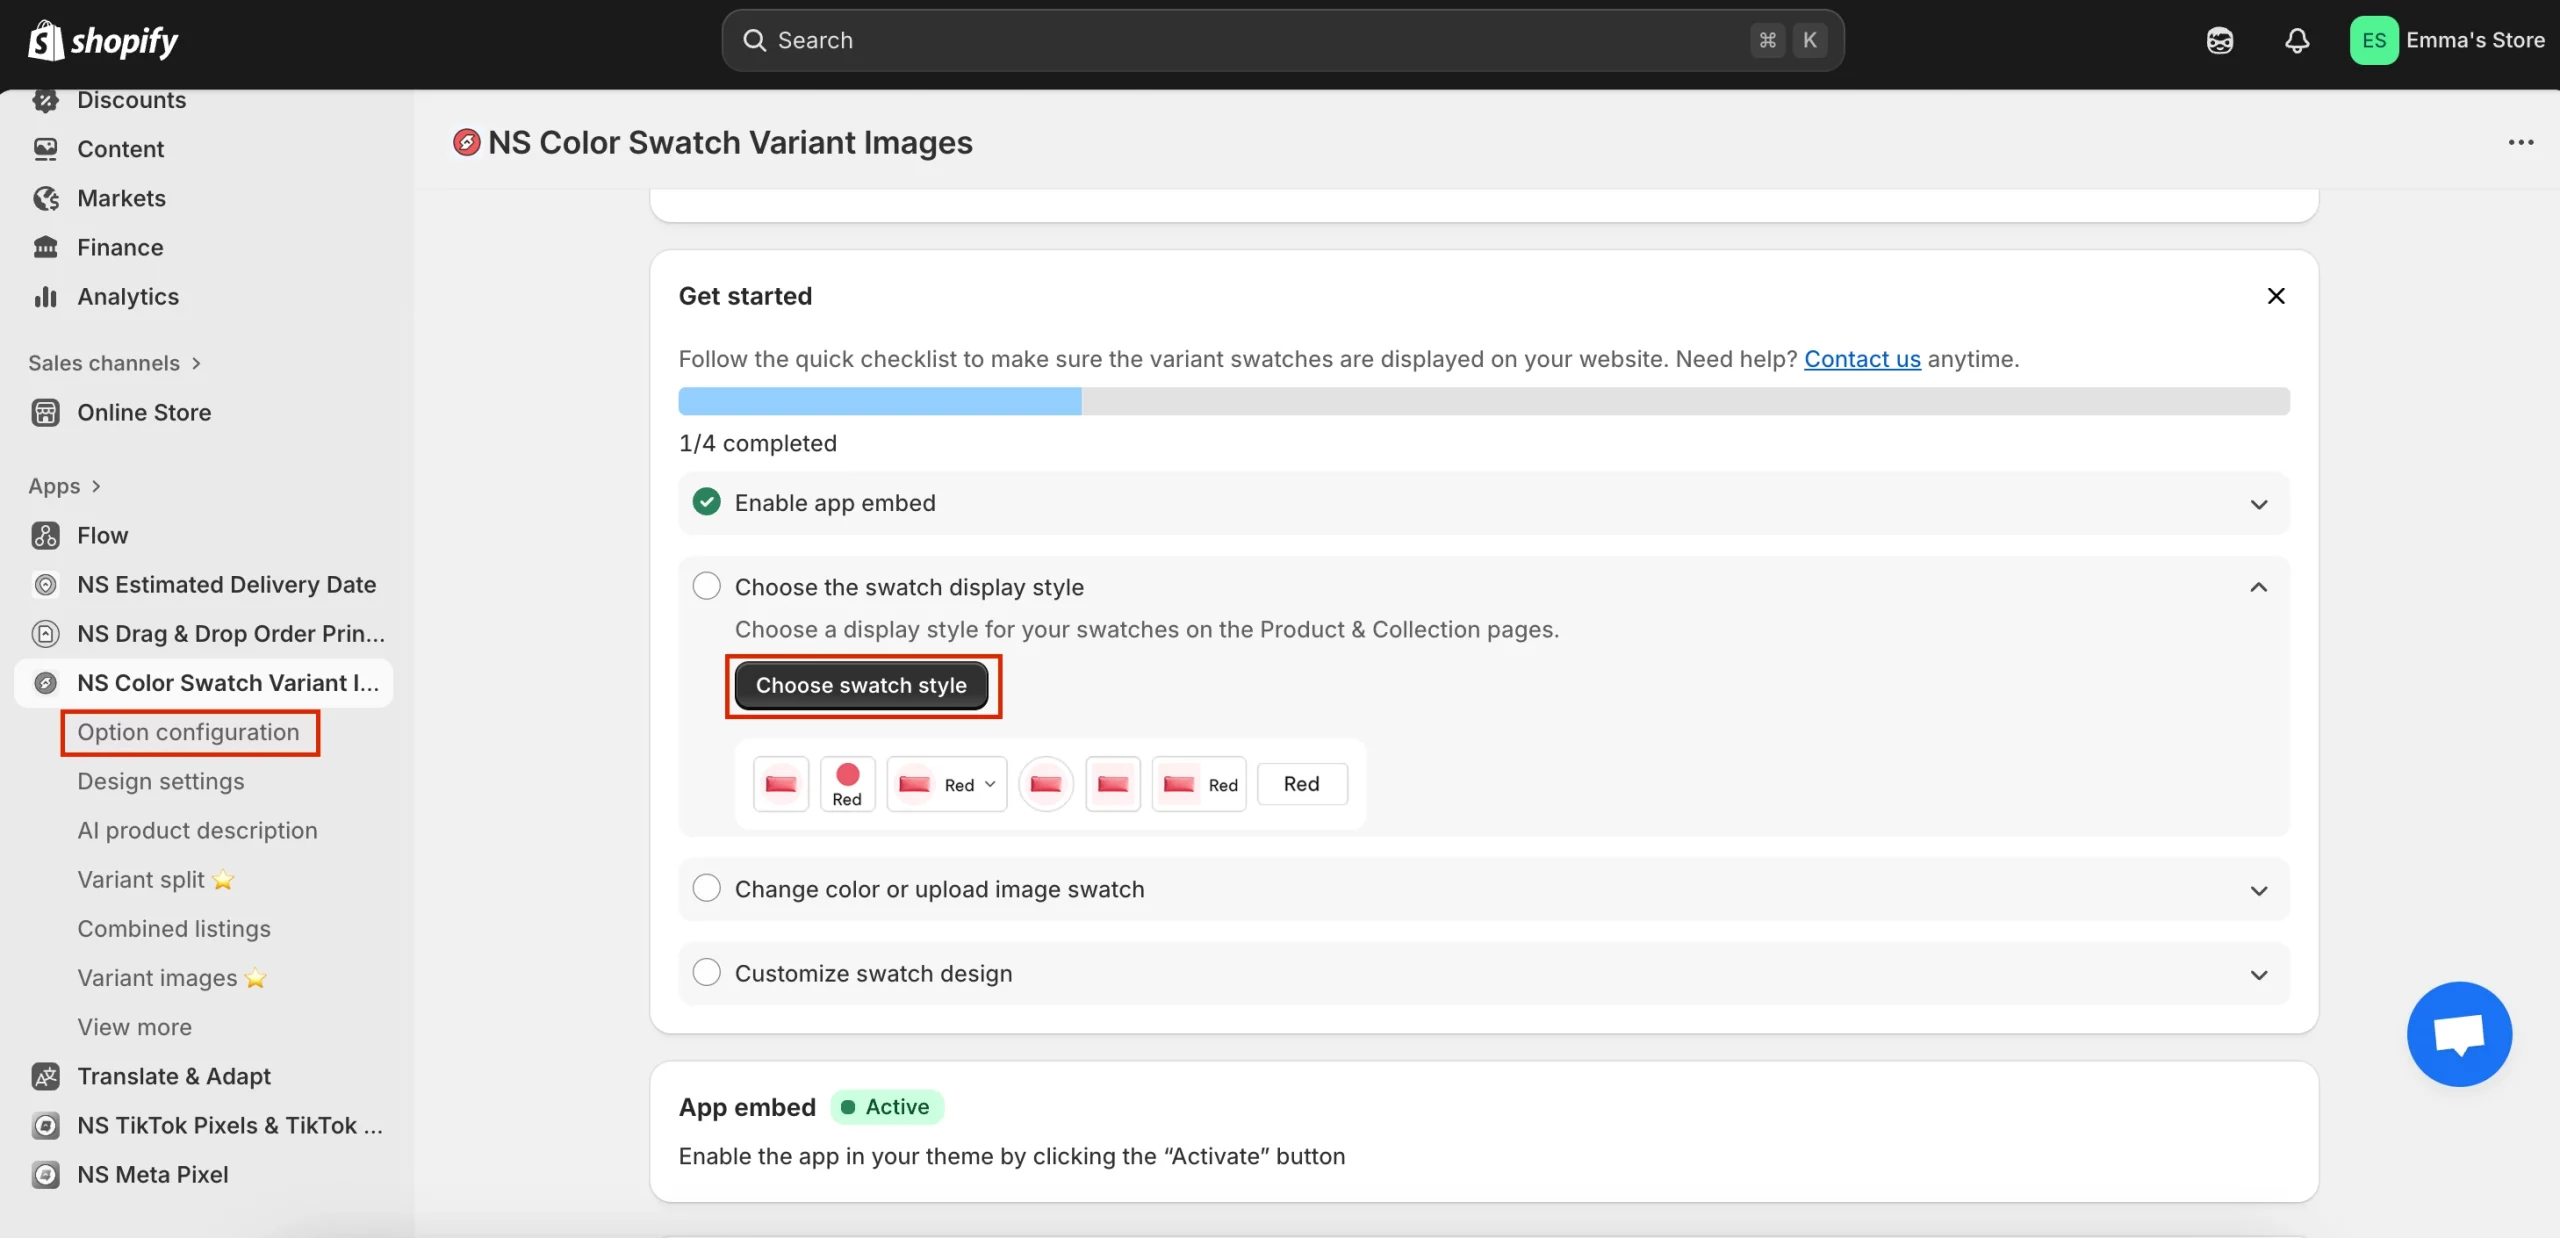
3. Follow the Get started instructions in the app’s onboarding dashboard.
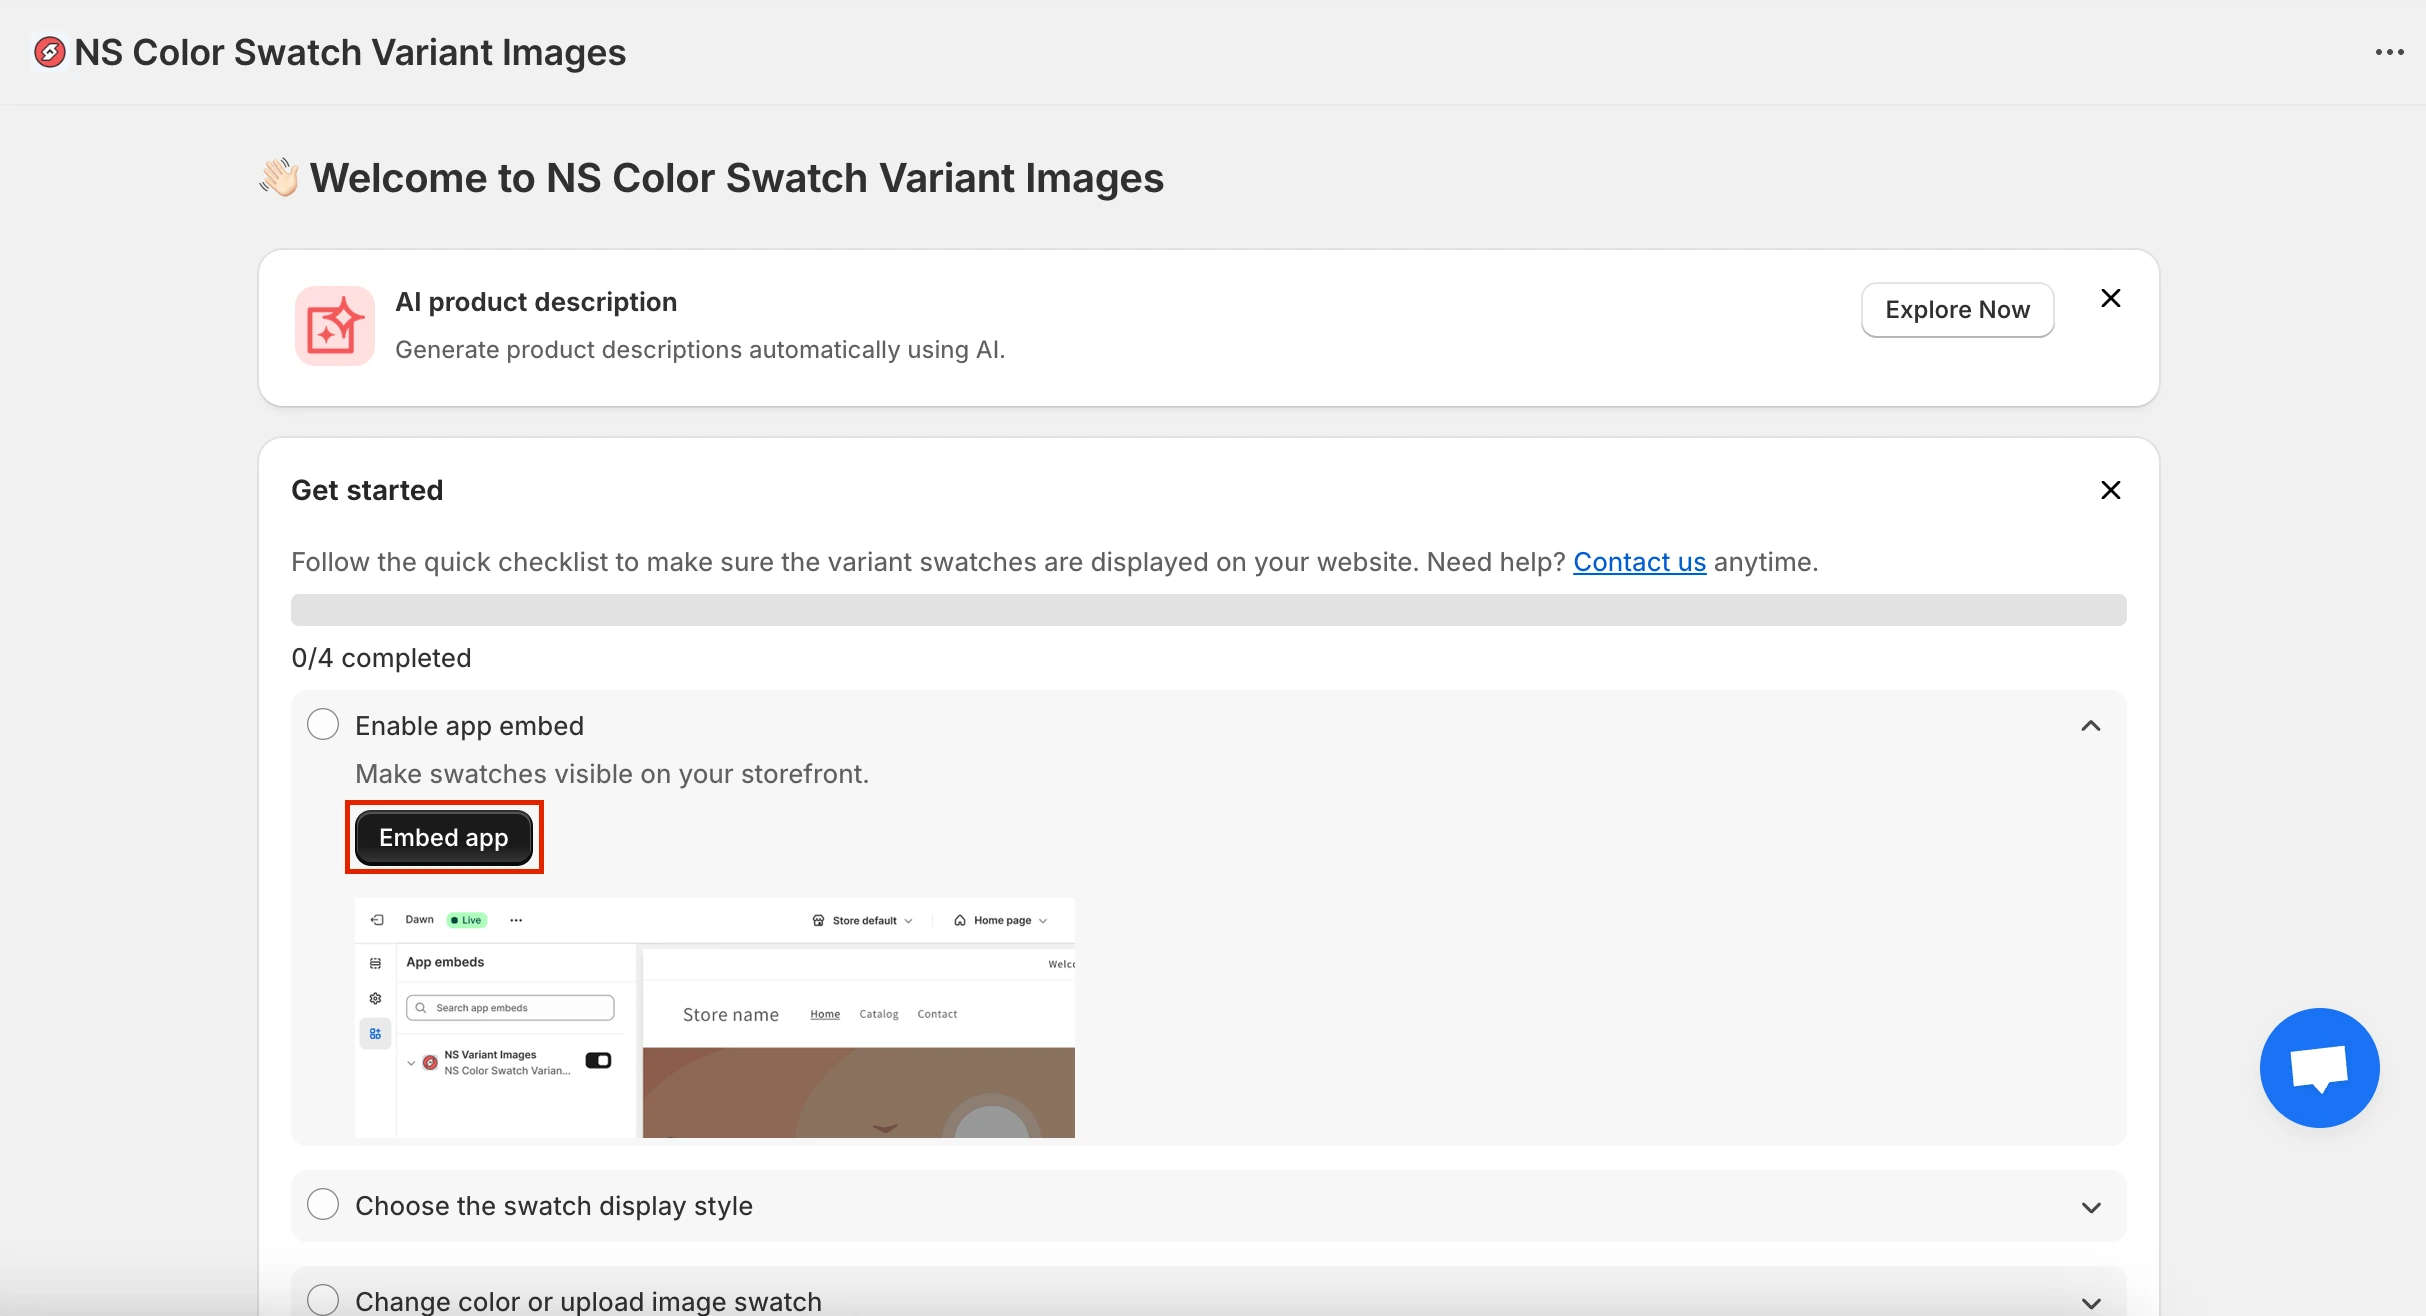
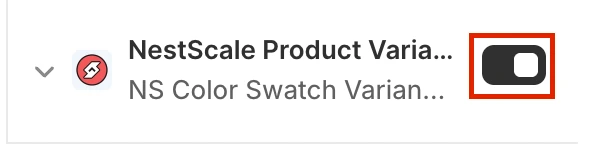
4. Navigate to App Embeds and toggle NS Color Swatch Variant Images to ON.
Step 2: Showing Color Swatches on Collection Pages
Once your app is installed and active, you can decide how you want swatches to appear on your collection pages.
1. From the Instructions page in the app, click Choose Swatch Style, or head straight to Option Configuration from the left menu.
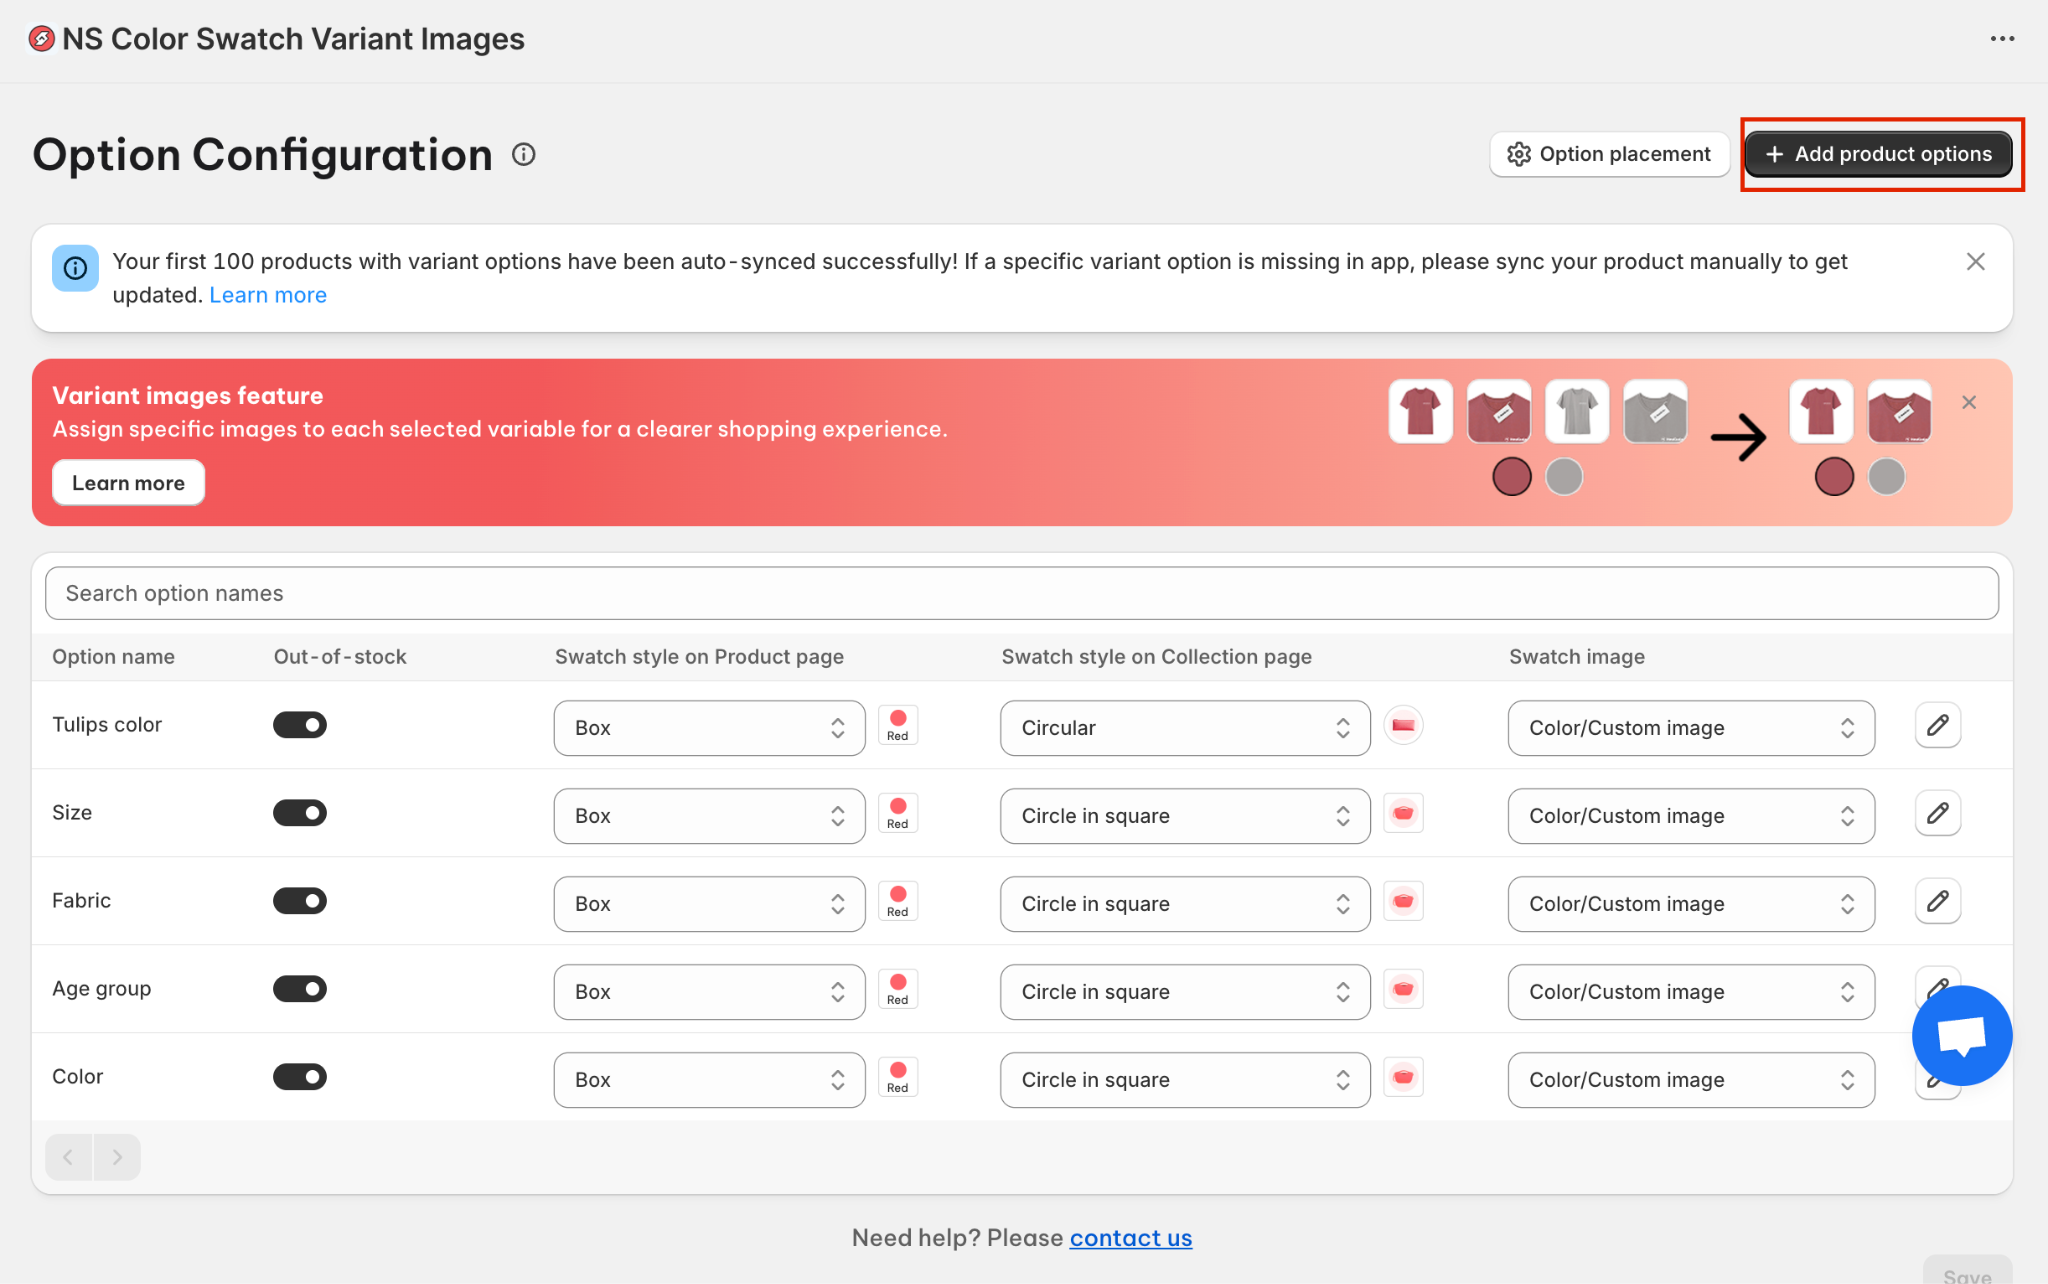
💡 The app will automatically sync option sets from your 100 most recent products.
If the option you’re looking for doesn’t appear, simply click Add Product Options to bring it in manually.
2. A list of products will appear. Select all the ones you want to display swatches for, then click Done.
You can select more than one at a time.
3. There are 2 columns to set swatch display style separately for the Product and Collection page.
✨ Note: The option to show swatches on collection is available on Growth & Pro plans, so you’ll need to upgrade from the Starter plan to use it.
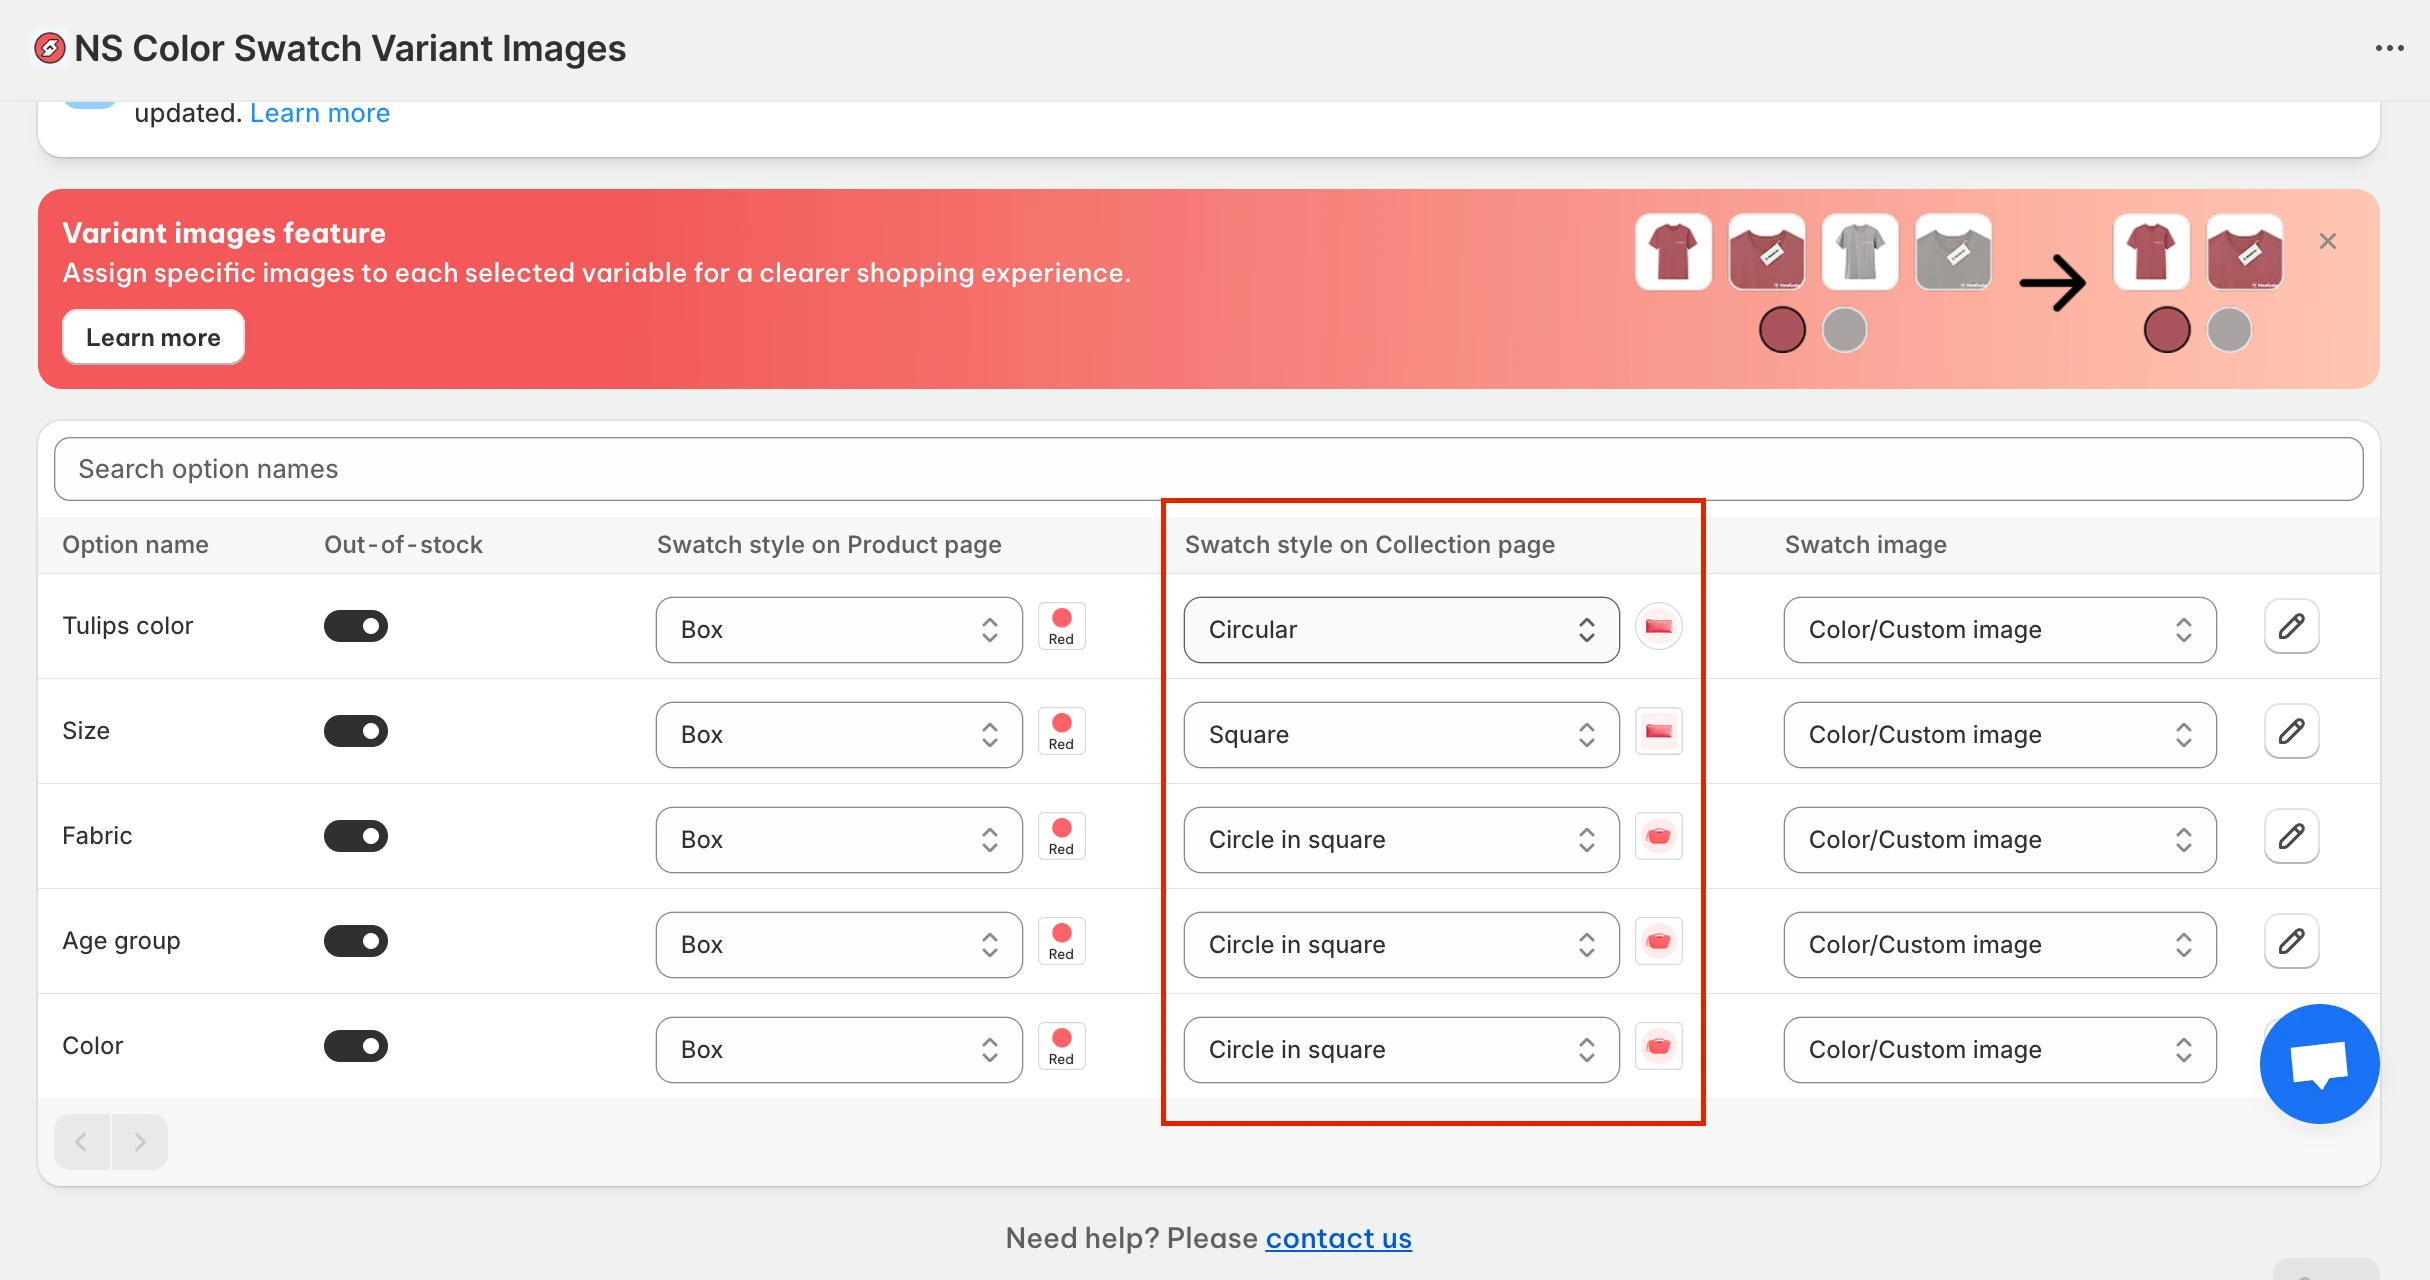
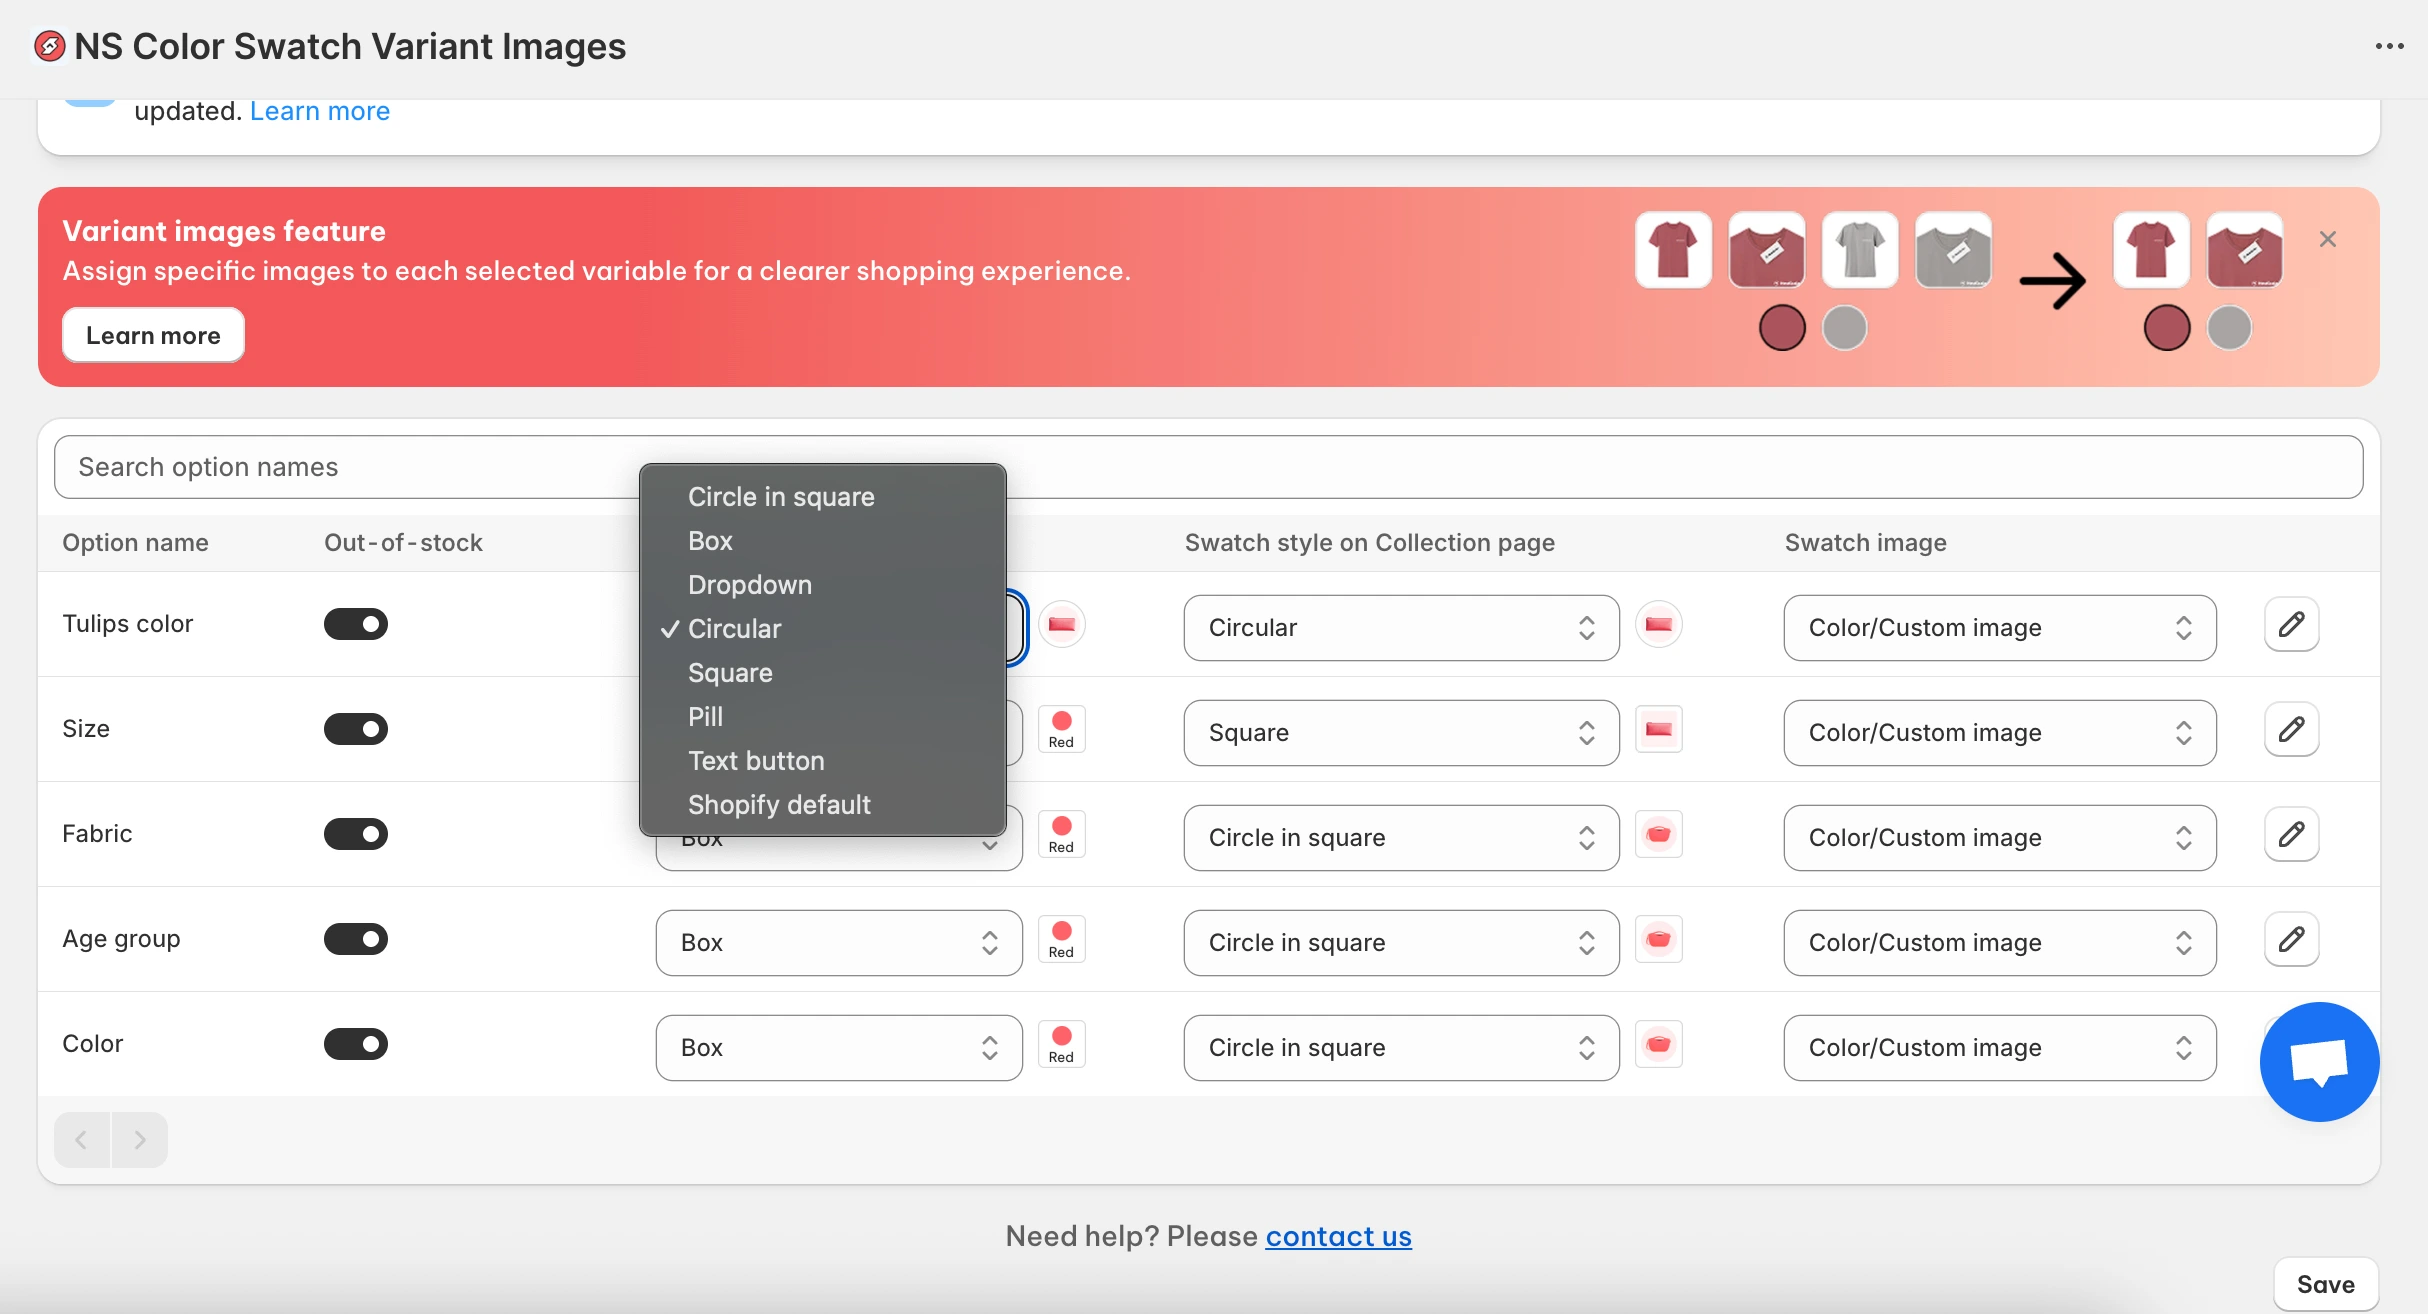
Here you’ll choose the shape and style for your swatches through a dropdown with multiple options like squares, circles, pills, etc.
For this guide, I’m going with the Circular swatch, a clean and rounded look.
5. Decide how the swatches will get their colors or images:
- Option 1: Use your existing Shopify variant images.
- Option 2: Use custom colors or images, pick a shade from the color picker, enter a HEX code, or upload an image from your computer.
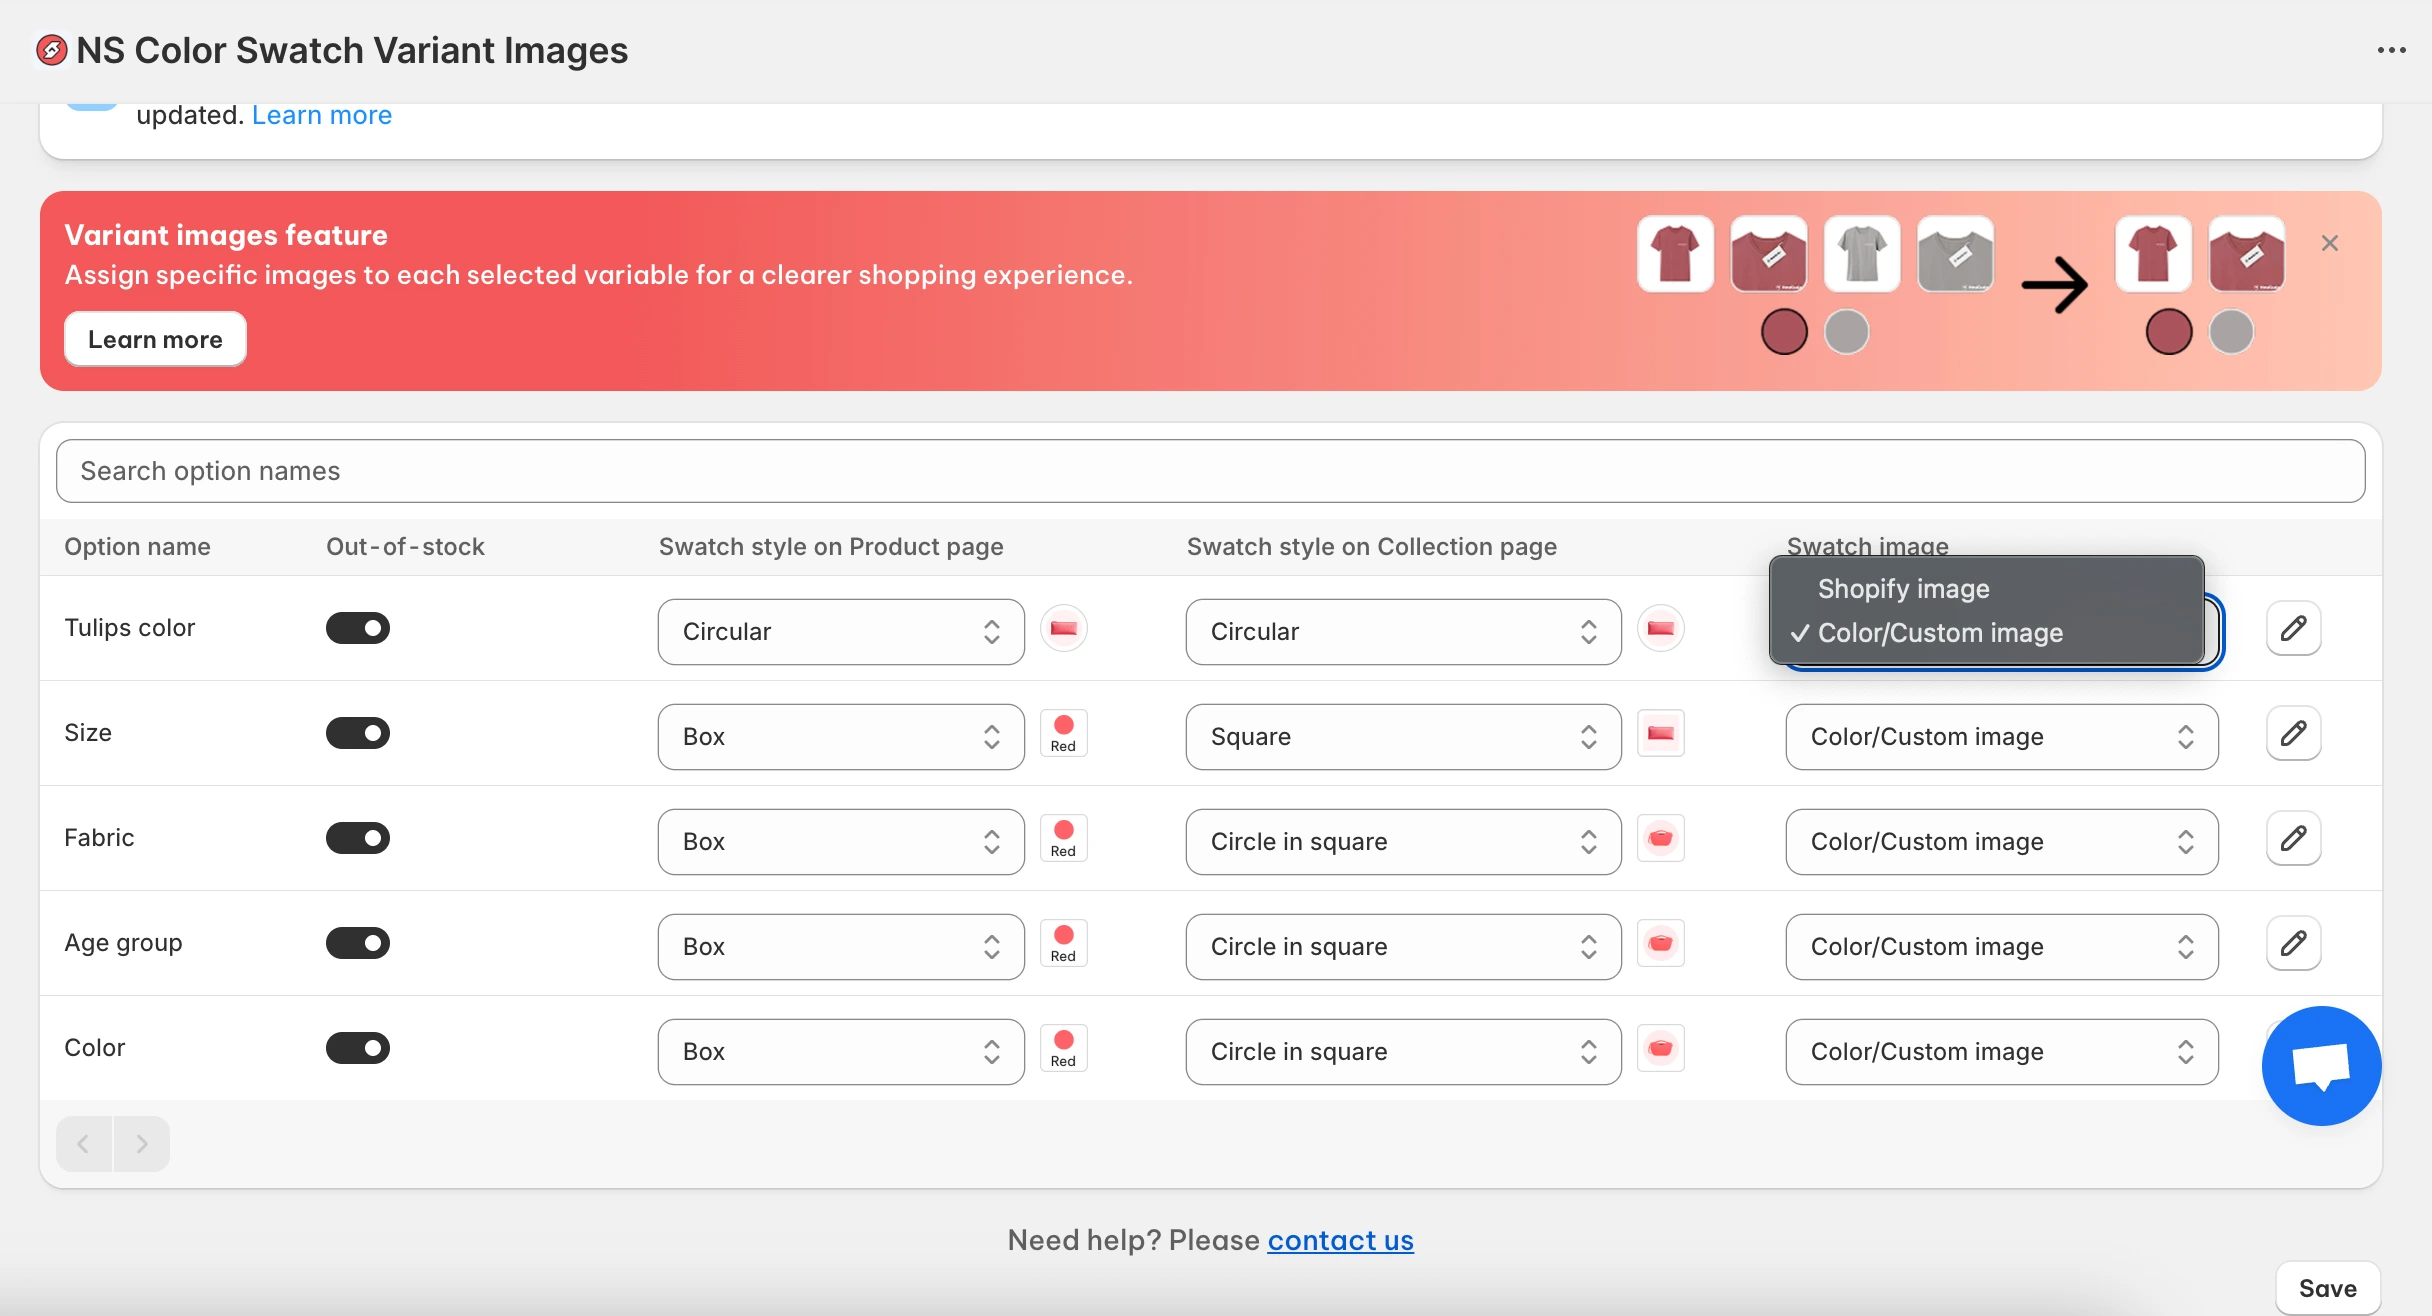
6. If you choose Option 2, click the pencil ✏ to open color picker or upload variant images from your computer.
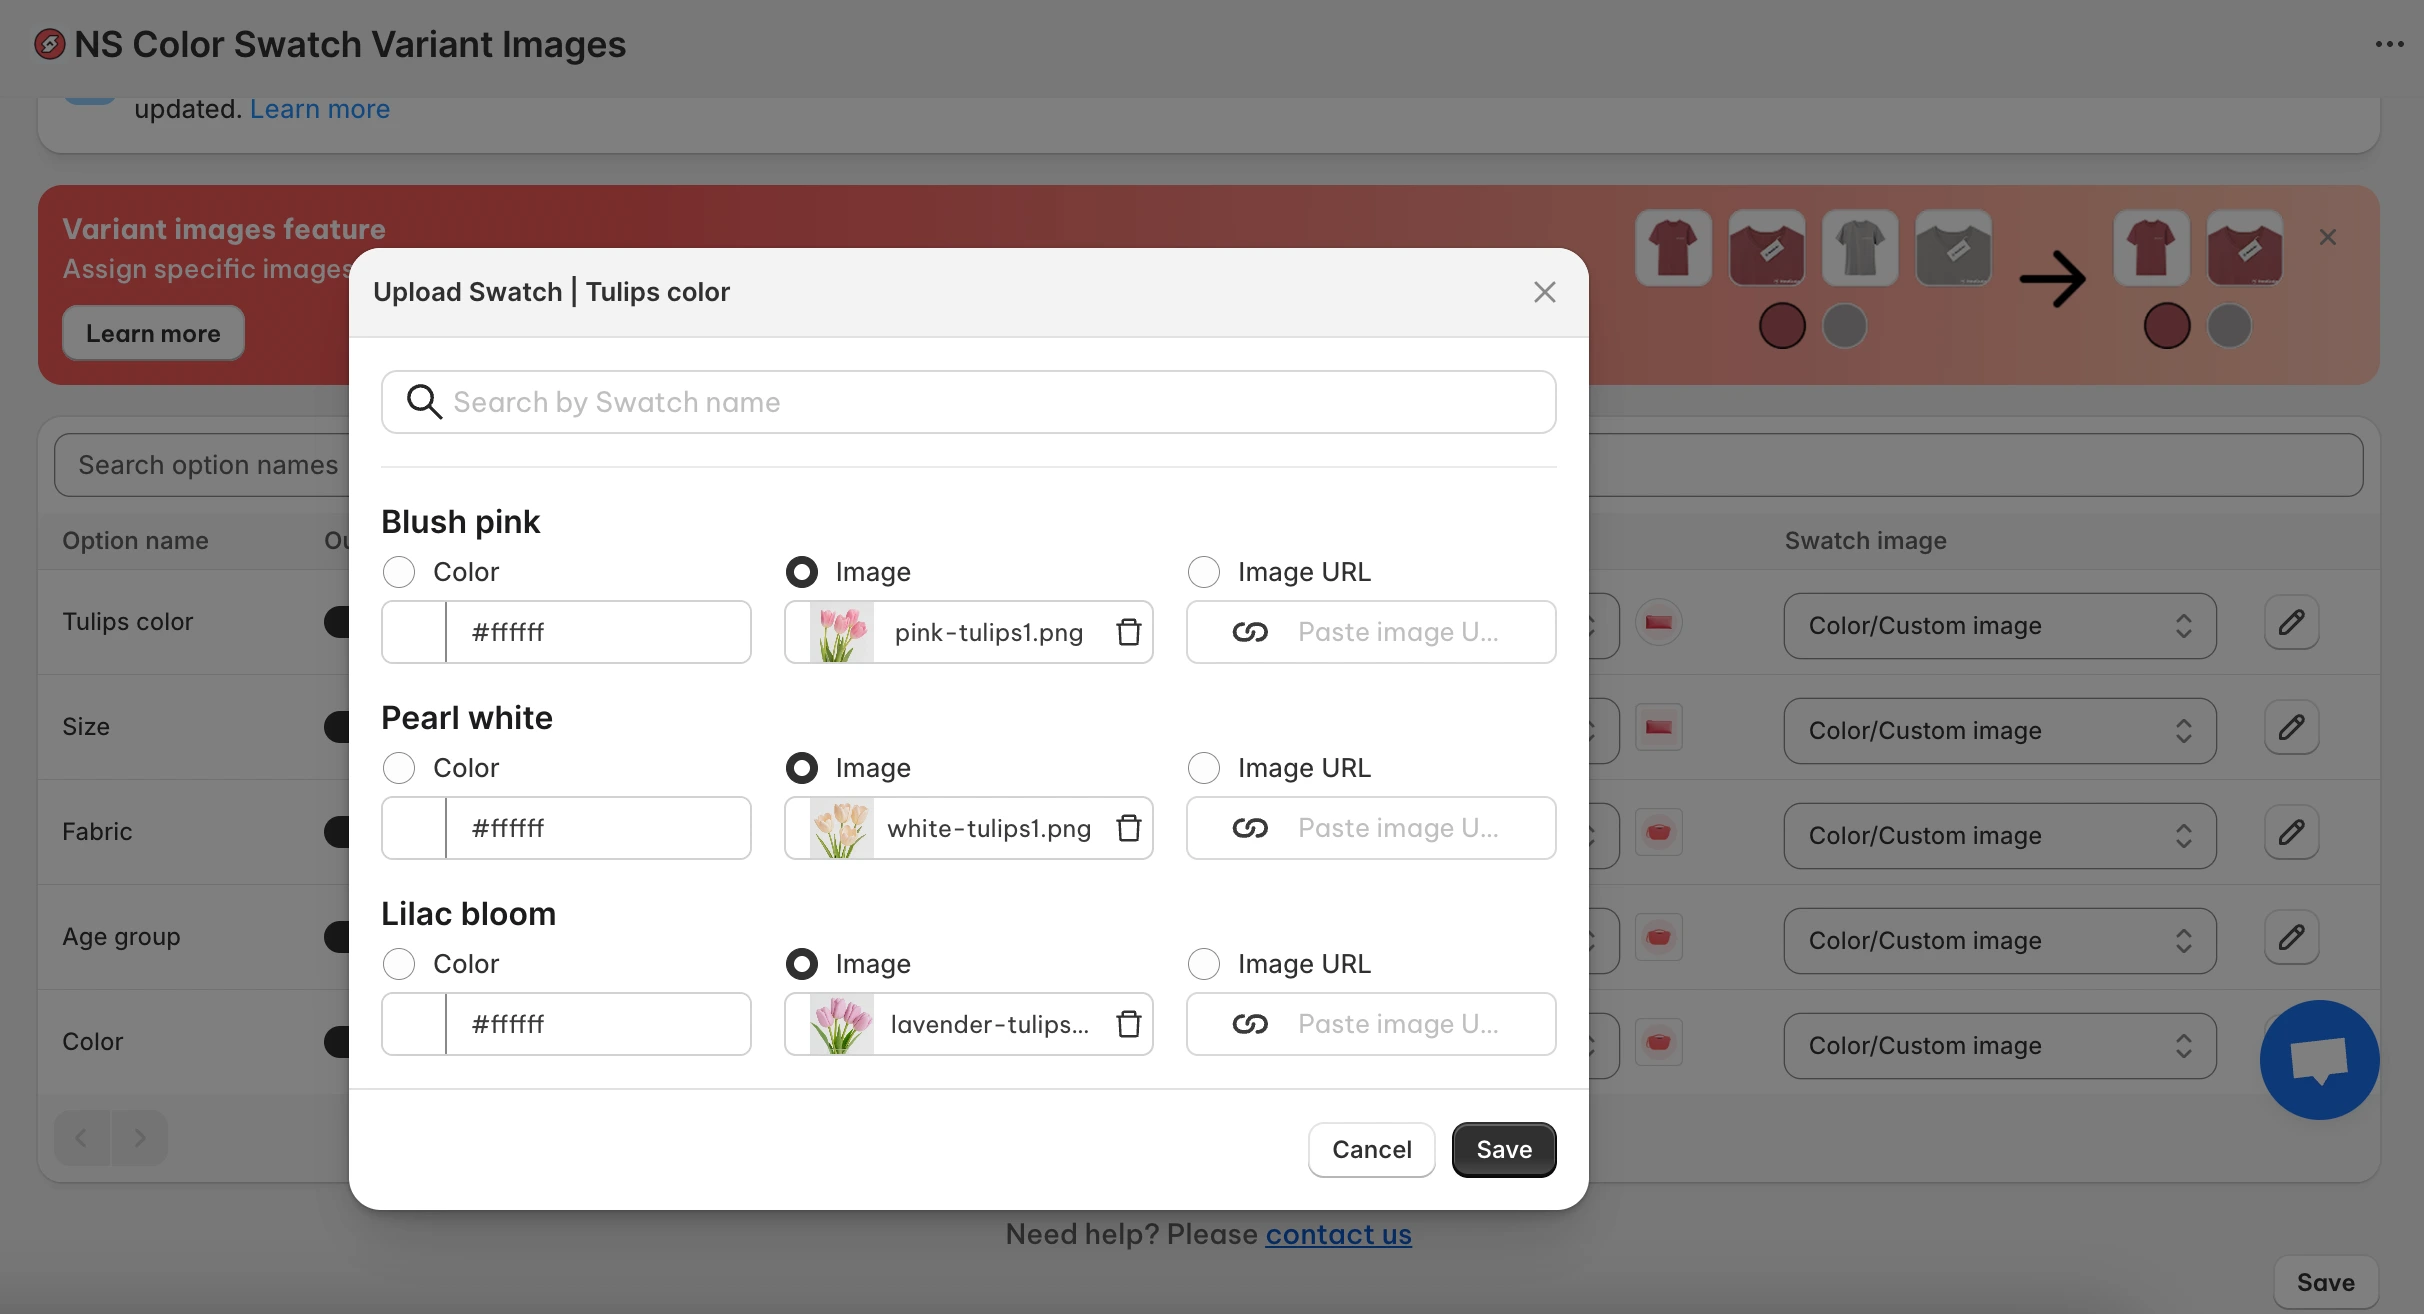
Don’t forget to Save your changes.
7. When you’re finished, click Save one more time from the main dashboard.
Now your swatches are active on the Collection pages. But if you want to customize their look further, let’s move on to the next step.
Step 3: Customize your color swatches design
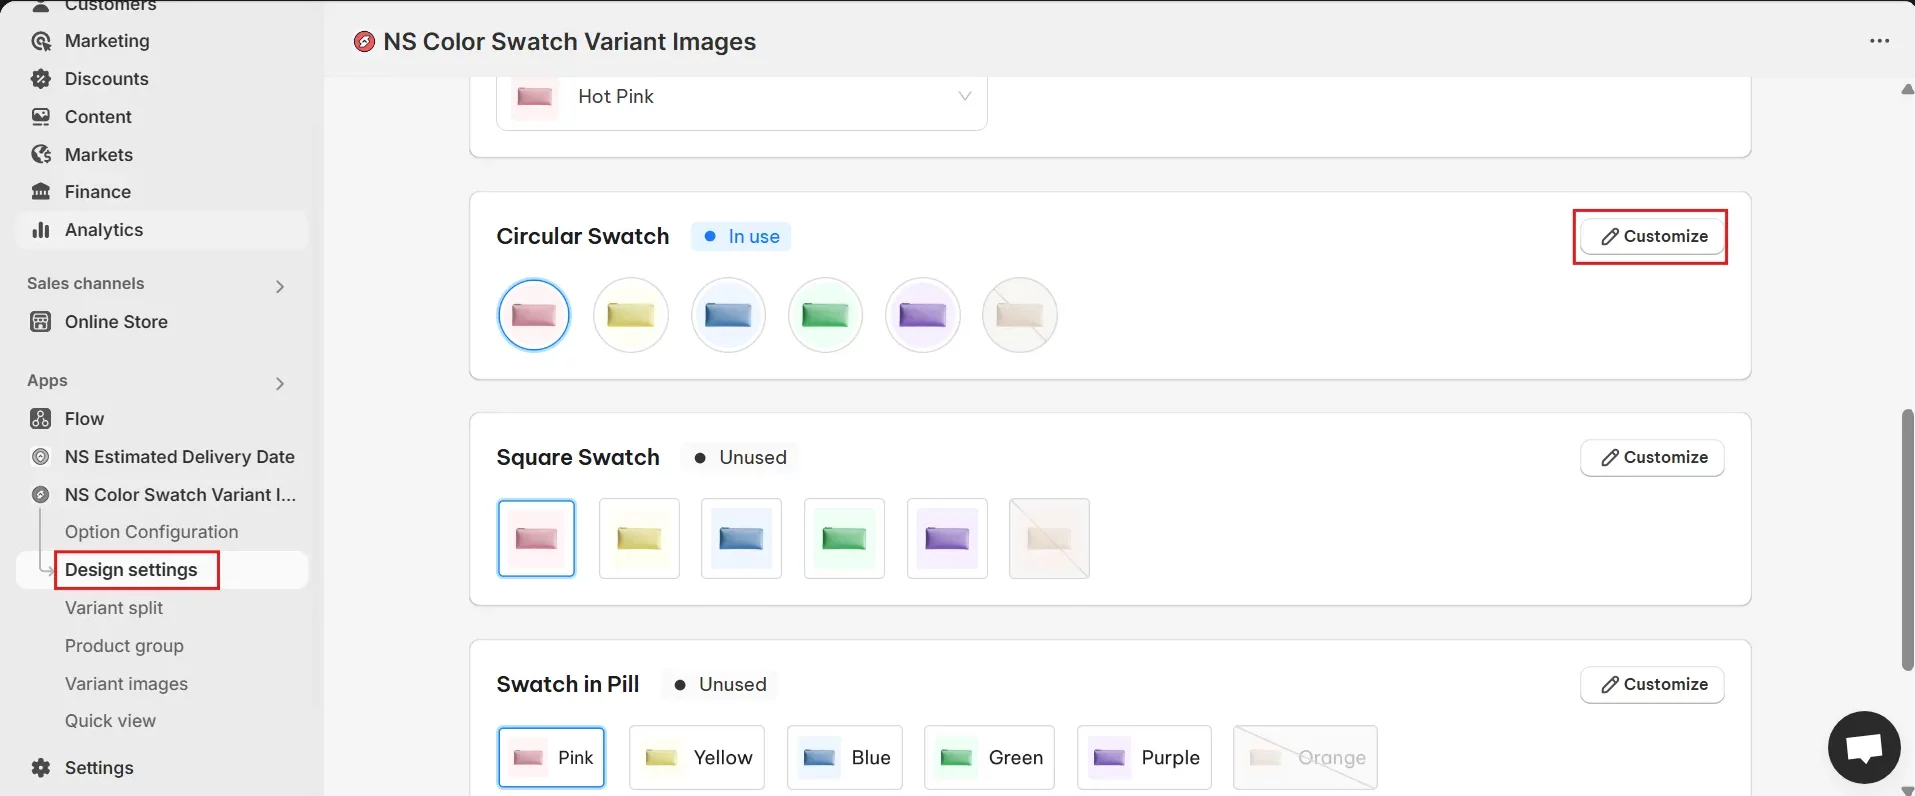
1. In the app’s sidebar, go to Design Settings.
2. Find the swatch style you picked earlier (look for the one marked “In Use”) and click Customize.
For example, if you selected Circular Swatch, click its Customize option.
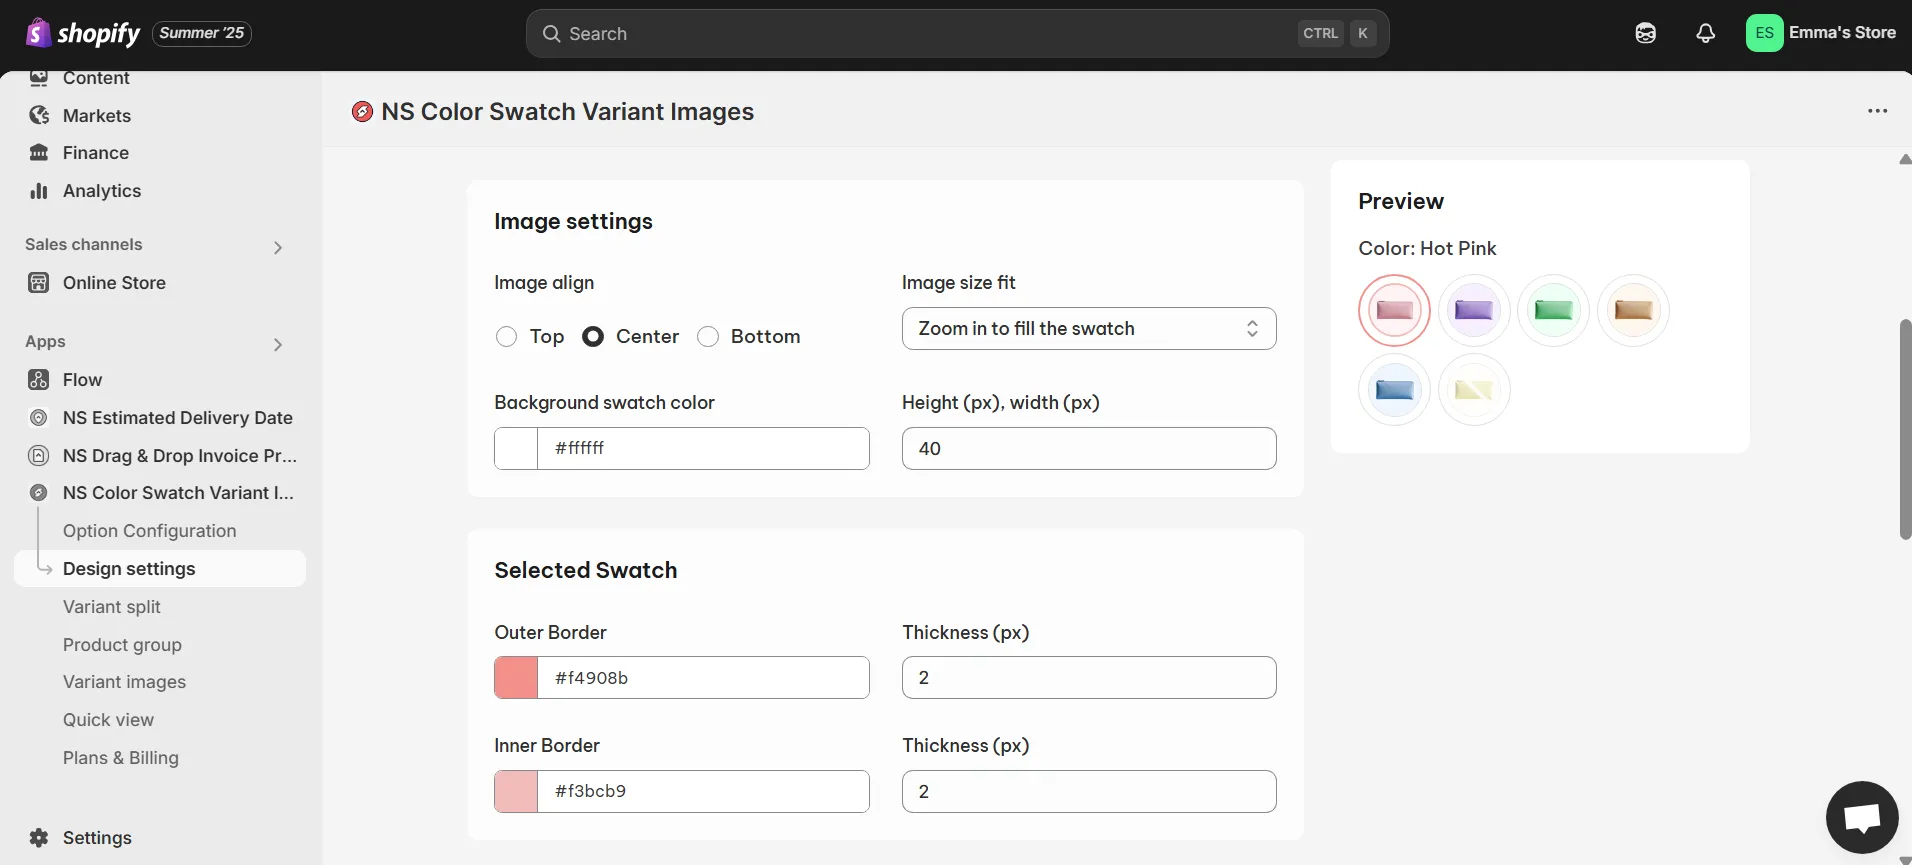
3. You’ll find five customization sections:
- General Settings: Adjust swatch size, spacing, and border thickness.

- Image Settings: Set how images behave on hover—zoom in/out, image position, etc.
- Selected Swatch: Customize the look of a selected swatch (border color, thickness).
- Unselected Swatch: Set how unselected swatches appear.
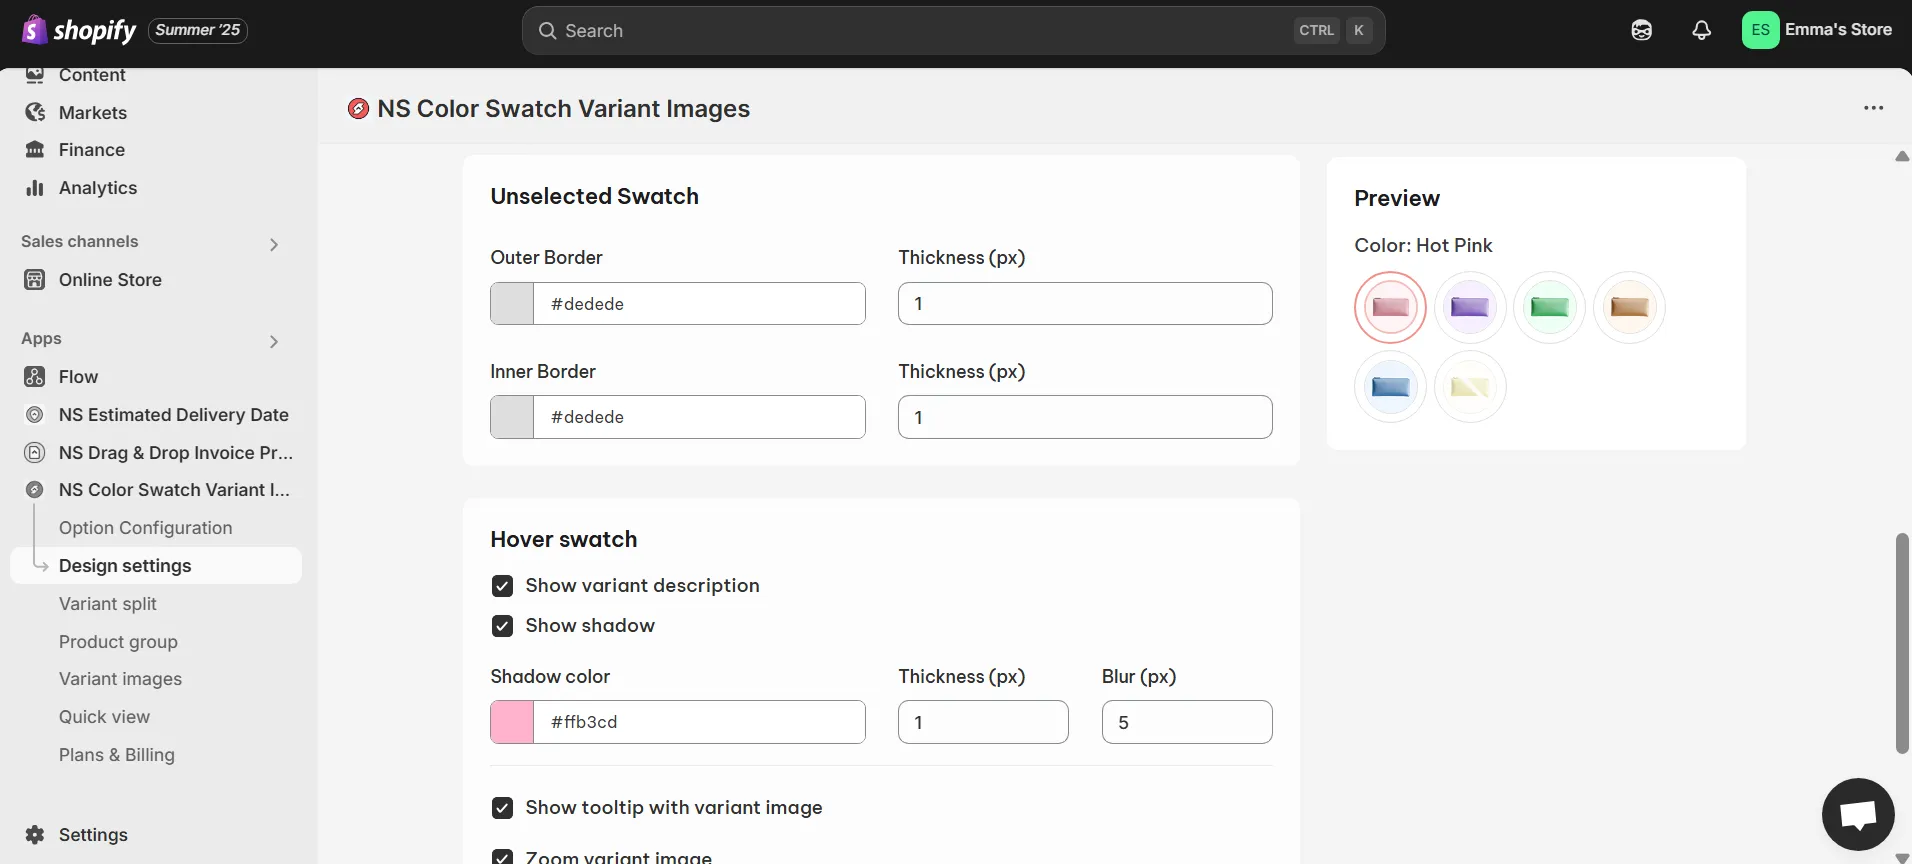
- Hover Swatch: Add effects like variant names, shadows, tooltips, or zoom on hover.
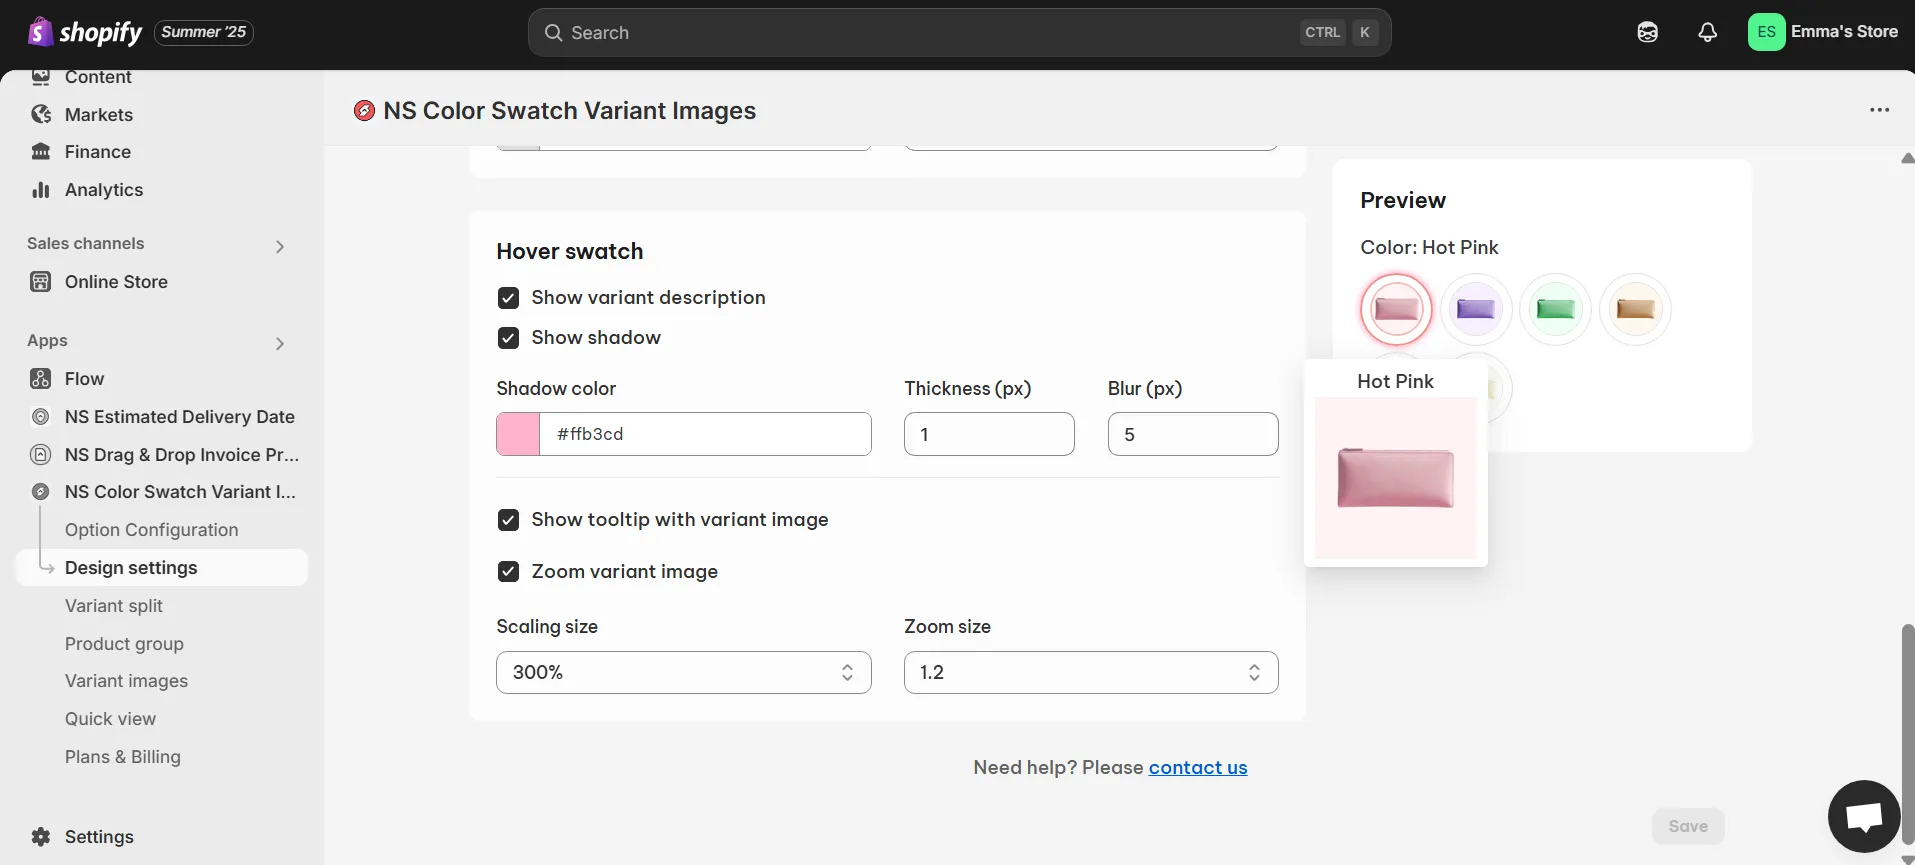
💡 The live preview updates instantly as you make changes, so you can perfect the look before saving.
4. Once you’re satisfied, click Save, and then check your storefront to admire the results.

🌸 Pro Tip: If you like our “fresh blooms” delivery message example, you may want to explore NS Estimated Delivery Date to show clear delivery timelines for specific products and collections in your Shopify store. It’s a great way to boost buyer confidence and conversions.
✨ The Growth & Pro plan of NS Color Swatch Variant Images also covers many essential features for most Shopify stores that you can take advantage of:
- Automatic variant image swatches
- Multiple relevant variant images display for a specific variant
- Show variants as separate products on collection view
- Combine product listings into variants while keeping individual URLs for SEO
- Quick view of product details for faster purchase
FAQs
How do I show each color variant as a product on the Shopify collection page?
To show your variants as separate products on Collection, you can use NS Color Swatch Variant Images > Variant split feature. This way, you can spotlight your best-sellings while make them SEO-friendly.
How to add color swatches on the collection page Shopify for Dawn theme?
Currently, the Dawn theme requires you to use custom code to add color swatches on the collection page. However, you can use a Shopify app like NS Color Swatch Variant Images instead, especially if you’re not a person with a strong technical background.
You can refer back to the beginning of this blog for more detailed instructions, or watch this video guide: