Setting up Google Ads conversion tracking can feel overwhelming, especially when you’re managing multiple campaigns and trying to ensure every action is tracked accurately. This is where Google Tag Manager (GTM) becomes a game-changer.
By simplifying the process of adding and managing tracking codes, GTM streamlines your workflow, giving you more control and precision in your tracking efforts. So in our sharing today, we’re going to tell you more about the power of GTM and show you step-by-step how to set up Google Ads Conversion Tracking GTM. Let’s begin!
Initially, let’s discuss Google Ads conversion tracking and GTM to understand how it works and we will explain why you should make use of it.
What is Google Ads conversion tracking?
It aims to measure the effectiveness of your Google Ads campaigns by tracking specific actions that users take on your website after clicking on your ads. These actions, known as conversions, could be anything from making a purchase to signing up for a newsletter.
When a user clicks on your ad and visits your website, a conversion tracking code is placed on the relevant page. This code sends data to Google Ads to indicate that a conversion has occurred.
What is Google Tag Manager (GTM)?
What about GTM? This is a tag management system that simplifies the process of adding and managing various types of tracking codes on your website. These codes can include Google Analytics, Google Ads conversion tracking, Facebook Pixel, and more.
Instead of manually adding and editing tracking codes directly to your website’s HTML, you can use GTM to create and manage tags, triggers, and variables.
- Tags: the actual tracking codes.
- Triggers: determine when the tags fire.
- Variables: store data that can be used in tags and triggers.
How does GTM work with Google Ads?
GTM can be used to implement Google Ads conversion tracking tags on your website. This means you don’t have to manually add the conversion tracking code to each relevant page.
In addition, with GTM, it’s more flexible to manage your conversion tracking setup. You can create multiple conversion actions, define different values for each conversion, and set up conditions for when conversions should be tracked.
For example, you want to add a Google Ads tag, Google Analytics tag, and other analytics tag to your website. Now the only tag that the developer needs to install for you is the Google Tag Manager.
Once it’s added to your website, you can manage and deploy all other marketing-related tags through the GTM directly to your live website.
Google Ads conversion tracking GTM means to save you time and effort in conversion tracking, especially when you have a complex website with multiple tracking codes.
Do you need to use Google Ads conversion tracking GTM?
Actually, it depends.
Using GTM for Google Ads conversion tracking is ideal if you’re dealing with complex conversion actions or need to manage multiple tracking tags. GTM offers flexibility, but it also requires a solid understanding of technical setup. Even though we can provide you with a clear setup guide, configuring GTM can somehow be challenging without a technical background.
If your tracking needs are more straightforward, you may want to stick with the basics by using the Google Ads conversion tag directly. Alternatively, you can simplify the process with third-party tools like NestAds, which streamlines conversion tracking without requiring advanced technical skills. This way, you can still get accurate conversion data.
Simple steps to set up Google Ads Conversion Tracking GTM
Now, we will walk you through how to set up Google Ads conversion tracking GTM with variables.
Create a GTM account
1. First, you need a GTM account, go to Google Tag Manager and login to create your account.
2. The next step is to create a GTM account for the business you’re working for.
If you manage multiple businesses, especially if you’re an agency or freelancer. For each business, you’ll want to create a separate account.
3. Add all the necessary information, including the account name (which is usually the business name), choose your location, and type the website.
If you’re tracking something like an iOS app, Android app, AMP page, or server, you would select those options, but since we’re tracking a website, we’ll choose Web.
Once you’ve done that, click “Create” and a set of terms and conditions appear. Feel free to review them, but I’ll just click “Yes” and check the box. This will take us to the Google Tag Manager account.
4. After you create your account, you’ll see the code you need to install on your website.
There are 2 pieces of code. The first goes into the head tag of your website. The second piece of code goes into the body tag, which is where the content of your website is displayed to users.
You’ll need to install the code in both the head and body sections of your website. At this point, you may need help from a developer. However, once it’s complete, you’ll be able to install and deploy tags freely without needing a developer.
Set up Google Ads conversion tracking with GTM
Now, let’s move to Google Ads to set up conversion tracking with GTM. We’ll set up conversion action in Google Ads.
1. Start by logging in to your account in Google Ads.
Once you’re in, navigate to the left sidebar and go to Goals > Conversions > Summary. From there, click on the “New conversion action” button to begin the process.
2. A window will appear asking you to select the type of conversions you want to track.
Since we’re working with a website, select “Website“.
3. Google Ads will now prompt you to input your website’s URL to analyze its configuration for ads.
Enter your domain and click on “Scan“.
4. When the scan is complete, various settings will appear.
The first option allows you to automatically import conversions based on the website events you’ve already set up. If you’ve configured these events through GA4, you can import them directly as conversions.
The second option is to manually set up conversion actions. We’ll go with this. Click on “Add a conversion action manually” to add your desired action.
5. Then, click “Settings” and input the following:
- Goal and Action Optimization: We choose “Purchase” from the dropdown menu. If you’re tracking something else, select that action.
- Conversion name: Name it as it suits you.
- Value: Since we’re going to be tracking values for each conversion, let’s select the option to use different values for each conversion.
- Count: I’ll set the default value to 0. This means that if a value is not set, it will be reported as zero in Google Ads.
I’ll leave the rest of the default settings for my conversion as they are and click “Done” > “Save and Continue”.
6. Since we plan to use GTM, let’s choose the “Use Google Tag Manager” tab.
You can see the “conversion ID” and “conversion label” which are located beneath the name of our conversion in GTM. We will use them later.
Create a new tag in GTM
1. Now, we will go to Google Tag Manager and access the “Tags” section.
2. Click “New” to create a tag and name it. Then, select “Tag Configuration” choose “Google Ads” and then select “Google Ads Conversion Tracking“
3. Since this is the first Google Ads tag we’re adding in this GTM container, an alert will notify us that the conversion Linker tag is missing. Let’s click “Create”.
Then remove the “All Pages” trigger and add the “Initialization – All Pages” trigger instead.
4. Click “Save”.
5. We are back on the Google Ads conversion tag page, so we need to paste in the conversion ID along with the conversion label we copied from Google Ads.
Input variables & trigger events
1. Next, we can add the value variable for the conversion.
We can also add the eCommerce transaction ID variable for the transaction ID, along with the eCommerce currency variable for the currency code.
2. When you scroll down, select “Triggering”.
We want our tag to trigger specifically when customers make a purchase, so let’s click the plus sign in the top right corner to create a new trigger.
So, let’s click the “+” sign in the top right corner to create a new trigger. We will choose “Custom Event”. For the event name, let’s enter “purchase” in lowercase, then save the trigger. This setup means our Google Ads conversion tag will only fire once someone has completed a purchase.
3. Now you can “Save” the tag.
Preview & test conversion
1. Preview and test conversions by clicking on the “Preview” button.
Once the Tag Assistant loads, enter the URL of your website and click “Connect“.
2. Your website will now load, and you can complete your desired action to check if everything is working correctly.
3. Next, open the Tag Assistant tab and select the “purchase” event on the left.
You can see that the Google Ads conversion tag has been fired.
Now you can be sure your Google Ads conversion tracking GTM is active.
Alright, keep reading. In the next section, we’ve compiled the most common questions and problems many people encounter regarding Google Ads conversion tracking GTM. We will answer and give solutions for all of them.
FAQs
Why Google Tag Manager not showing in Google Ads?
Here are the 2 most common reasons why:
- Conversion created using Google Ads tag: If the conversion is based on an existing Google Ads tag on your website, the GTM option won’t appear because the conversion is linked directly to the tag
- Linked to Google Analytics: When Google Ads is linked to Google Analytics and you create a conversion, it may default to using Google Analytics for tracking, so the GTM option won’t be available.
Hence, to enable the GTM option, you need to manually create the conversion in Google Ads, rather than using an existing tag or Google Analytics setup.
Can we track conversions without GTM codes?
Yes. It’s possible to track conversions using GA4 or a Google tag.
Yet, the process is more complex compared to using Google Ads conversion tracking tag manager. In both cases, you’ll still need to implement some code for tracking to function properly, so it’s best to opt for the simpler solution—GTM.
If I already have a Google Ads Conversion Tag on my site for an action, do I still need to add a Conversion Linker tag?
Yes. It’s recommended to use the Conversion Linker tag along with the Google Ads Conversion Tag. The Conversion Linker tag enhances the accuracy of conversion tracking.
When a user clicks on your ad and lands on your website, Google Ads uses cookies to track the visit. The Conversion Linker tag identifies the ad click information in the cookies on your domain and ensures this data is passed to the Google Ads Conversion Tag. This improves the attribution of conversions to your ads.
The Conversion Linker tag is particularly valuable when multiple ad clicks lead to conversions. It ensures each conversion is accurately attributed to the correct ad, helping you better understand campaign performance and optimize ads budget.
What is Google Ads server-side tracking with GTM?
Google Ads server-side tracking with GTM is a method of tracking conversions in Google Ads that involves processing first-party conversion data on your own server instead of directly on the user’s browser.
This approach offers several benefits, especially for websites with cookies, privacy concerns, or other complex tracking scenarios. Plus, it further improves the tracking accuracy more than client-side tracking.
Despite the advantages, when comparing server-side vs client-side tracking, it can be more more complex to implement than the traditional one. Careful planning and technical expertise are required to ensure accurate and reliable tracking.
However, if you still want to make the most of server-side tracking, while save time and effort for the set-up process, give NestAds a try.
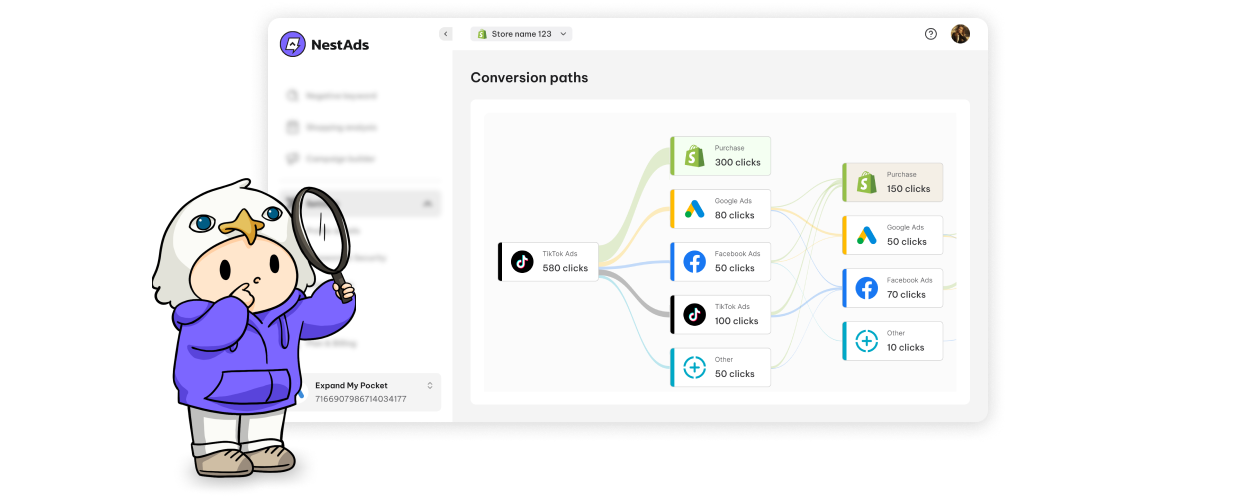
Instead of manually configuring server-side setups, you only need to install NestAds. Afterward, NestAds will do the rest, and you only need to keep track of all your tracking data in our all-in-one dashboard to understand user interactions across all stages of the customer journey. Therefore, it’s effortless to optimize your ad campaigns for the best results.
