The effectiveness of any Google Ads campaign largely depends on how you set up conversion tracking. Yet, for many marketers, this is a challenging part, particularly when it involves seamless integration with their website.
So in this blog, we’re about to get to know Google Ads conversion tracking. From understanding to implementing step, we aim to equip you with the knowledge and tools needed to elevate your advertising performance.
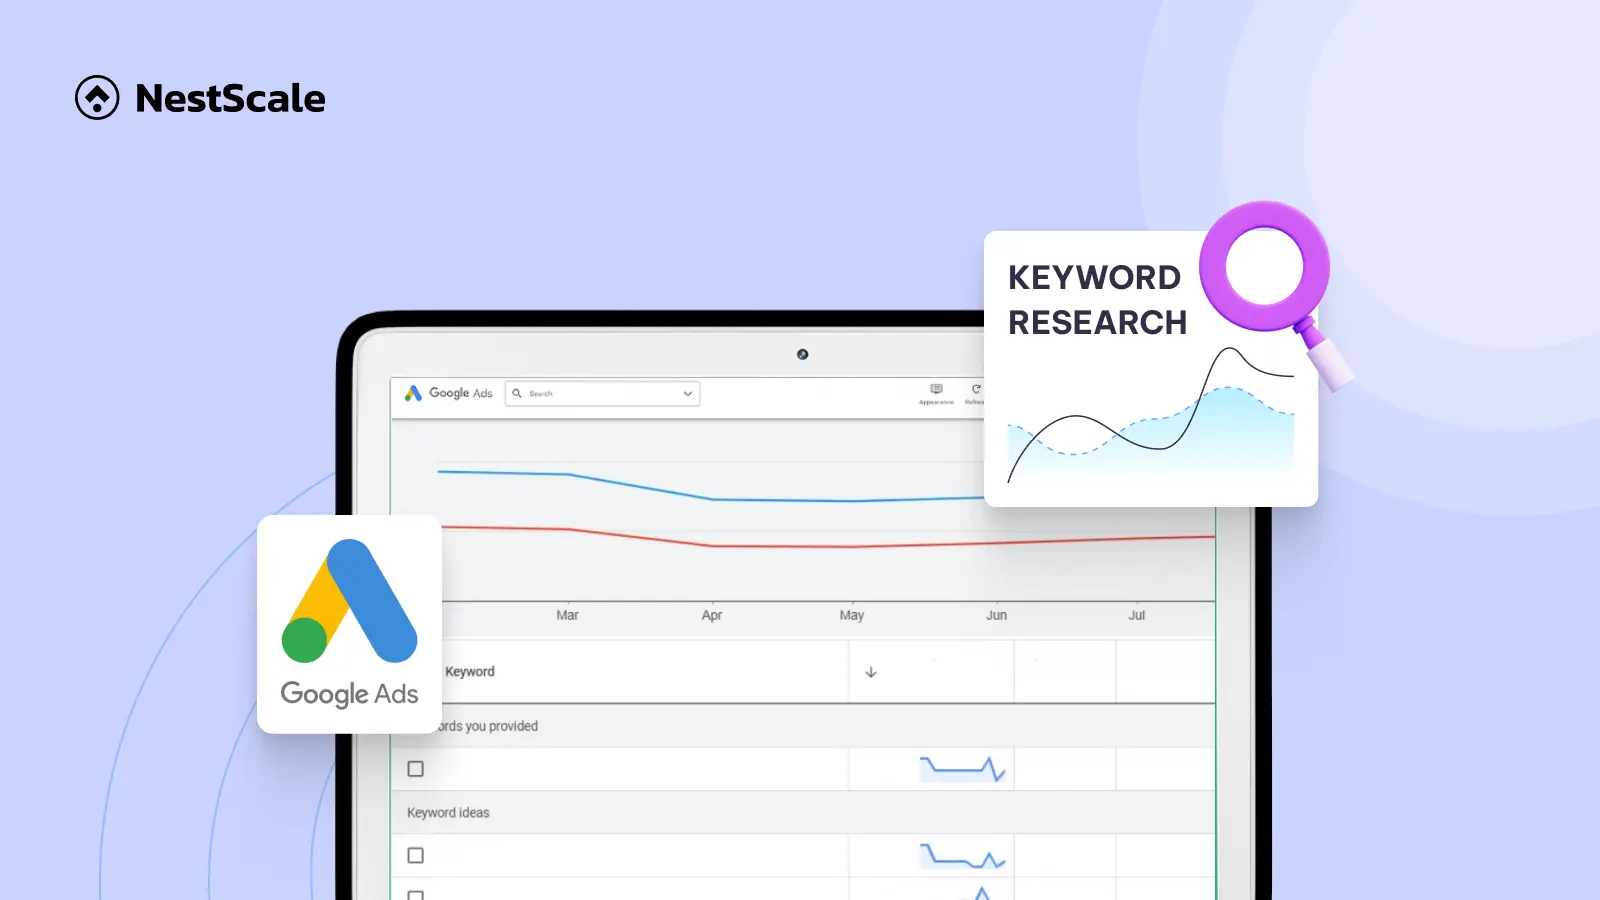
Understanding Google Ads conversion tracking
Google Ads conversion tracking is key to understanding how users interact with your ads. It can measure your campaign success to help you optimize spending, and make smarter decisions. So in this section, we’ll cover what conversion tracking is, why it’s essential, and how it works.
What is Google Ads conversion tracking?
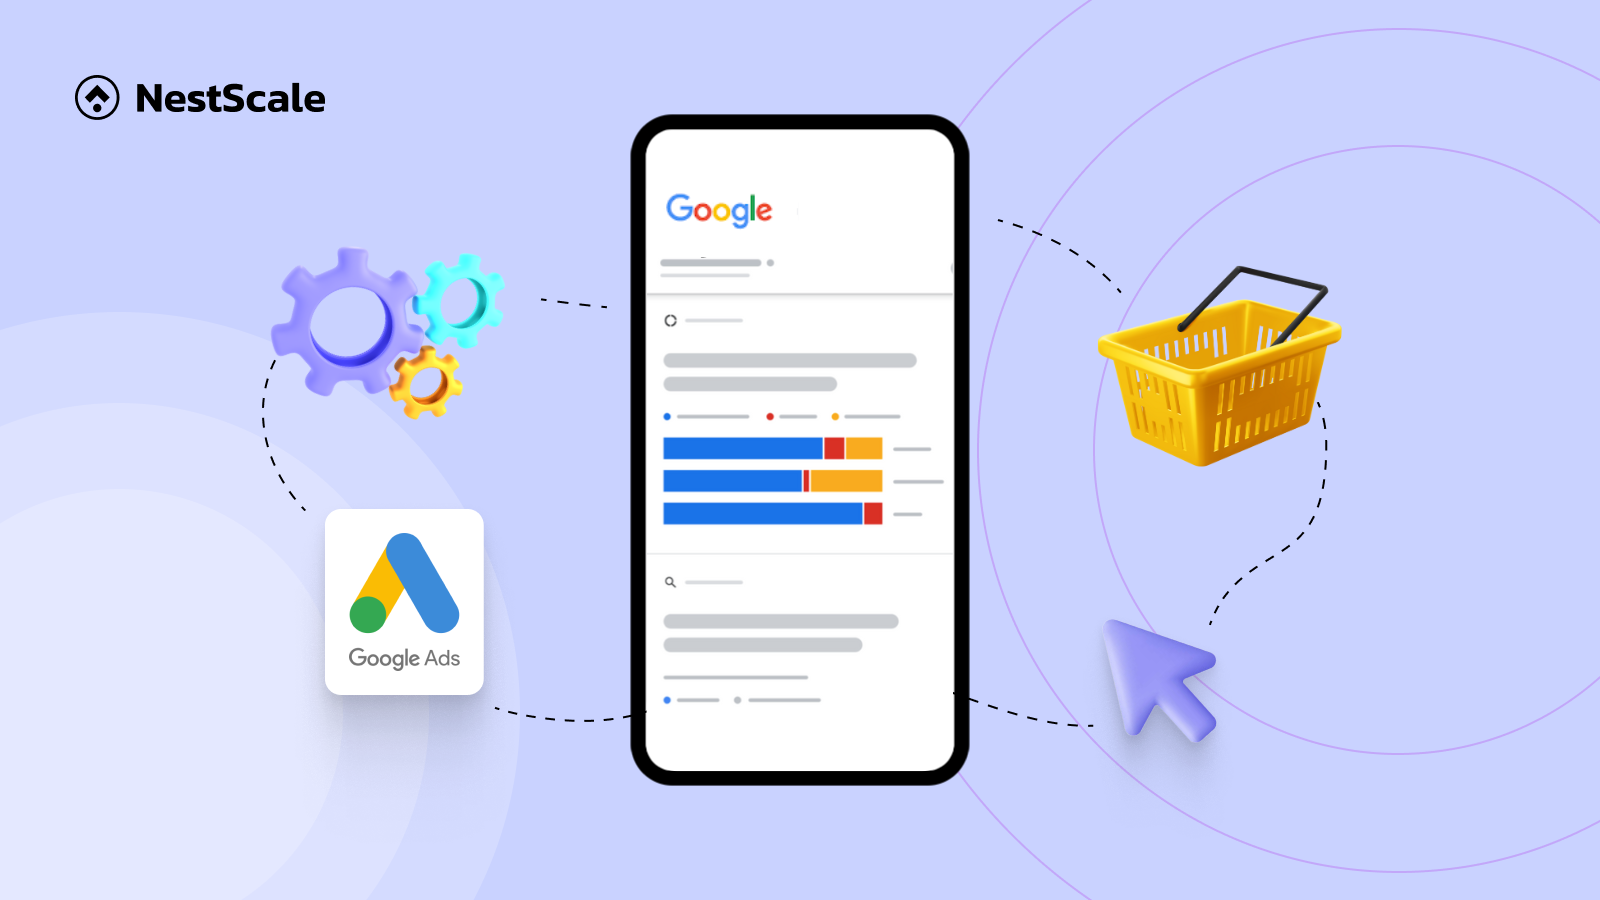
Google Ads conversion tracking is a tool that measures how clicks on your ads lead to meaningful actions such as sales, newsletter sign-ups, phone calls, downloads, etc. These actions, known as conversions, are crucial for understanding the performance of your advertising efforts.
By tracking conversions efficiently, you can identify which ads, listings, and keywords are most effective. Thus, optimizing your advertising strategy to achieve your business goals.
Why do you need to set up Google Ads conversion tracking?
Google Ads conversion tracking setup is essential for several reasons:
- Understanding ROI: Conversion tracking allows you to see which of your Google Ads campaigns are generating leads and sales, and which are not. This information gives you valuable information into ROI, making sure your ad spend is worthwhile.
- Accurate measurement: Without conversion tracking, you won’t be able to accurately measure the performance of your campaign. This means keywords, ads, and campaigns are all guesswork, which may be ineffective.
- Key metrics: Conversion tracking helps you measure several key metrics, including the number of conversions each keyword, ad, and campaign generates, your overall Google Ads conversion rate, and your cost per conversion. These metrics provide a thorough view of your campaign’s performance. They help a lot in making informed decisions about your paid ads campaigns.
- Security and privacy: Google Ads conversion tracking adheres to strict security and privacy standards, so your data is protected. As such, you can comply with legal requirements regarding data collection and use.
How does Google Ads conversion tracking work?
Conversion tracking in Google Ads mainly revolves around 3 steps: ensuring the effectiveness of your ads and refining your campaign strategies.
Stage 1. Define your conversion action
Decide on the actions that are most valuable for your business. Currently, Google Ads allows you to track:
- Website Actions: Purchases, sign-ups, form submissions, downloads, etc.
- Phone Calls: Calls from ads, clicks on phone numbers on your site, and calls to displayed numbers.
- App Installs/In-App Conversions: Relevant if you advertise an app, tracking installs and app interactions.
- Imported (Offline) Conversions: Offline actions derived from ads, like offline sales.
- Local Conversions: Visits to a physical location or interactions with your Google My Business listing, such as direction requests or calls.
Stage 2. Install the Google tag
Add the Google tag to your website. This tag acts as a bridge between your website and Google Ads, allowing you to track conversions accurately. If you’re using Google Tag Manager, you can manage this tag easily.
Stage 3. Choose an attribution model
Select how you want to attribute credit for conversions to your ads. At the moment, Google Ads provides you with 2 options of attribution models, which are Last-click and data-driven.
Steps to set up Google Ads conversion tracking
Get ready to set up Google Ads conversion tracking? Here are 3 main steps to get you started:
Step 1: Create a conversion action
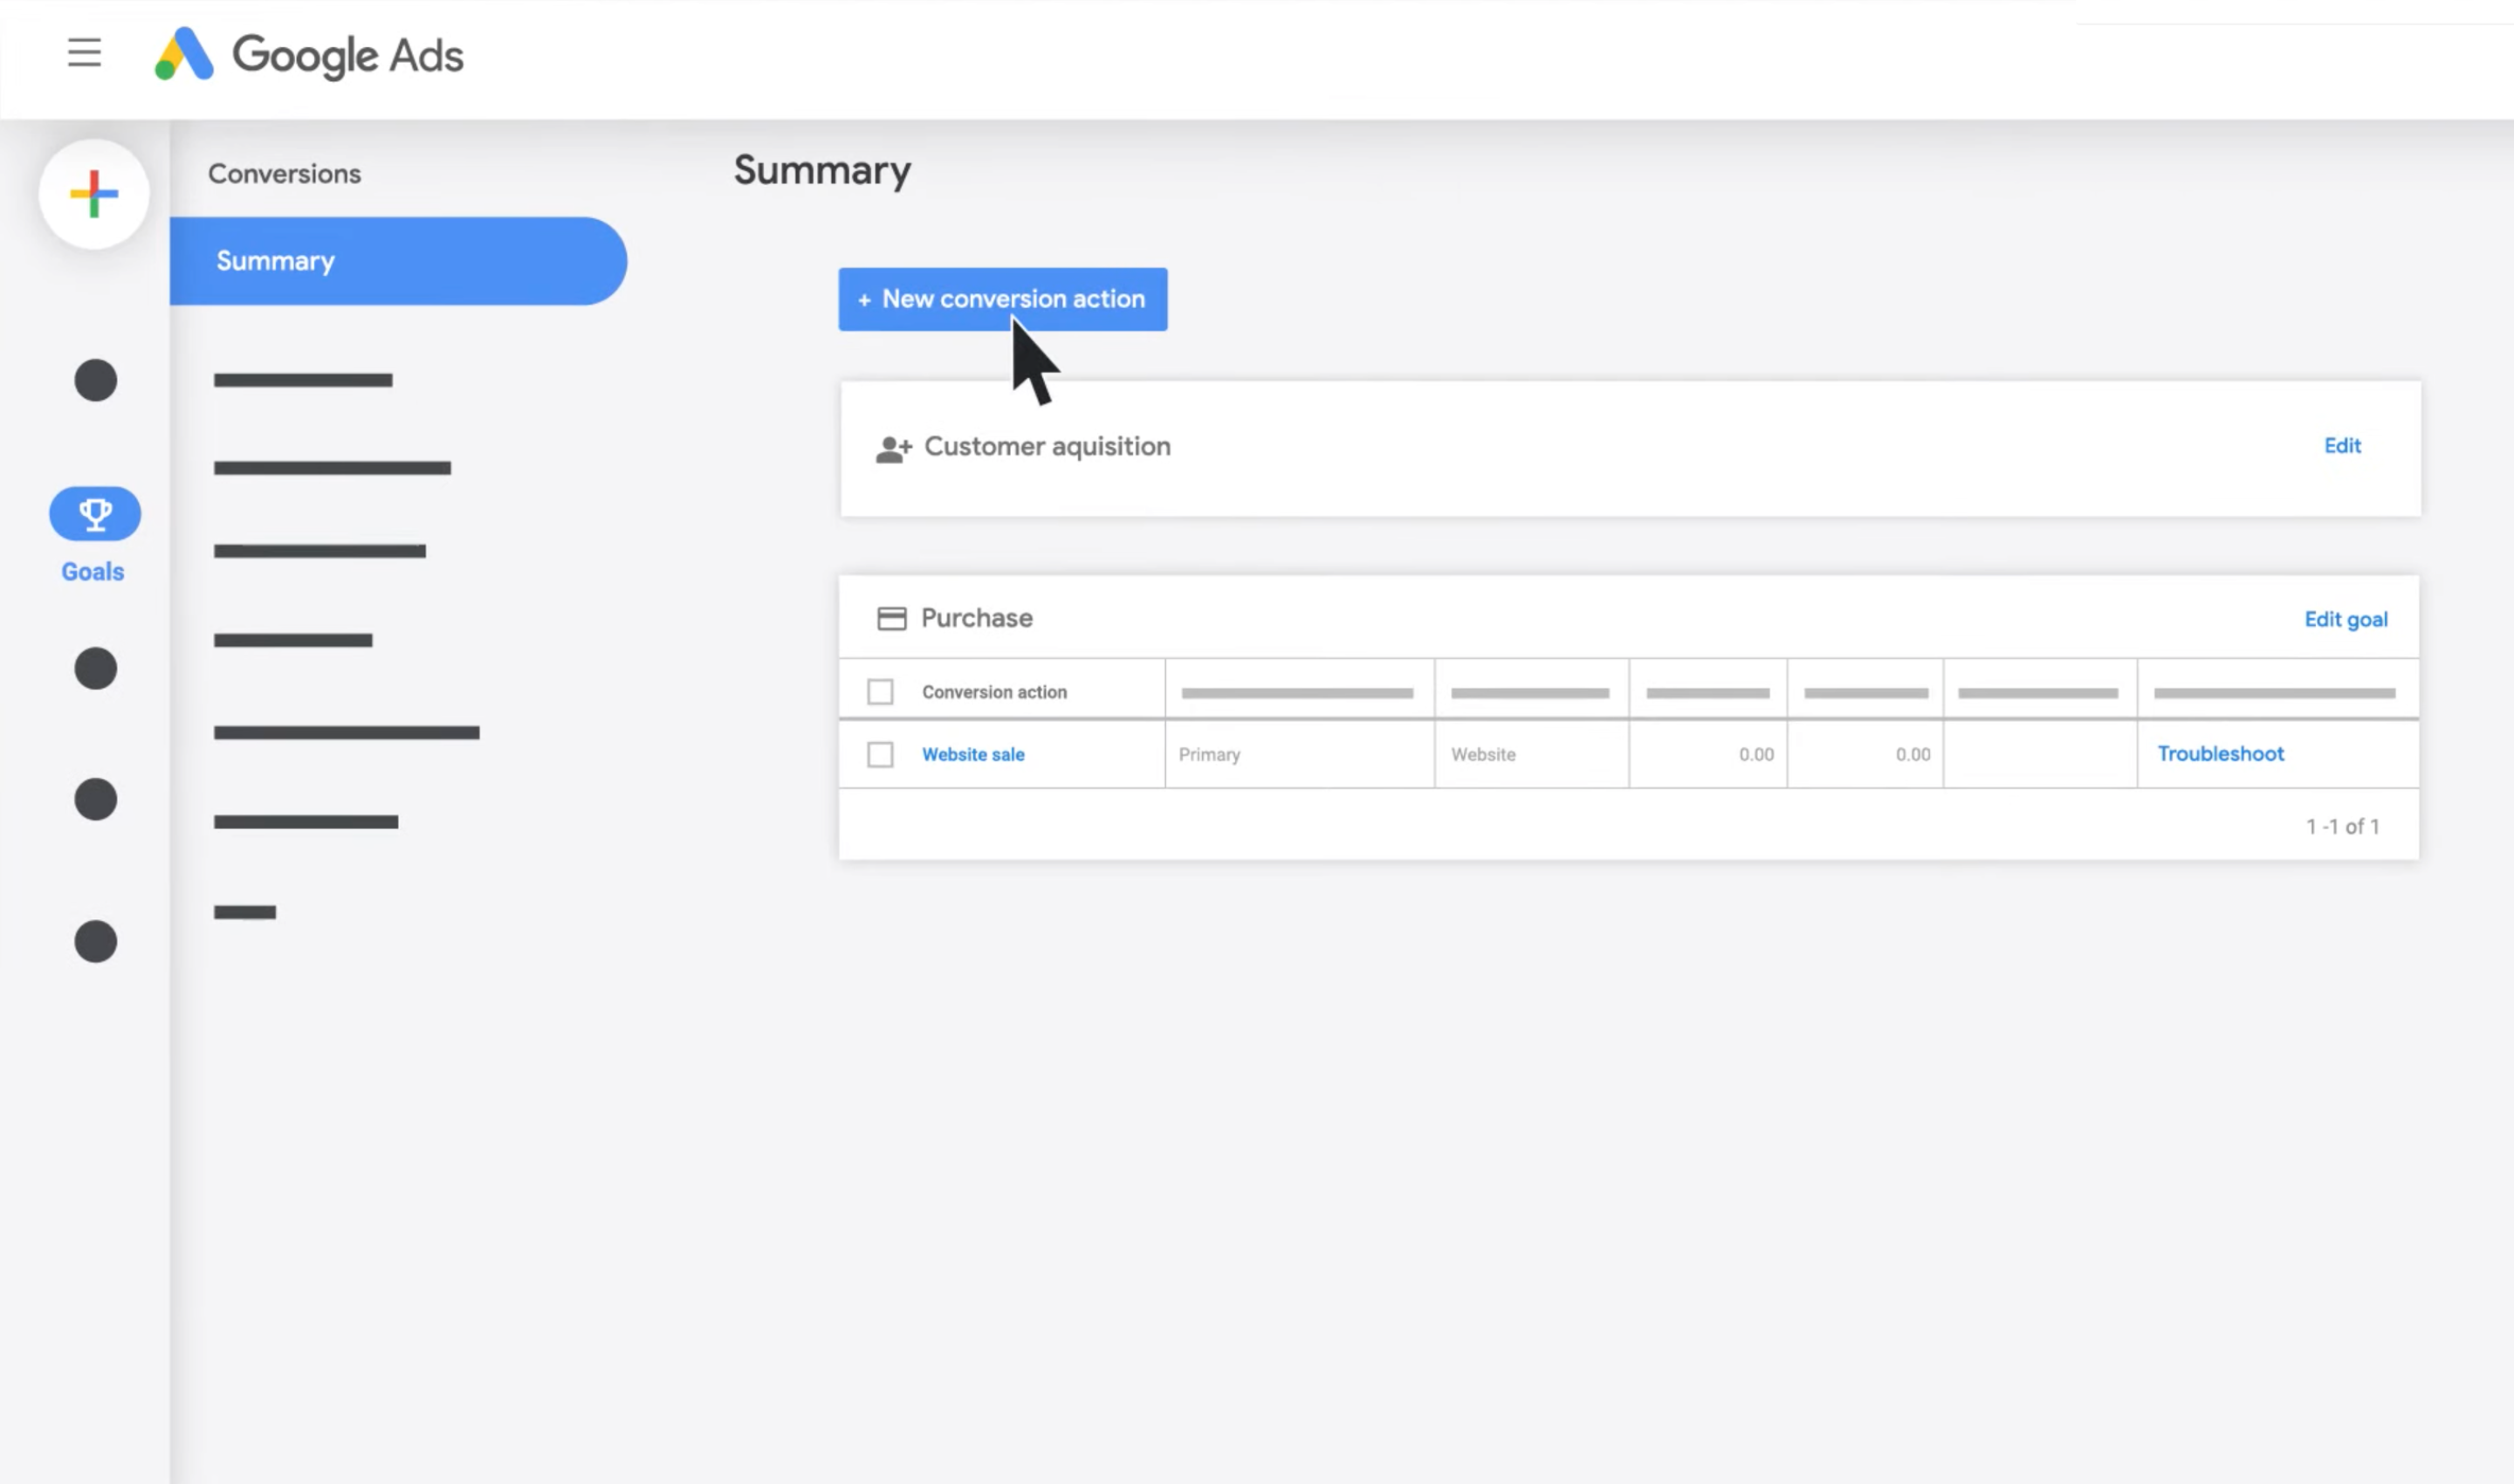
To begin with, click the Goals icon -> Conversion -> Summary in your Google Ads account..
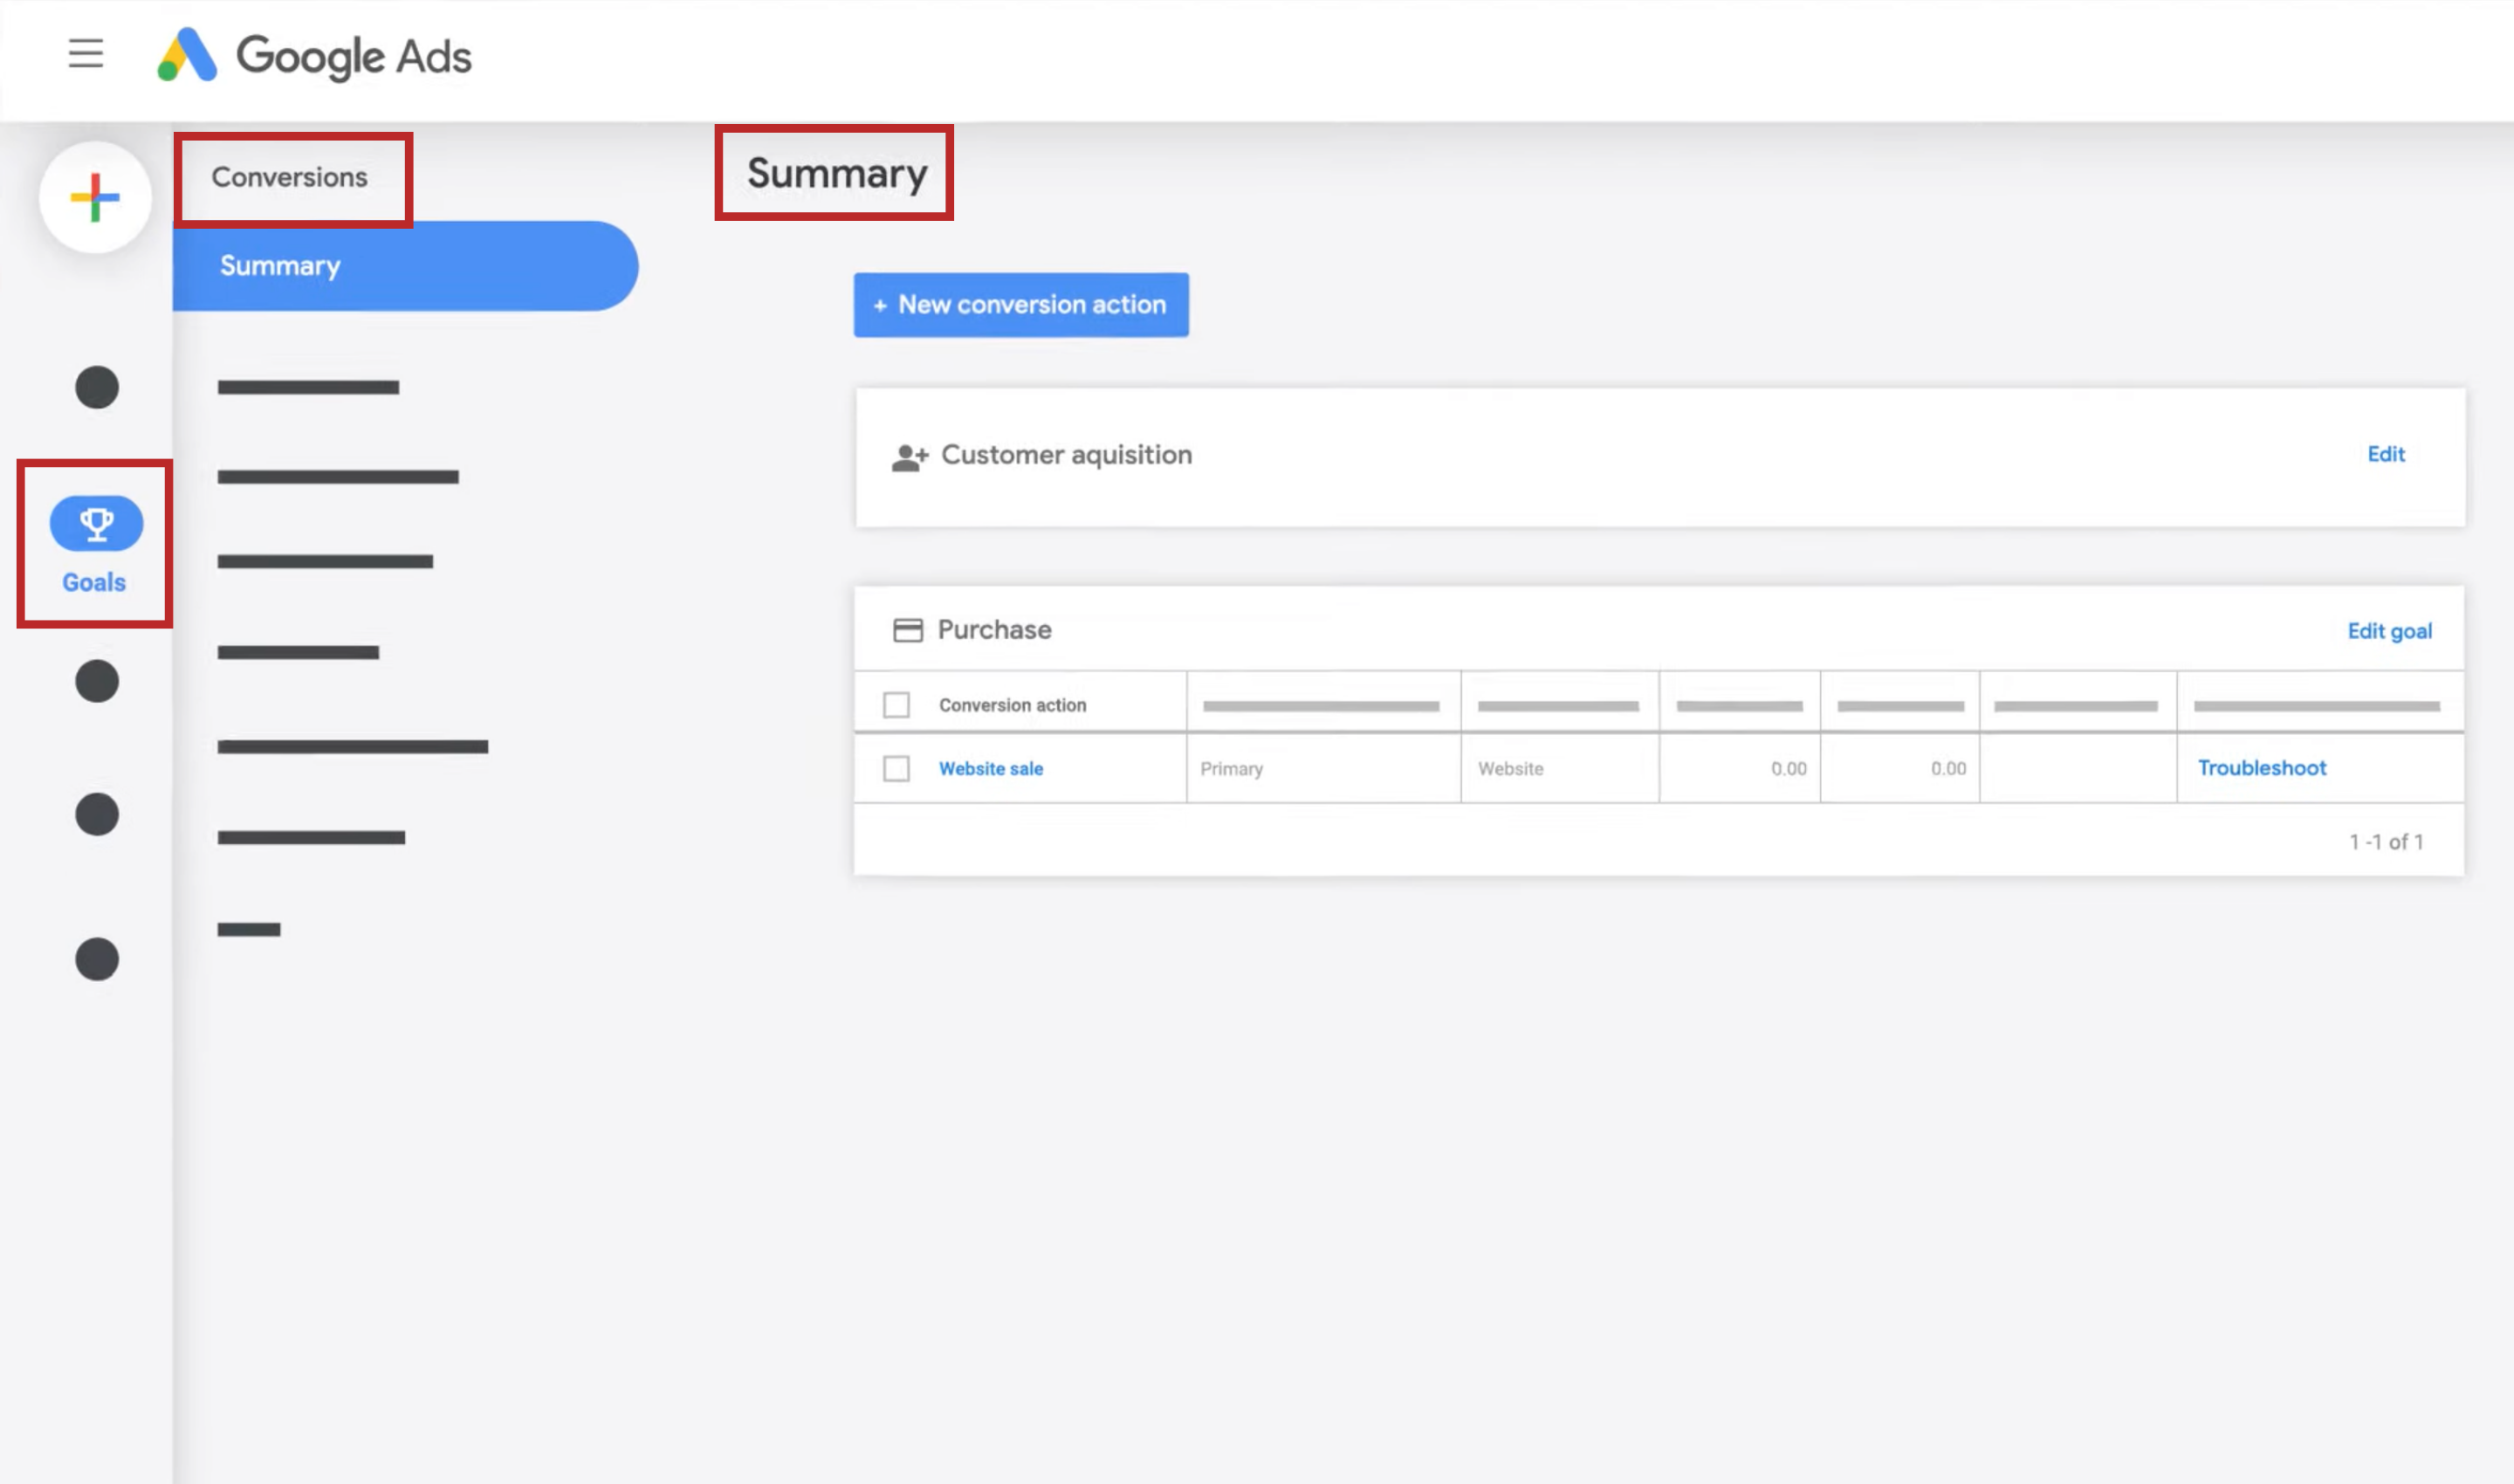
In the summary, click + New conversion action.
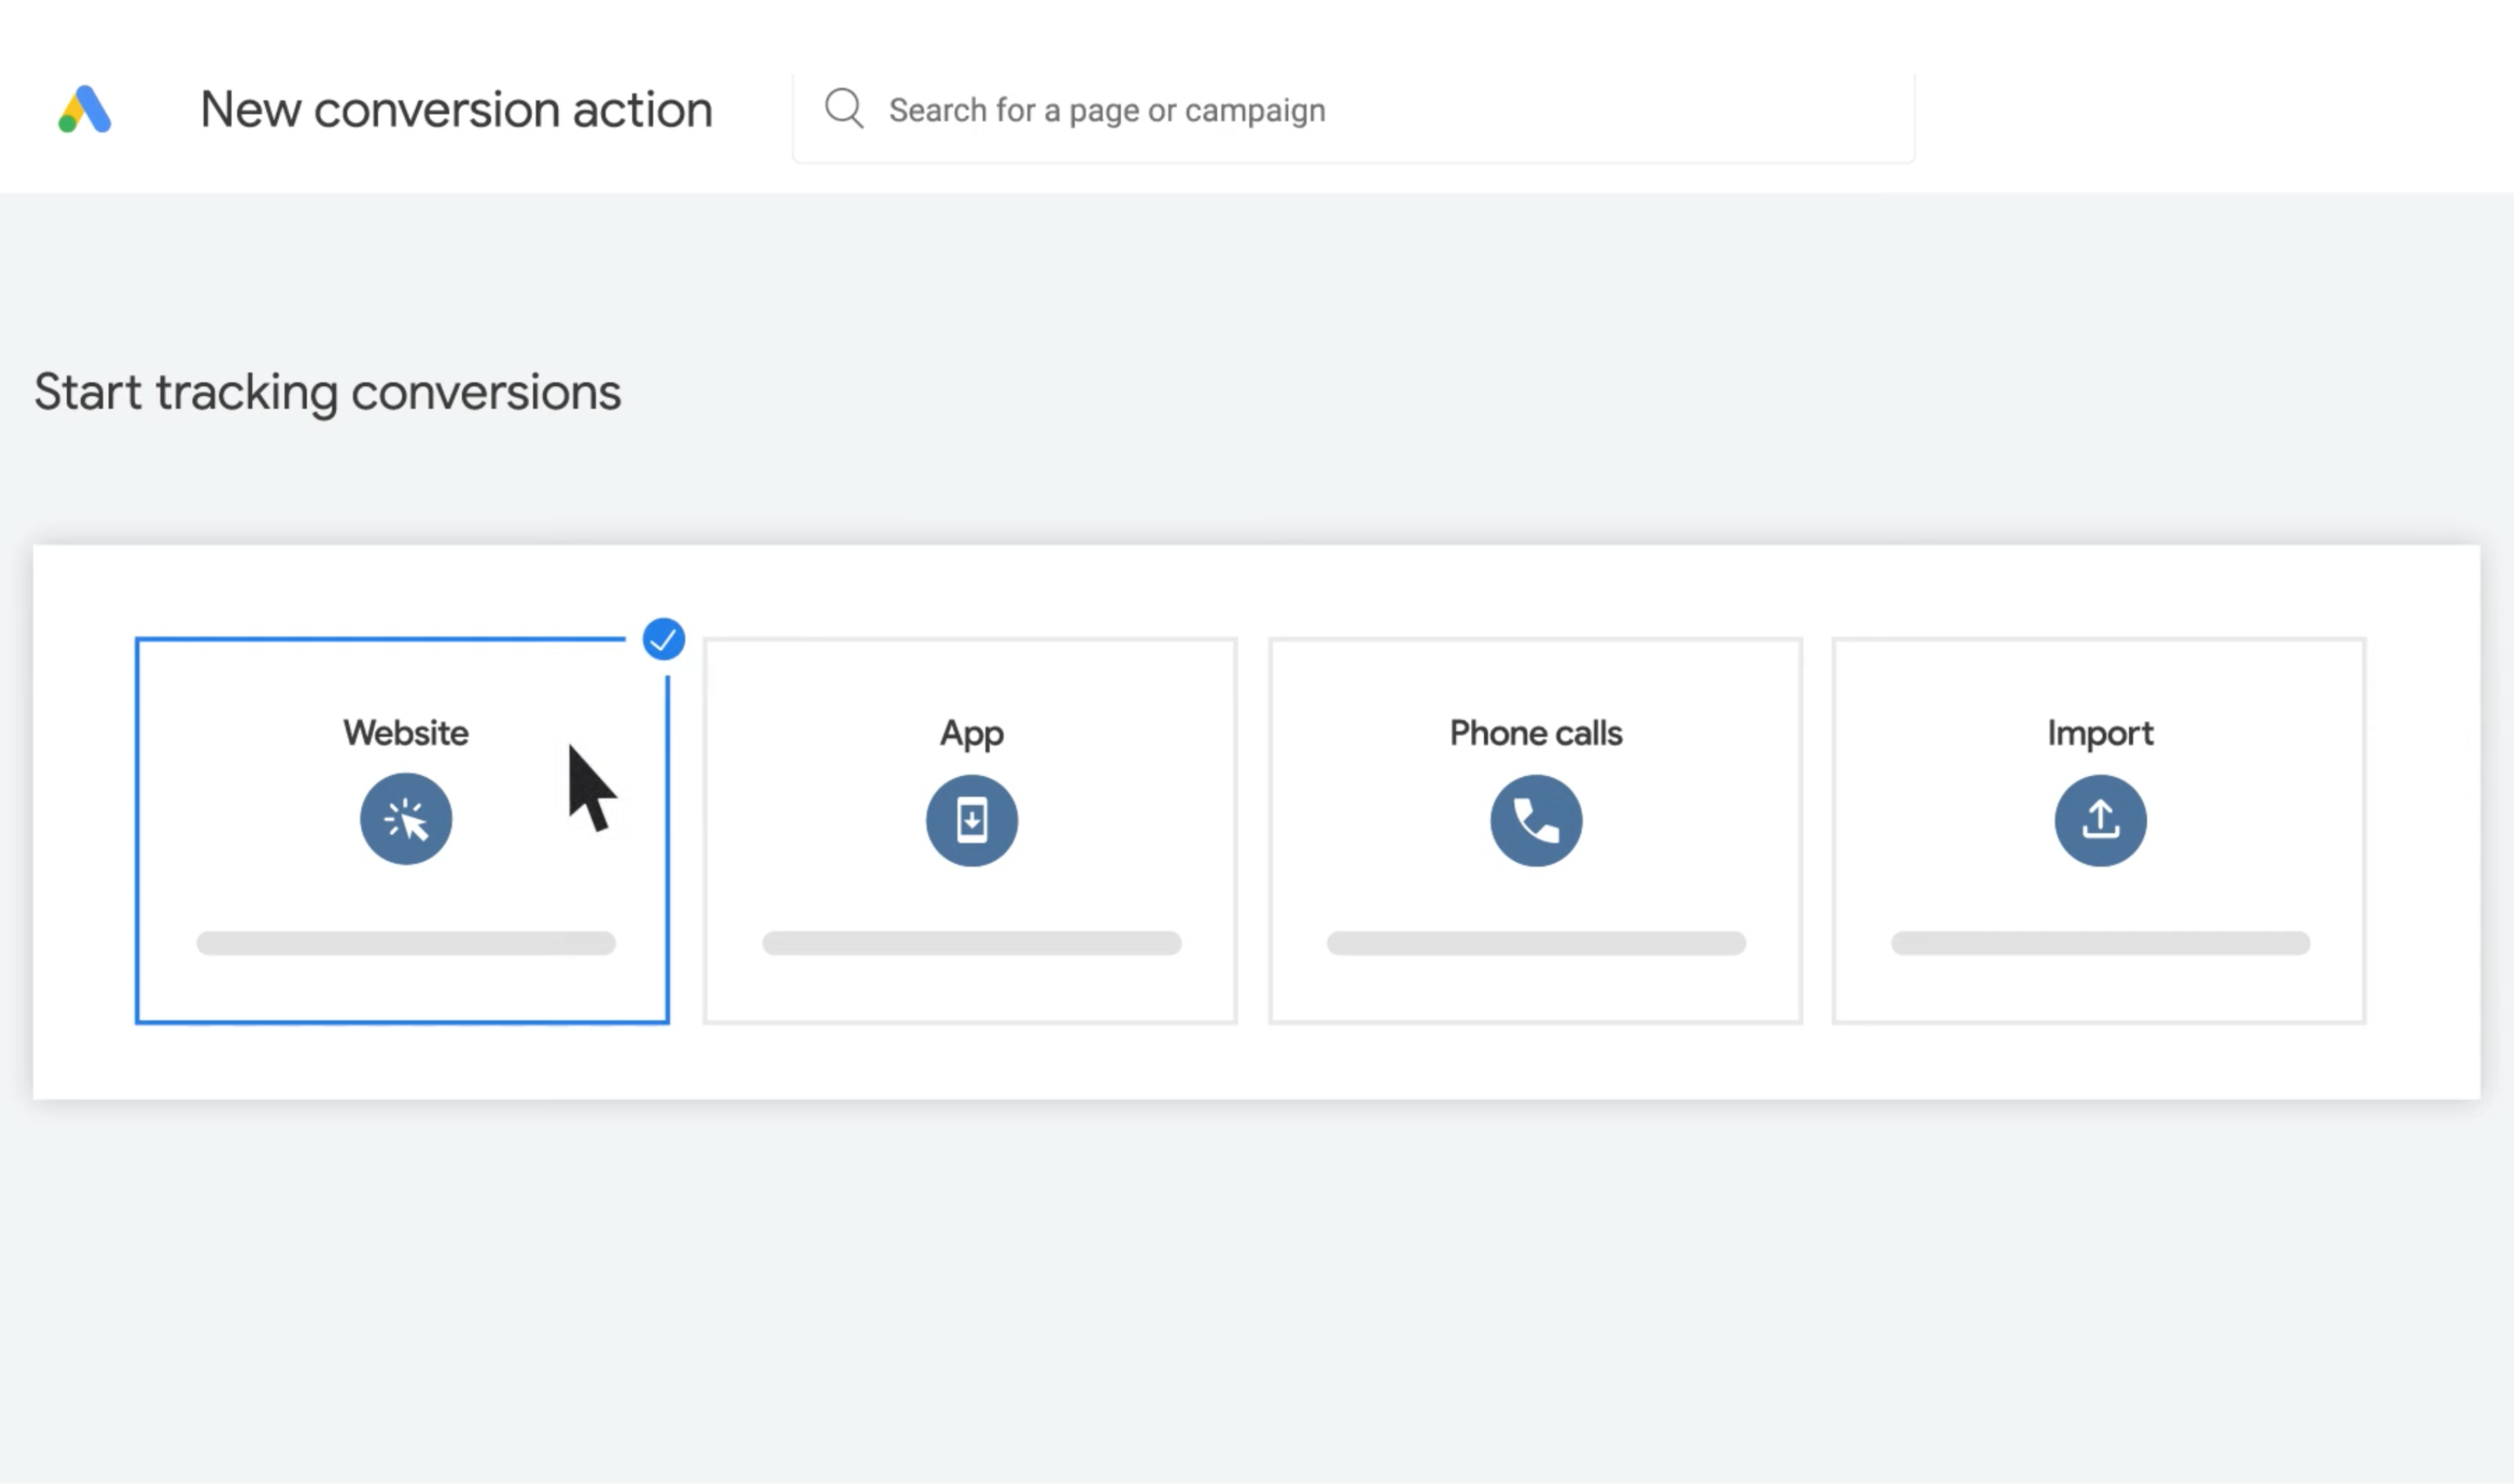
After doing this, select Website and click Next.
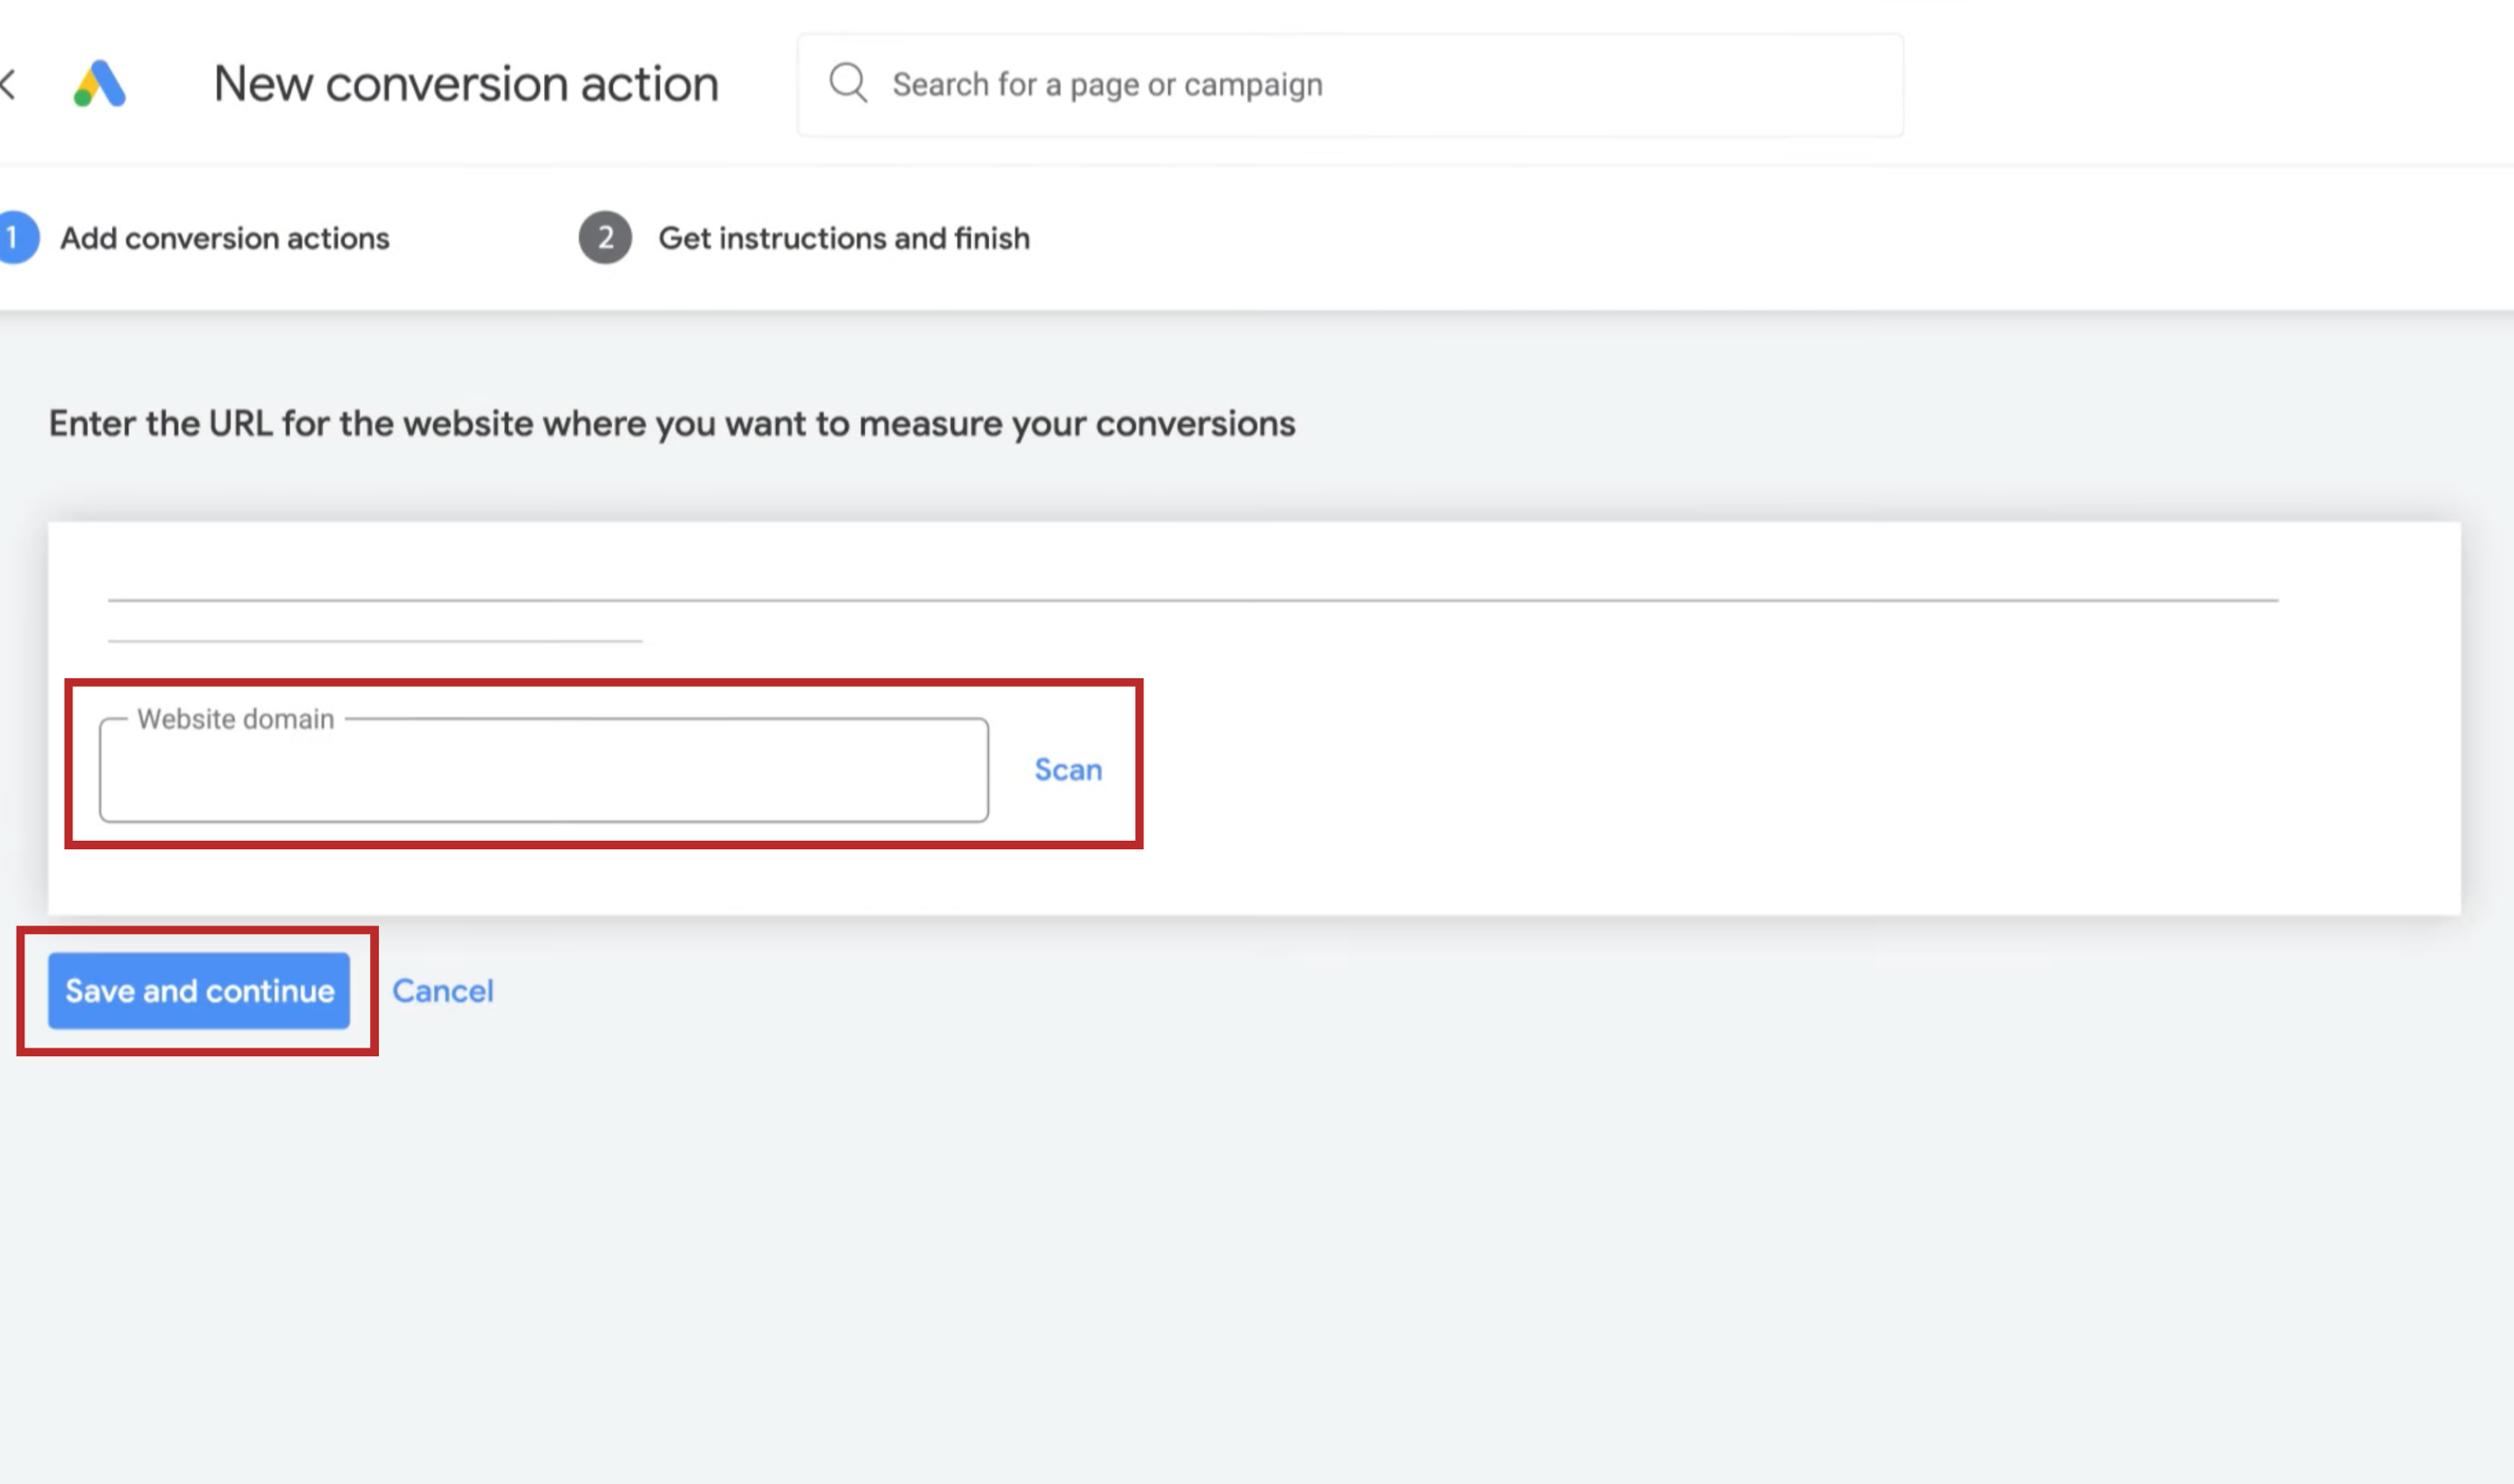
Enter your website domain and click the Scan button. Please follow the instructions to input your domain and scan your website. This verifies if the Google tag is installed. If not, you’ll receive a code snippet to add to your site as prompted.
Select your preferred method for setting up your conversion action. You’ll be presented with two options: setting up with a URL or setting up manually.
Method 1: Setting up conversions with a URL
Choose this method if you simply want to track a page load as a conversion. So you don’t require any customization for your measurement setup. This is the quickest and simplest way to establish a conversion action.
1. If suggested URLs appear, click Accept Suggestion to track one as a conversion.
2. Click Add URL to add your own URL.
3. Click Settings to edit any added URL settings.
Method 2: Setting up conversions manually
Opt for this method if you need to track clicks on buttons or links, or if you want to personalize your event tag with value tracking, transaction IDs, or other custom parameters.
1. Go to Create and install conversions manually (advanced)” and click + Create conversion
2. Choose your conversion goal. Then click Conversion action optimization options to set it as a primary or secondary action.
3. Select the action you want to track under Goal to organize reports and set how to track the conversion’s value under Value.
4. Under “Count,” choose how to count conversions: Every for sales, One for leads.
Some other functions you can set up:
- Click Click-through conversion window and select the tracking duration.
- Click Engaged View-through conversion window and choose a view-through tracking duration.
- Click Attribution model to better understand ad performance and optimize across conversion paths.
Click Save and continue. Google also provided you with detailed guidance for setting up. At this stage, you’ll also choose your attribution model and other settings. To assist with your decision, you can consult the attribution model guide shared earlier to determine the most suitable option for your requirements.
Press the Save and Continue button to move on to the next step.
Step 2: Install Google tag on your website
Your next steps for setting up Google Ads conversion tracking will depend on whether you’ve already configured your Google tag.
- Create conversion action with URL: If your Google tag is set up, you’re all set and ready to start seeing data on that conversion. However, if you haven’t set up Google tag, you’ll be directed to a screen with instructions.
- Create conversion action manually: If your Google tag is set up, you’ll receive instructions to add the action’s unique event snippet. In contrast, you’ll receive instructions to add a Google tag on every site page and your conversion action’s event snippet.
If you haven’t installed Google tag, consider these 2 methods:
Method 1: Set up the Google tag for your website
Under “Set up a Google tag” choose one of the following options:
- Use the Google tag on your website (Recommended)
- Use an existing Google tag
- Install a new Google tag
Method 2: Use Google Tag Manager
First open Google tag in Google Tag Manager and select your container. Then go to the Tags menu and create a new tag. Name the tag also and select Google tag in the Tag Configuration box.

Then click “Triggering” and select the “Initialization – All pages” trigger.
Name the tag and save the configuration.

The purpose of the Google tag is to establish new cookies on your domain, storing data on user activities after clicking your ad. While you’ll need to install the tag on every site page, only one tag per Google Ads account is necessary. Installation options include directly pasting the Google tag into your website code or utilizing Google Tag Manager, as detailed in this advanced Google guide.
Step 3: Verify the Google tag
To verify the correct installation of your Google tag and ensure accurate conversion tracking, follow these steps:
In the conversion actions table view, review the Status column to monitor the performance of each conversion action. For assistance, refer to our guide on troubleshooting Google Ads conversion tracking issues.
Sign in to your Google Ads account and access the Conversions section
Challenges when using Google Ads conversion tracking
We have to admit that Google Ads conversion tracking is really useful and convenient for anyone who is running Google Ads campaigns.
However, it does have some limitations that you need to know:
- Limited attribution models: Google Ads offers Last Click, First Click, and Data-Driven Attribution, which may not fully capture complex customer journeys, especially in multi-touch scenarios.
- Cookie limitations: Conversion tracking relies heavily on cookies to track user behavior. So with increasing privacy concerns and browser limitations, cookie-based tracking can be less reliable.
- Lack of granular data: While Google Ads provides useful conversion data, it might not offer the level of granularity that some advertisers require, such as detailed information about customer behavior.
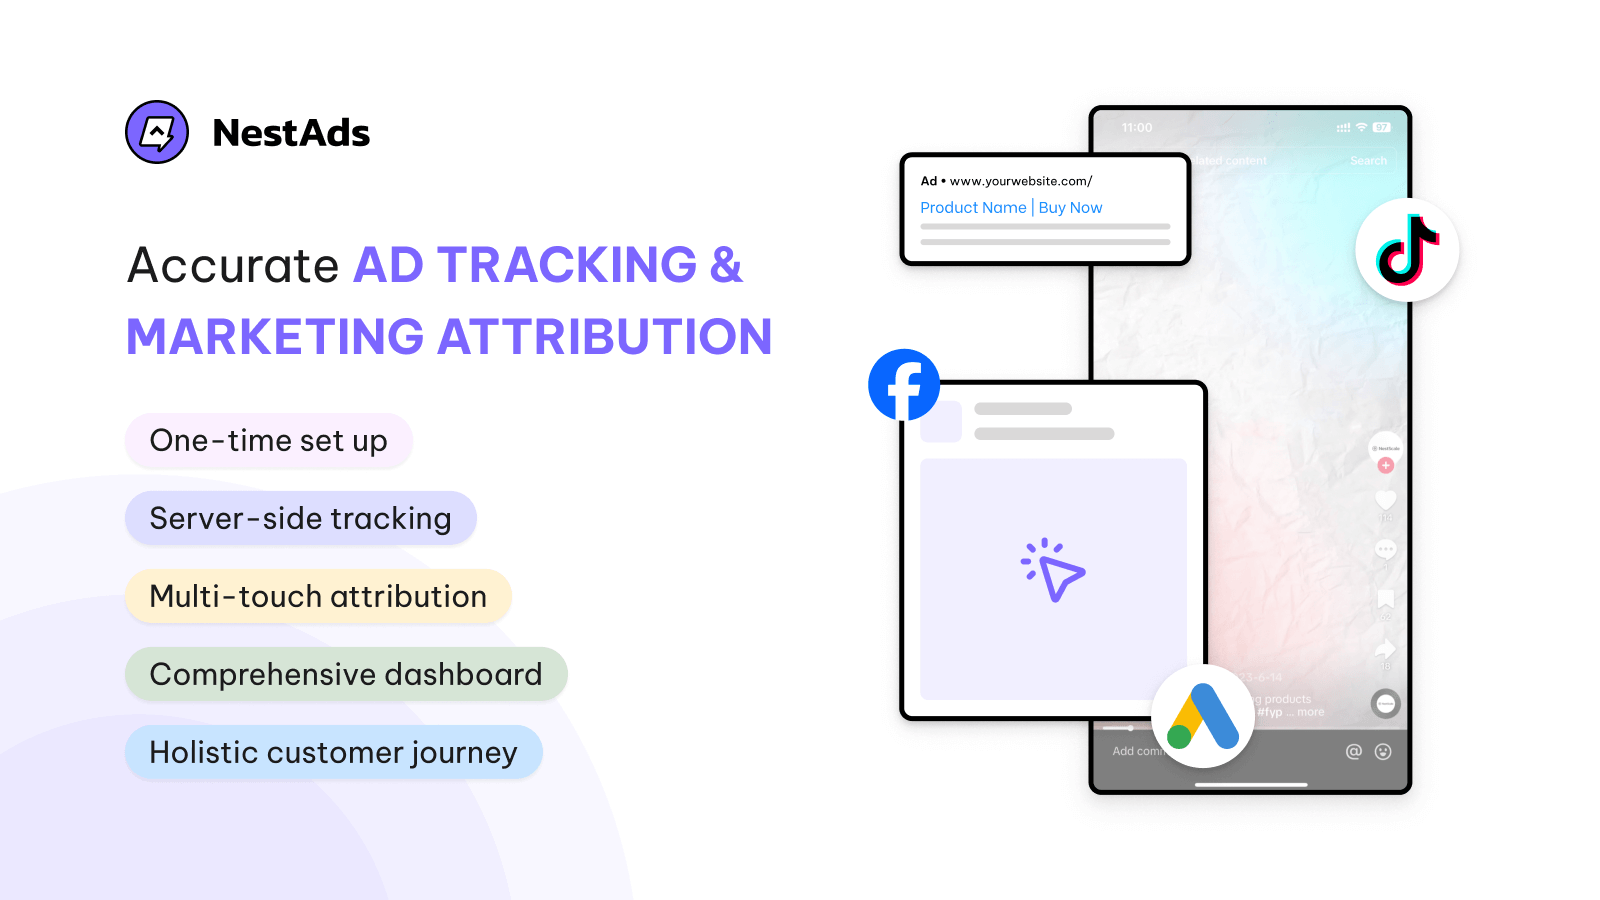
Optimize conversion tracking with NestAds
So, how to deal with the challenges mentioned above? You can use additional tracking tools to improve your efficiency, such as NestAds.
With NestAds, most of your concerns with Google Ads conversion tracking no longer existed. NestAds offers a marketing attribution toolset with a multi-touch data-driven attribution model. The attribution window can span from 1 to 90 days, providing valuable insights into your user actions after a click or view over various time frames.
Besides, the unique pixel of NestAds collects first-party data directly from your web server, so cookies can not prevent you from tracking your ads accurately.
And it doesn’t end there, you could also dig deeper into customer journeys with comprehensive reports from NestAds. It clearly presents your customer engagements through various touchpoints, and then organizes them in a timeline format.
NestAds saves you time? Yes. NestAds boosts your tracking efficiency? Yes. So don’t wait any longer.
FAQs: Google Ads Conversion Tracking
There are several types of conversion tracking, including:
– Standard conversion tracking: Tracks conversions based on a single action.
– Multiple conversion tracking: Tracks conversions based on multiple actions.
– Enhanced conversion tracking: Provides more detailed information about conversions, such as the value of the conversion and the customer journey.
There could be several reasons for this, such as incorrect conversion tracking tag implementation, privacy settings blocking the tag, or insufficient conversion data.
You can troubleshoot conversion tracking issues by using Google Tag Assistant to verify tag implementation, check your conversion tracking settings, and ensure that your website is not blocking cookies or JavaScript.