Are you struggling to win back your old customers? Fear not, we’ve got your back. In this comprehensive guide, we’ll take you through how to write a winback email that will re-engage your audience and boost your business.
But wait, there’s more! We’ll also teach you how to create an effective winback automation email flow that will save you time and effort while delivering the results you need. Ready to dive in and learn how to write a winback email?
How to write a winback email that converts
Step 1: Identify who to send
The length of time a company considers an email address inactive may vary depending on the type of business. Some companies may classify an email address as inactive after a few weeks, while others may wait for several months before sending a winback email campaign.
If you are a business owner, it’s crucial to keep track of your email engagement metrics regularly. Active and inactive email lists play a pivotal role in any email marketing campaign. By targeting inactive email subscribers with a winback campaign, businesses can regain their trust and loyalty.
Step 2: Determine when to send
According to email marketing experts, the most effective way to win back customers is through a strategic email campaign. The recommended frequency for sending out these winback emails is once every three months to those email addresses that have not engaged with the company.
As time goes on, it becomes increasingly challenging for a business to maintain a personal and trustworthy relationship with these inactive customers. To address this issue, companies can add these inactive customers to their automated message flow at three-month intervals.
This approach ensures that customers receive a gentle reminder at the right time. It’s not too soon that the recipient might feel bombarded by excessive communication, and it’s not too late that the customer might have trouble recalling why they signed up for emails in the first place.
Step 3: Write engaging content
Successfully communicating with customers through email requires more than just composing a message and hitting send. The real challenge lies in convincing customers to open and read your email, as well as retaining their interest long enough to elicit a positive response. Here are some useful guidelines to help you make the most of your customer winback campaign:
Instead of using passive language, utilize action verbs
Instead of using passive language, such as “The product was liked by many,” use action verbs to create a more engaging message, such as “Many people loved the product.”
Use simple words
While clever language may be tempting, it can often come across as confusing or pretentious. Instead, focus on using simple, clear language that is easy for customers to understand.
Refrain from using subject lines that appear spammy
Using subject lines that are misleading or overly promotional can turn customers off and cause them to disregard your message altogether. Be straightforward and honest in your subject lines, and avoid using clickbait tactics.
Don’t overwhelm your audience, keep your messages short and focused.
Customers are often busy and may not have the time or patience to read a lengthy email. Make sure your message is concise and relevant, and avoid including unnecessary information.
Remember, effective communication with customers doesn’t require you to be a master wordsmith. Instead, prioritize clarity, relevance, and brevity to ensure your message is received and acted upon.
Step 4: Have a strong CTA
When it comes to engaging your customers, it’s not enough to just talk about your company. You need to inspire them with a compelling call to action (CTA) that motivates them to take action. Your CTA is the critical point in which you use concise and straightforward language to encourage someone to do more than just read an email or a post.
To create a persuasive CTA, you should employ strong, declarative statements that convey your message effectively. Emotional and enthusiastic words can also help you connect with your audience and stir their curiosity.
One of the best ways to create urgency is by giving your readers the fear of missing out (FOMO). You can do this by providing exclusive offers, time-sensitive promotions, or limited-time discounts.
Moreover, it’s crucial to provide your customers with a compelling reason to click. Perhaps you can offer them a free trial, a demo, or access to valuable resources that they can’t get elsewhere. Whatever you decide, ensure that your offer is both relevant and valuable to your audience.
Pro tip: it’s essential to remember that a successful CTA is not a hard sales pitch. You’re not trying to sell your product or service through your CTA. Instead, you’re trying to motivate your readers to take the next step. Avoid using heavy sales tactics that pressure your readers into making a purchase. Instead, let them know what they stand to gain by clicking now to learn more.
How to create an winback automation emails flow in just 5 steps
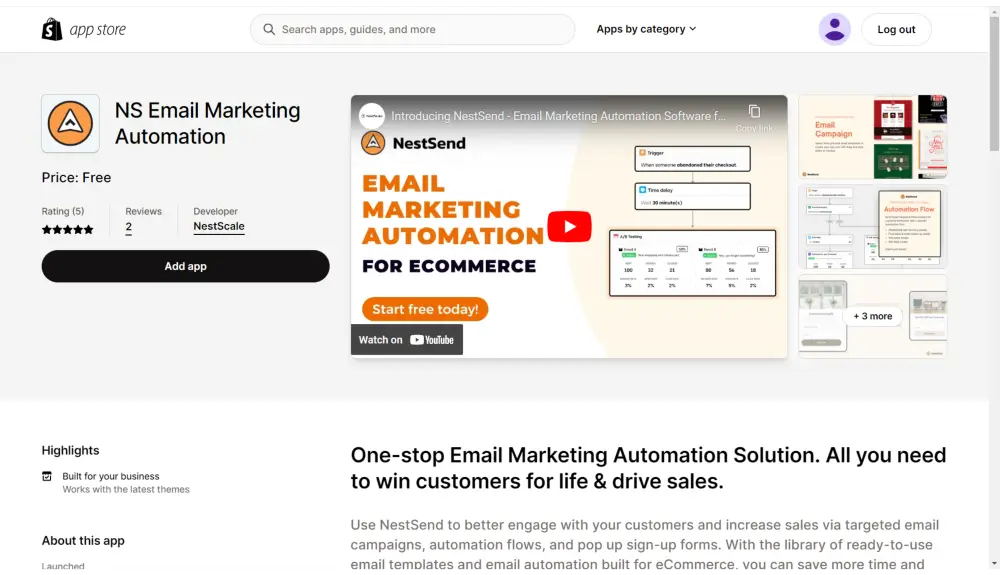
Before we get started with today’s lesson on creating an automation flow for your email marketing, you’ll need to find an app that suits your needs. With so many options out there, we highly recommend checking out NestSend.
NestSend is hands down one of the best apps available to help you create your Shopify winback email flow. It has all the features you need to make your email automation creation process a breeze.
You can either search for the NestSend app in the Shopify app store or just click the button below.
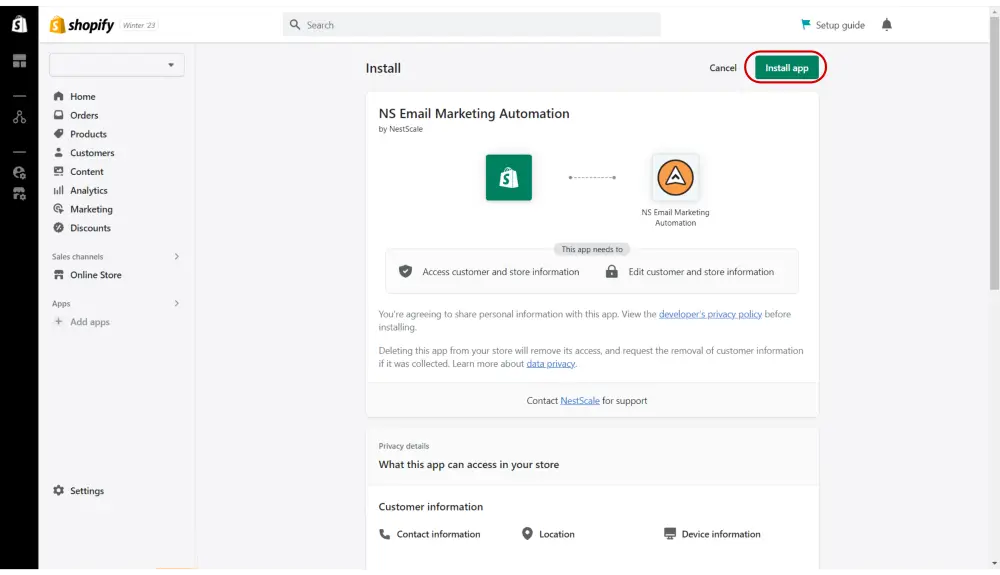
After downloading the NestSend app, the next step is to integrate it with your existing Shopify store. Just click on the “Install app” button to get started.
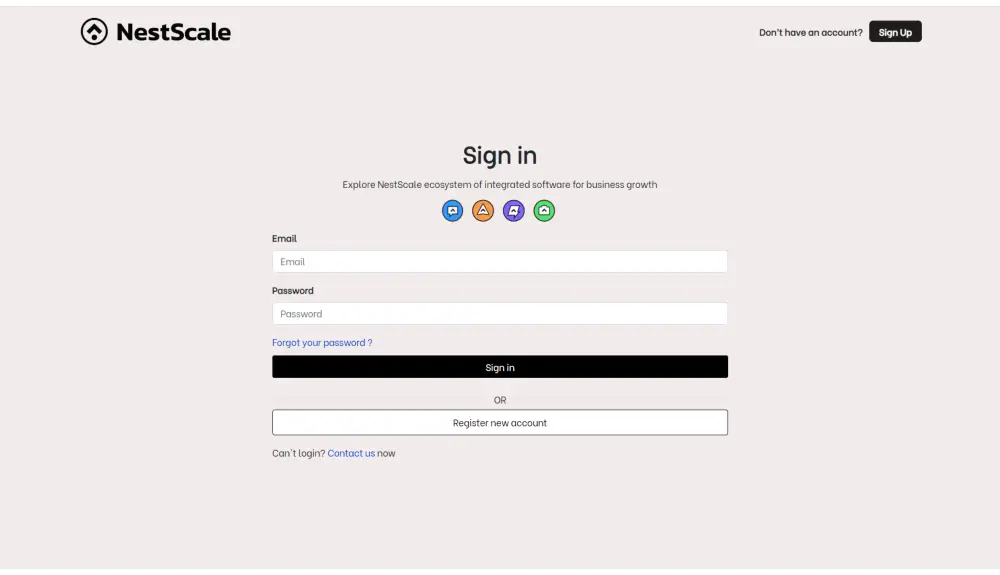
Once you have clicked the button, you’ll be prompted to sign in to your NestScale account. If you don’t have one yet, you can easily create one during this step.
Pro tip: NestScale account will give you access to NestScale’s ecosystem of apps. By utilizing all of them, managing your Shopify business will become a breeze.
Step 1: Access automation flow
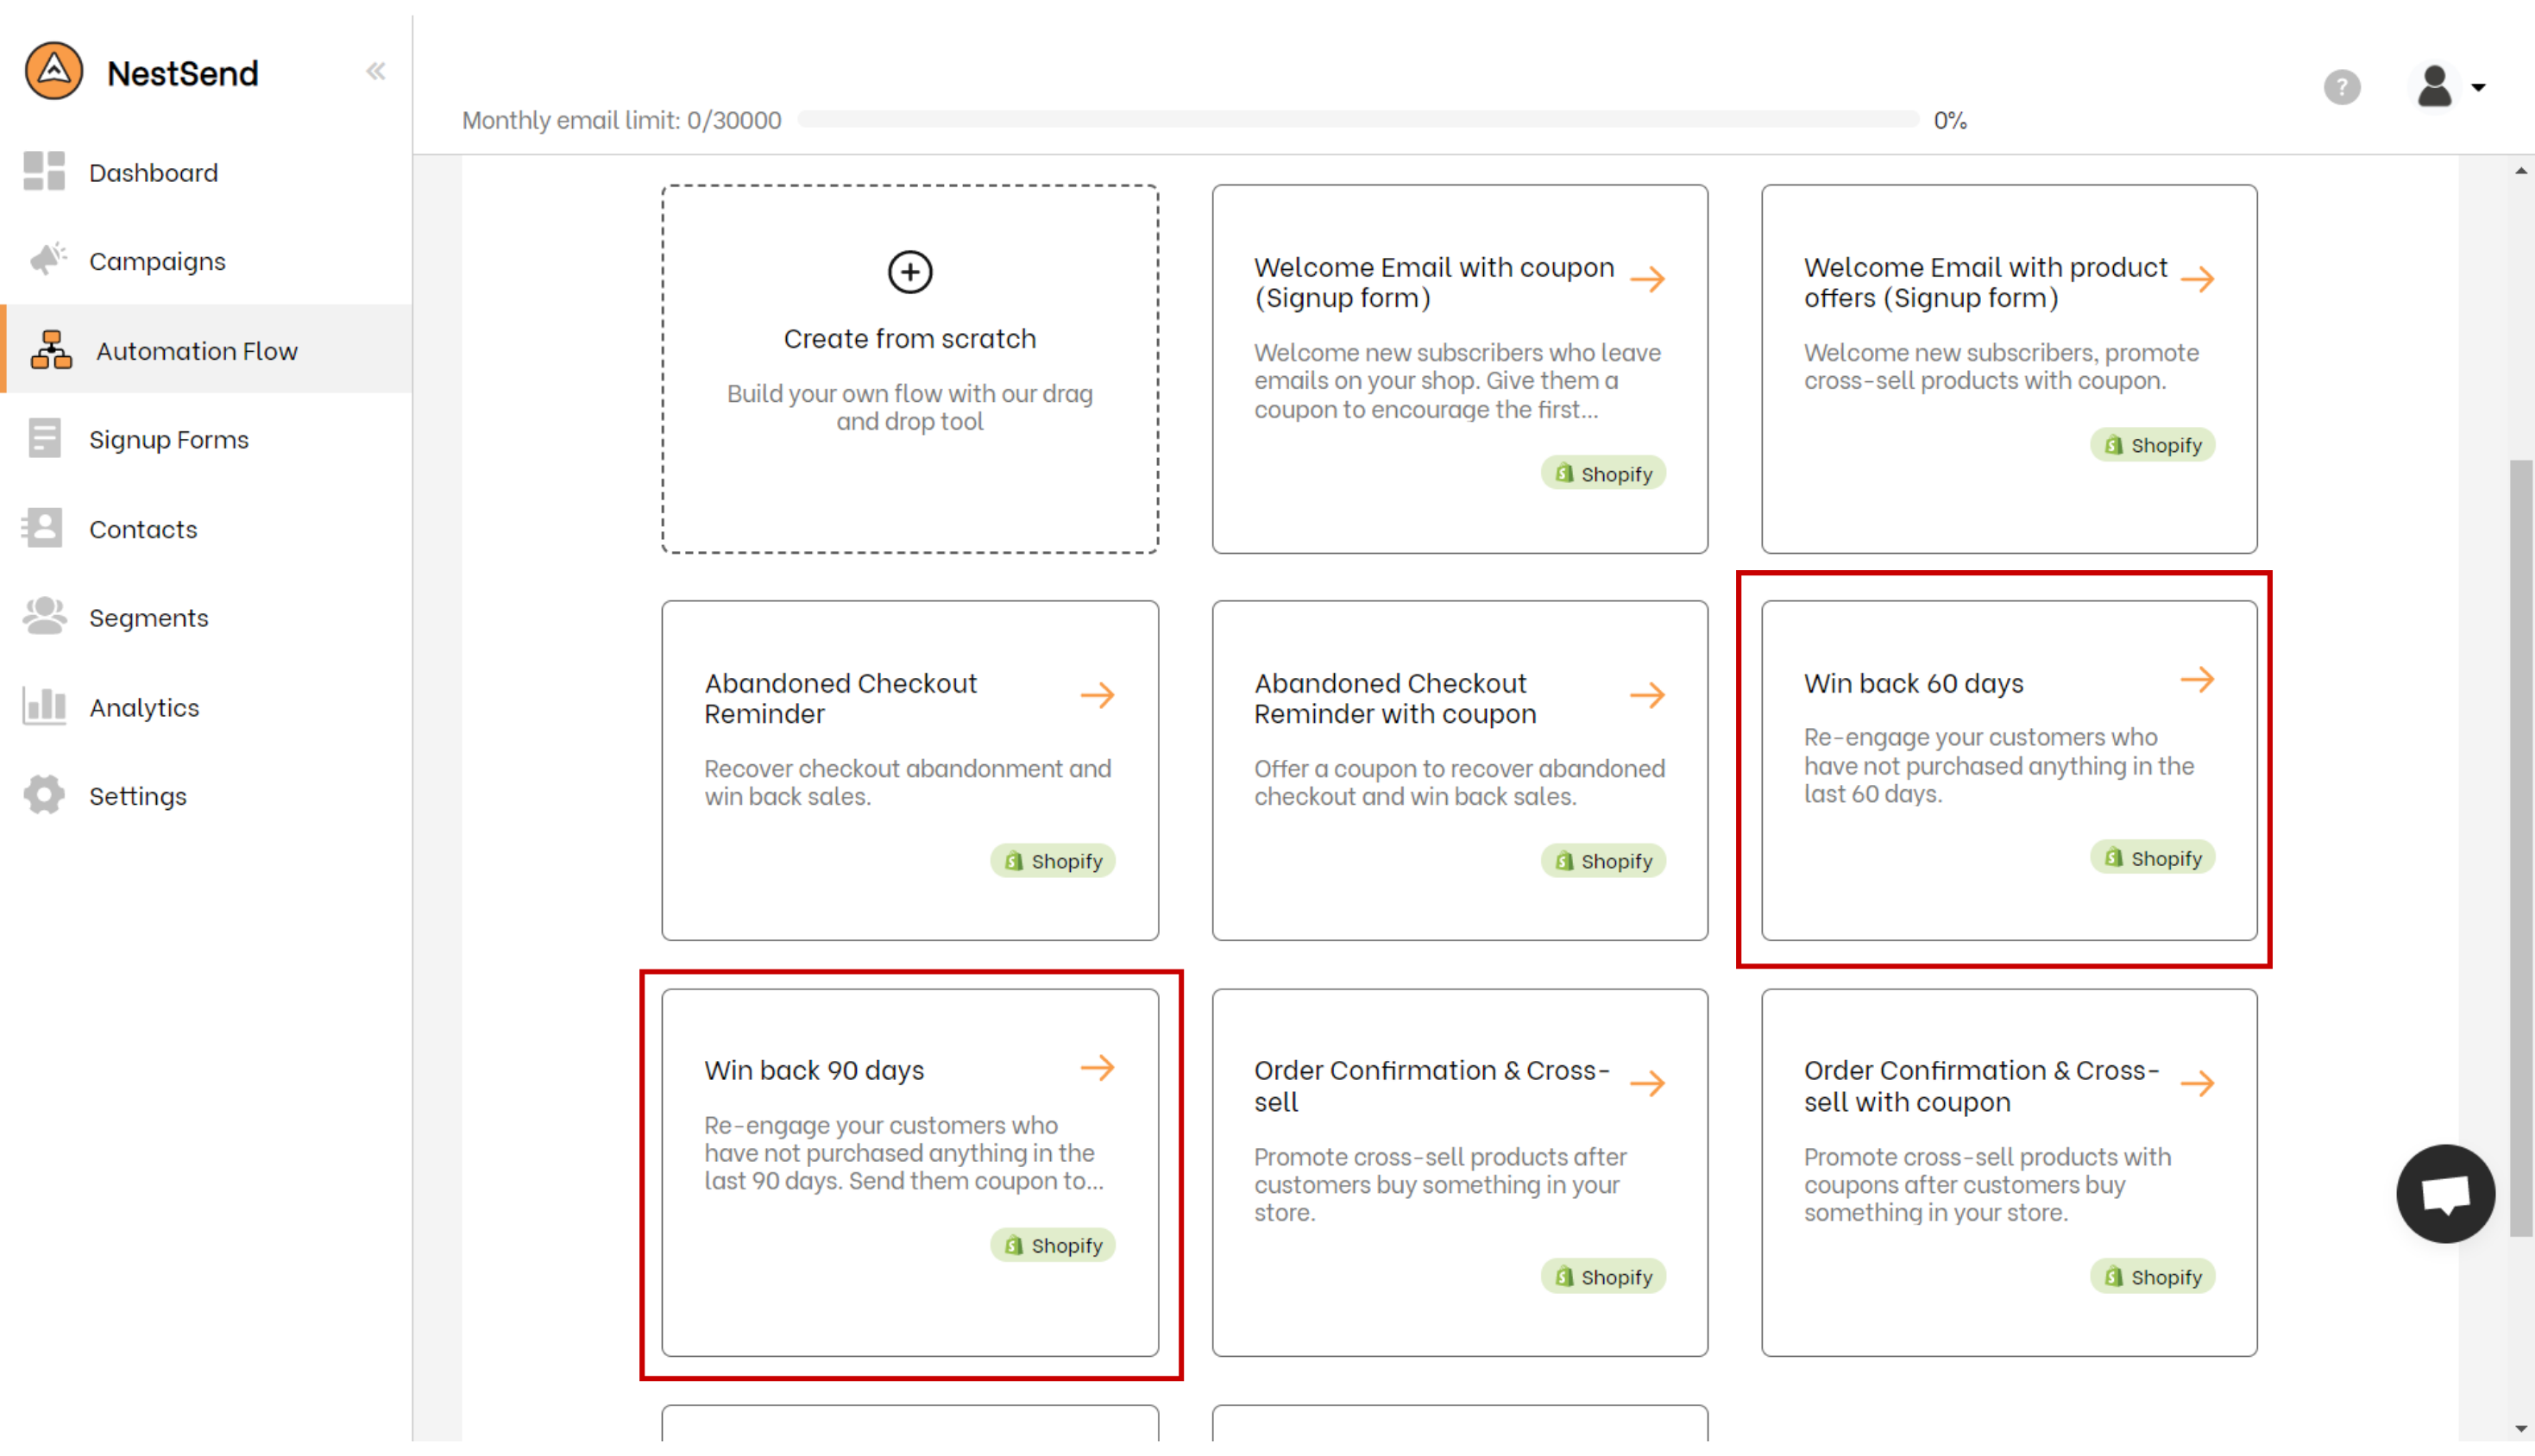
After finishing all the prior steps, you can find the “Automation Flow” section on the left-hand side of your screen. From there, you just need to click on “Create Automation Flow” to move forward.
Step 2: Create your winback emails flow
You have two options to consider at this point. You can either select a pre-built flow to save time or create a custom flow. If you opt for the former, you can proceed directly to step 4.
Step 3: Set up when you want to send your winback emails
If you’ve decided to build your flow from the ground up, the next crucial step after providing all the necessary information is to establish a trigger node. A trigger node serves as the starting point of your workflow, and it determines when the process should begin.
In this case, you would need to set the trigger option to “When someone placed an order”.
After that, you can now decide how long to wait before sending your first winback by adding a time delay node.
The next step is to include an email node in your automated flow.
Step 4: Customize your email
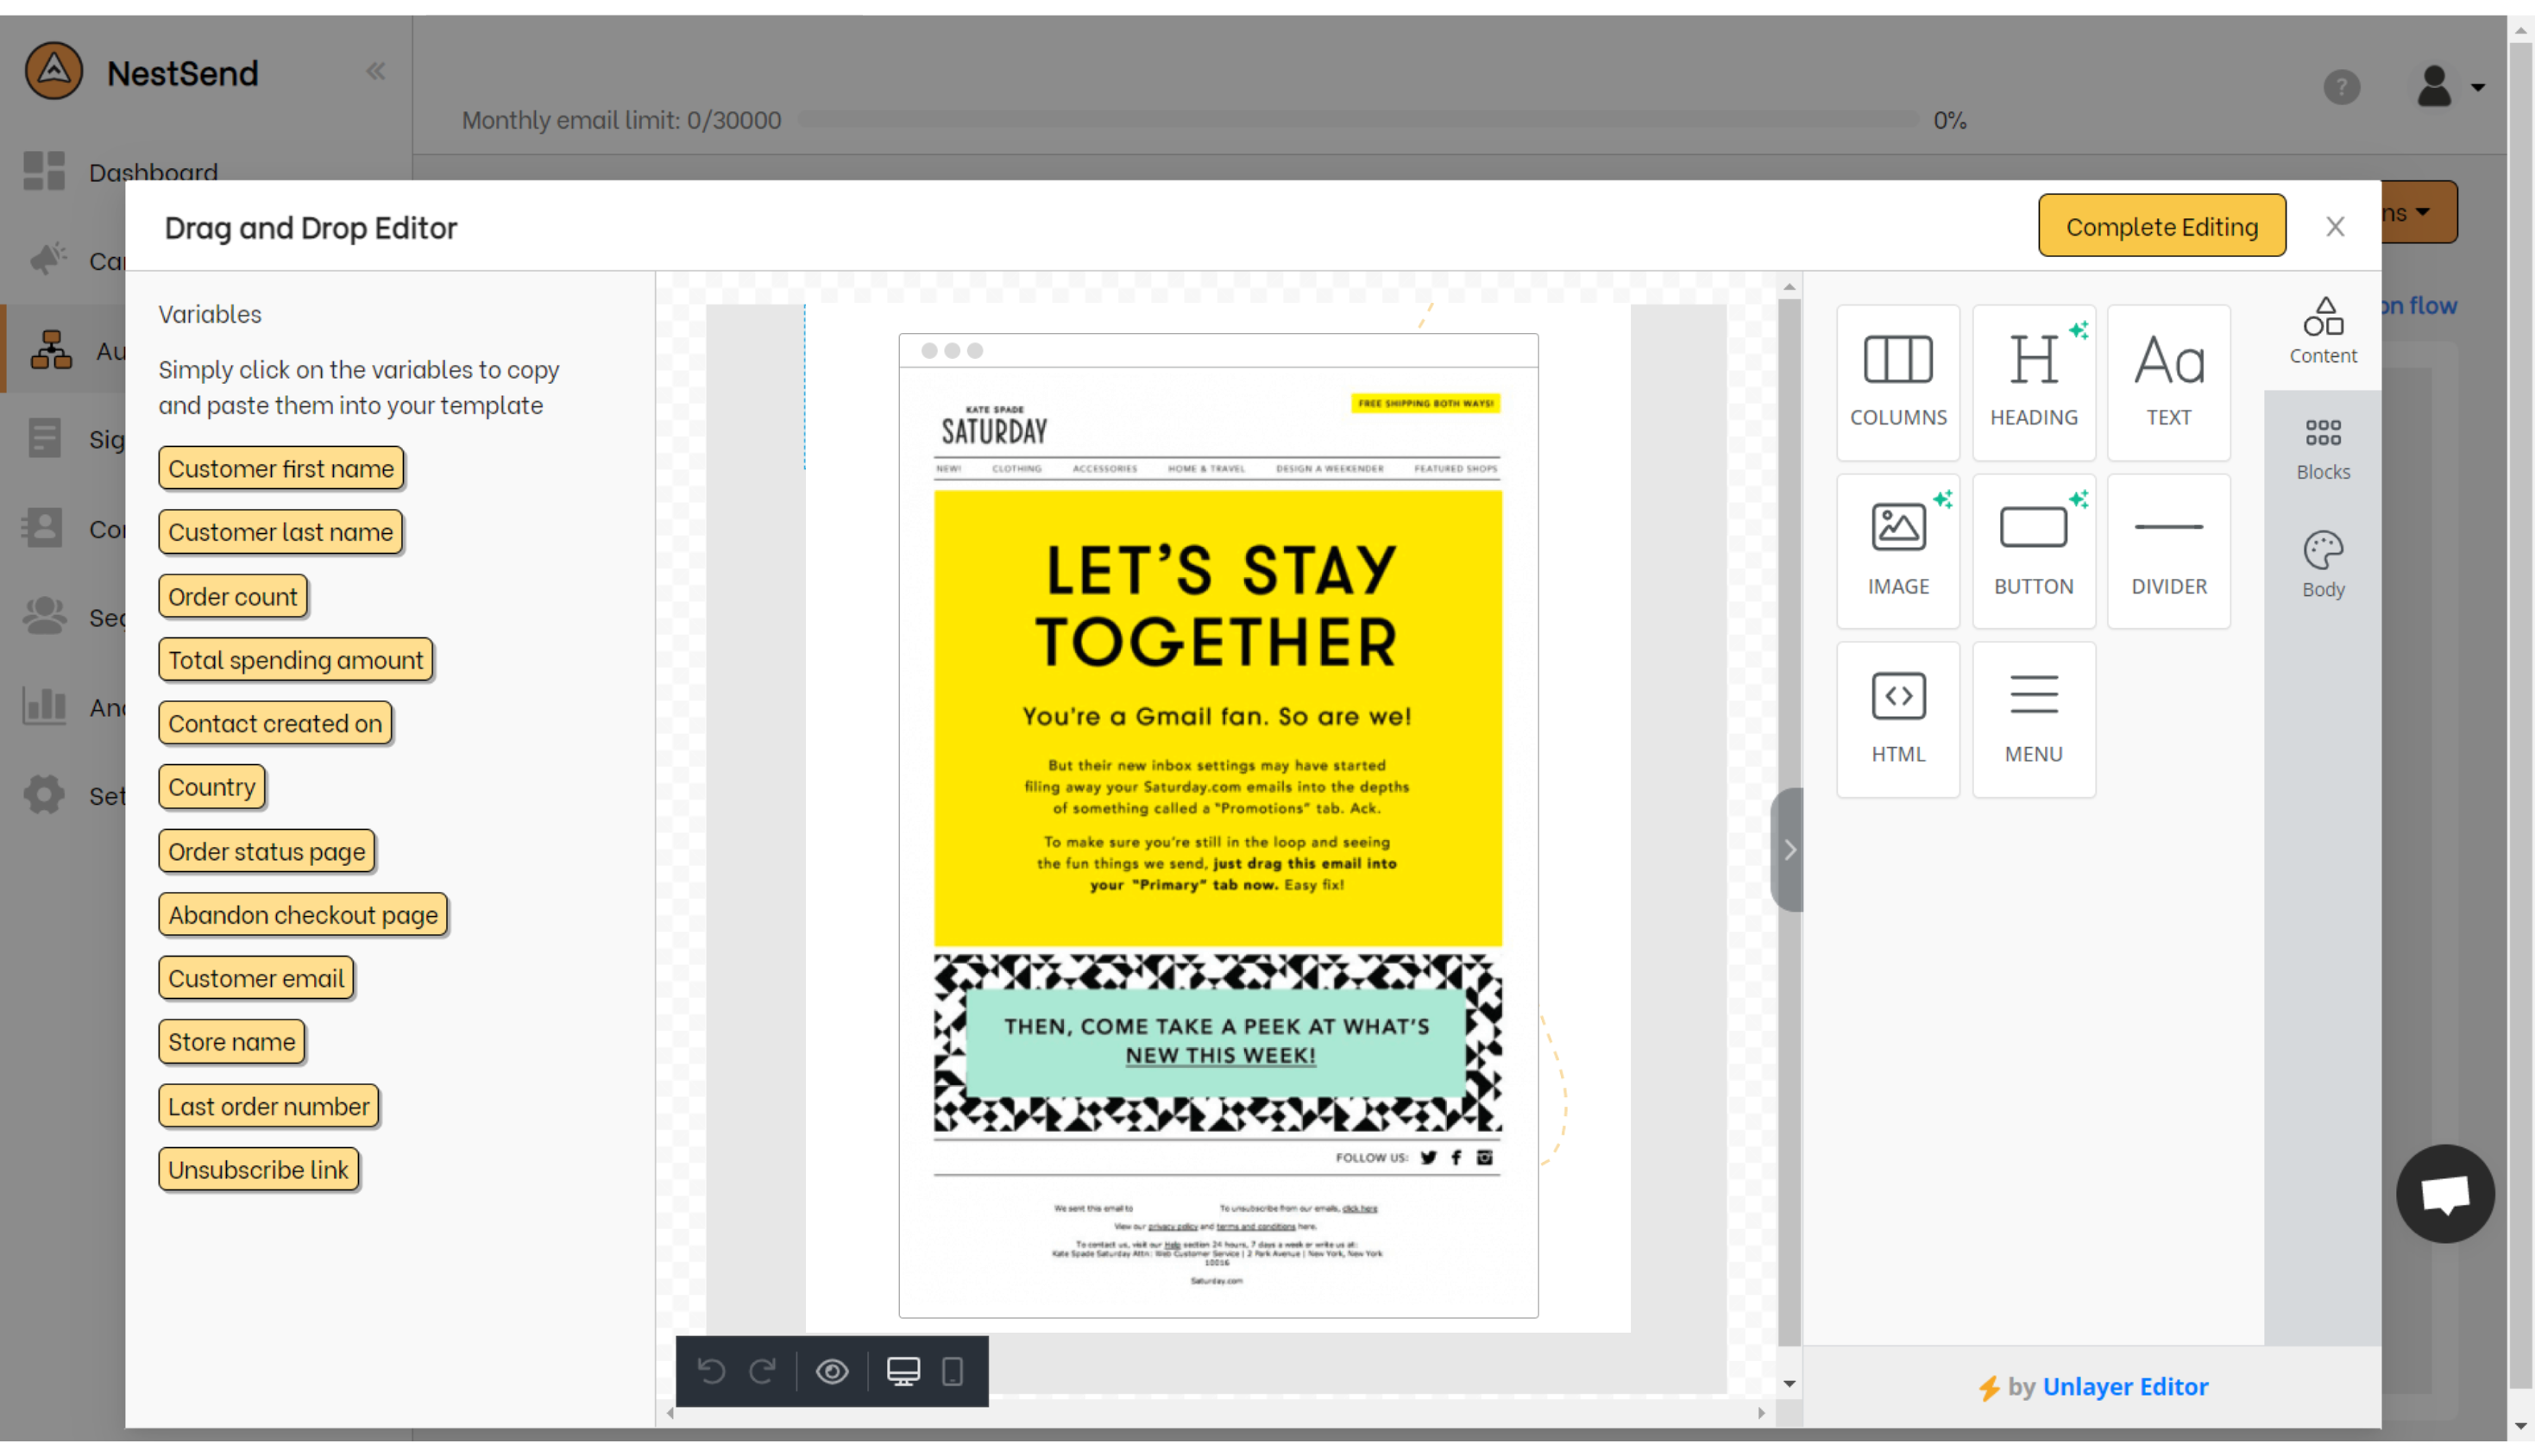
It’s time to create your email and make it stand out! NestSend’s email editor offers you a plethora of features and components to help you create an email that’s not only visually appealing but also effective. You have the freedom to customize your abandoned cart email in any way you like, without any restrictions.
With NestSend’s email editor, you can add eye-catching graphics, personalize the message, and experiment with different fonts and colors to create an email that truly represents your brand.
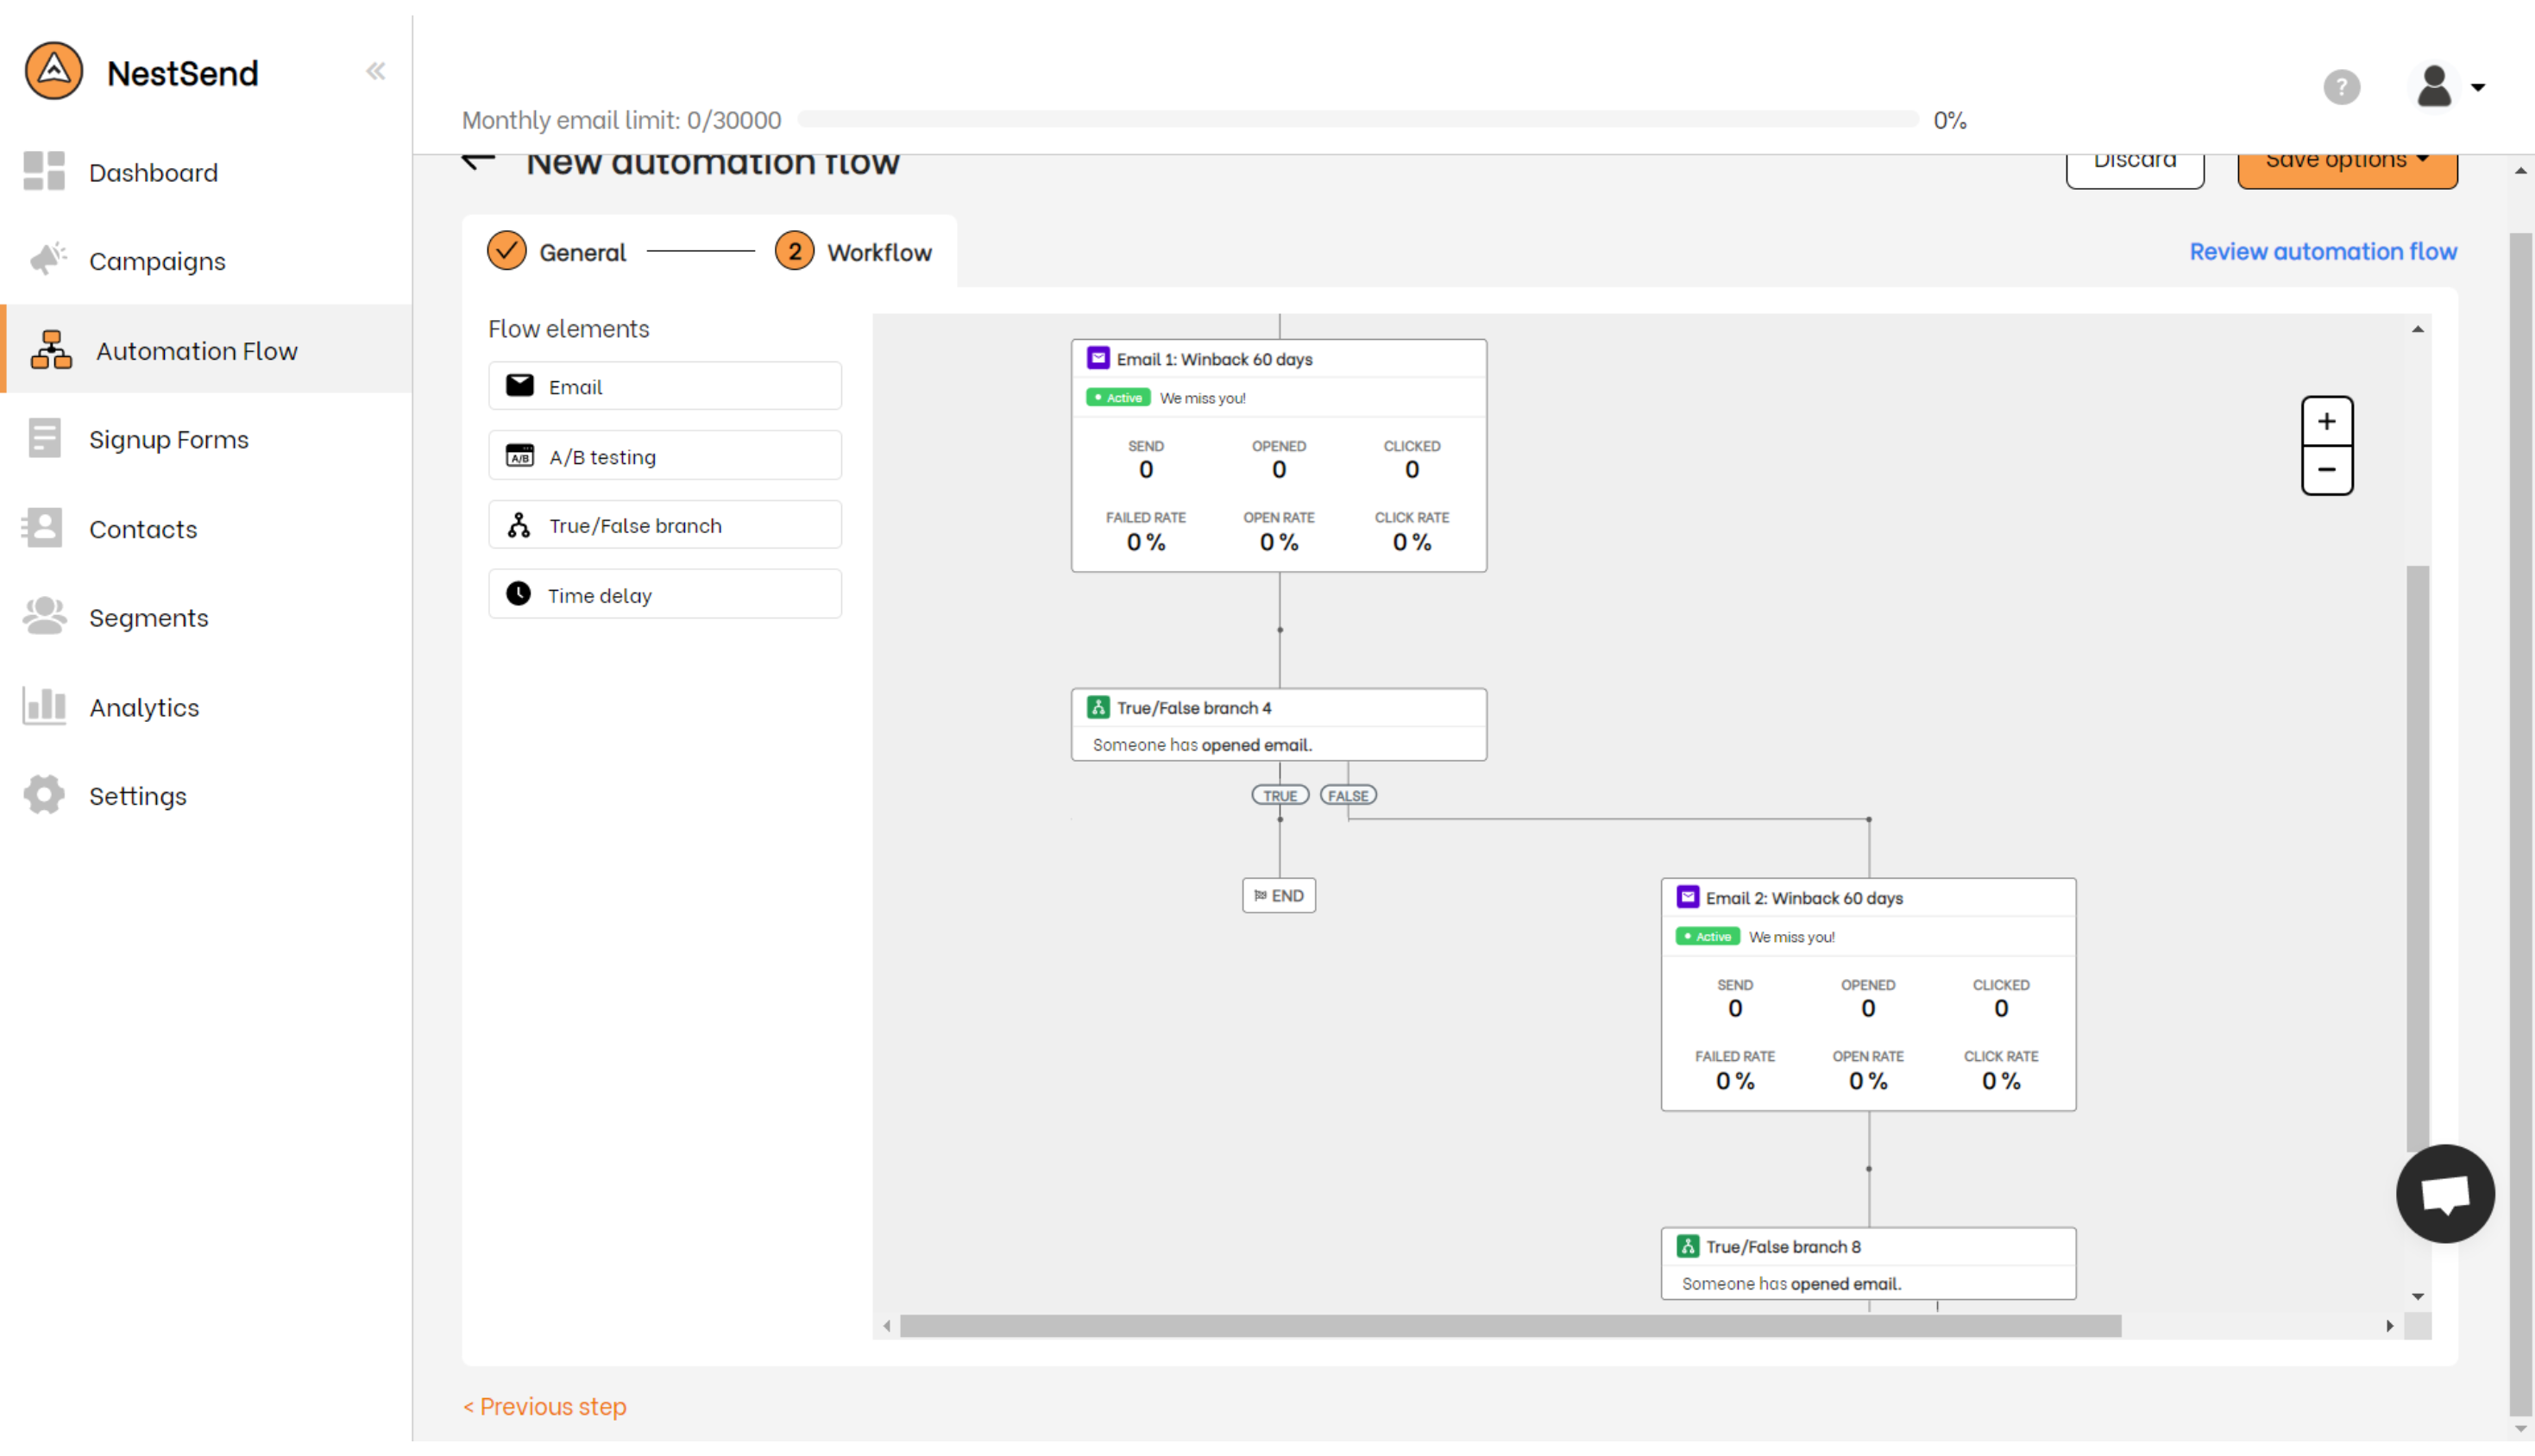
Step 5: Further customize your automation flow
To enhance the winback emails flow experience, it’s recommended to further customize the automation email flow based on your preferences. You can achieve this by utilizing time delay or true/false features to tailor the email flow that best suits your needs.
Setting this up is very simple, and you don’t need to be a tech expert to do it. However, if you need any assistance, don’t hesitate to get in touch with NestSend’s experts.
Ready to Win Back Your Customers?
We hope this guide has been helpful in your journey towards winning back your customers. Remember, writing a great winback email and setting up an effective automation flow takes time and effort, but the payoff is worth it. And if you ever need a helping hand, feel free to reach out to us. We’re always here to support you on your path to success!