If you’re running a Shopify store, chances are you’ve dealt with the challenge of showing the right images for the right product options. Whether it’s color, size, or material, your product images need to match what the customer selects – without confusion.
In this guide, I’ll walk you through 3 effective ways to add variant images on Shopify:
- Manual variant image assignment (great for simple setups)
- Bulk editing in Shopify (suitable for fast setups)
- Using the NS Color Swatch Variant Images app (perfect if you want advanced control like multiple images per variant, hover previews, and swatch styles)
Let’s break them down so you can decide what works best for your store.
| Method | Preferable for | Customization level | Setup time |
| Manual image assignment | All Shopify stores | Basic (1 image/variant) | Quick (Basic setup) |
| Bulk editing in Shopify | Larger catalogs needing faster edits | Moderate | Moderate |
| NS Color Swatch Variant Images app | Stores needing multiple images per variant | Advanced | Fast (~2 mins) |
Method 1: Manually add individual images
Shopify allows you to assign a single image to each product variant using its built-in features. Here’s how:
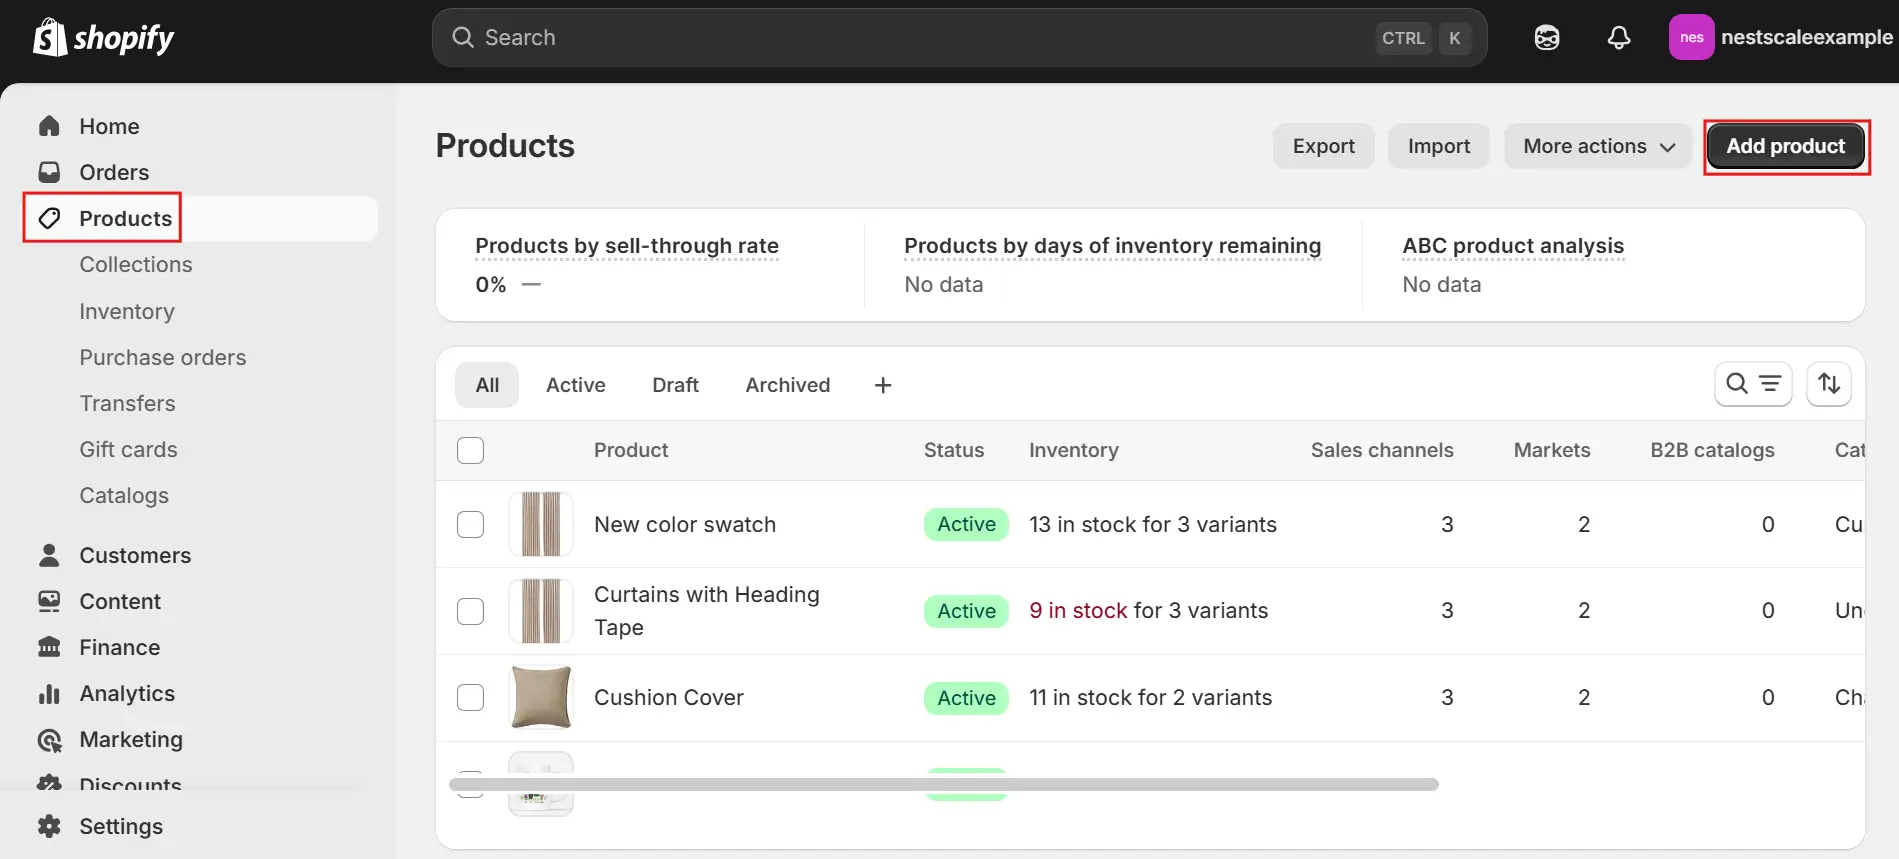
Step 1: Access your product in Shopify admin
1. Log in to your Shopify admin panel.
2. Navigate to Products and select the product you want to edit.
Step 2: Assign images to variants
1. In the Variants section, click the image icon next to the variant you want to assign an image to.
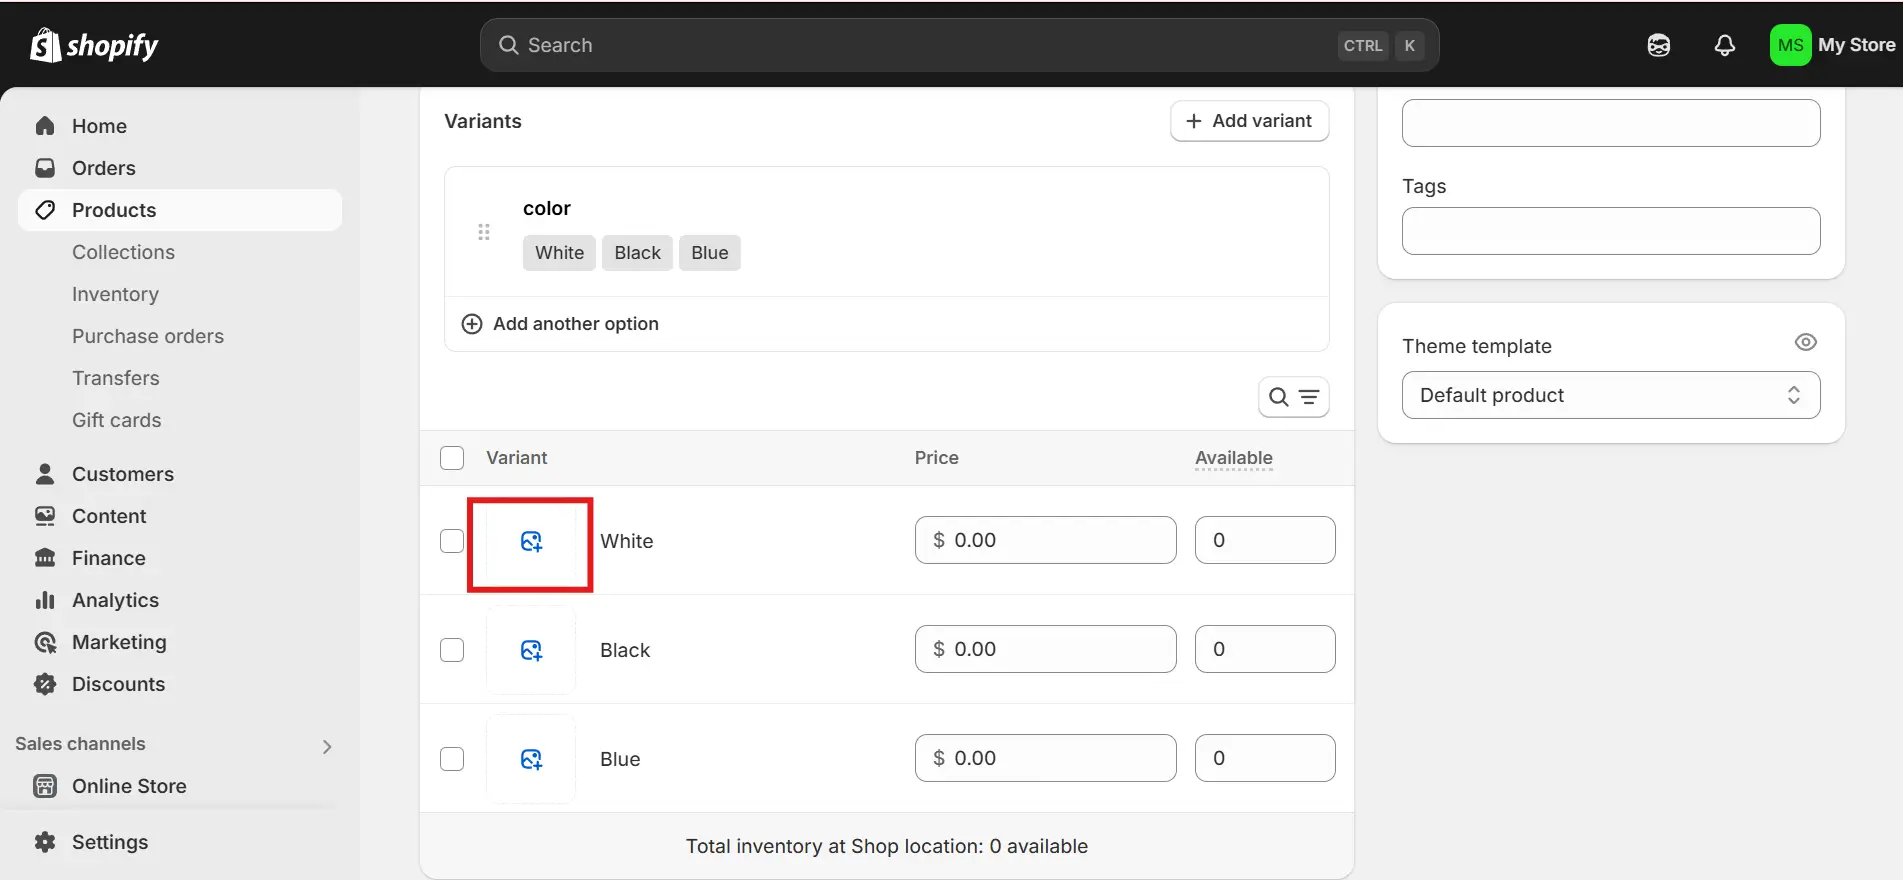
2. Select an existing image or click Add image to upload a new one.
3. Click Save to apply the updates.
✅ Pros
- No additional app needed – built directly into Shopify
- Quick setup for small catalogs
- Clean and simple process for 1–2 variants per product
⚠️ Considerations
- Limited to one image per variant
- Can become time-consuming if you have a large catalog
- No support for styling or custom swatches
- Doesn’t support hover previews or mobile-friendly swatch interactions
Method 2: Bulk-editing your variant images
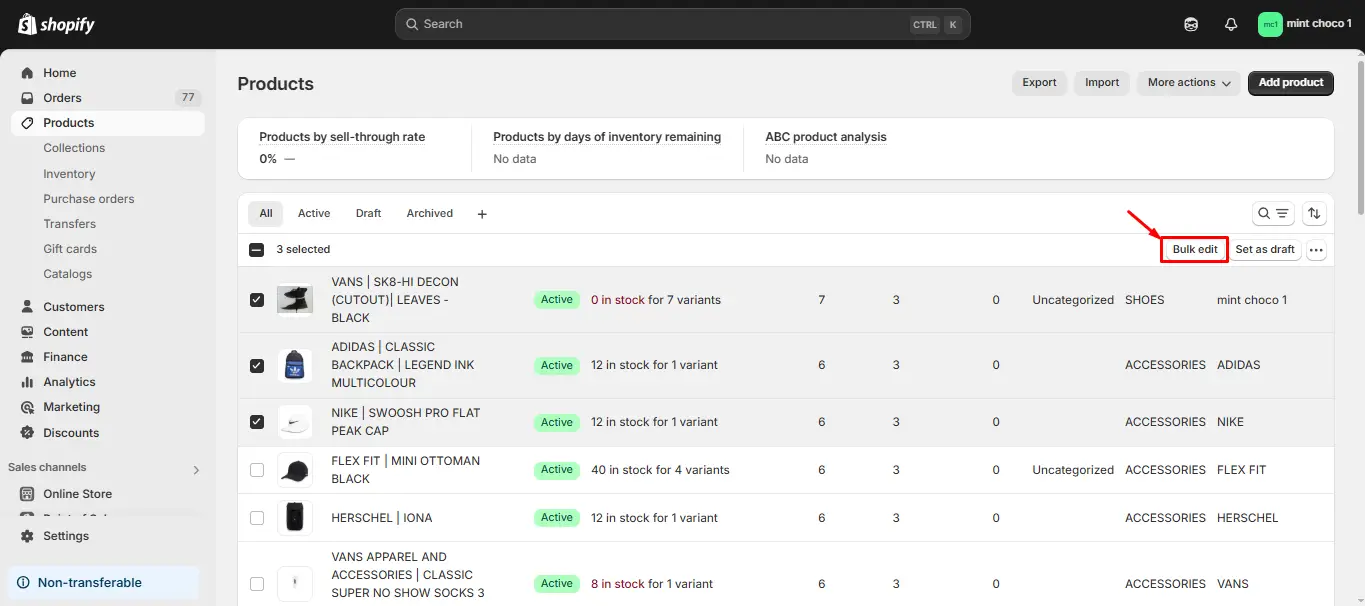
Step 1: Go to your product list
1. From Shopify Admin, go to Products
Step 2: Select multiple products
1. Use the checkboxes to select multiple products
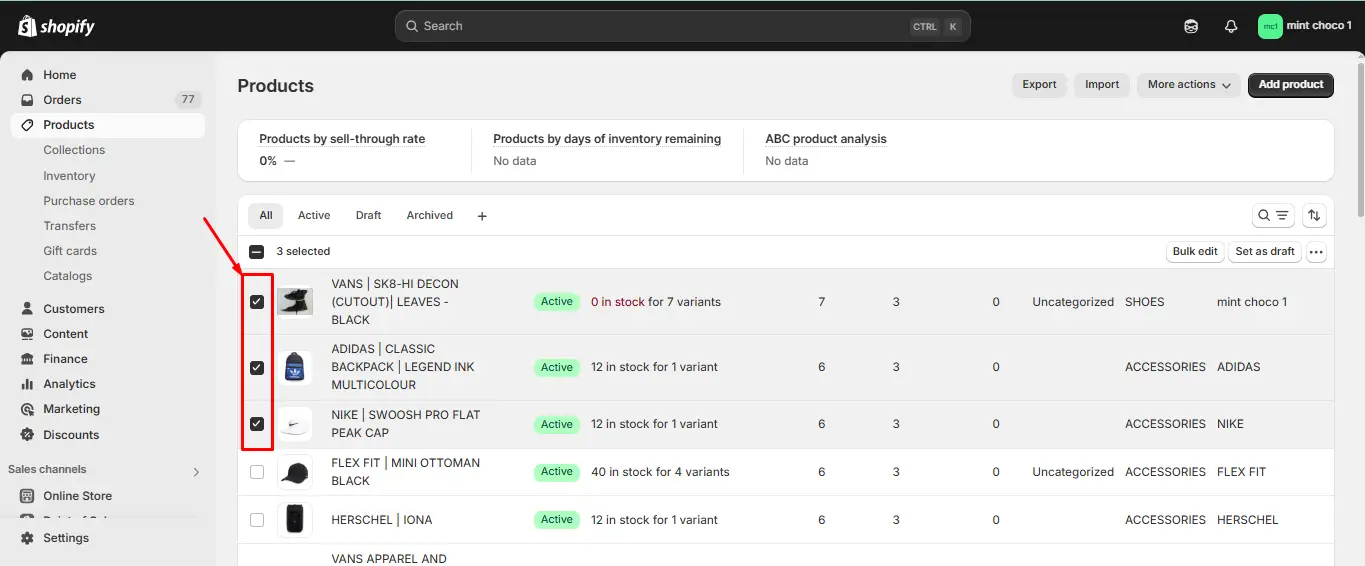
2. Click Bulk edit
Step 3: Customize the bulk editor
1. Click Columns > Product media columns if not already showing
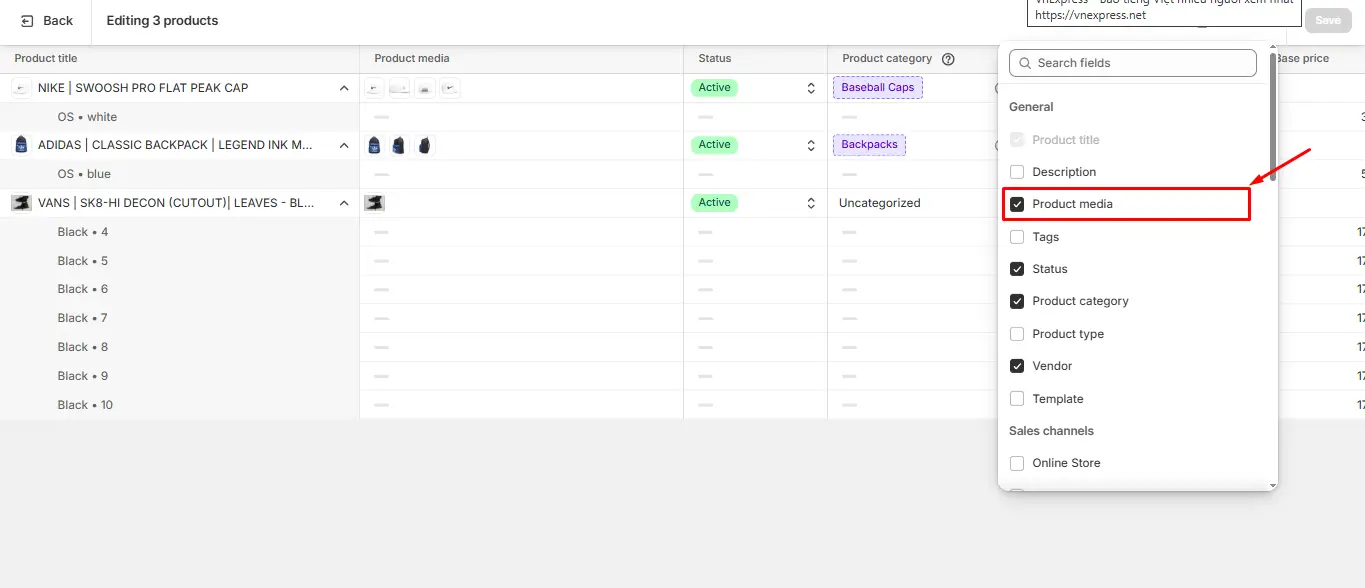
2. You can now bulk upload and assign images directly from here
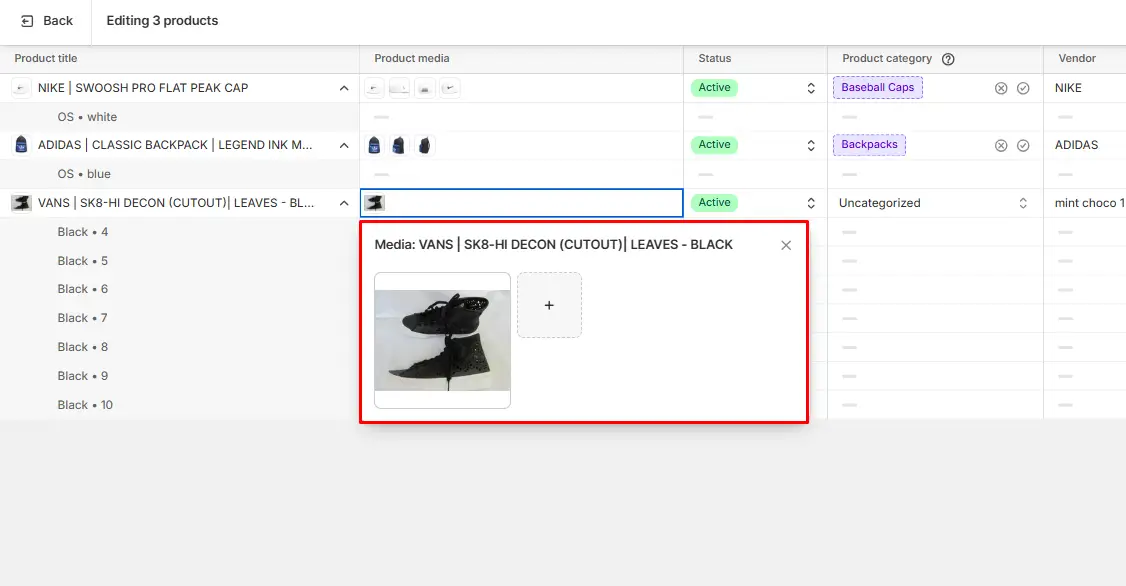
These will automatically update the images once you’re finished. However, just make sure each variant has the correct image assigned so the display matches accurately.
✅ Pros:
- Much faster than editing products one by one
- Built-in to Shopify, so no app installation needed
- Ideal for batch updates across multiple SKUs
⚠️ Considerations:
- Still limited to one image per variant
- Not visually intuitive – editing in a spreadsheet-style layout can be overwhelming
- No support for swatches, hover previews, or multiple images per variant
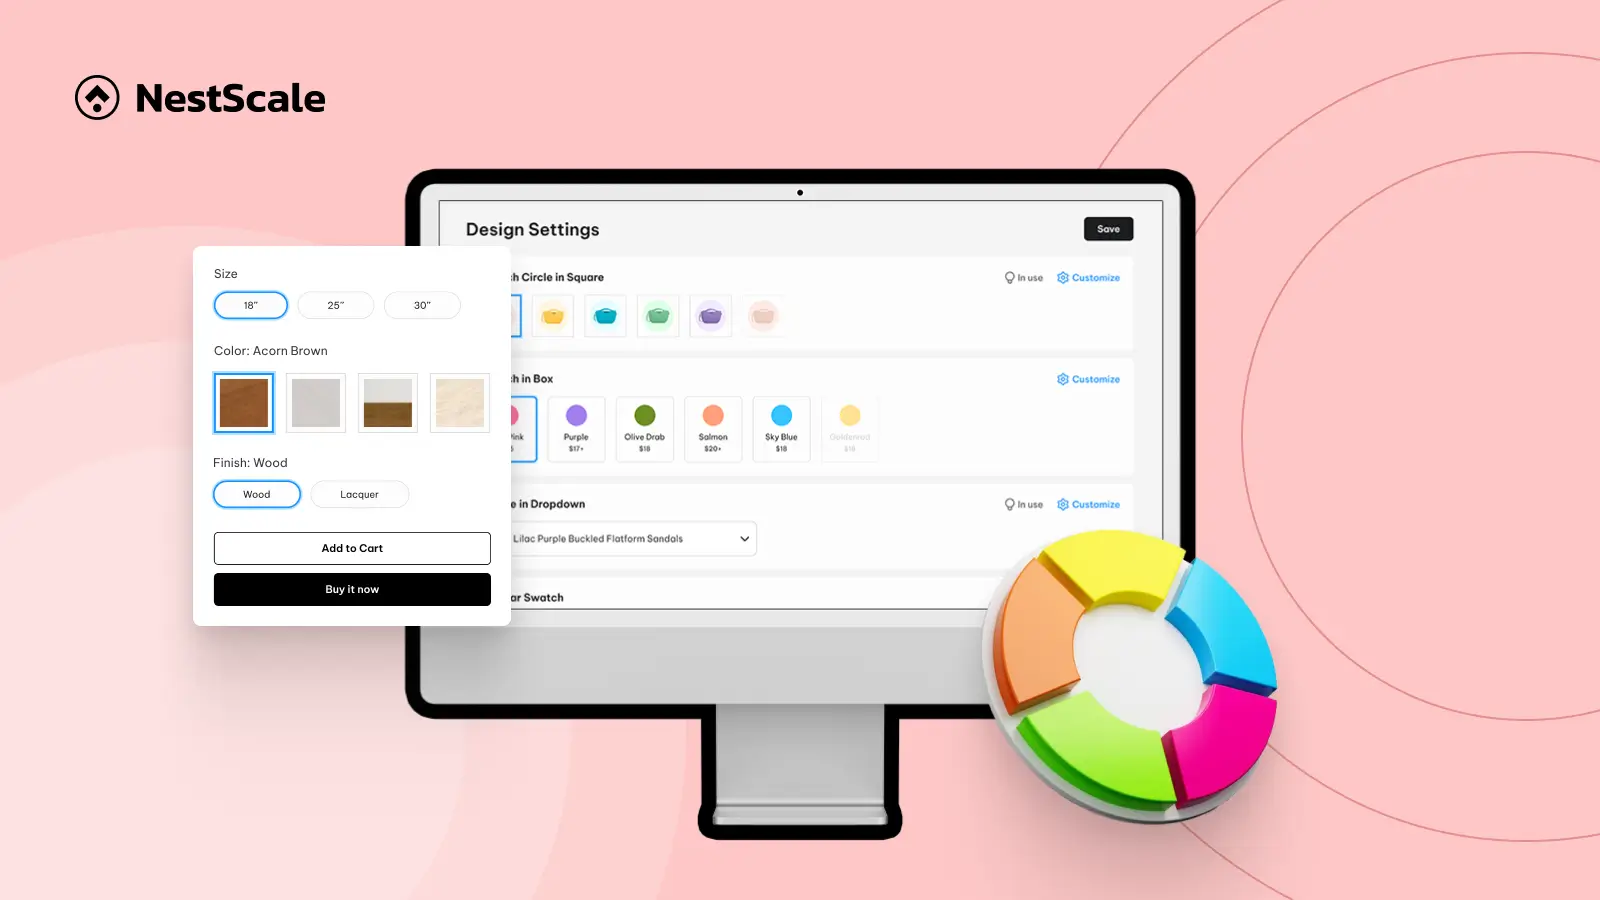
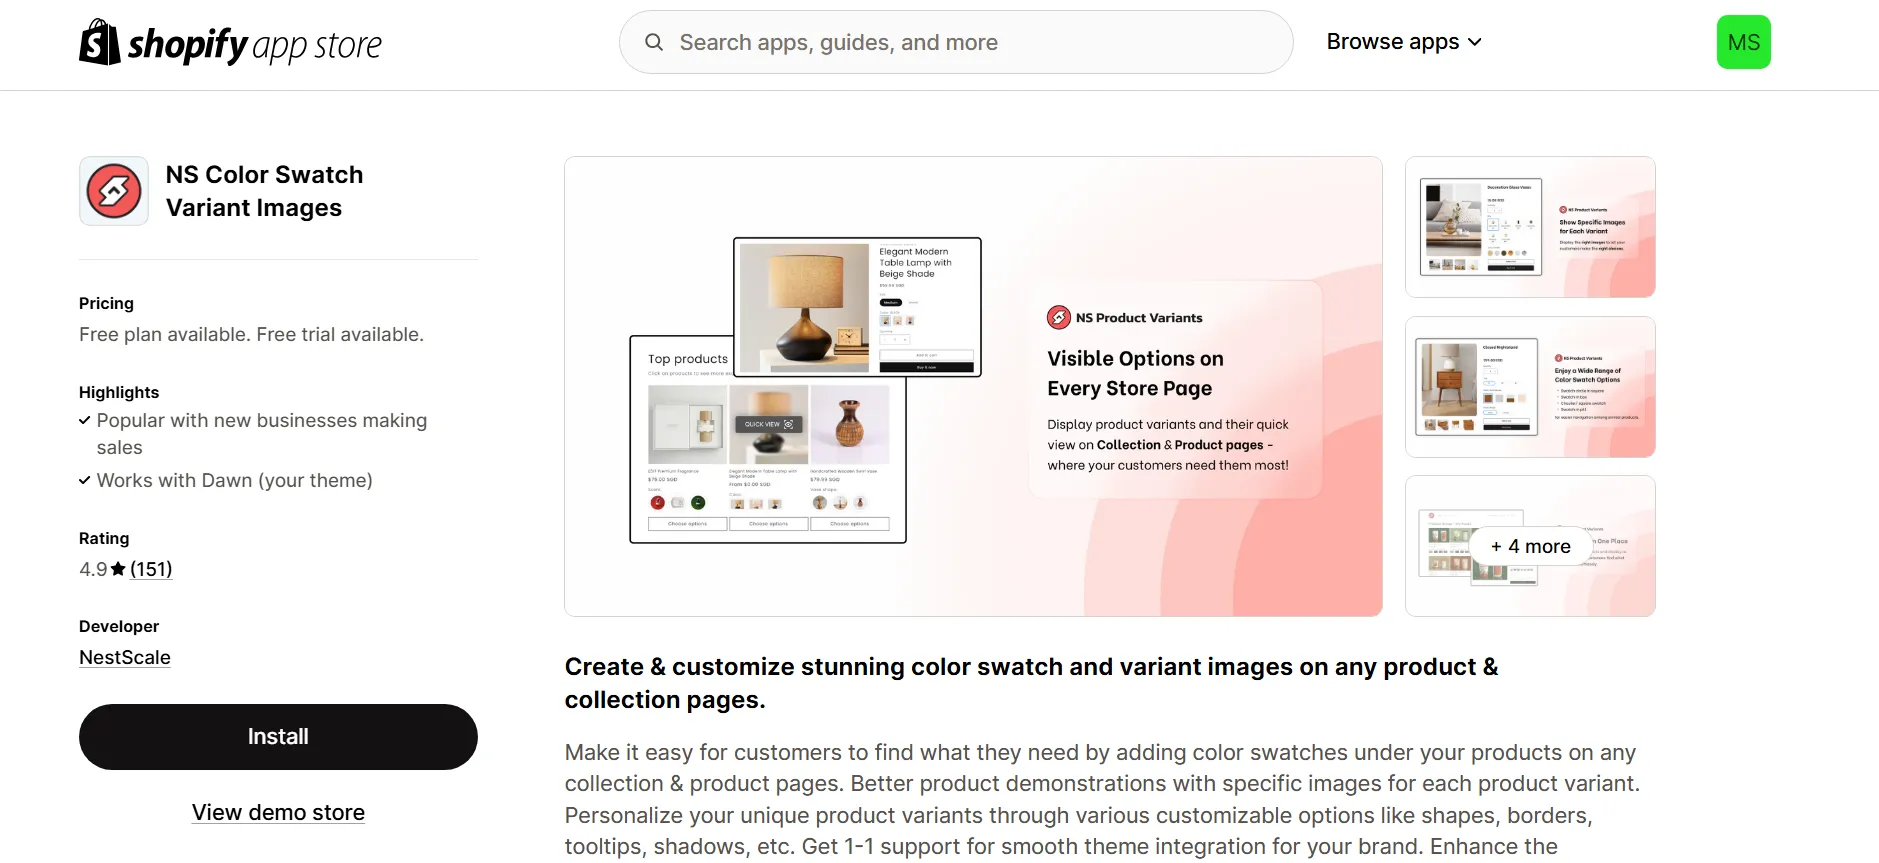
Method 3: Use NS Color Swatch Variant Images app
If you need to assign multiple image es per variant and enhance product page visuals, the NS Color Swatch Variant Images app offers advanced customization features such as swatch styles and variant-specific image displays.
Step 1: Install NS Color Swatch Variant Images
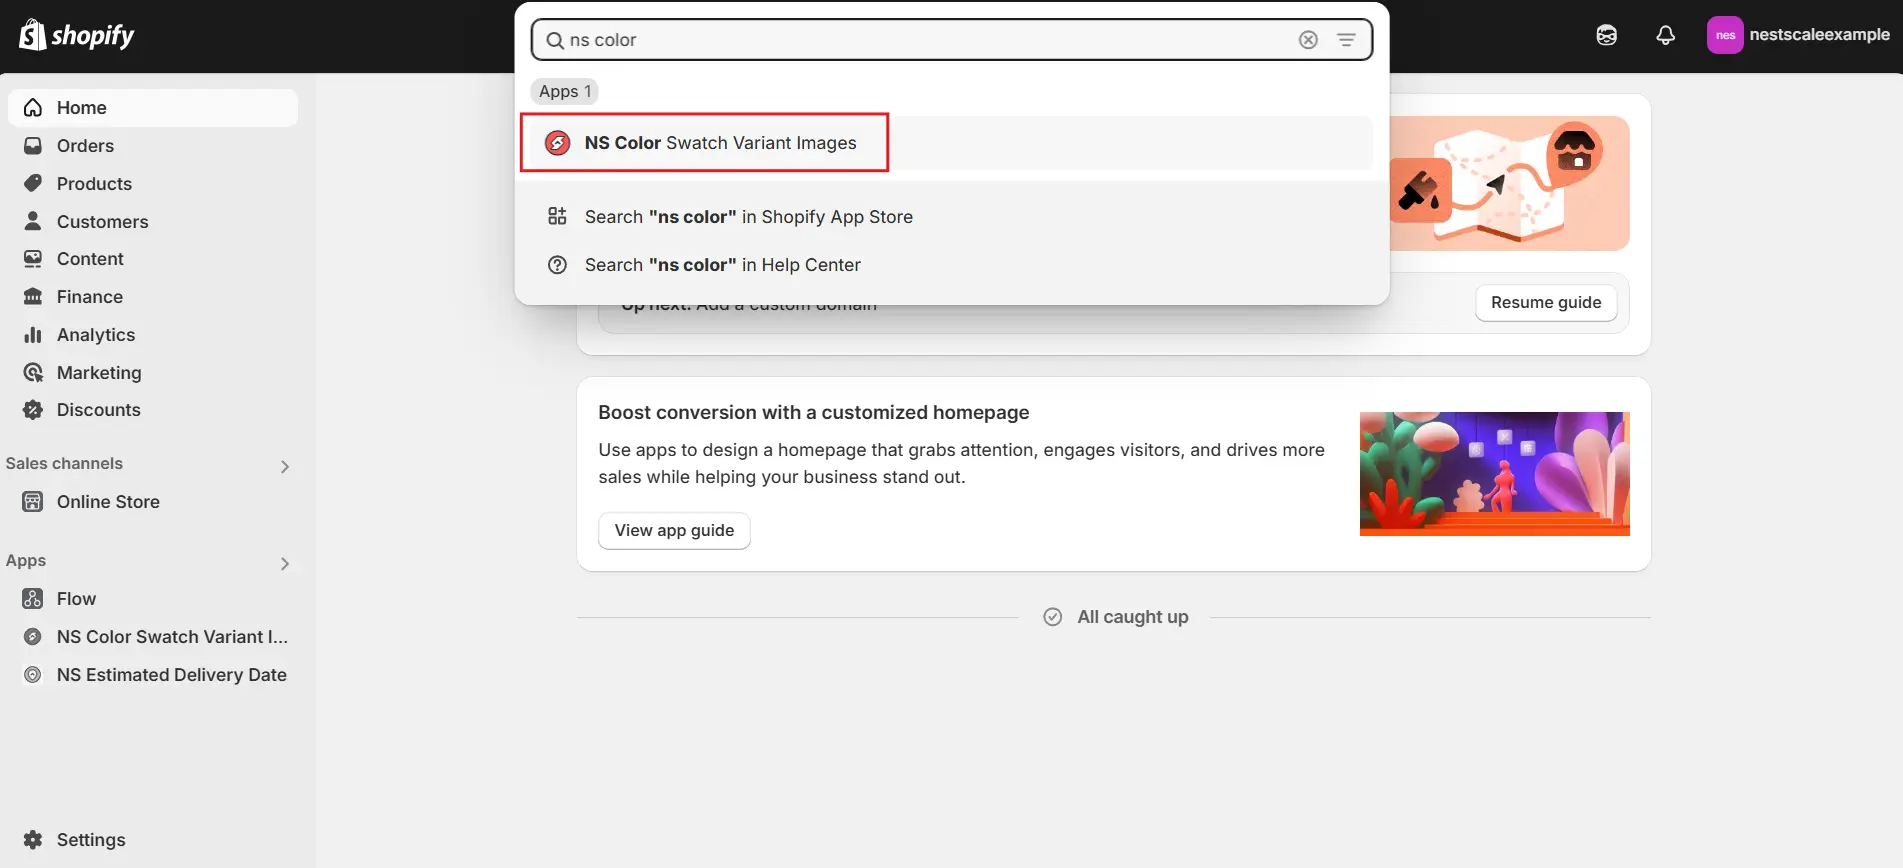
1. Go to the Shopify App Store and search for NS Color Swatch Variant Images.
2. Click Install to add the app to your Shopify store.
3. In your Shopify Admin, use the search bar to find the app.
4. Click on the app to open it.
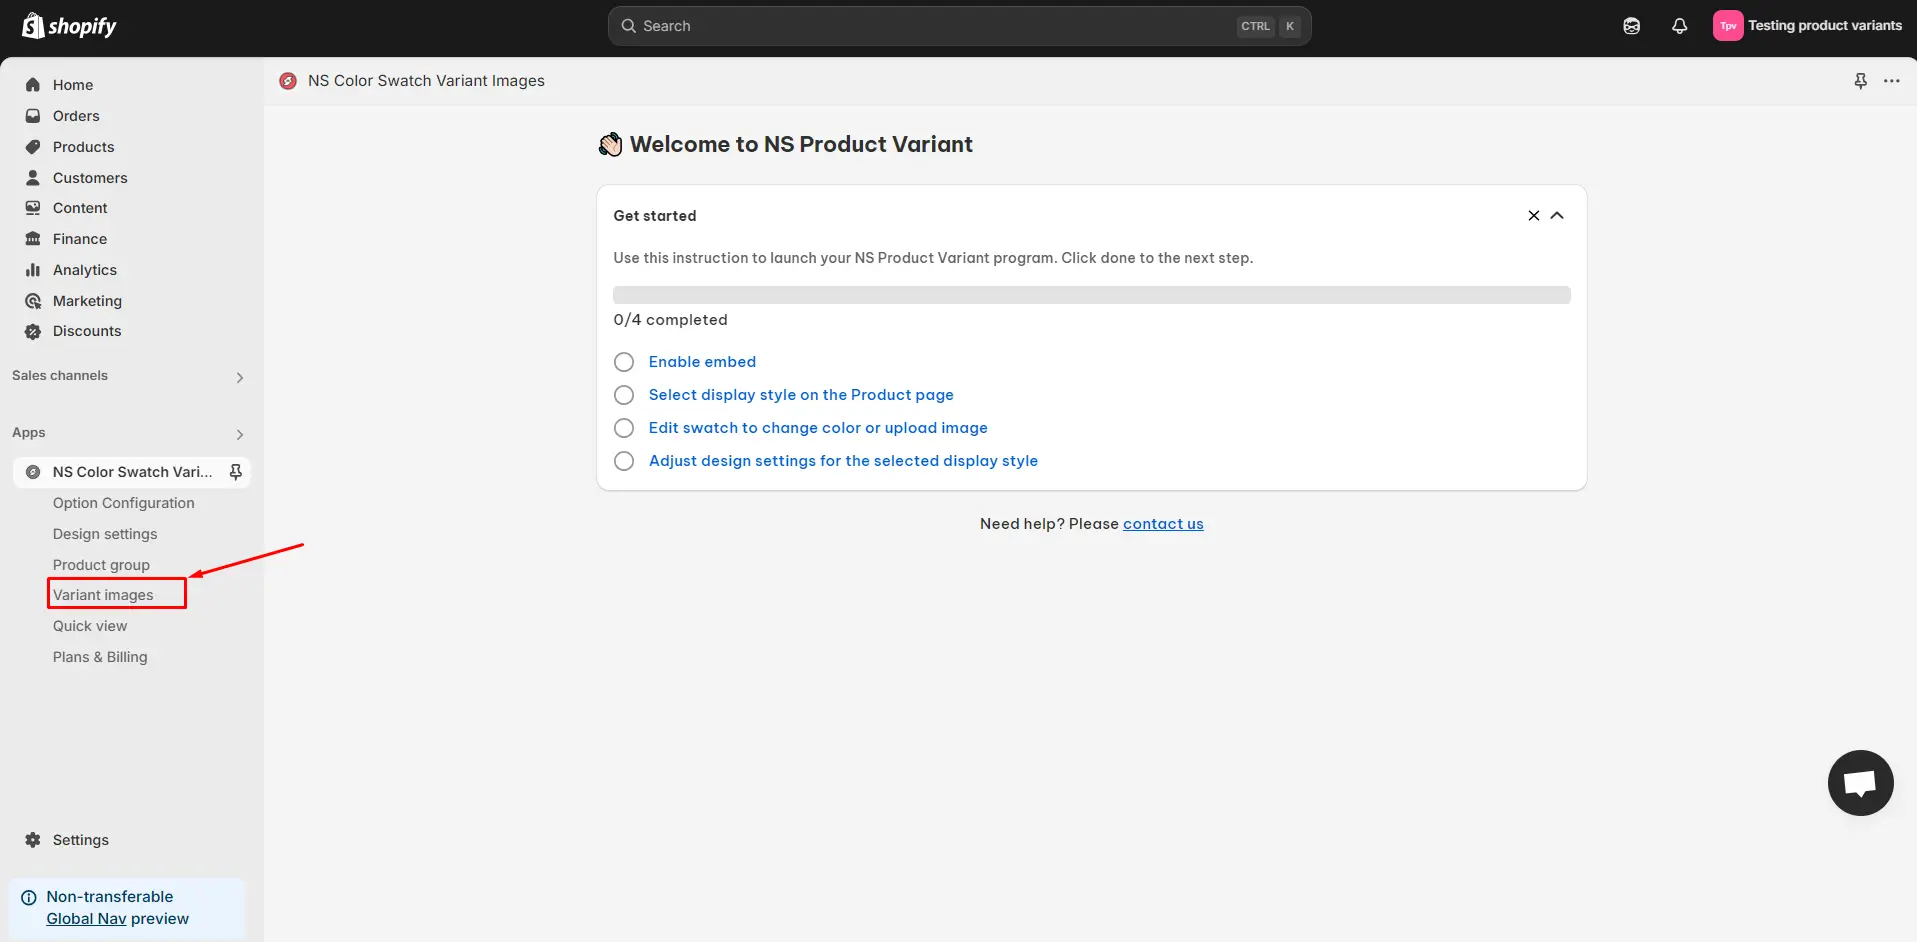
Step 2: Set up the app
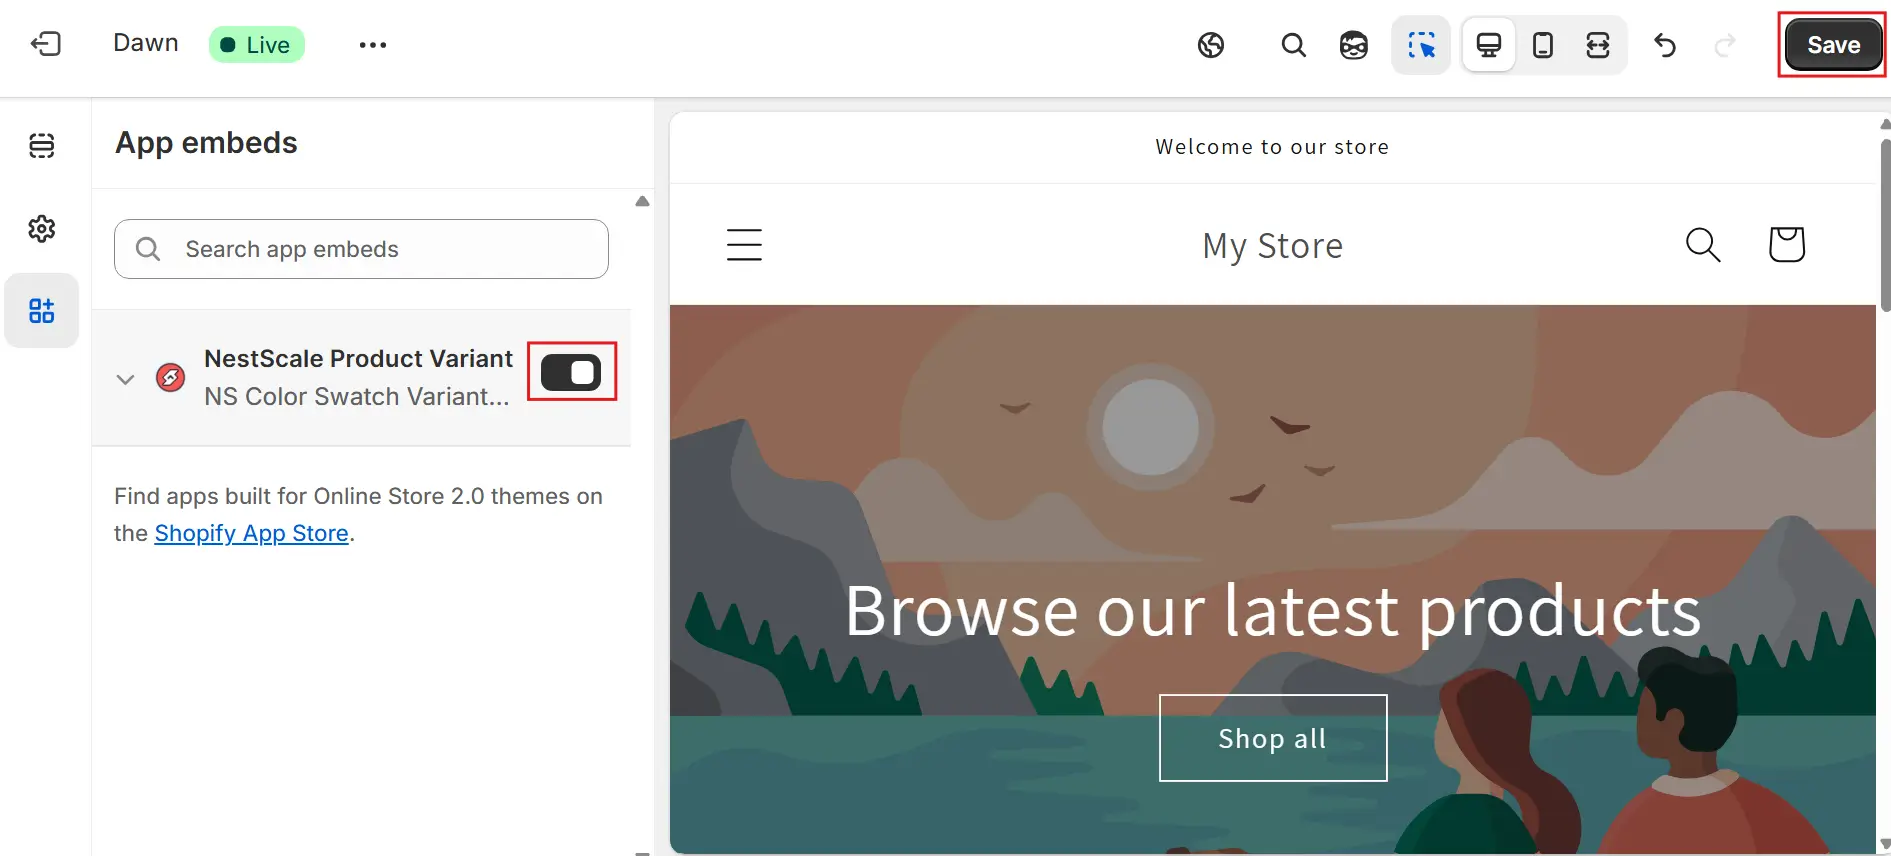
1. Follow the onboarding instructions provided by the app.

2. Enable embed by toggling this button and Save.
Step 3: Upload image to each of the variant
1. Choose variant images.
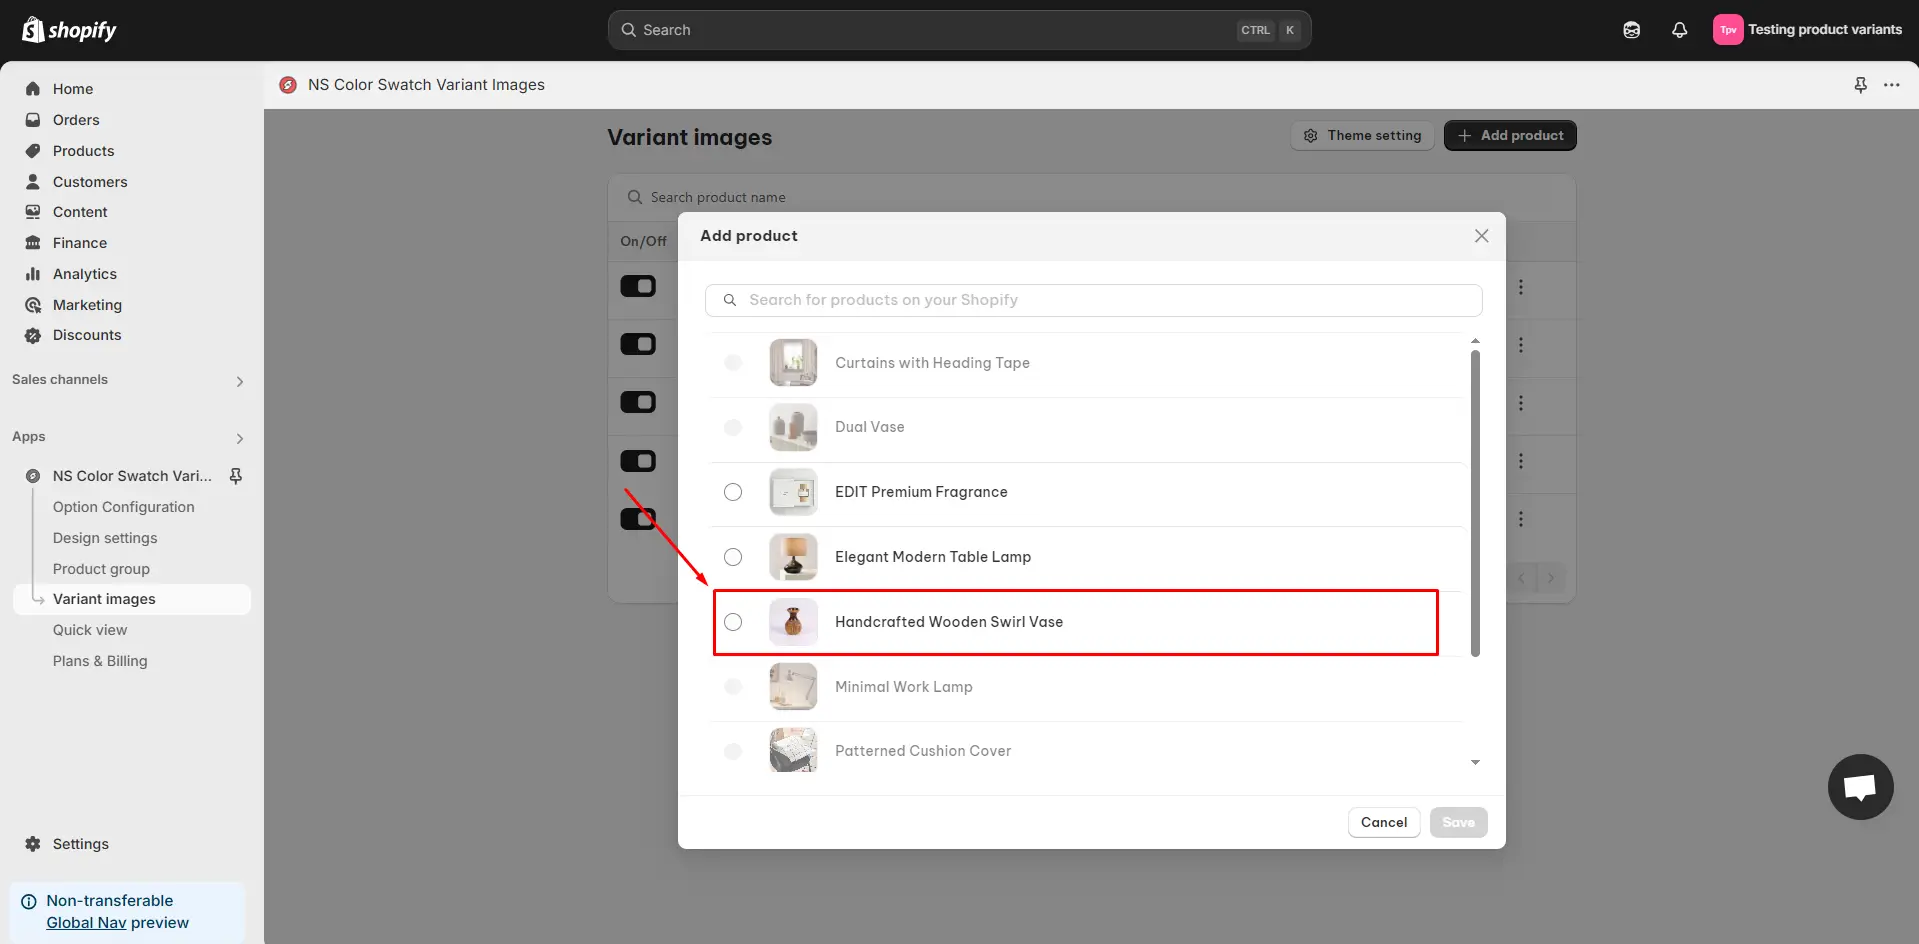
2. Click Add Product.
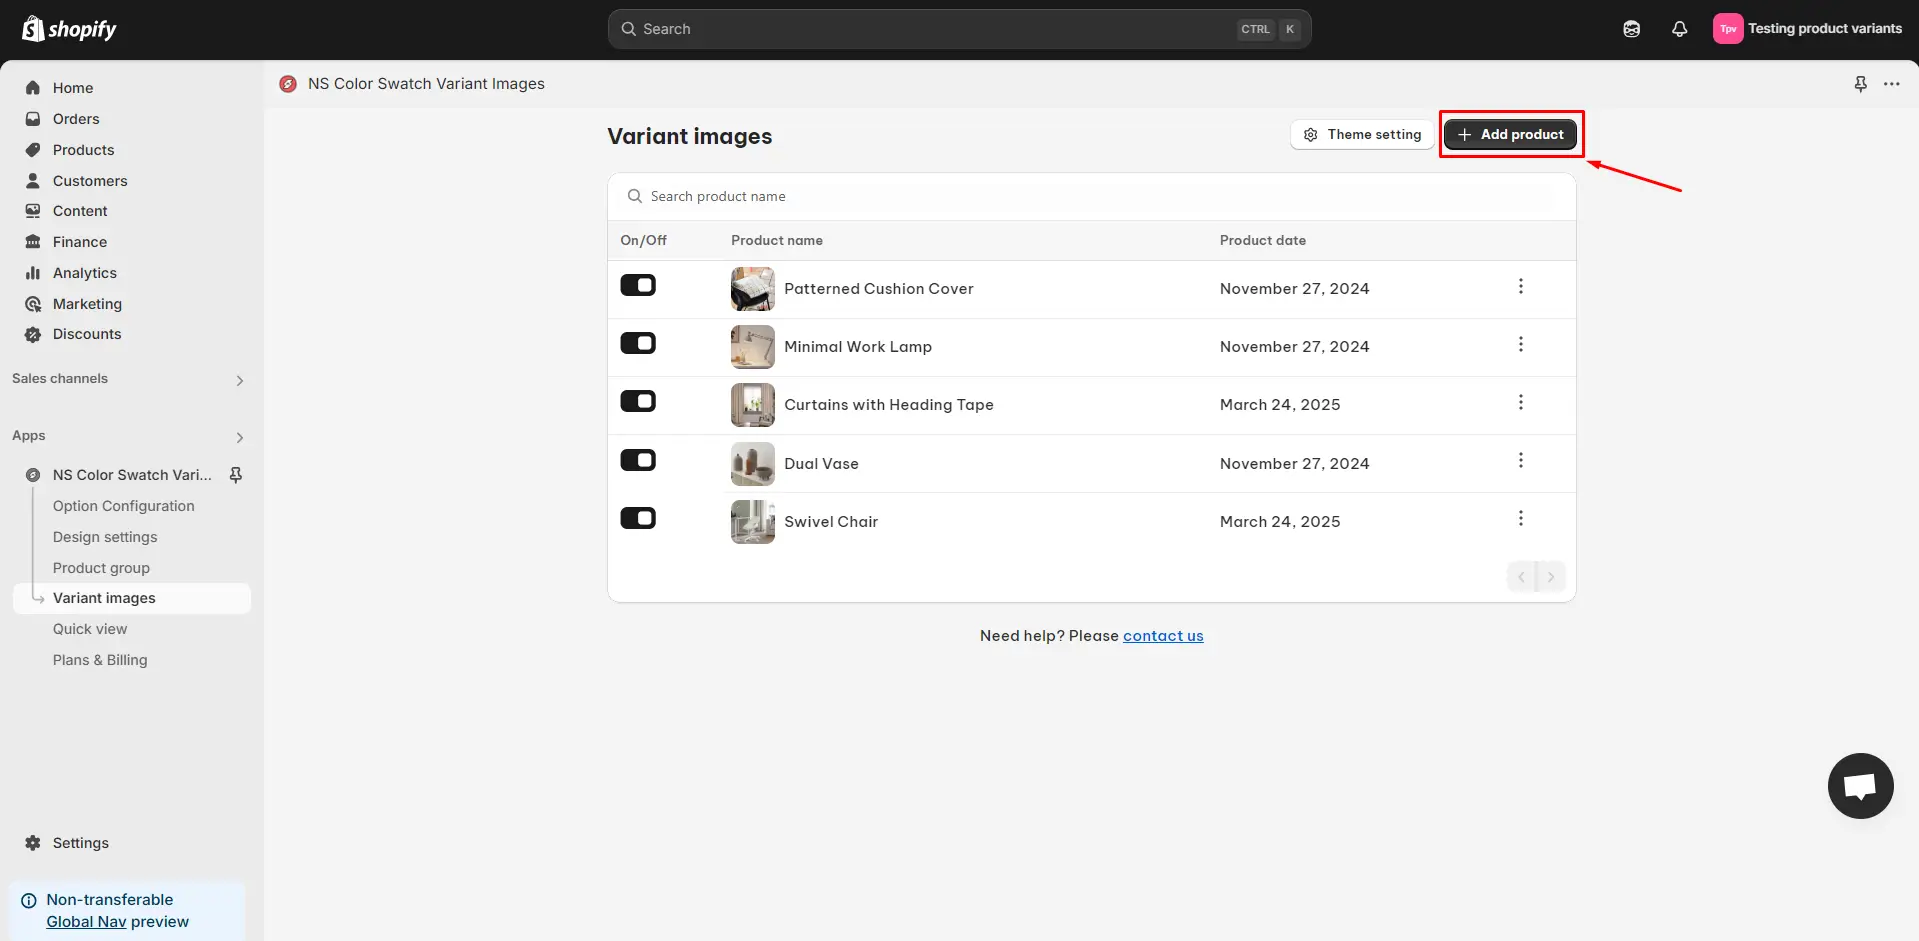
3. Choose the product you’d like to add an image to.
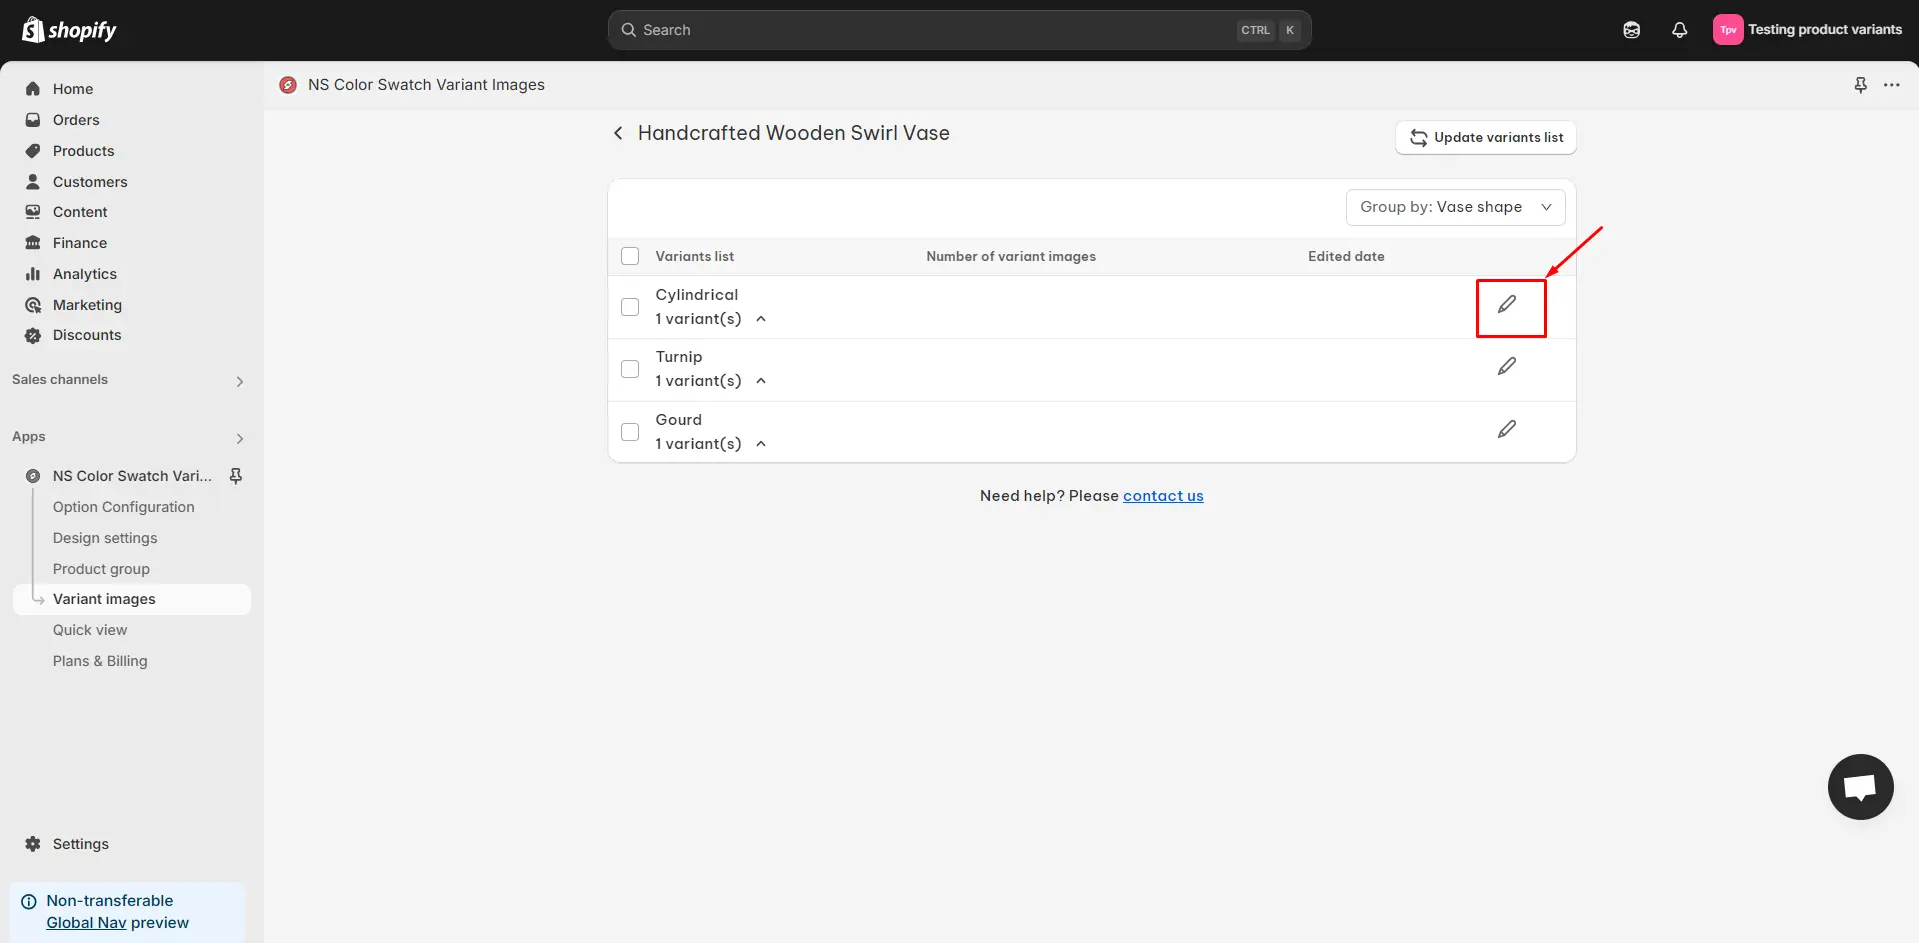
4. Click the Edit icon to add images to your variant.
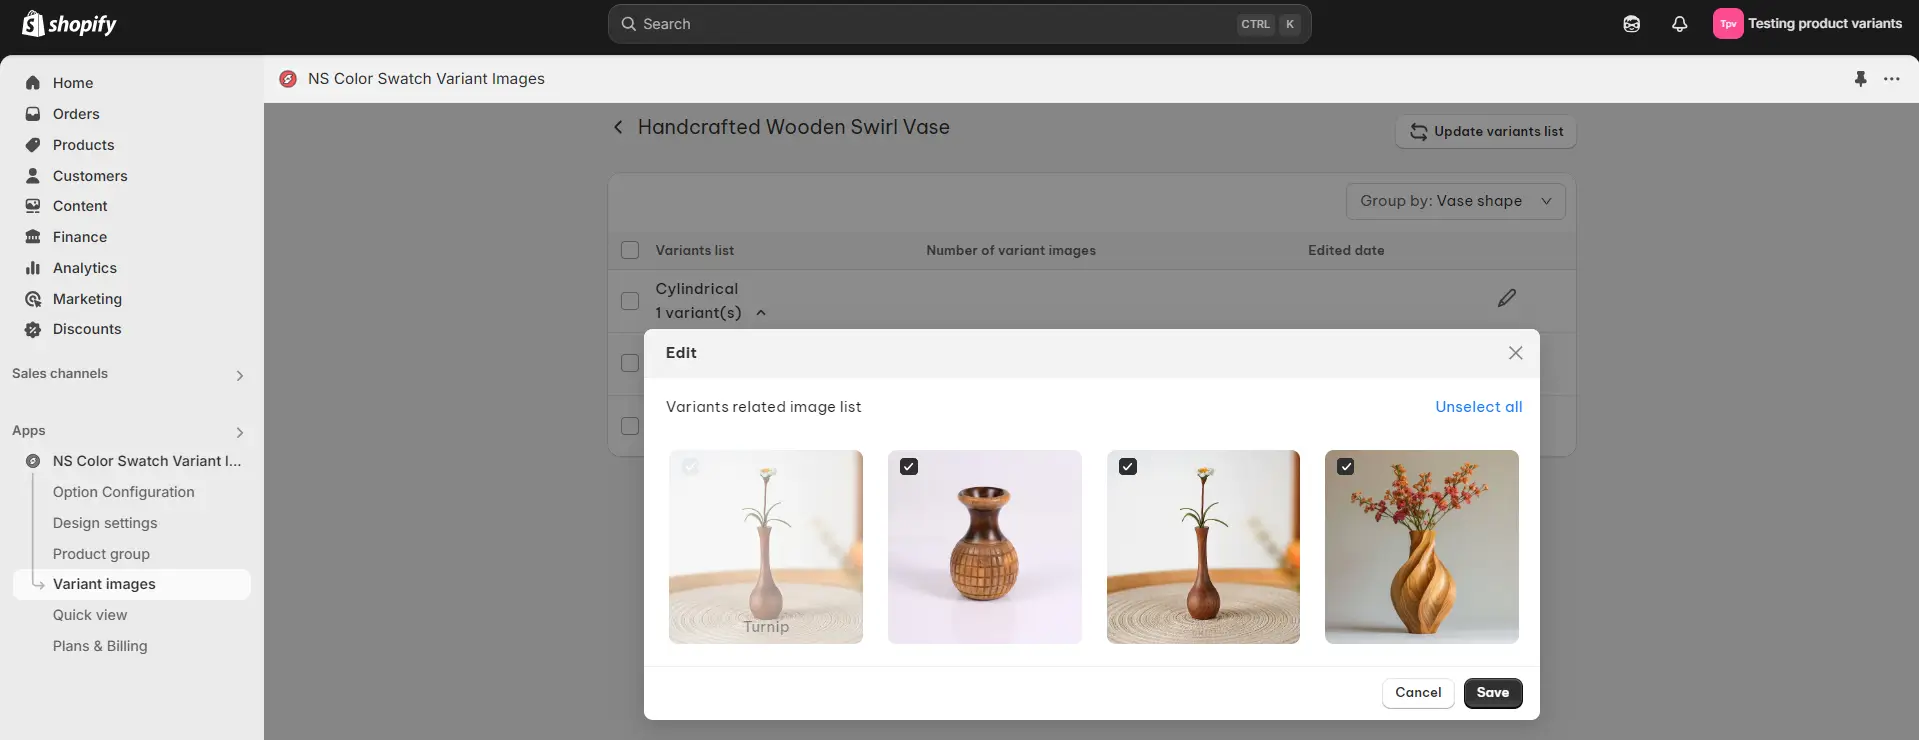
5. Choose an image from your uploaded media and add it to your variants. Once you’re ready, the image will be displayed in the assigned variant.
✅ Pros:
- Supports multiple images per variant
- Adds professional-looking swatches and image previews
- Fully customizable (size, shape, layout, hover effect, etc.)
- Mobile-friendly and no coding required
- Easy to set up (just a couple of minutes)
⚠️ Considerations:
- Requires installing a third-party app (though it has a free plan)
- Swatch setup may take extra time initially if you have many products
- Make sure it’s embedded properly with your theme (1-click setup usually works, but double-check)
FAQs
Q: How can I show the correct variant image when a customer selects an option?
A: Shopify automatically updates the product image when a variant is selected if that variant has an image assigned. If it’s not working, ensure each variant has its own image, check that your theme supports dynamic image switching, and clear your browser cache or look for conflicting apps. For more control and styling, consider using the NS Color Swatch Variant Images app.
Q: How do I add more than 100 variants on Shopify?
A: Shopify limits each product to 100 variants. To go beyond that, some apps on Shopify app store can solve this problem. These apps let you create additional custom options without hitting the variant limit.
Q: Can I change the size of variant swatches on Shopify?
A: Yes. Some themes let you adjust swatch sizes in the Theme Editor. If not, apps like NS Color Swatch Variant Images let you fully customize swatch size, shape, style, and layout to match your store.
Q: Can I show different images for each variant selection on Shopify?
A: Yes. For visual-heavy products, you can use an app like NS Color Swatch Variant Images to assign multiple images per variant and enable hover previews. It’s a great way to improve the customer experience without needing a full custom product builder.