Here comes a guide to add images for Shopify variant pickers on your store! In this article, you’re going to learn practical steps to:
- Add image swatches for variant pickers and customize their design for your store
- Assign multiple variant images for each variant picker
Let’s get started!
Add & customize image swatches for variant pickers
To start, you’ll need to install and set up NS Color Swatch Variant Images, then customize your swatches to show each variant picker visually.
Step 1: Install the NS Color Swatch Variant Images App
1. Open the Shopify App Store and search for NS Color Swatch Variant Images.
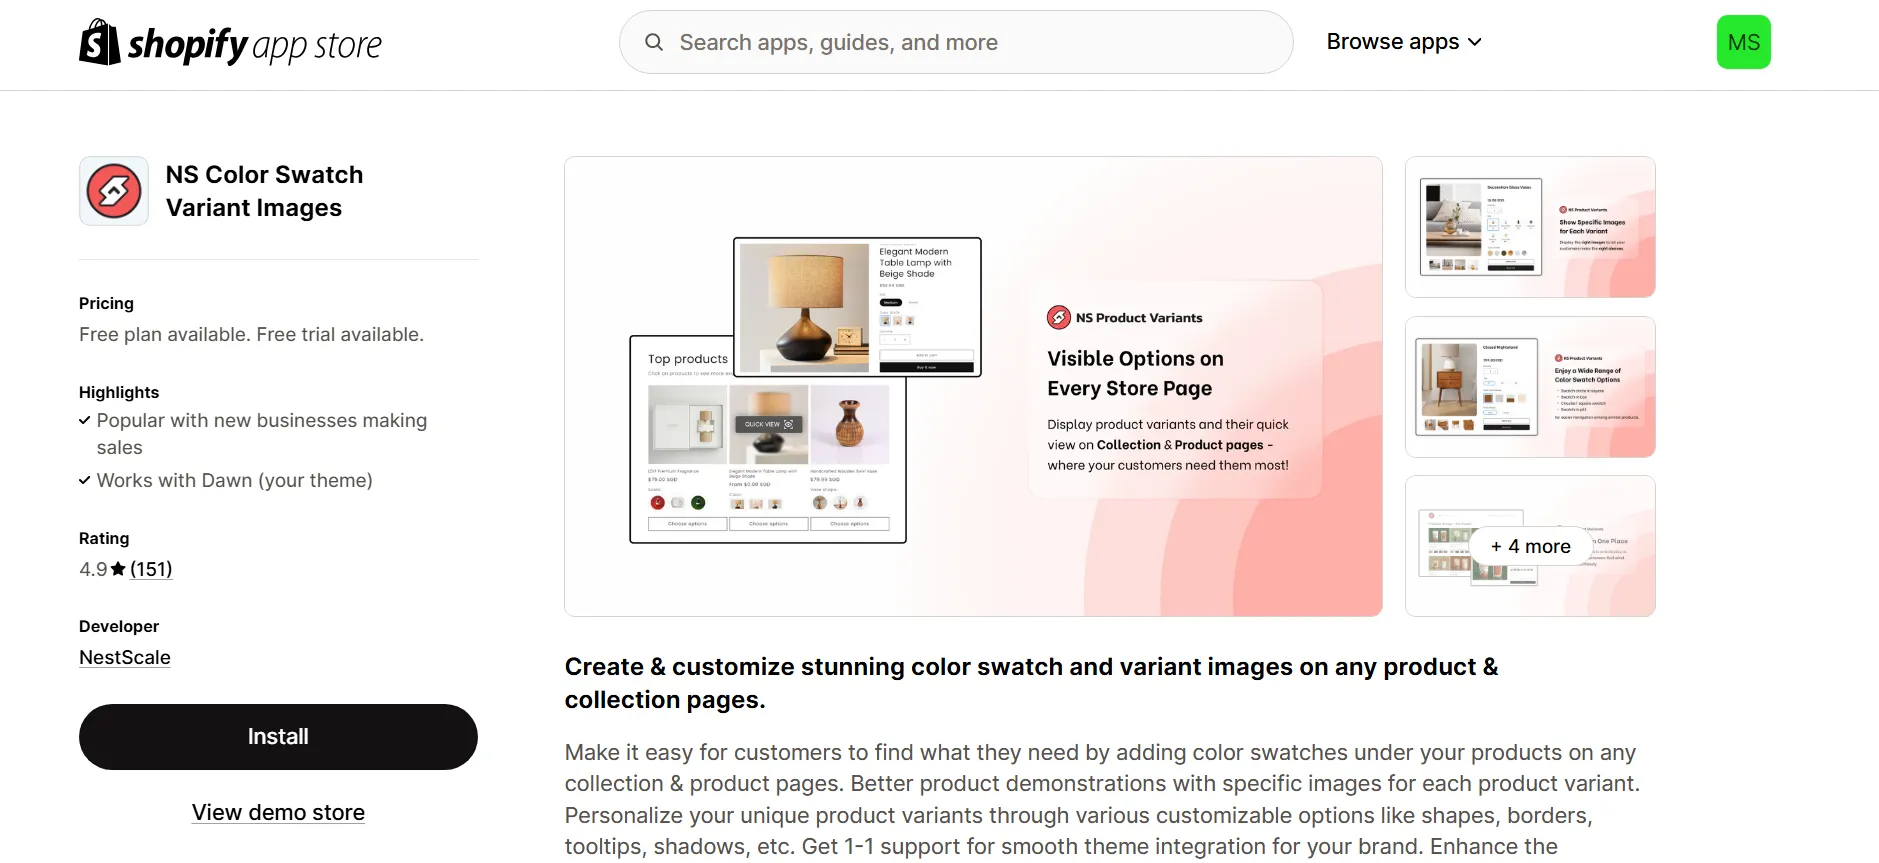
2. Click Install to add the app to your store.
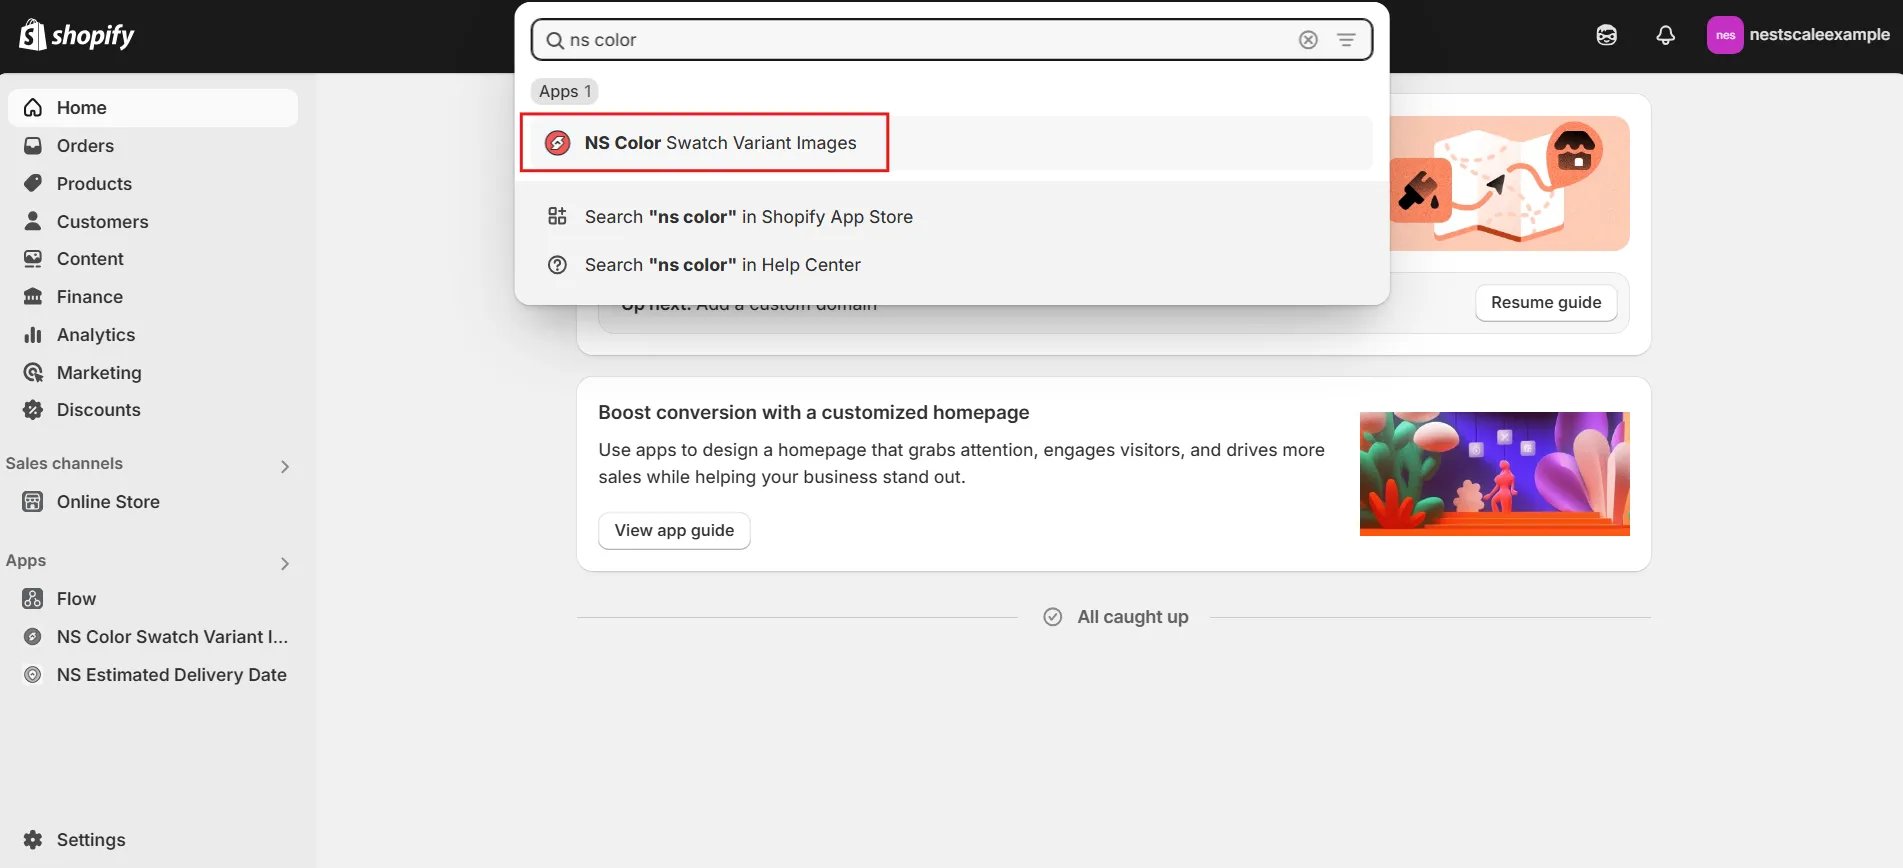
3. After installation, return to your Shopify admin, search for the app by name, and open it.
Step 2: Complete the initial setup
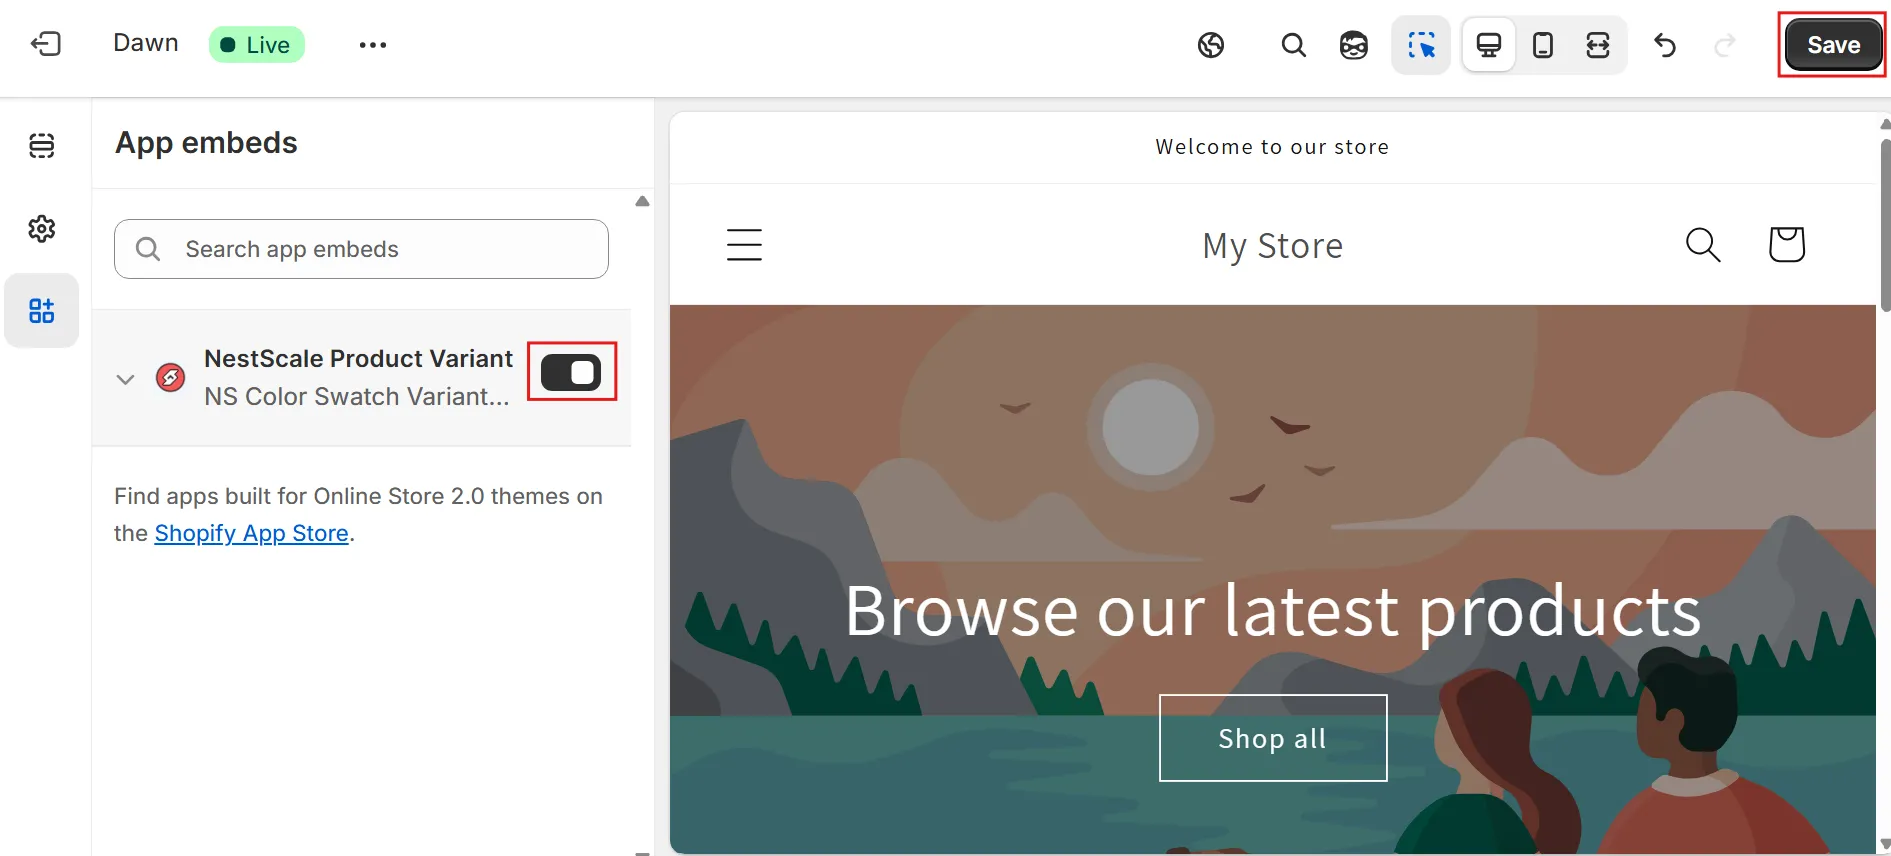
1. Follow the onboarding instructions displayed within the app dashboard.
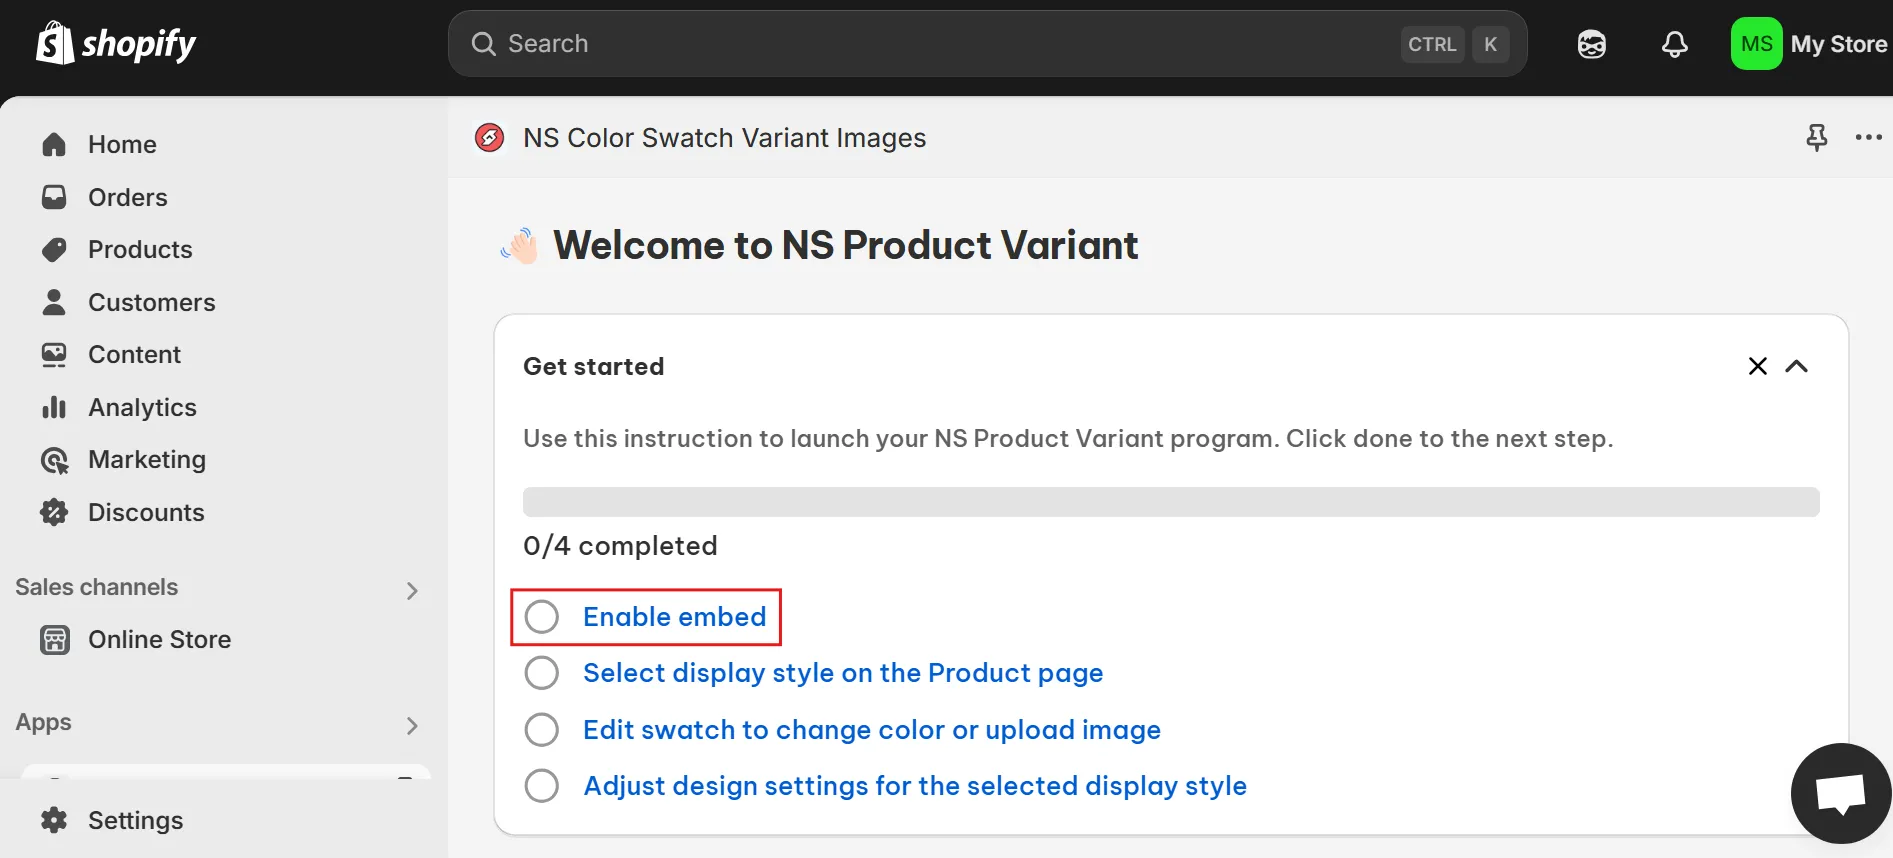
2. Navigate to App Embeds, turn on the toggle for NS Color Swatch Variant Images, and hit Save to activate the app.
Step 3: Set up image swatches for your products
1. In the app menu, go to Option Configuration.
2. Find your product options with search bar
💡 Your latest 100 products that have options will be auto-synced and appear in the option list. If you can’t find the options you want to customize, click Sync Product to add them to the list.
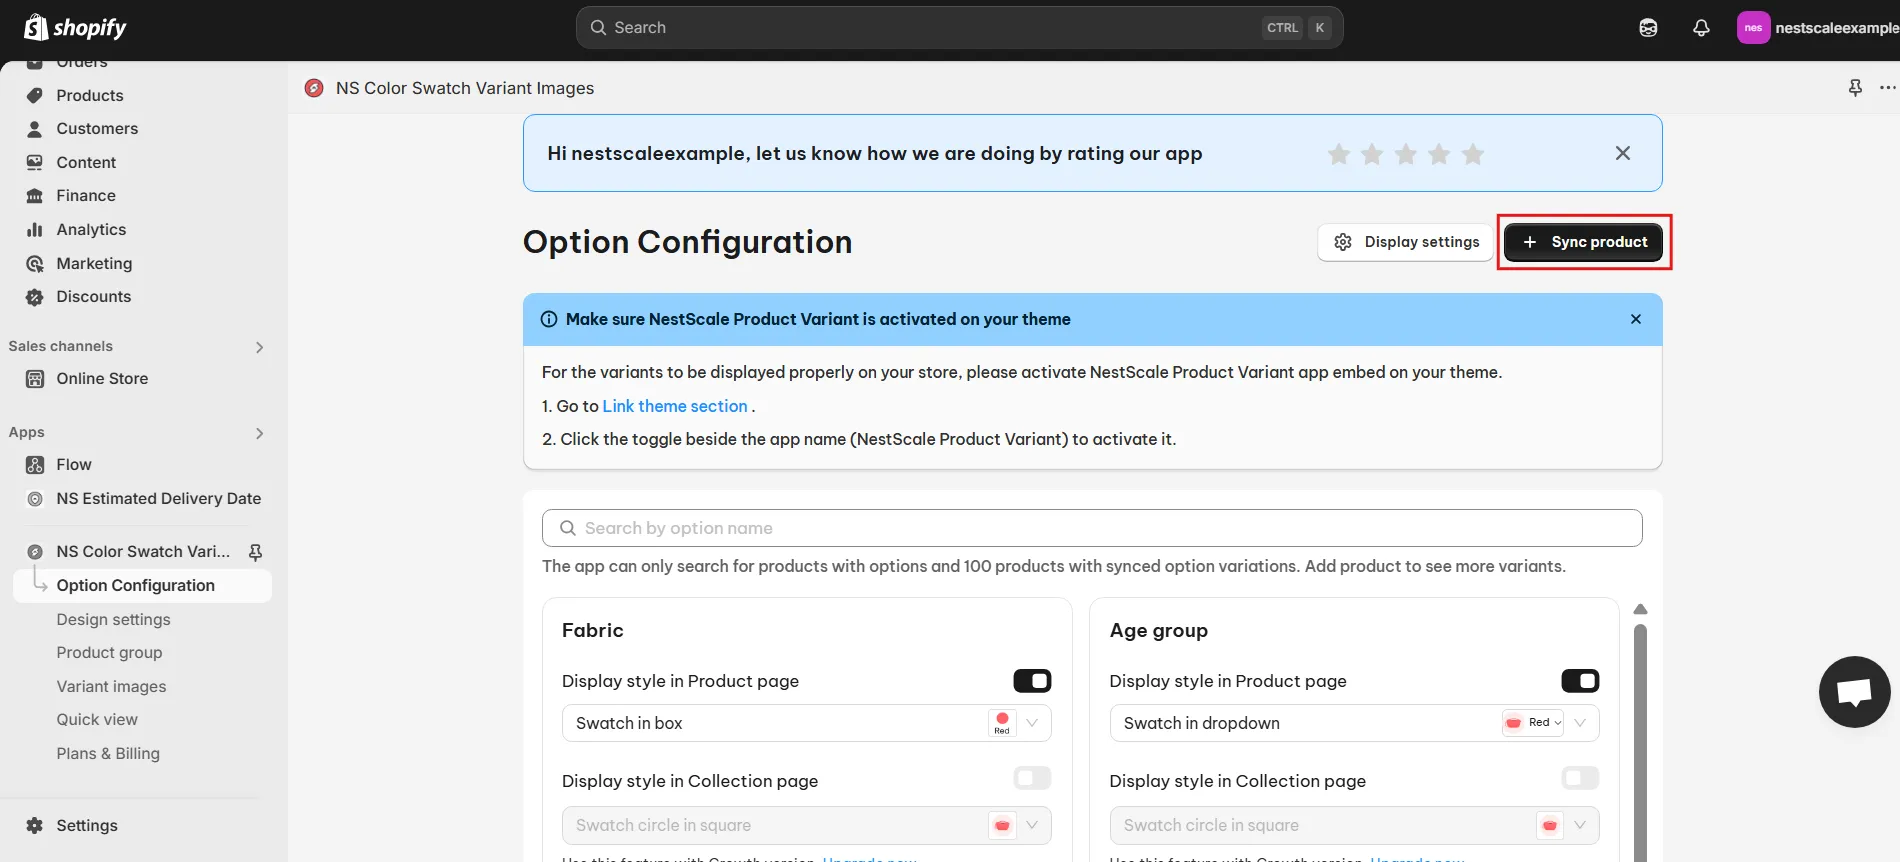
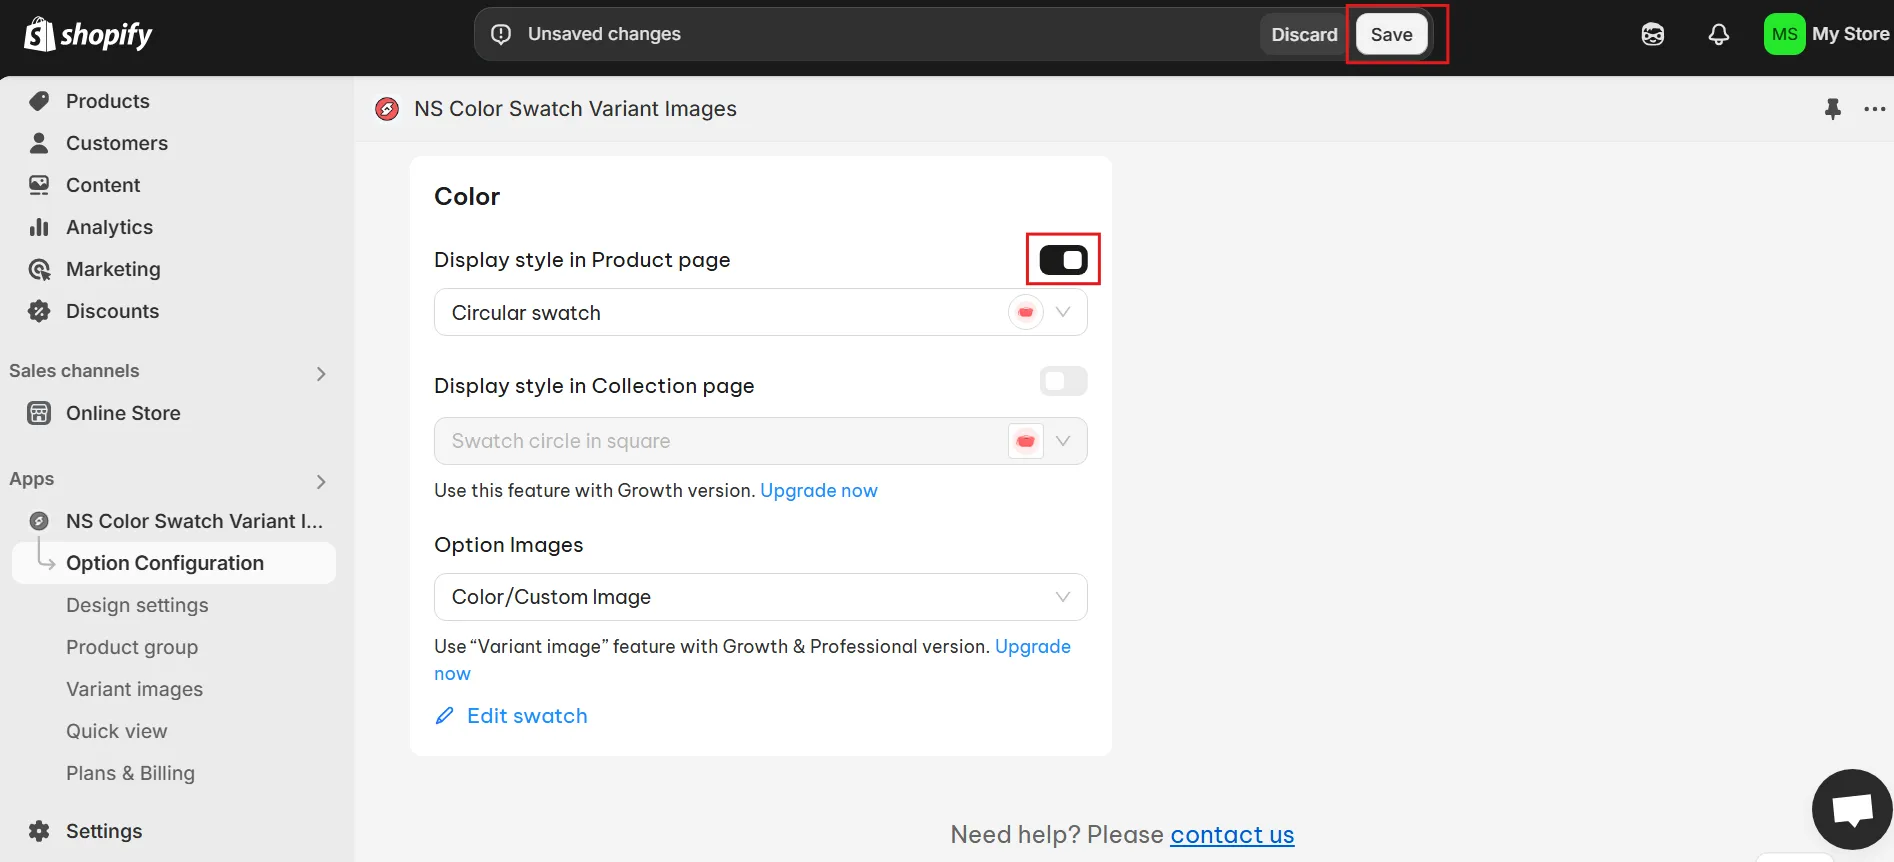
3. Select your preferred swatch display type from the dropdown.

5. Click Edit Swatch to begin editing.
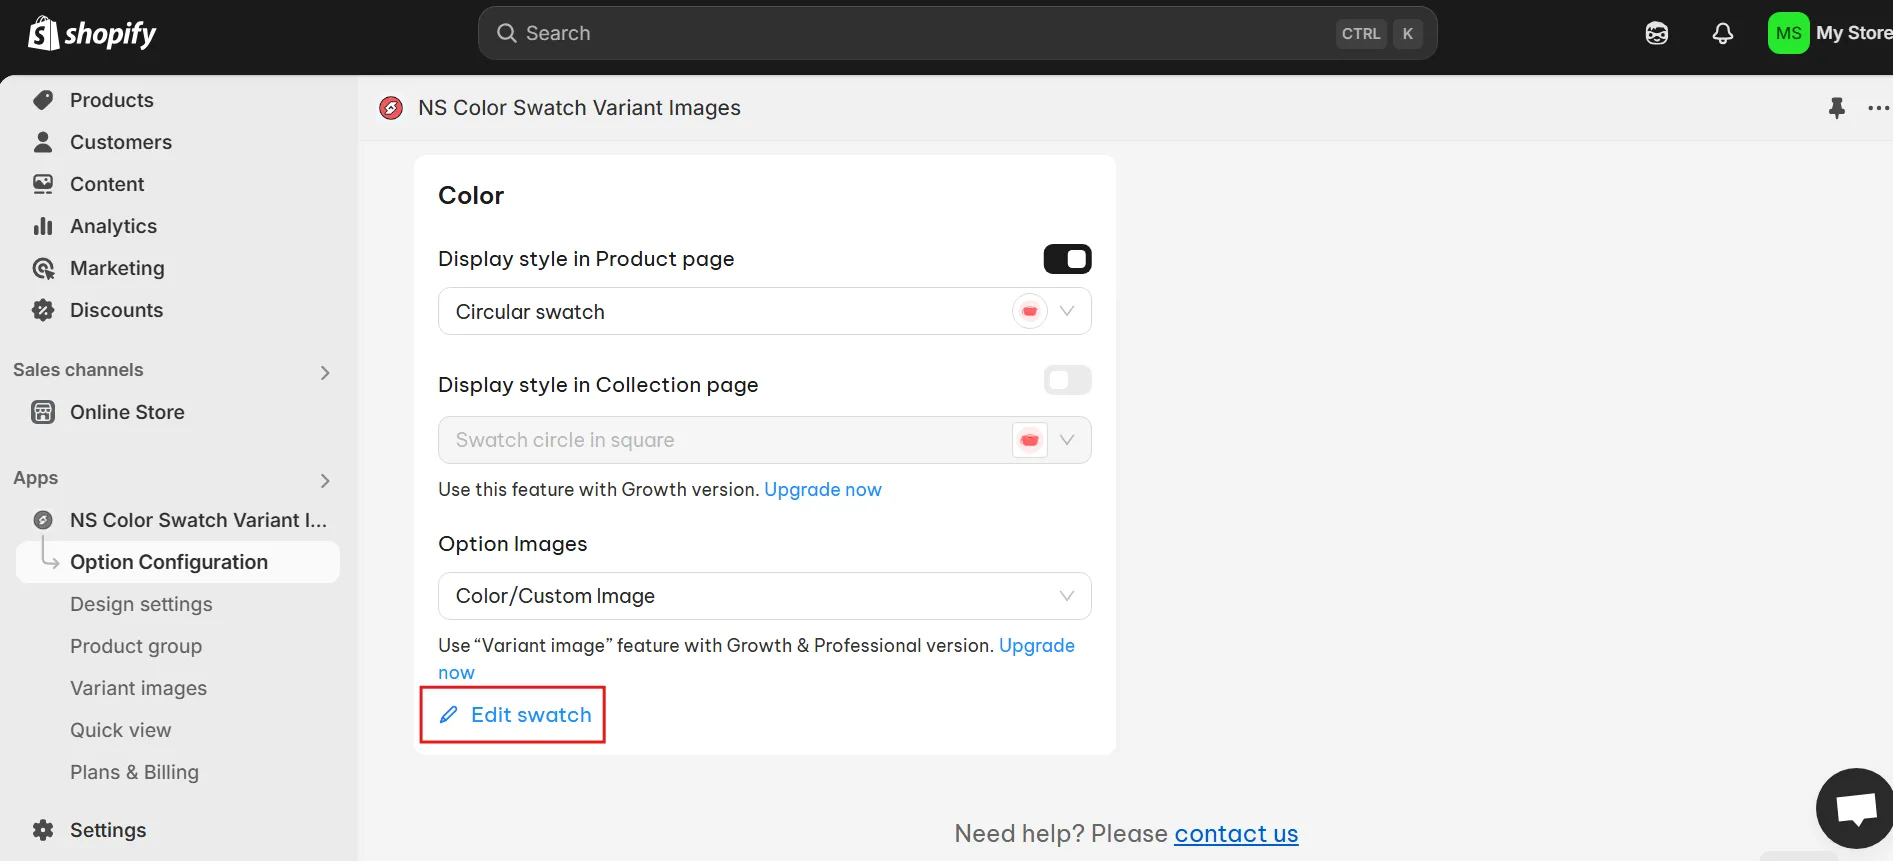
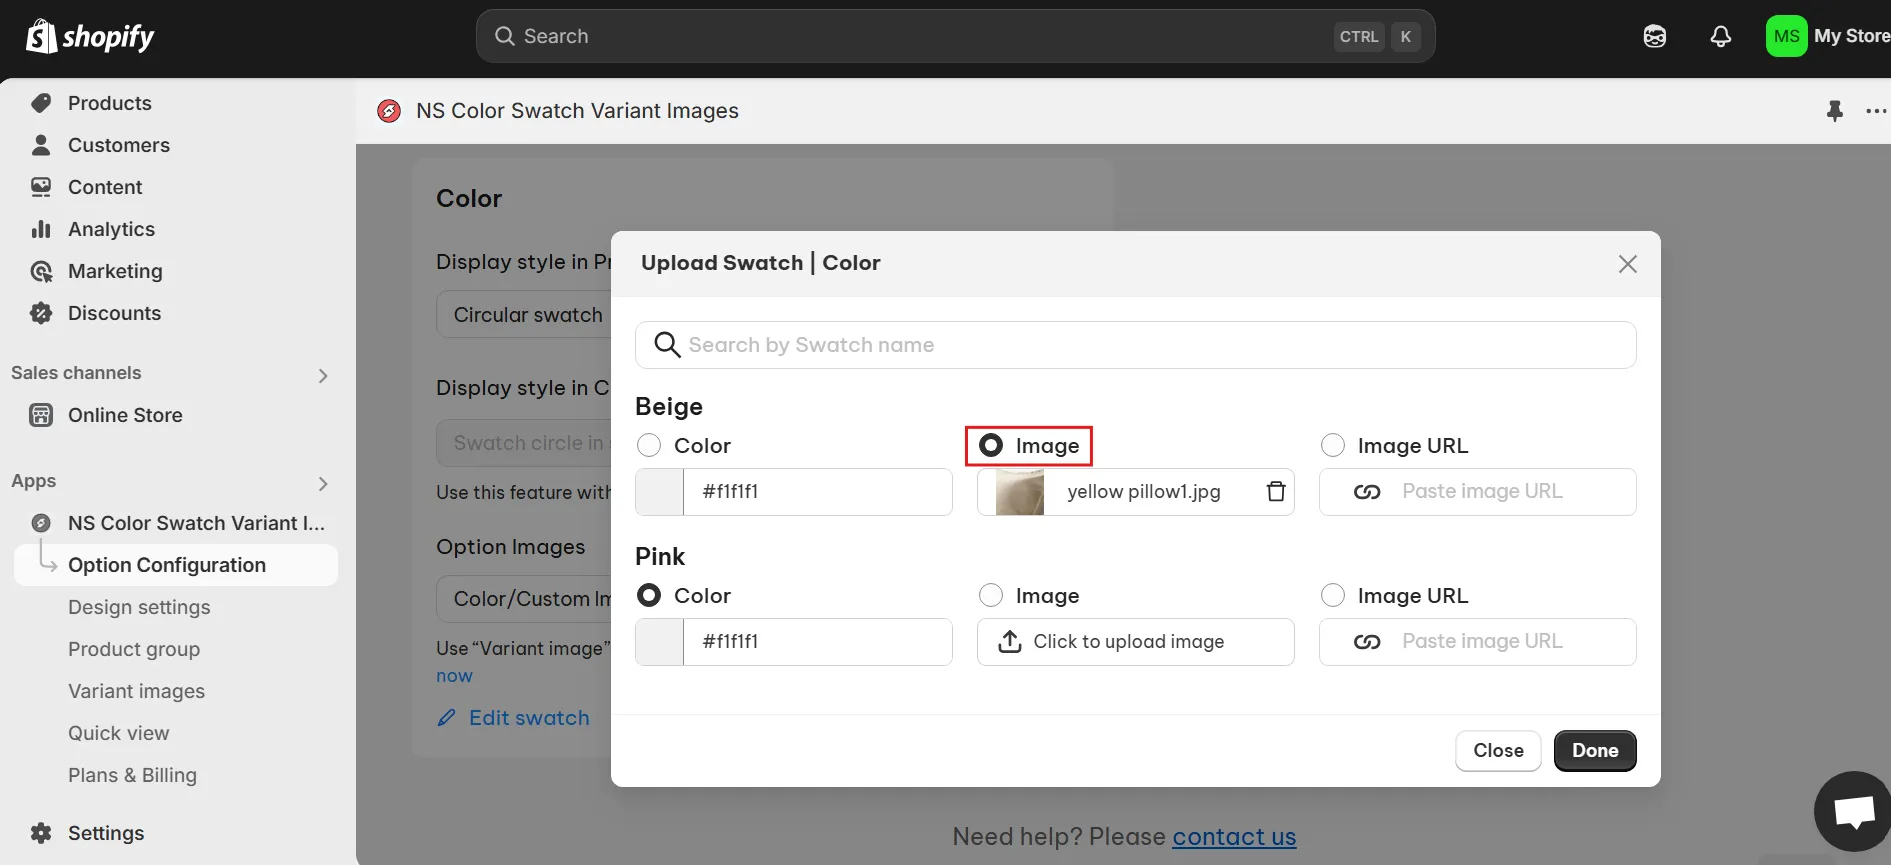
6. Upload individual image swatches for each product variant (e.g., different colors).
7. Once done, enable the toggle to show swatches on your product pages and click Save.
Step 4: Customize the look and feel of your swatches
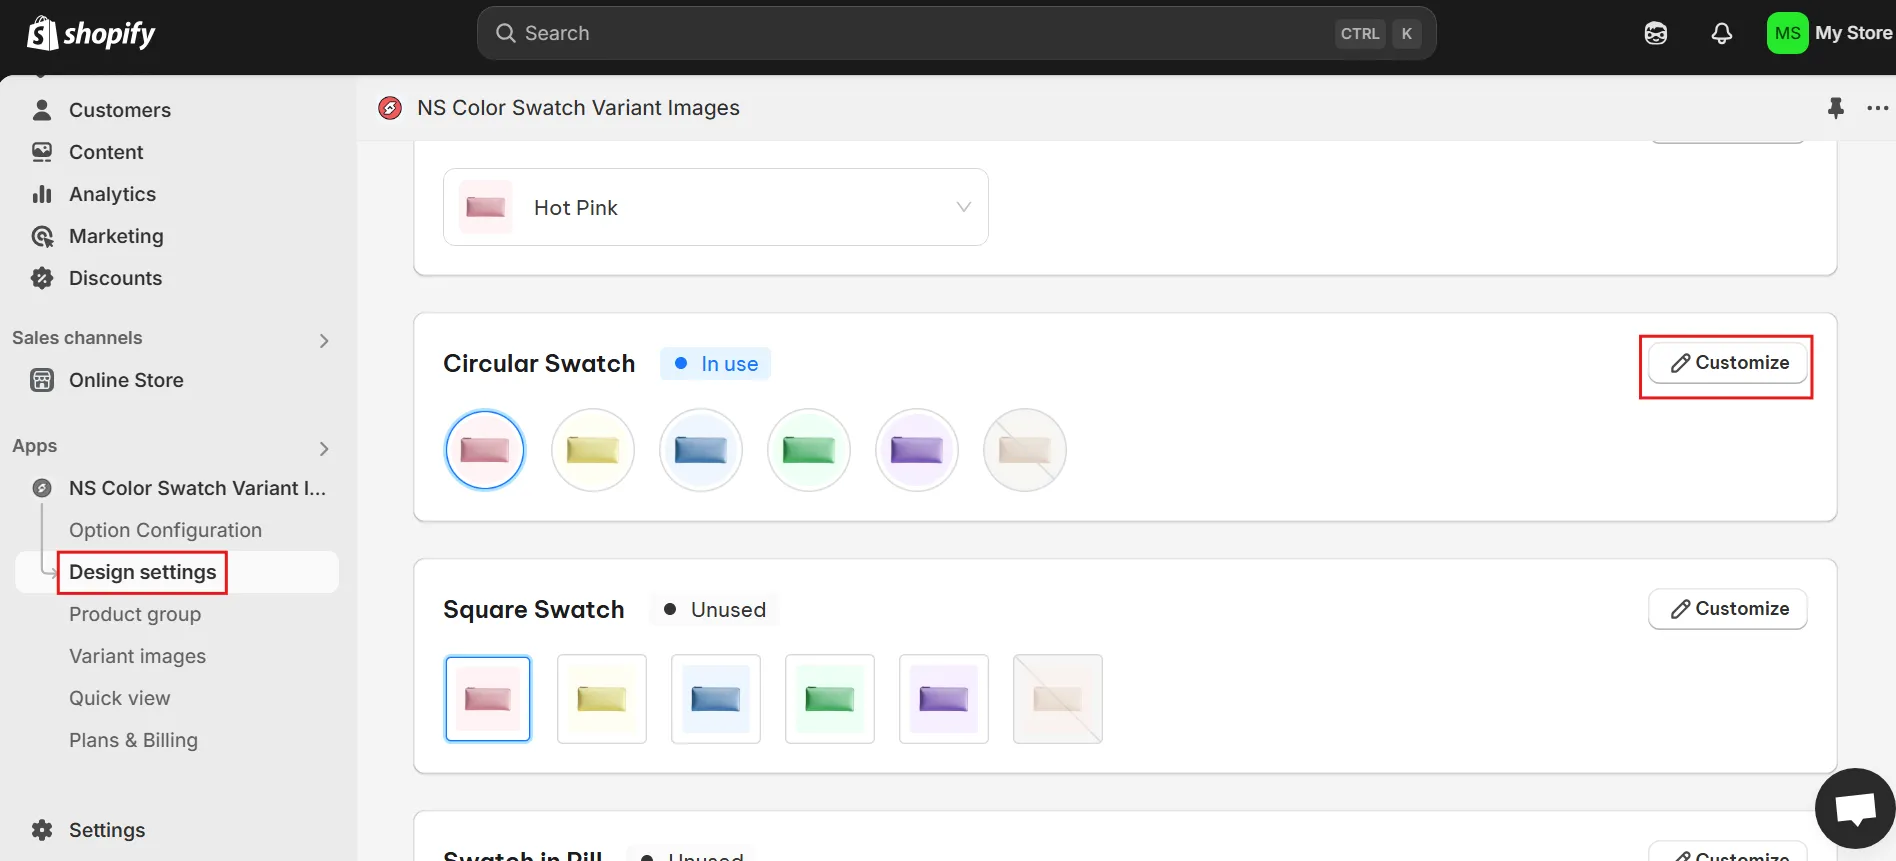
1. Head to the Design Settings section.
2. Locate the swatch style you’re using (look for the “In use” label) and click Customize.
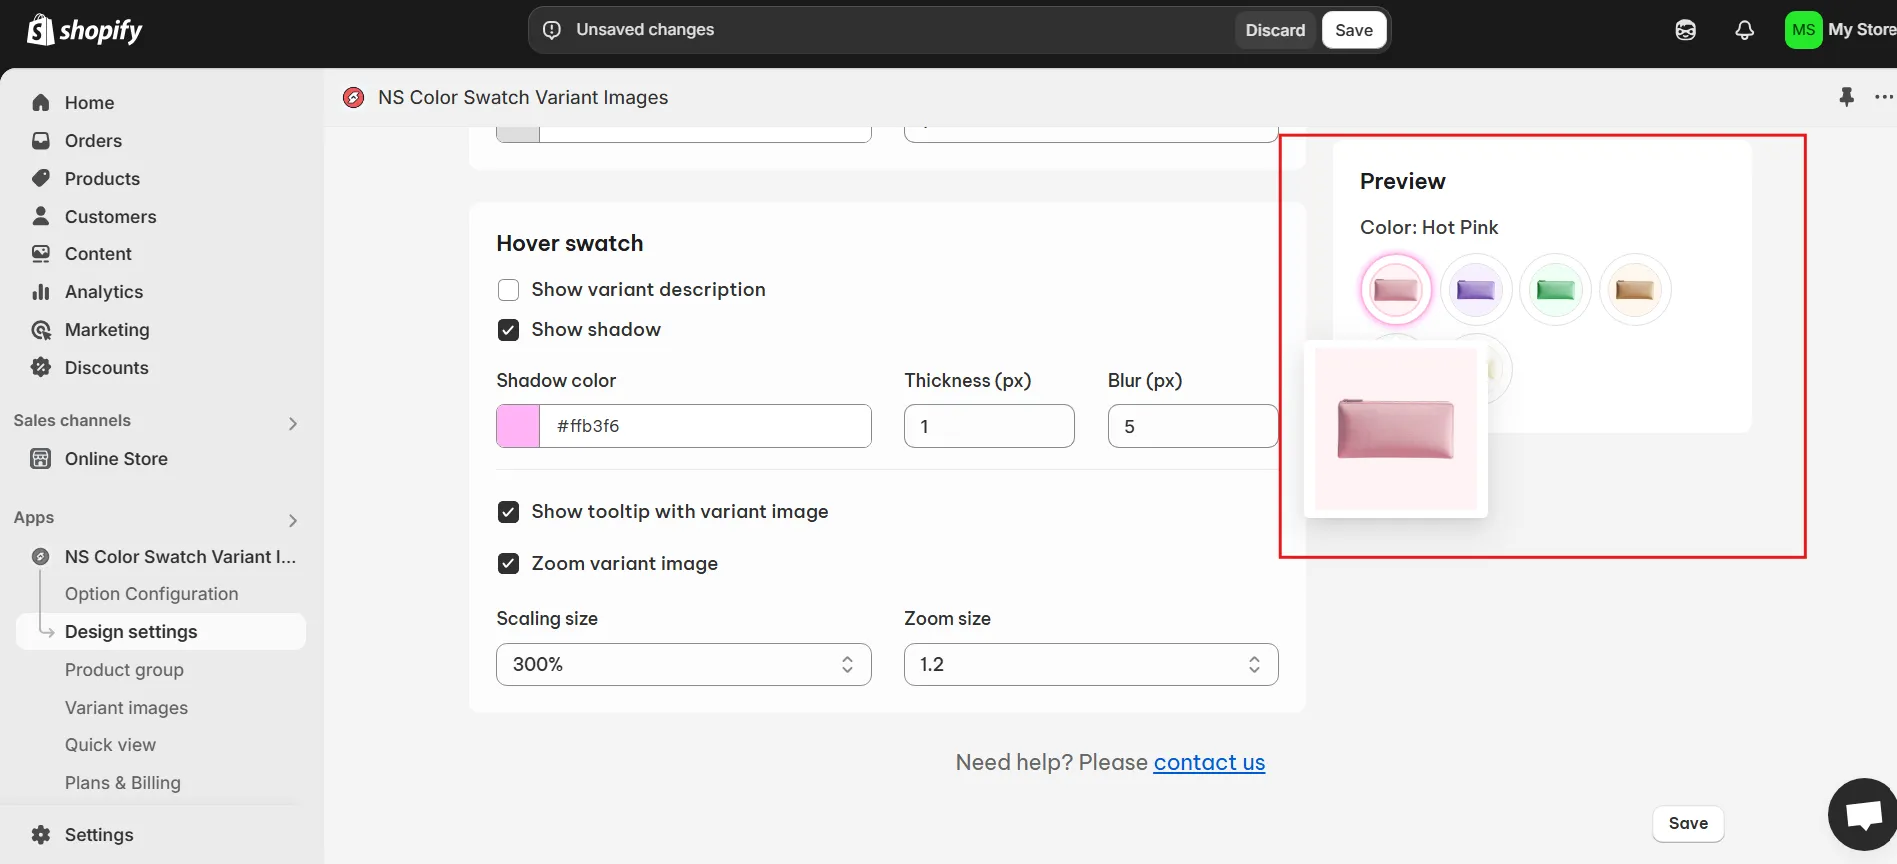
3. Adjust the design elements such as:
- Swatch size
- Background and border colors
- Hover effects
- Tooltip styling
- Variant label text
4. Use the Preview button to see your changes in real-time.
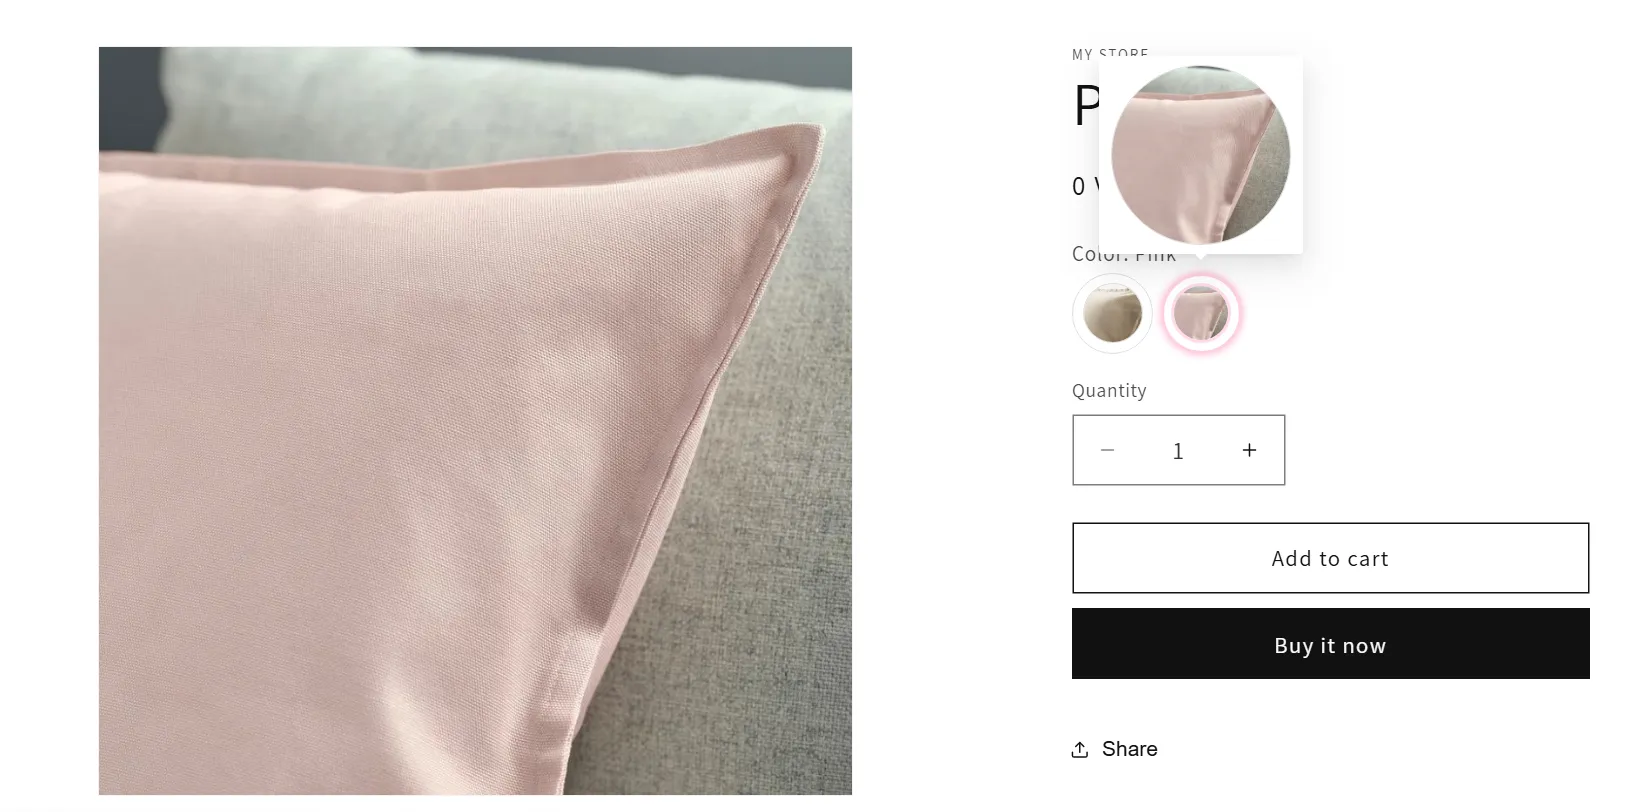
5. After fine-tuning, hit Save, then visit your storefront to view the image swatches in action.
Show relevant images for the selected variant picker
When your swatches are in place, the next step is to have the correct product images display whenever your customer selects a specific variant. This way, they can make confident purchase decisions without being confused. You know, image display matters!
Step 1: Assign images to individual variants
1. From the app dashboard, click on Variant Images in the left-hand menu.
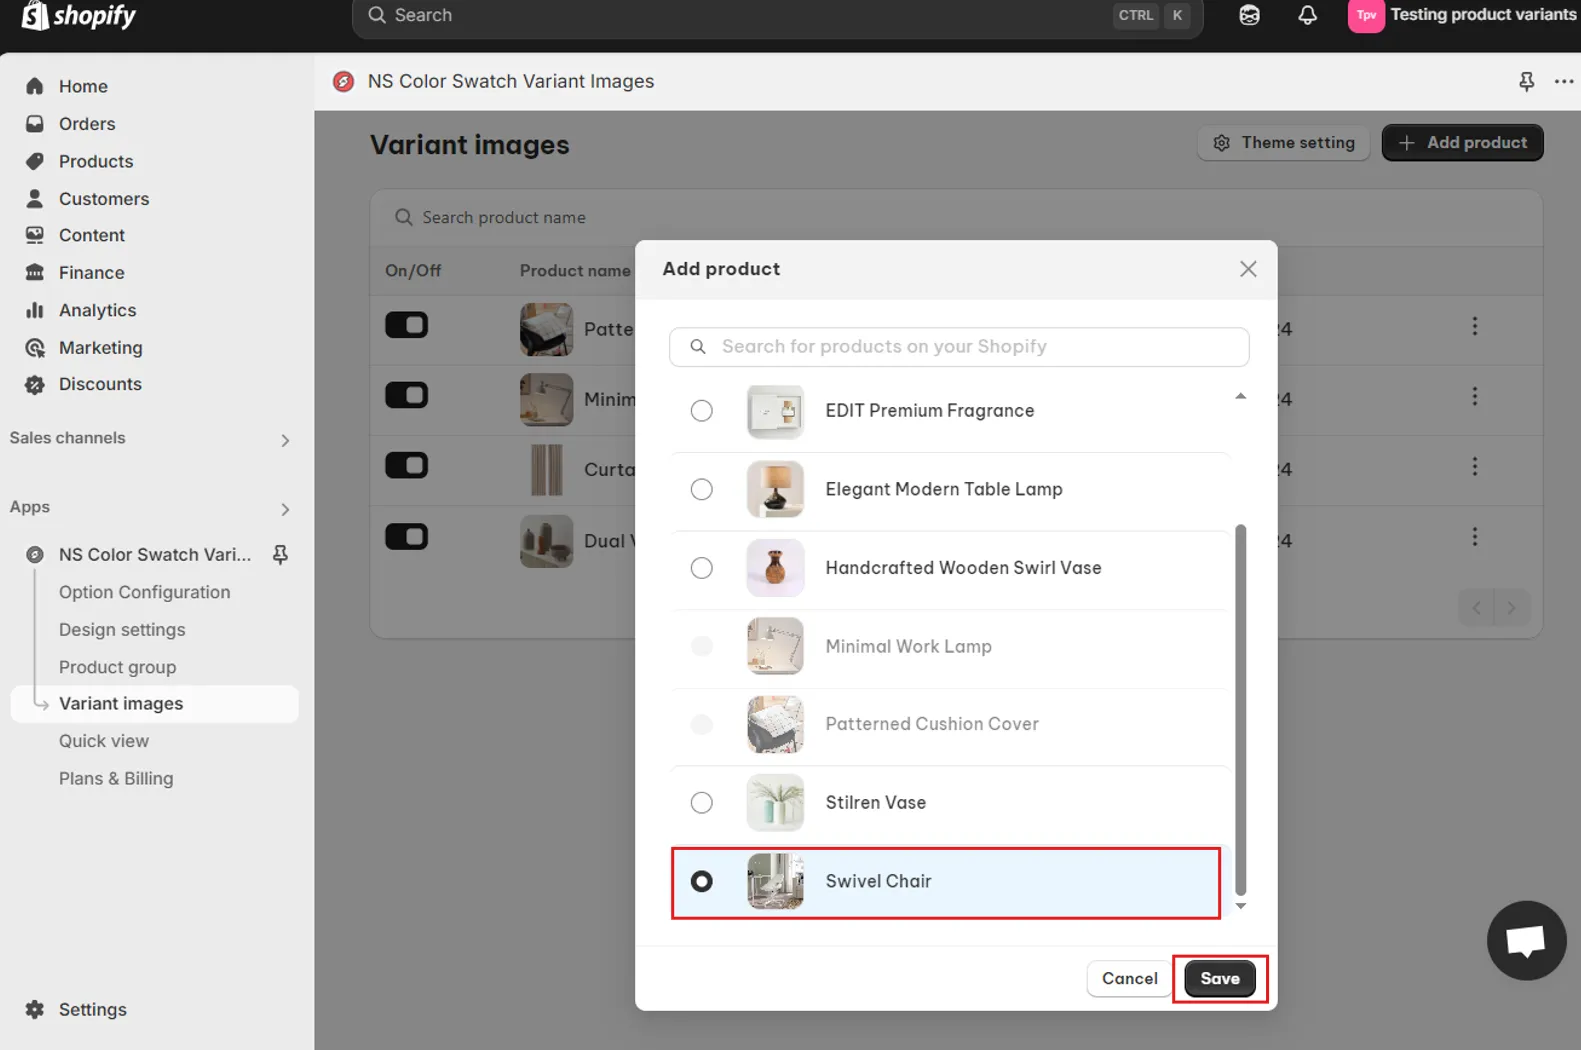
2. Select Add Product to begin configuring a specific product.

3. Choose a product to start and click Save.
📝 You’ll need to repeat this process individually for each product you wish to customize.
3. From the product’s variant list, click the pencil icon next to the variant you want to edit.

4. Choose the images that should display only for this particular variant from the product’s media gallery.
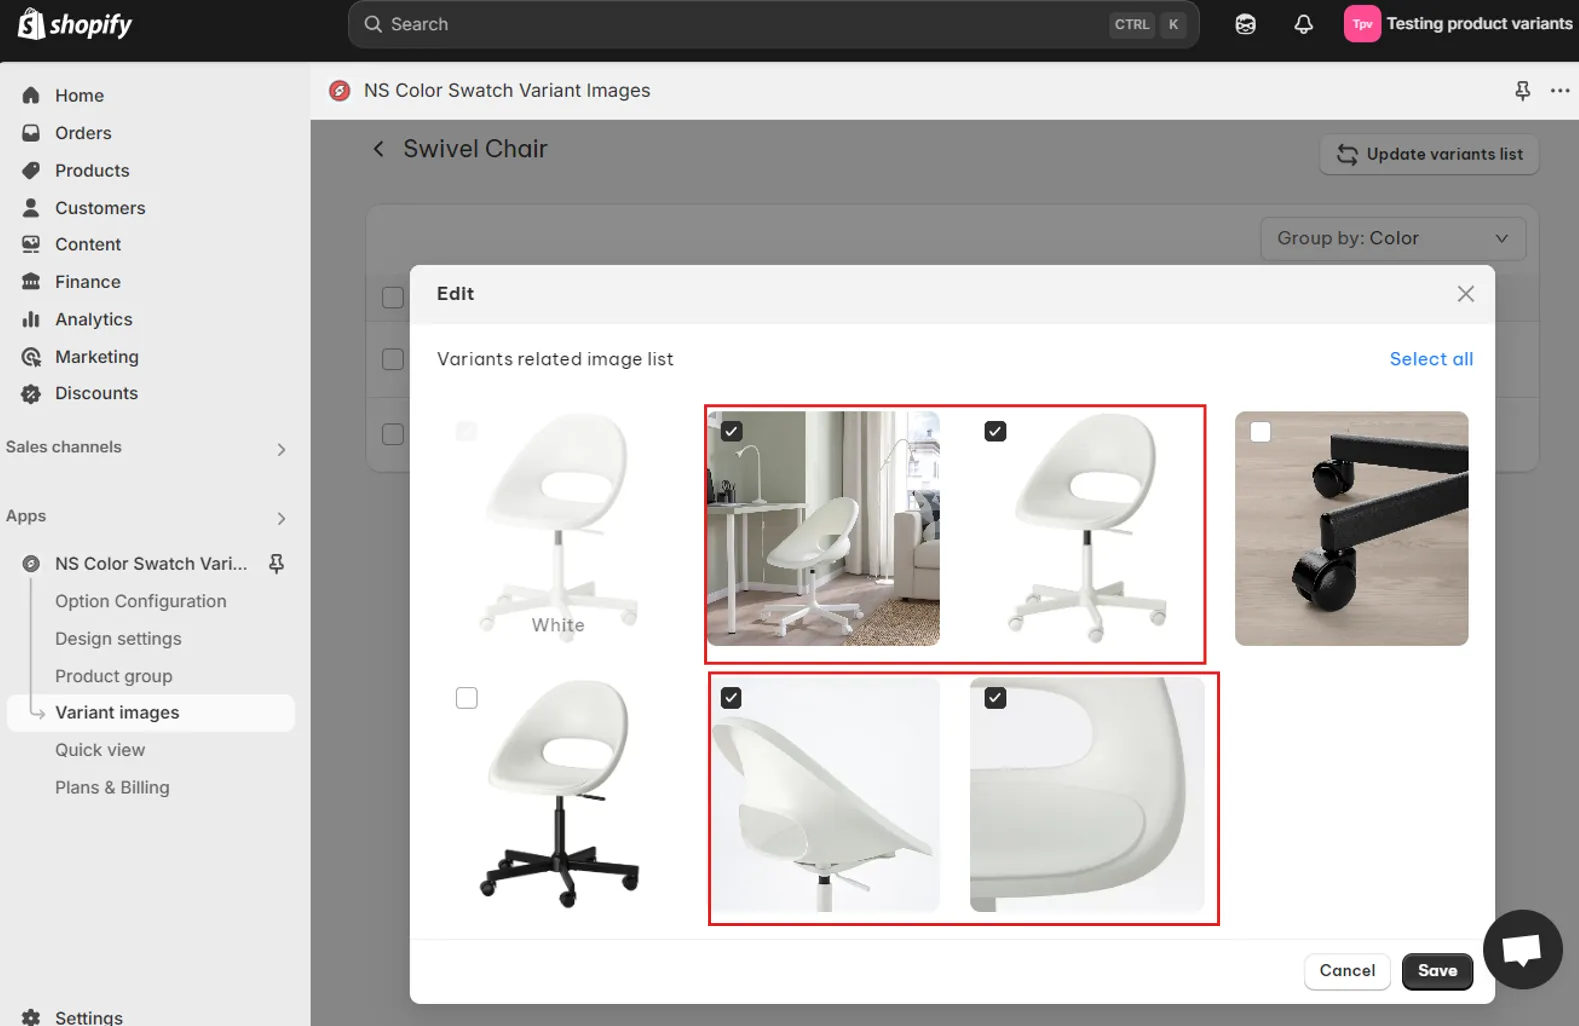
5. Click Save once you’ve assigned the images.
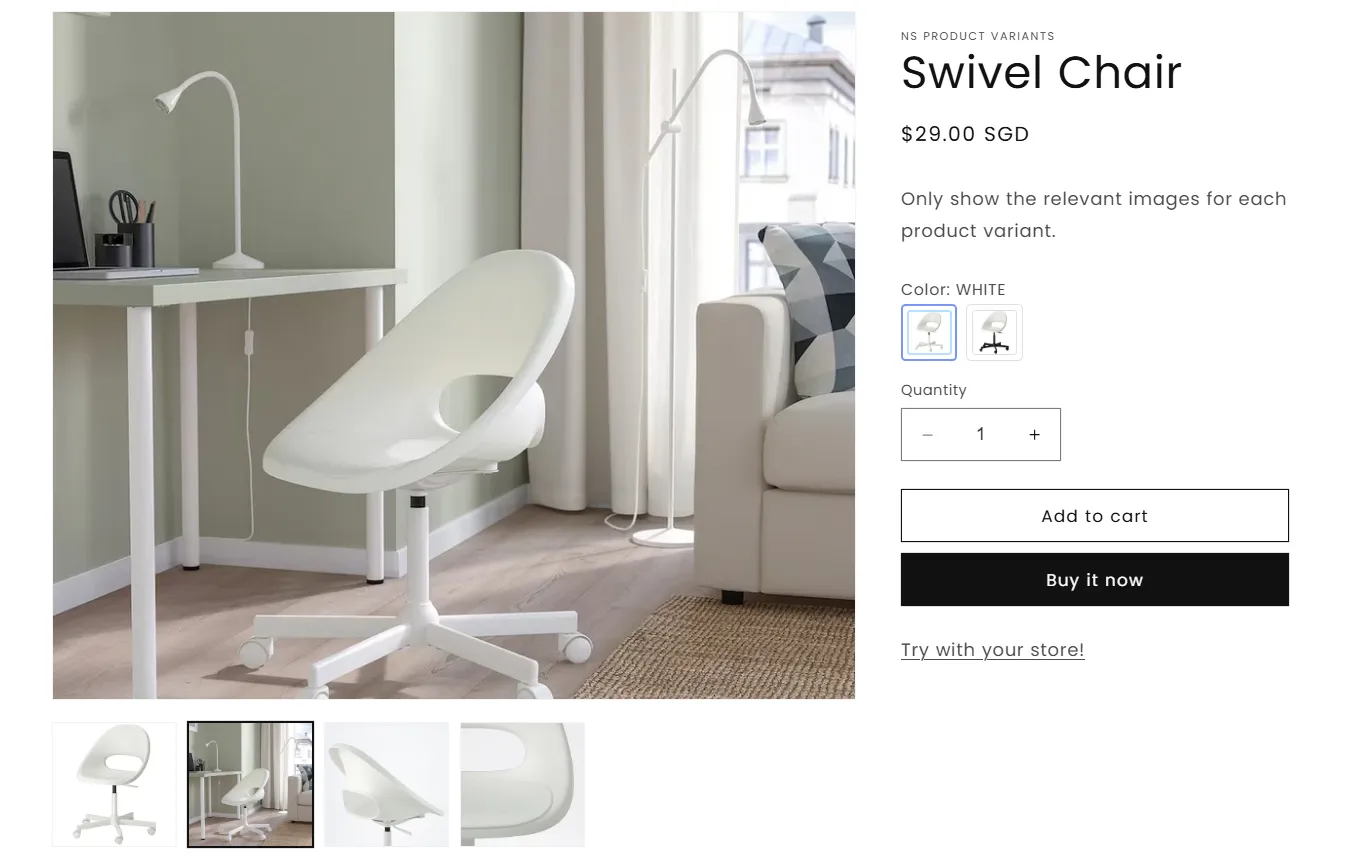
Step 2: Preview your updated variant picker
When all variants are configured, visit your store to test the new setup. As shoppers interact with the variant picker, the linked images will dynamically update, maintaining an effective and satisfying shopping experience.
FAQs
Does this app work with all Shopify themes?
Yes, NS Color Swatch Variant Images is designed to work with both free and paid Shopify themes. If you encounter a compatibility issue, the support team offers 1-on-1 help specifically for your store.
How do I remove or change an image swatch once it’s uploaded?
You can go back to the Option Configuration section in NS Color Swatch Variant Images, click Edit Swatch, and either replace the image or remove it. Just don’t forget to hit Save after making changes.
If I upload a new image to my Shopify product, will it automatically update the swatches?
No, swatch images are managed separately from your product gallery images in Admin. You’ll need to manually assign or reassign swatch images in the app to reflect any changes.