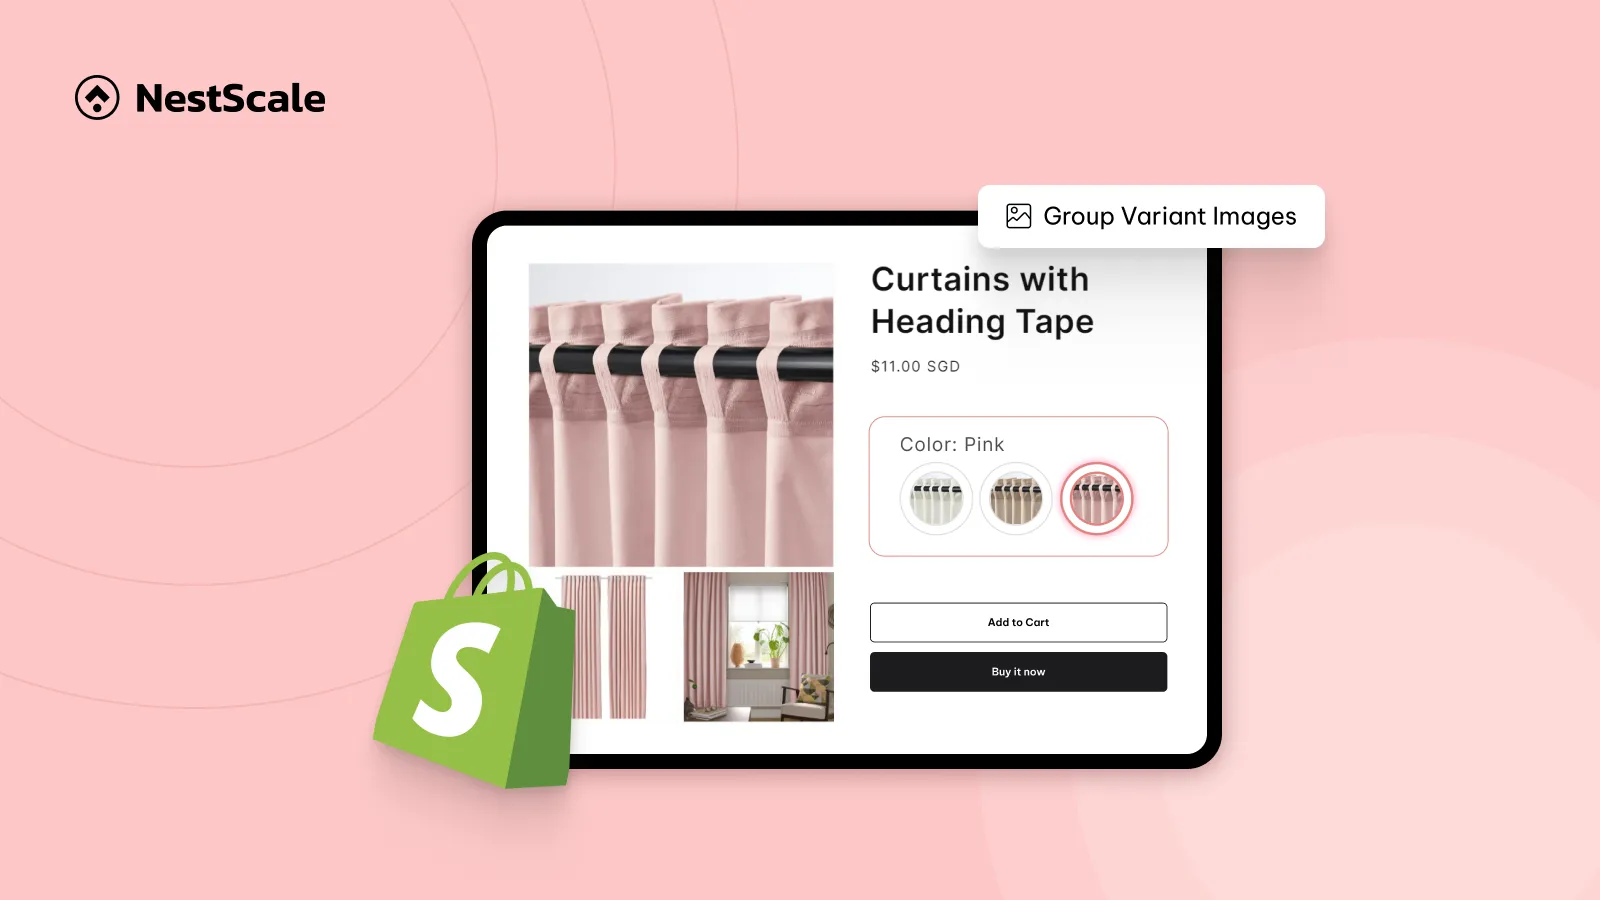
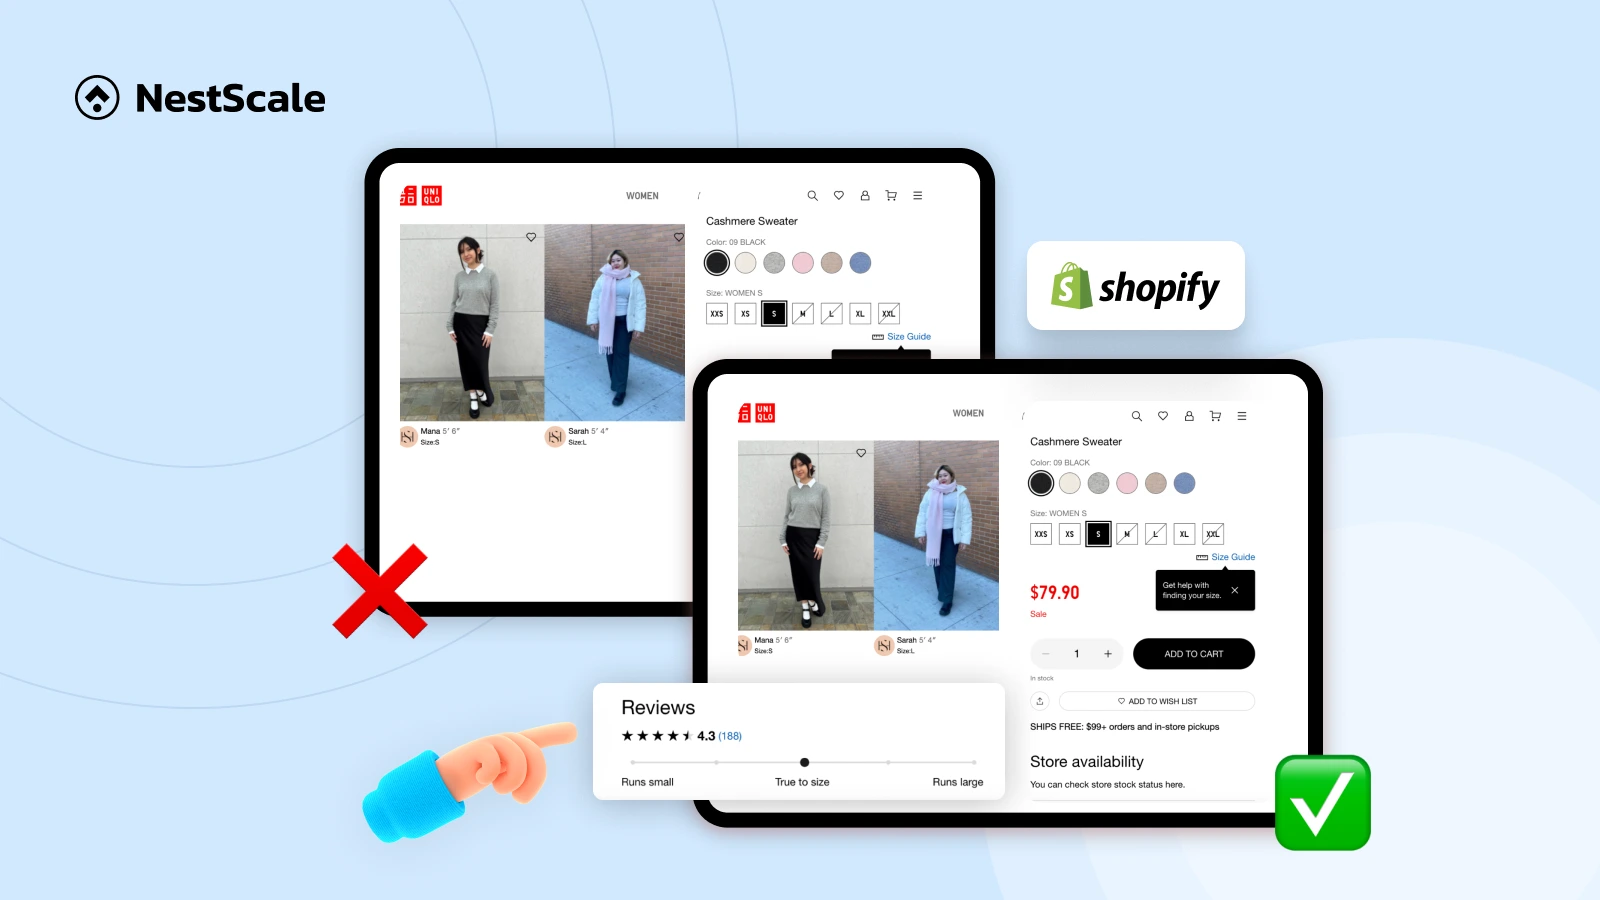
Group variant images in Shopify is very important for keeping your product gallery organized and user-friendly.
When all product photos from different variants are shown together, the gallery quickly becomes cluttered, and customers may have to scroll through images that don’t match the option they actually want. This not only creates a poor shopping experience but can also reduce conversion rates because buyers feel distracted.
In this guide, we’ll walk you through:
- Step-by-step setup to group variant images in shopify
- A bonus video tutorial for quick learners
Let’s start!
Step 1: Install and Enable the App
Firstly, let’s get the app installed and ready.
1. Open the Shopify App Store and look for NS Color Swatch Variant Images.
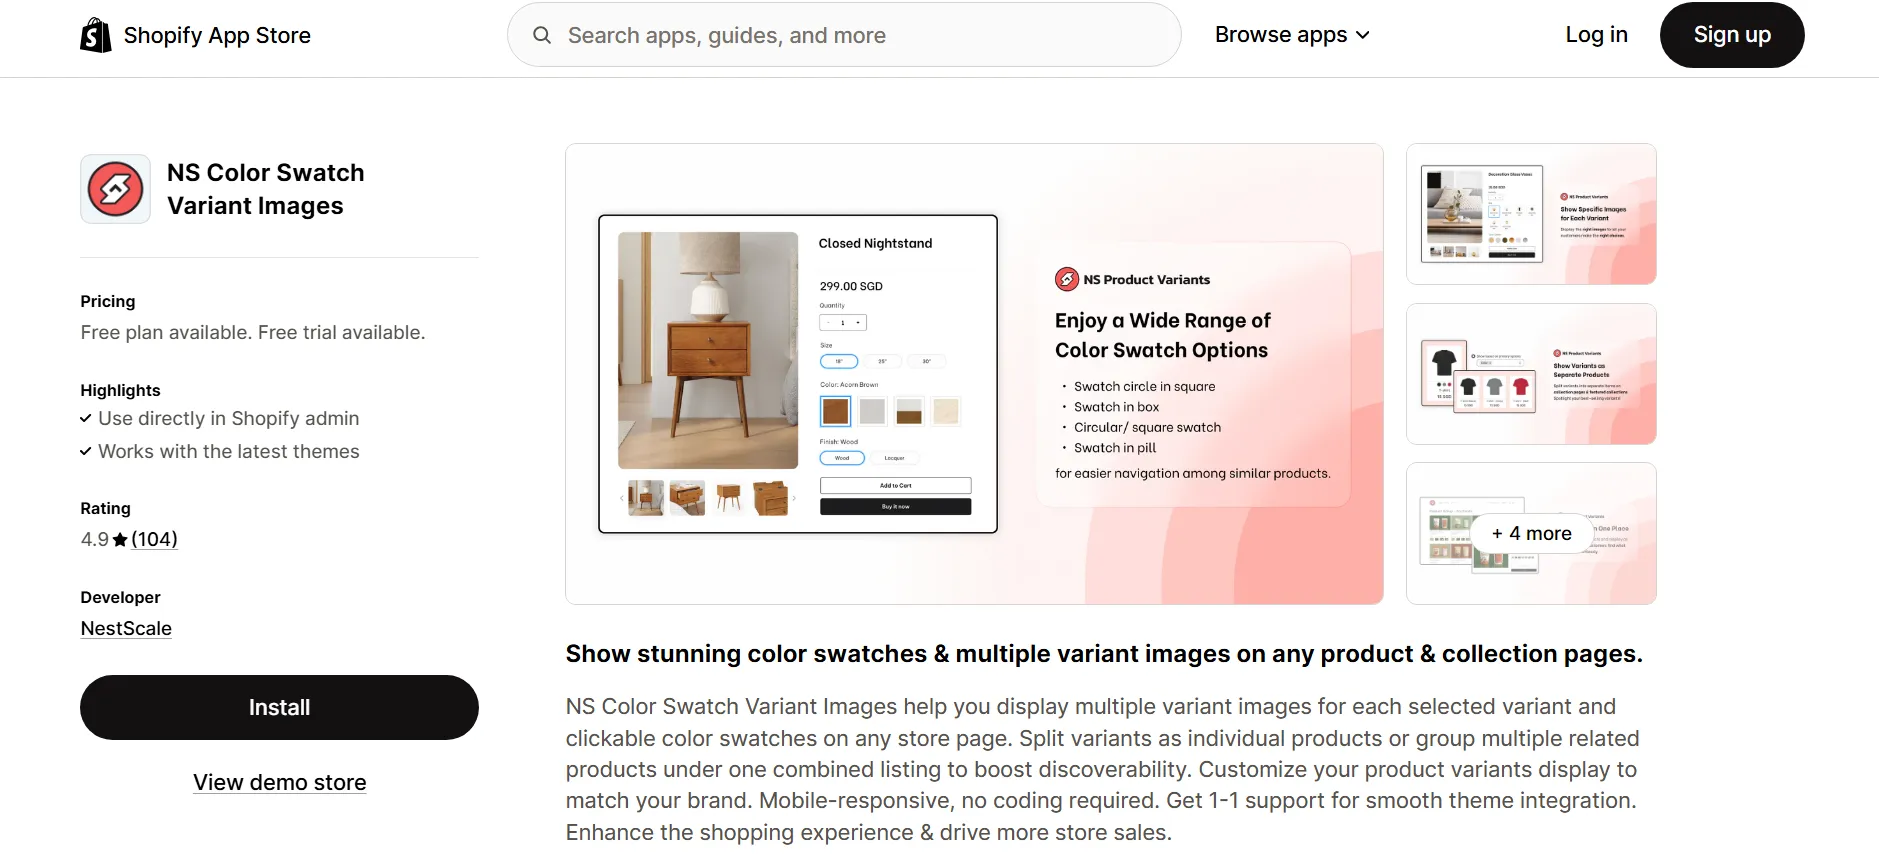
2. Select Install and complete the quick Get Started setup.
3. Click Embed App to connect it with your theme.
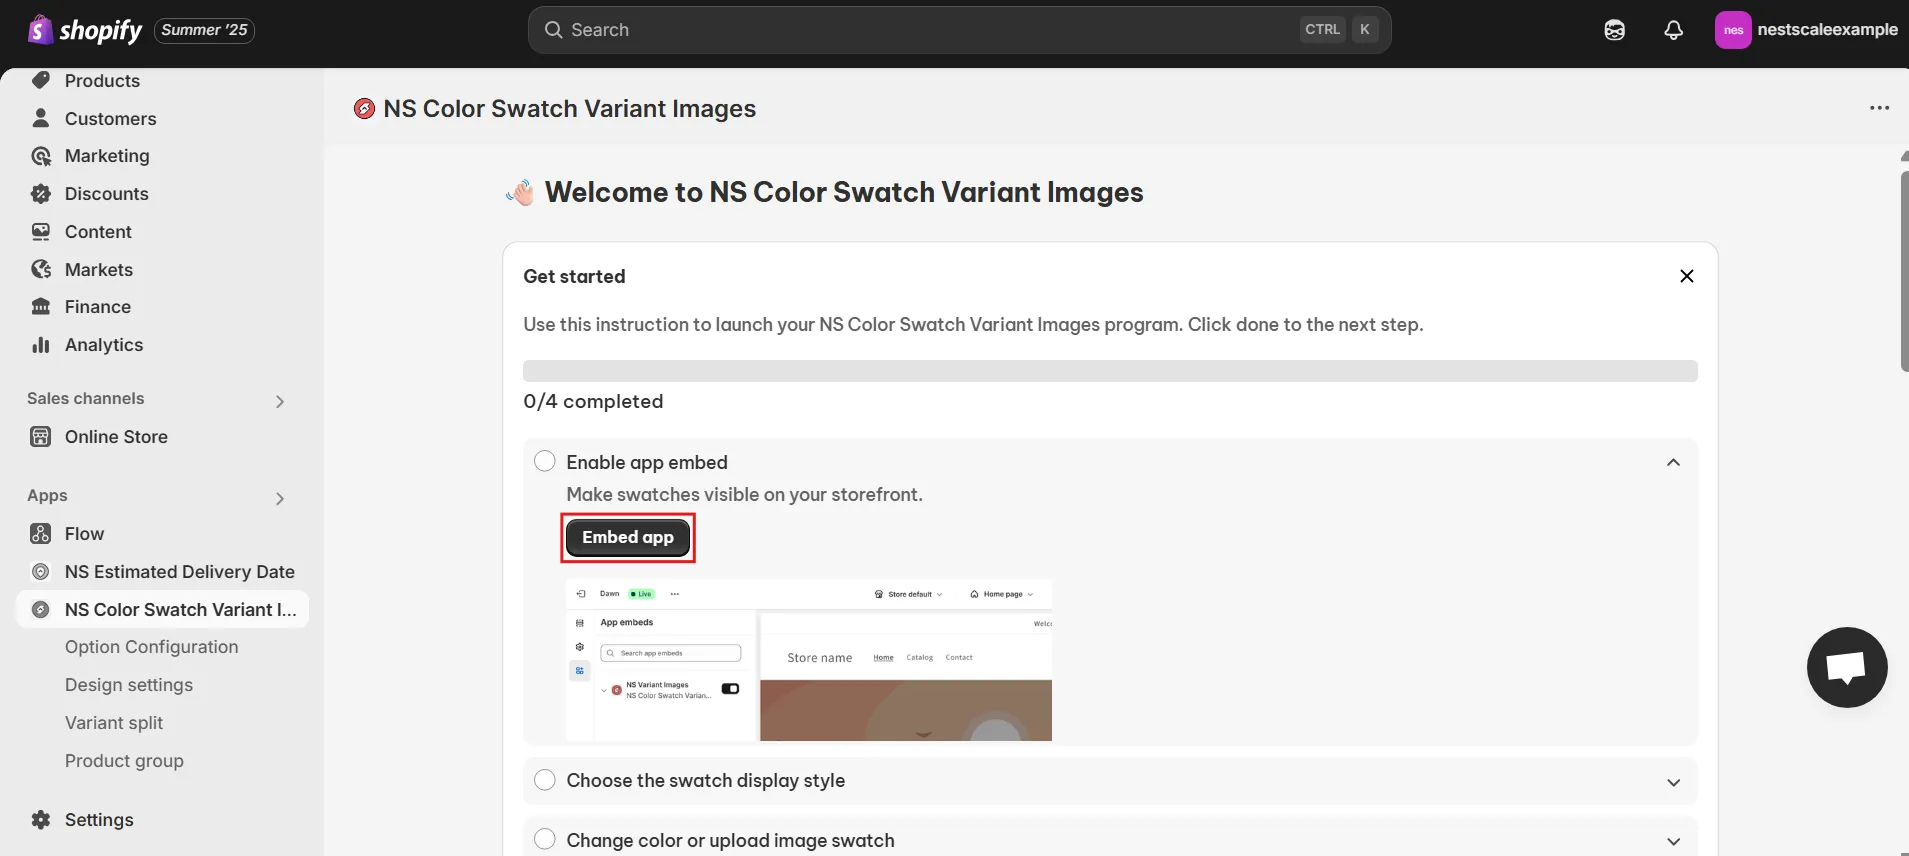
4. You’ll be taken to the Shopify Theme Editor, simply switch the app ON and press Save.
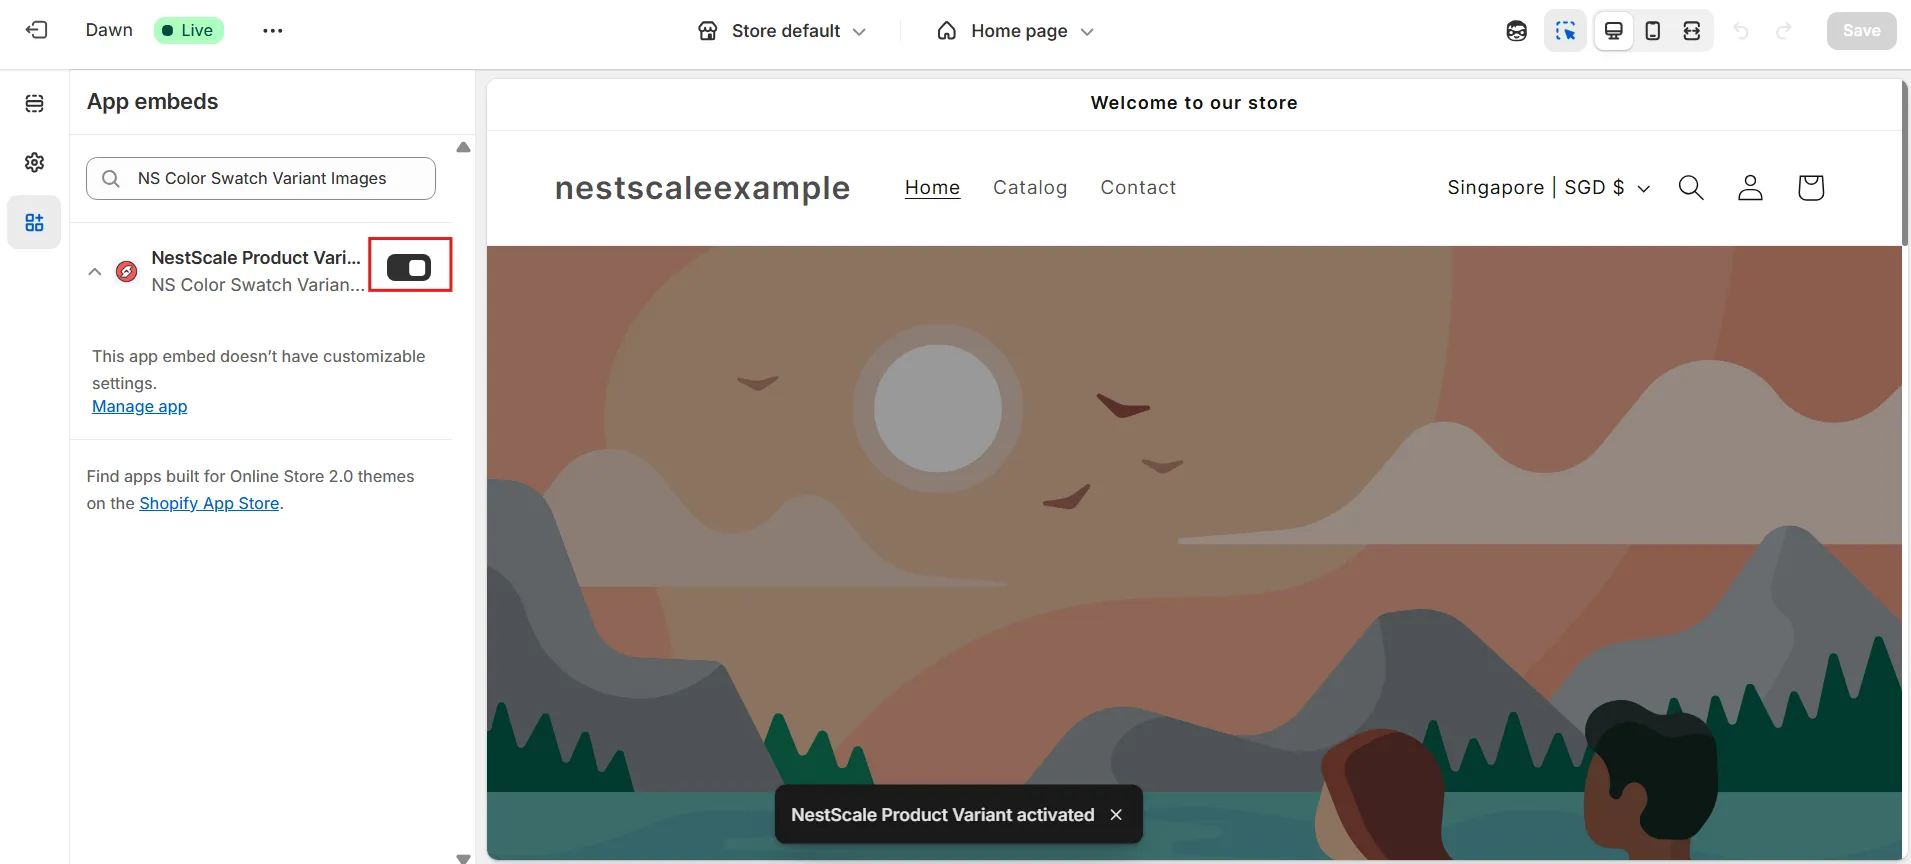
And you’re done! The app is now active and ready to manage which images appear for each product variant.
Step 2: Assign specific variant images to each variant
Here’s where you make the real impact, linking the right images to each product variant so shoppers only see what they’ve selected.
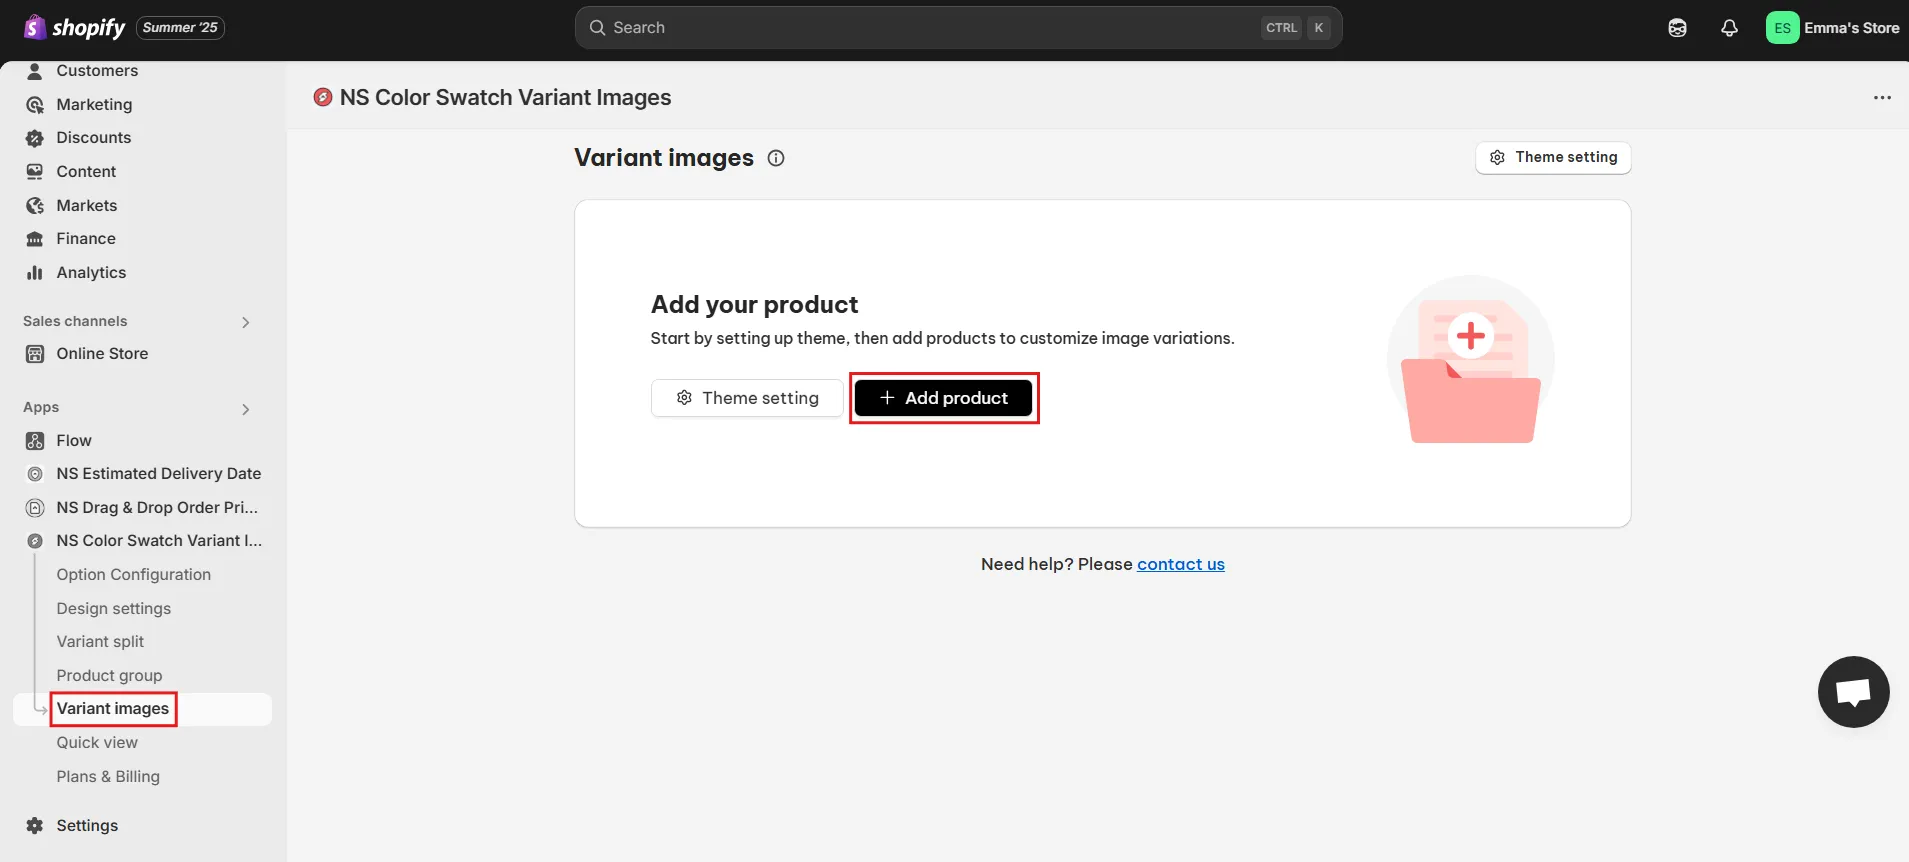
1. From the app dashboard, go to the Variant Images tab.
2. Click Add Product, choose the product you’d like to edit, then hit Save.
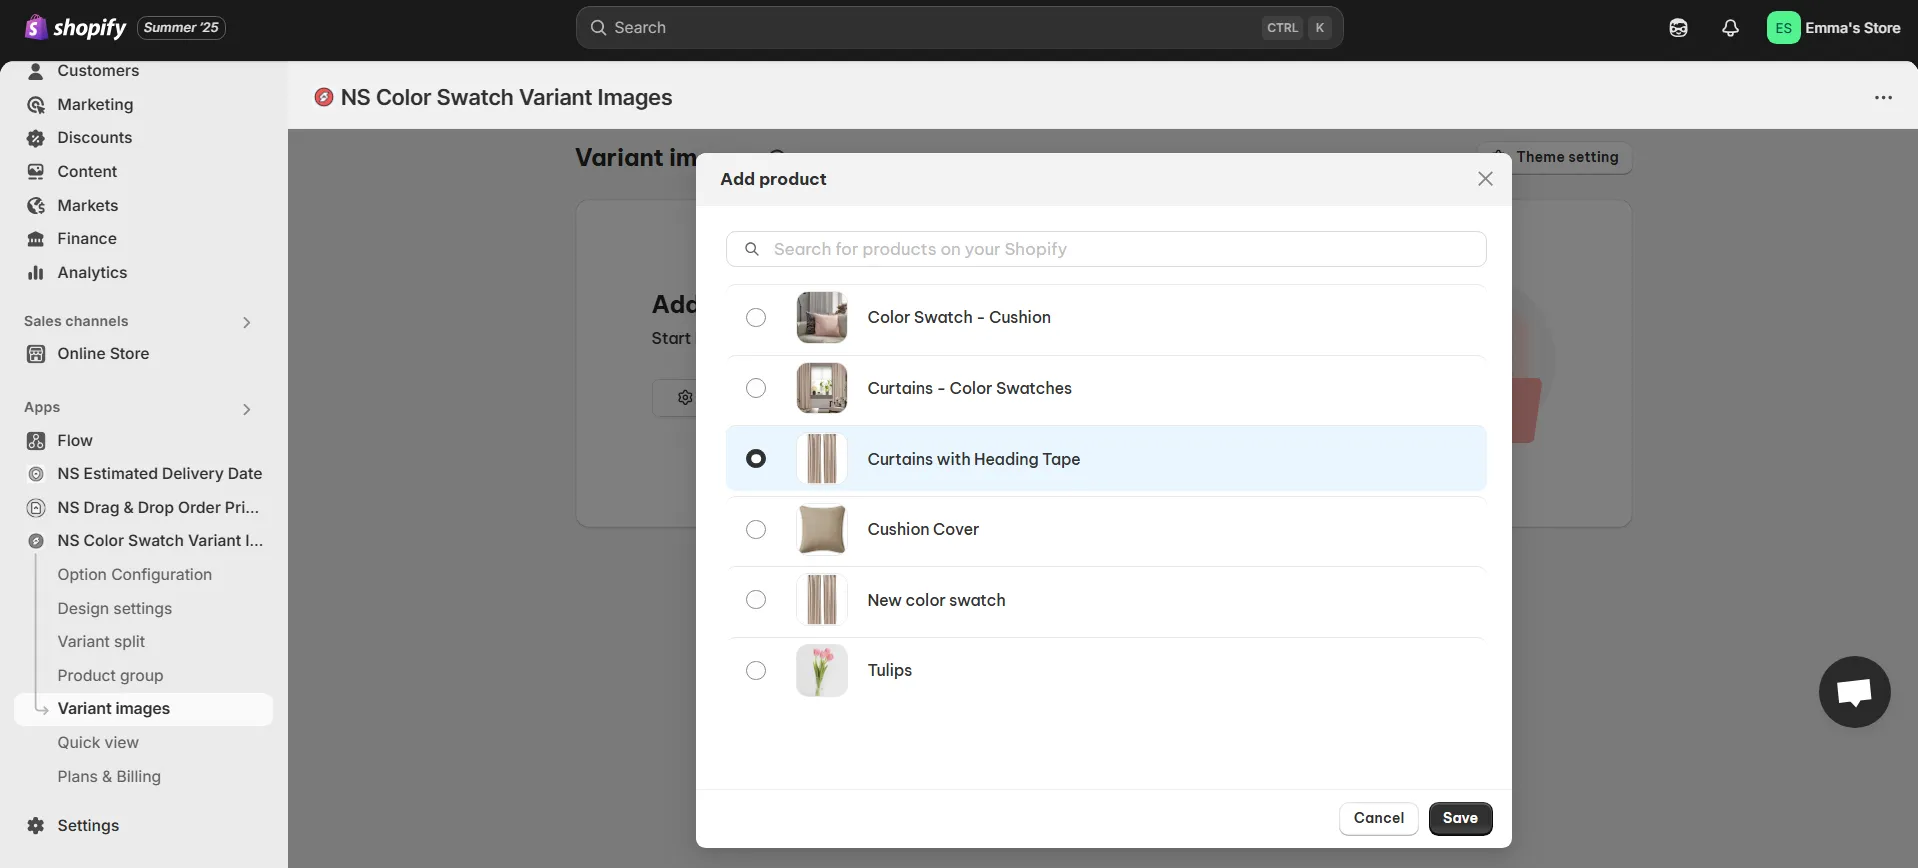
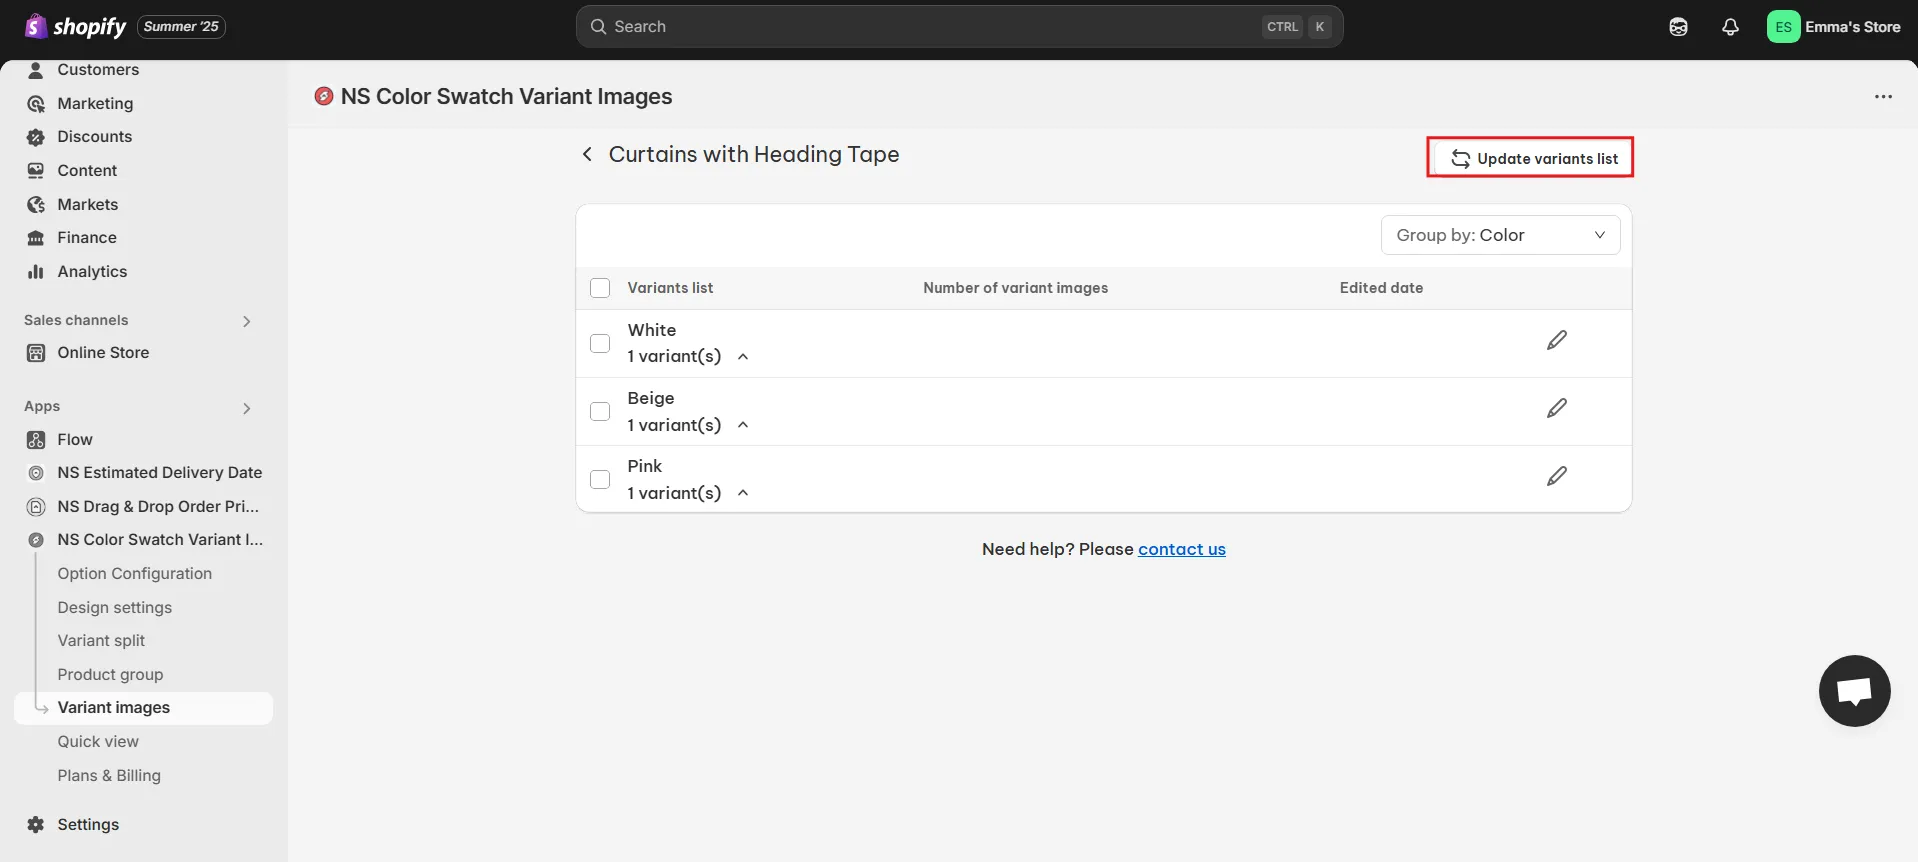
3. You’ll now see a full list of that product’s variants.
4. Next to each variant, click the pencil icon (✏️) to assign one or more images.
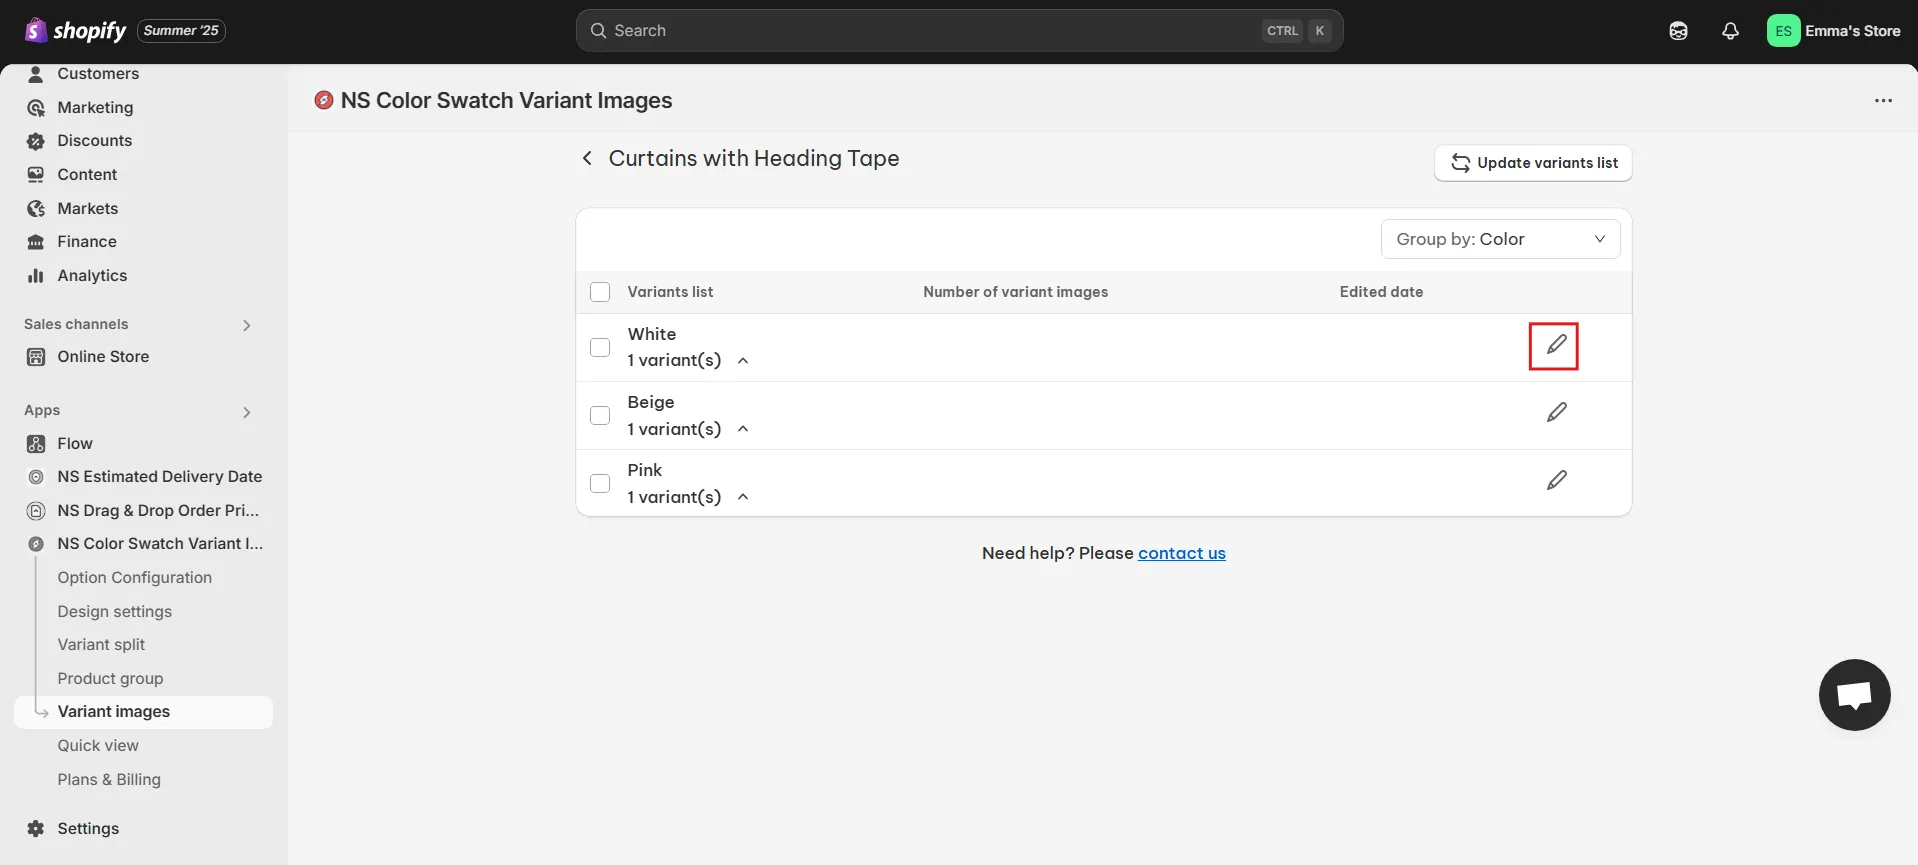
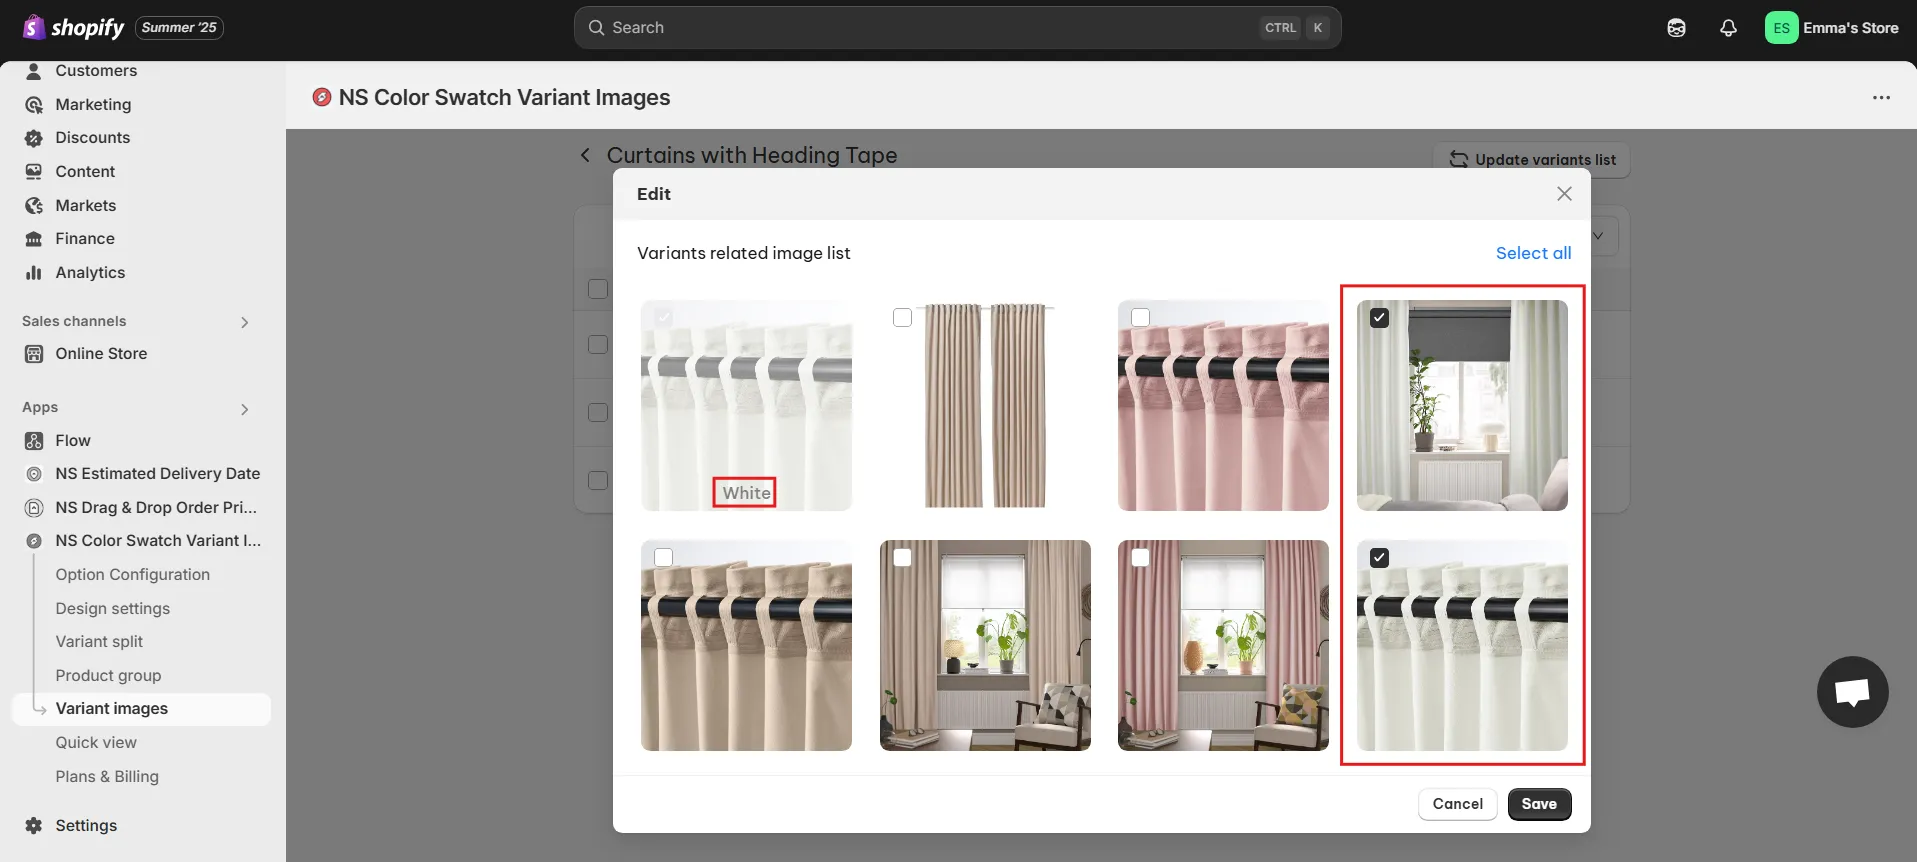
5. Once finished, click Save.
💡 Pro Tip: If you later add new variants in Shopify, just click Update Variant List inside the app. The system will resync automatically so that you can assign images to the new options right away.
Repeat this process for any other products where you want a cleaner, more organized variant image gallery.
Step 3: Preview the Result on Your Storefront
After saving your changes, refresh your product page in Shopify.
- When a shopper selects White, only the white product images will appear.
- Switch to Pink, and the gallery updates instantly to show only pink images.
This setup makes your product page cleaner, more professional, and highly user-friendly no more cluttered galleries with every product photo mixed together.

Bonus: Video tutorial by NestScale – Show Only Relevant Variant Images on Shopify in 3 Minutes
Prefer to watch instead of read? Check out our 3-minute YouTube tutorial where Oliver walks you through everything step-by-step.
FAQs
1. Can I upload multiple images per variant on Shopify?
Yes. By default, Shopify only allows you to assign one image per variant in the admin. That means when customers select a variant, only a single photo will show.
If you want to display multiple images for each variant (for example, different angles of the same color), you’ll need a third-party app. A popular choice is NS Color Swatch Variant Images, which lets you group several photos under each variant so shoppers can browse a mini-gallery when they select an option.
2. Why Shopify store showing incorrect or no variant image change?
This usually happens for four main reasons:
- The variant has no assigned image in the Shopify admin.
- Your theme doesn’t support swatches or automatic image switching.
- A third-party app or custom code is causing conflicts.
- Browser cache is still showing an outdated version of your page.
👉 To fix Shopify store showing incorrect or no variant image change, make sure each variant is properly assigned an image, use a theme or app that supports swatches, and clear your cache after making changes.


