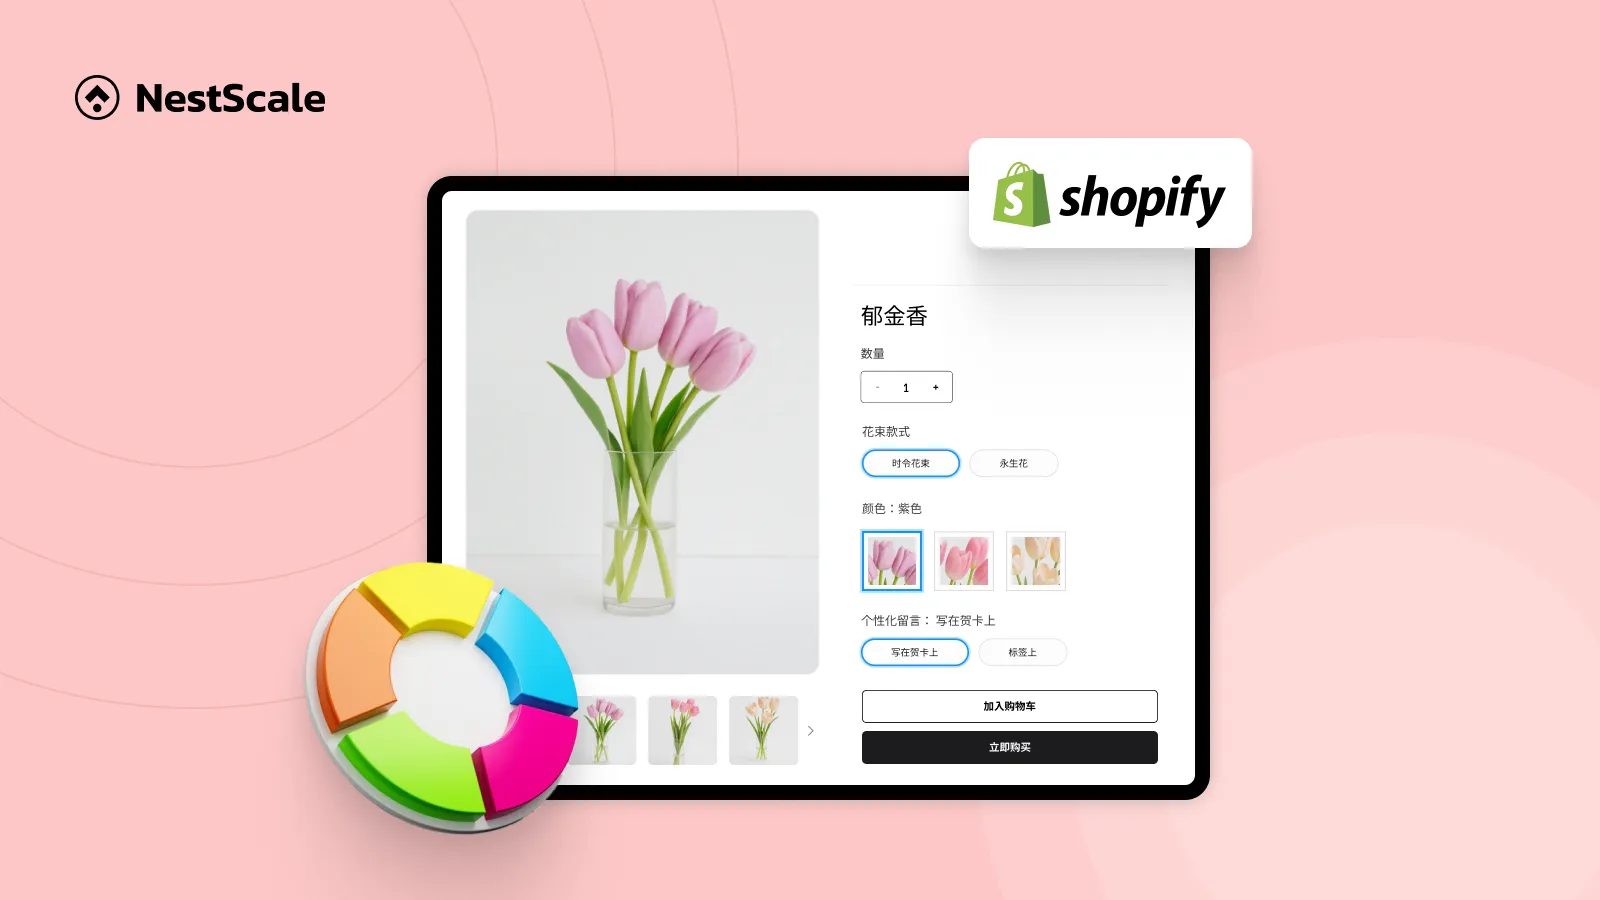
When you sell to global customers, you may need to set up multi-language color swatches in your Shopify store. That’s a small thing, but I’m pretty sure your customers would be happier when they can browse your product variants in their own language. Everything just feels familiar, and that’s how you create one smooth ride from start to finish in their buying journey. If nothing’s lost in translation, you’re already one step closer to a sale.
Alright, so let’s set it up in your Shopify store. What we’ll cover in this tutorial:
- How to add color swatches to your Shopify store
- How to auto-translate your variants to other languages for international customers
- Solutions to common issues related to multi-language stores and color swatches
Step 1: Add color swatches to your store with NS Color Swatch Variant Images
Set up NS Color Swatches Variant Images
Let’s start by setting everything up so the color swatches can appear on your storefront.
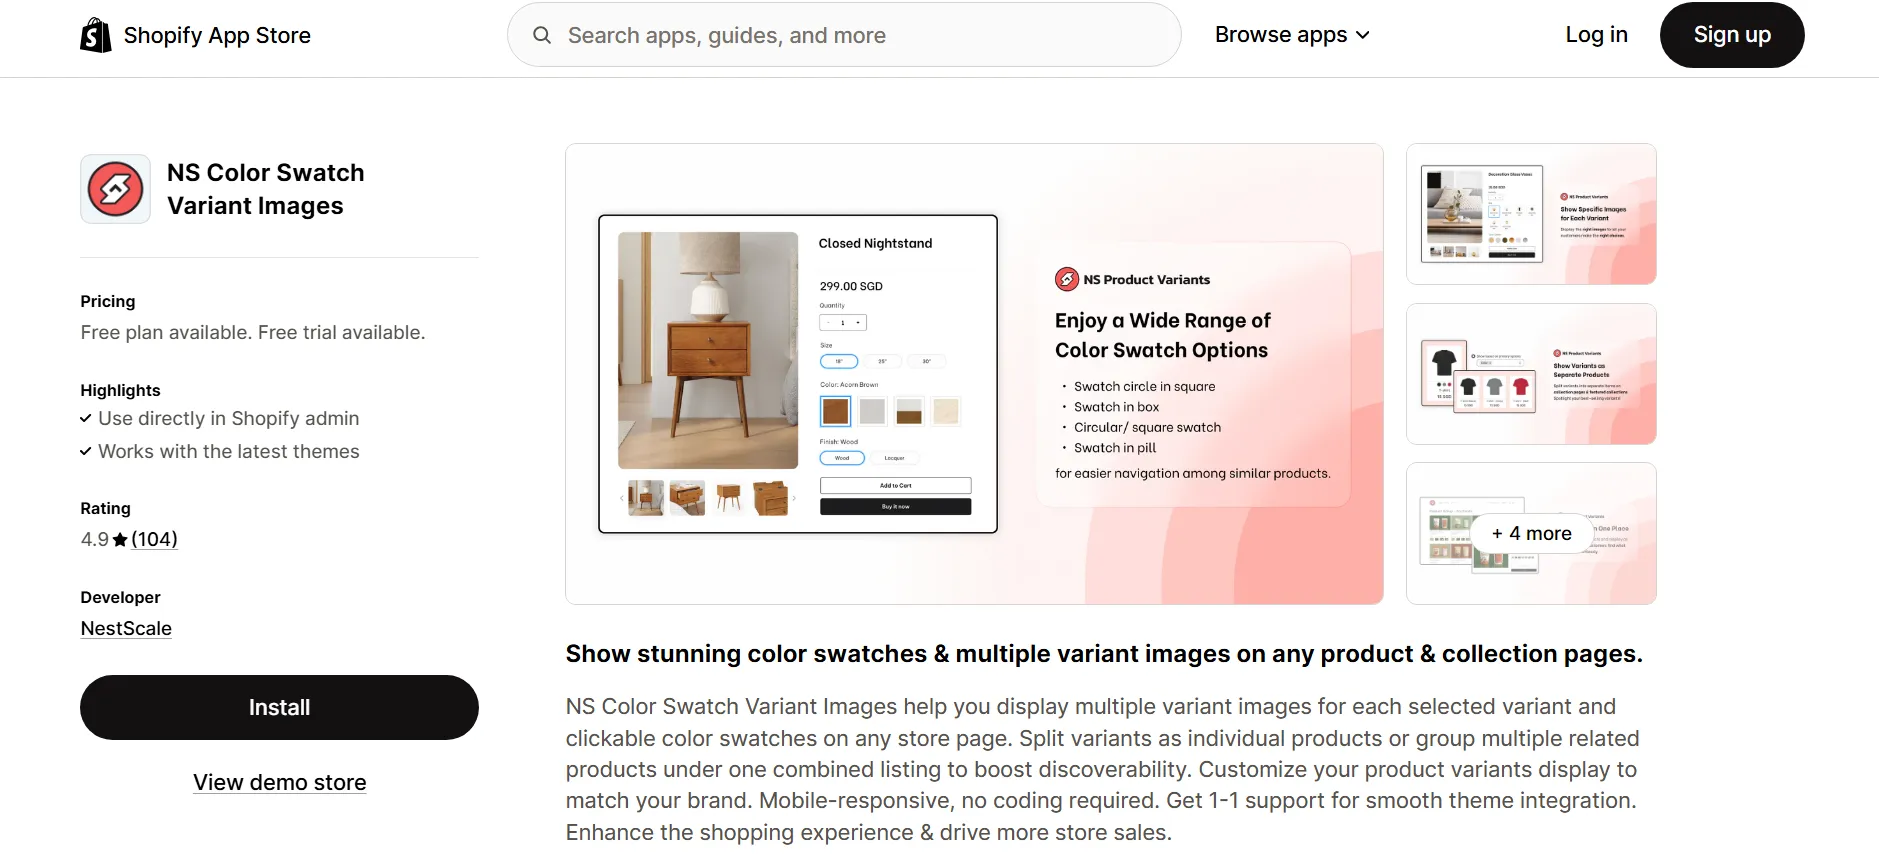
1. Head over to the Shopify App Store, search for NS Color Swatch Variant Images, and install it.
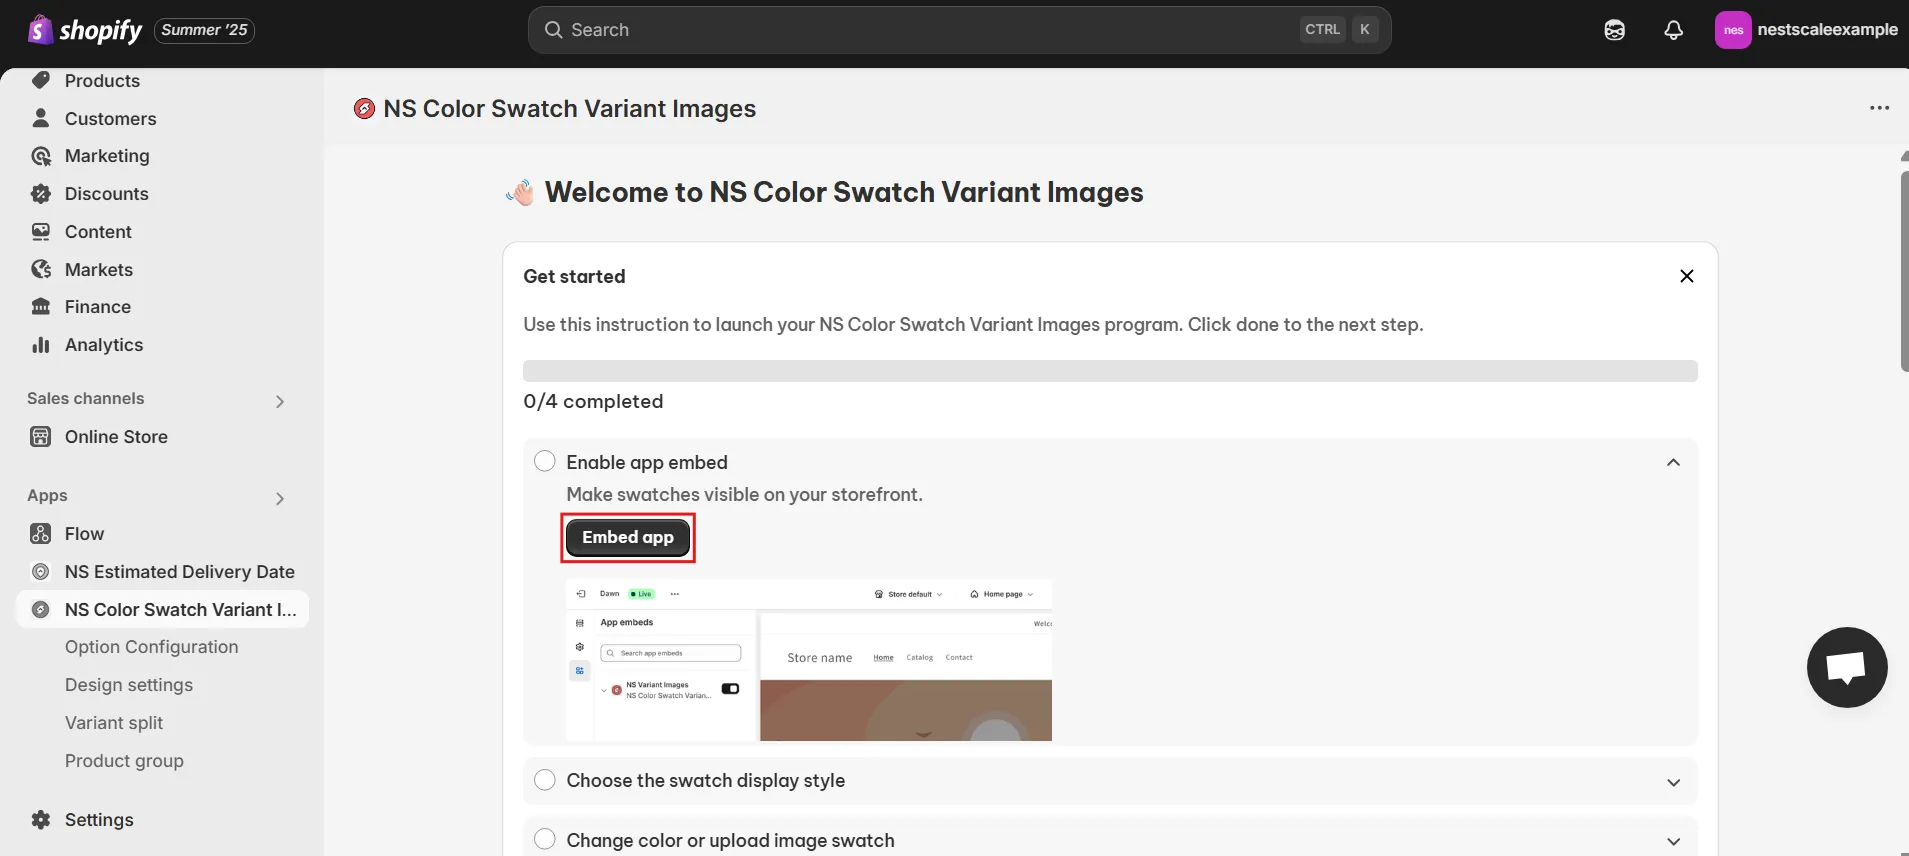
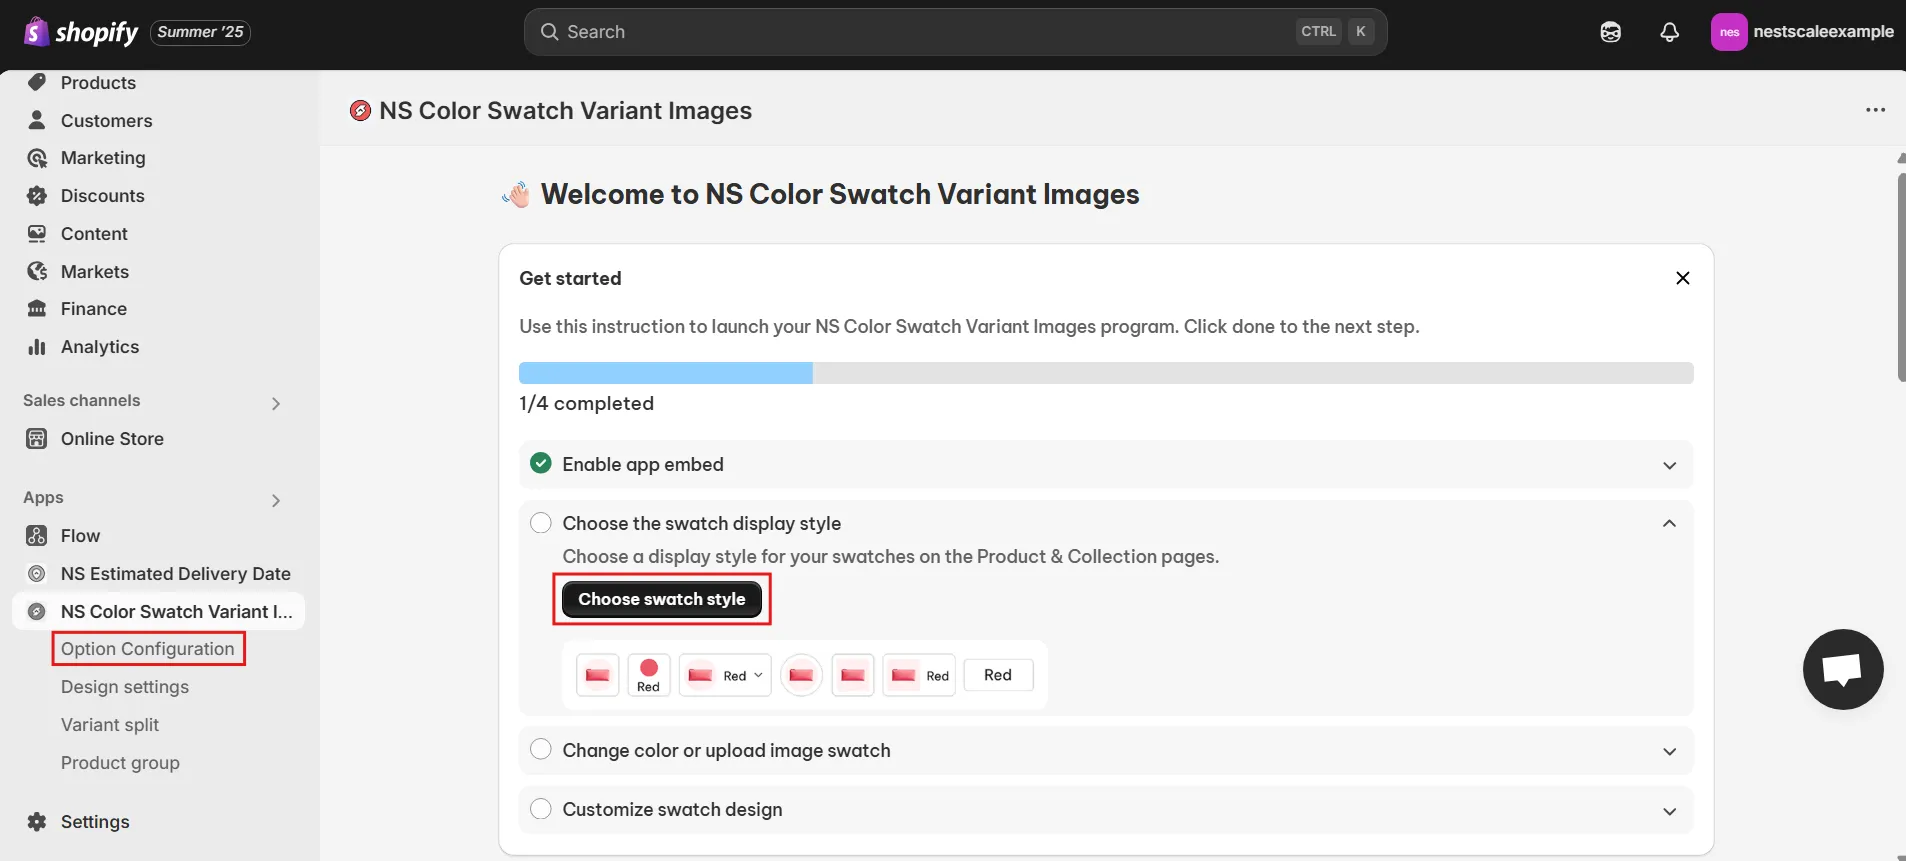
2. Once installed, open the app from your Shopify admin and follow the Get Started guide.
3. Click on Embed app.
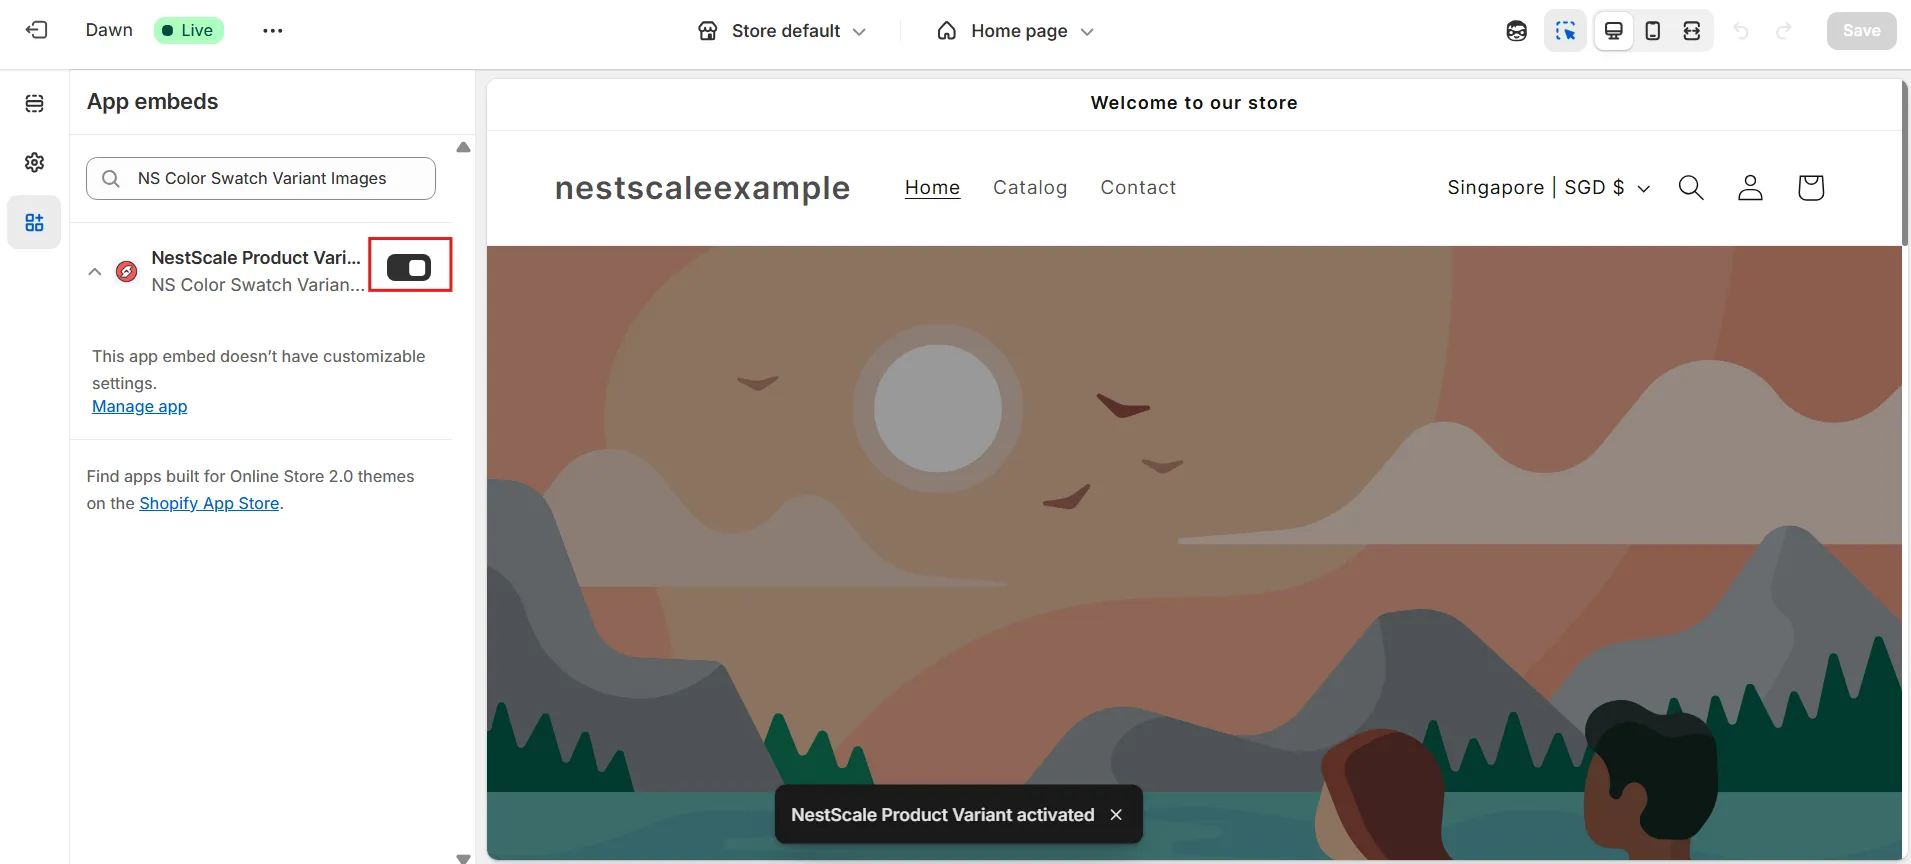
4. You’ll be redirected to the Shopify theme editor, just toggle ON the switch beside the app name, then hit Save.
Display color swatches on your storefront
Now that the app is live, it’s time to choose how your swatches will appear on your product and collection pages.
1. From the welcome screen, either click Choose Swatch Style or jump to Option Configuration via the left-hand menu.
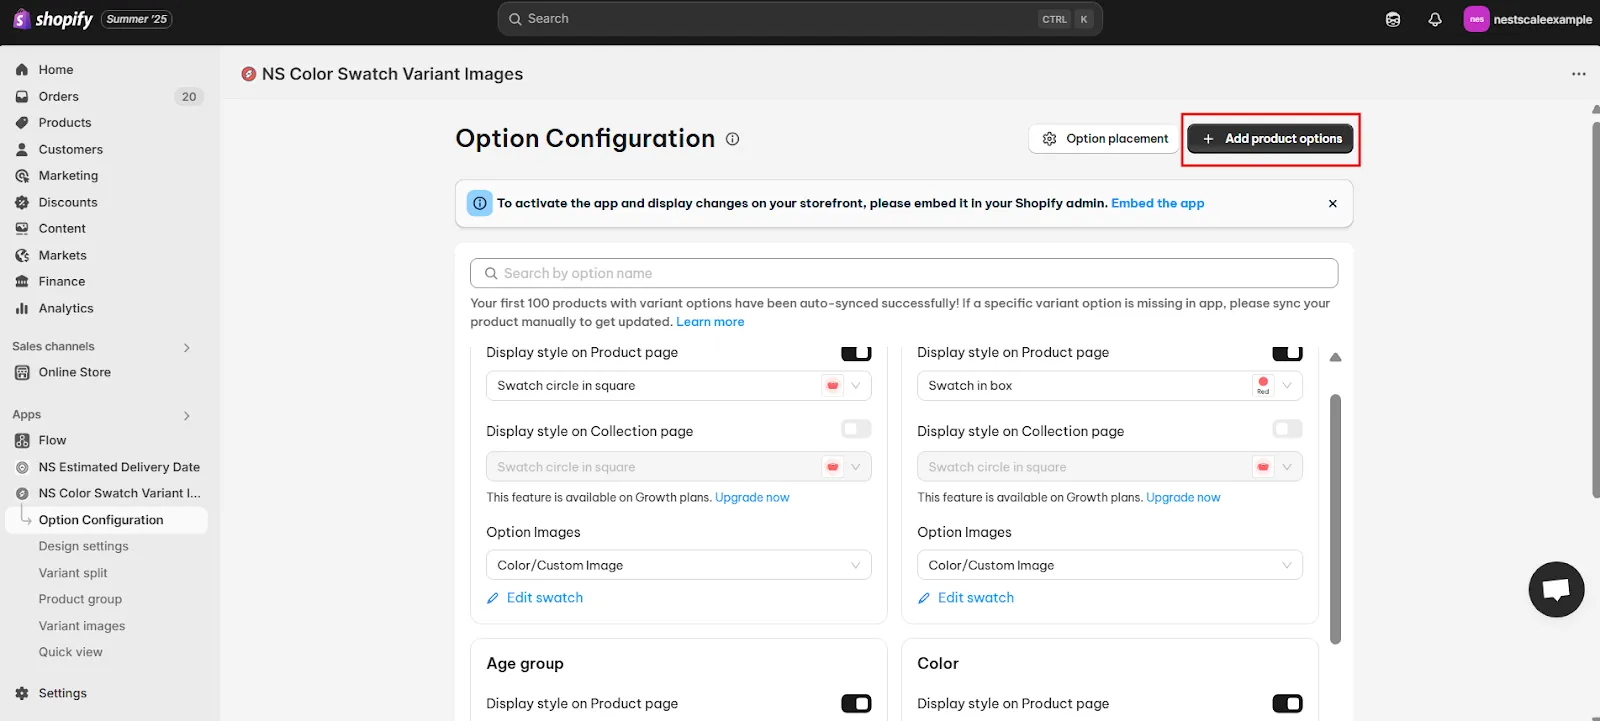
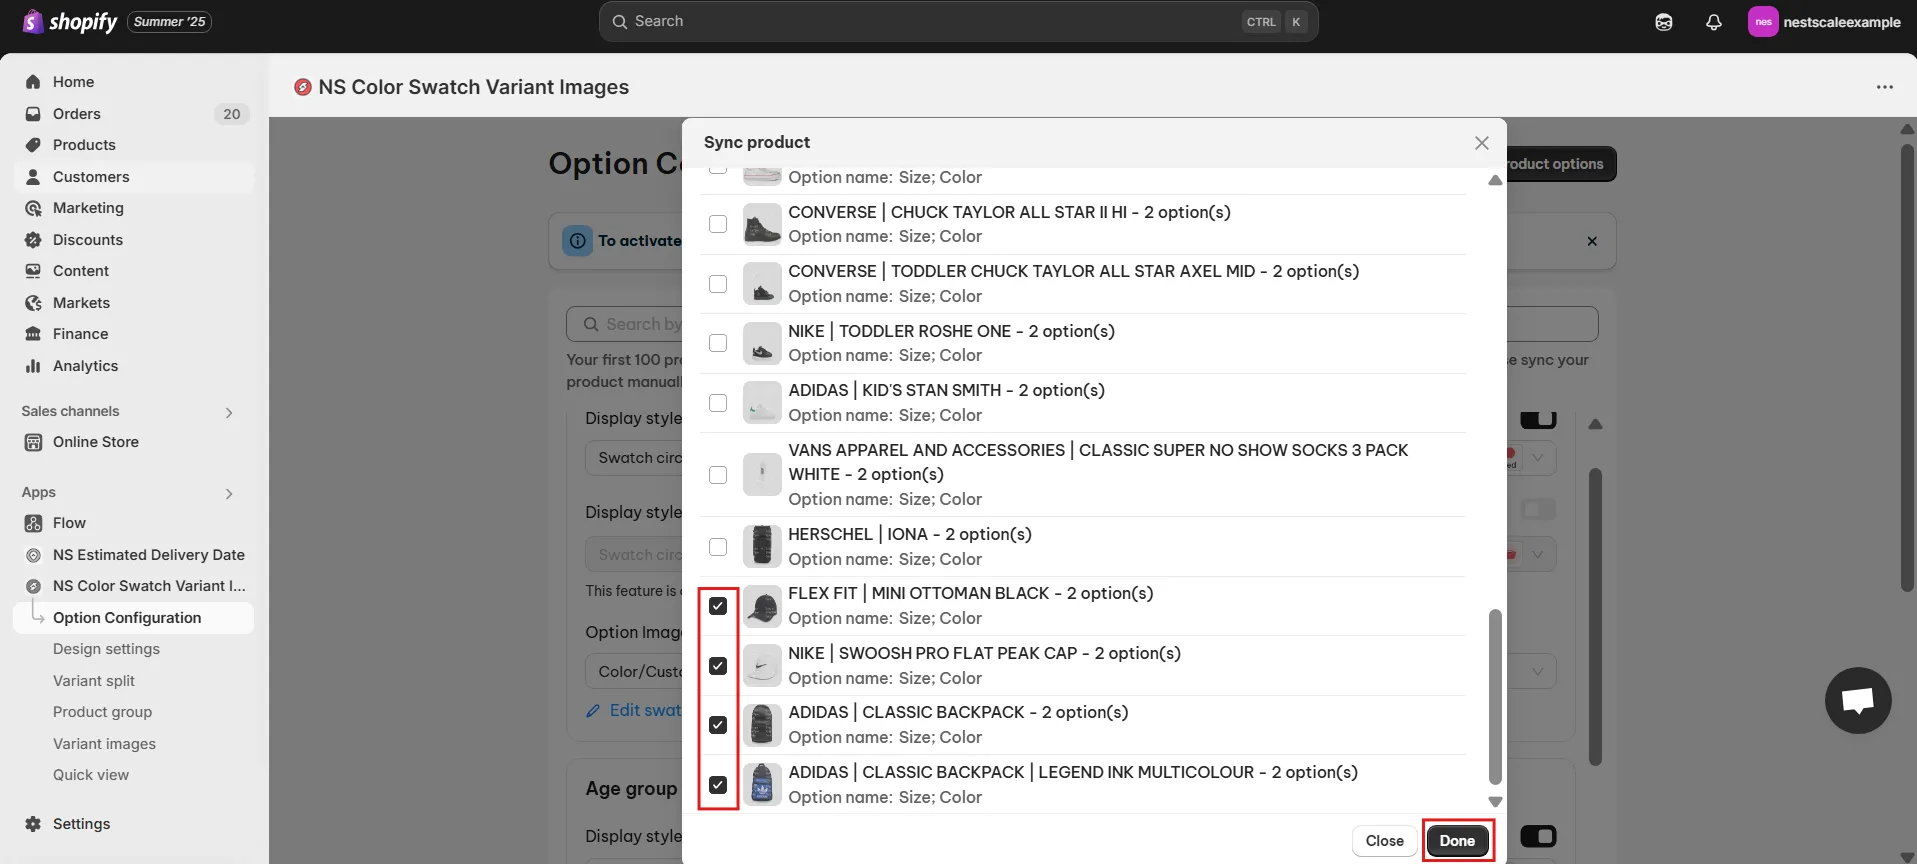
📝 By default, the app will sync your latest 100 products with options. If the one you’re looking for isn’t listed, click Add Product Options to manually select it.
2. A product list will appear. Pick the items you want to add swatches to, then click Done. You can select multiple products at once.
3. Now, toggle ON the Display Style on Product Page for each option you want to convert into swatches.
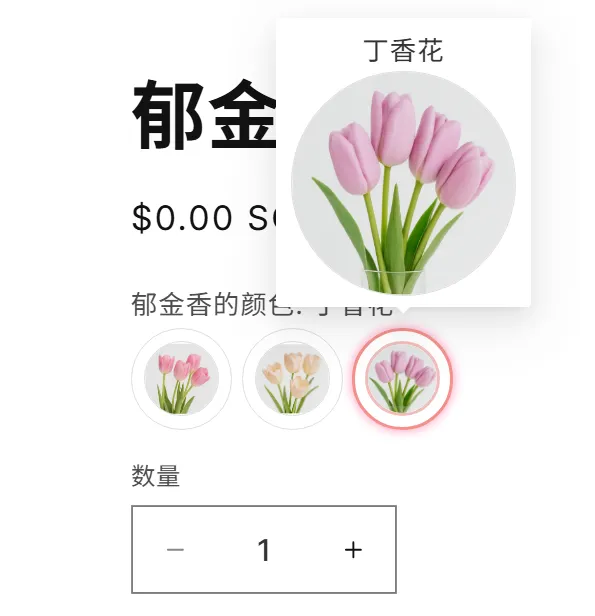
For example, I’m adding swatches to my “Tulips” product, so I’ll enable the toggle for the Tulips color option.
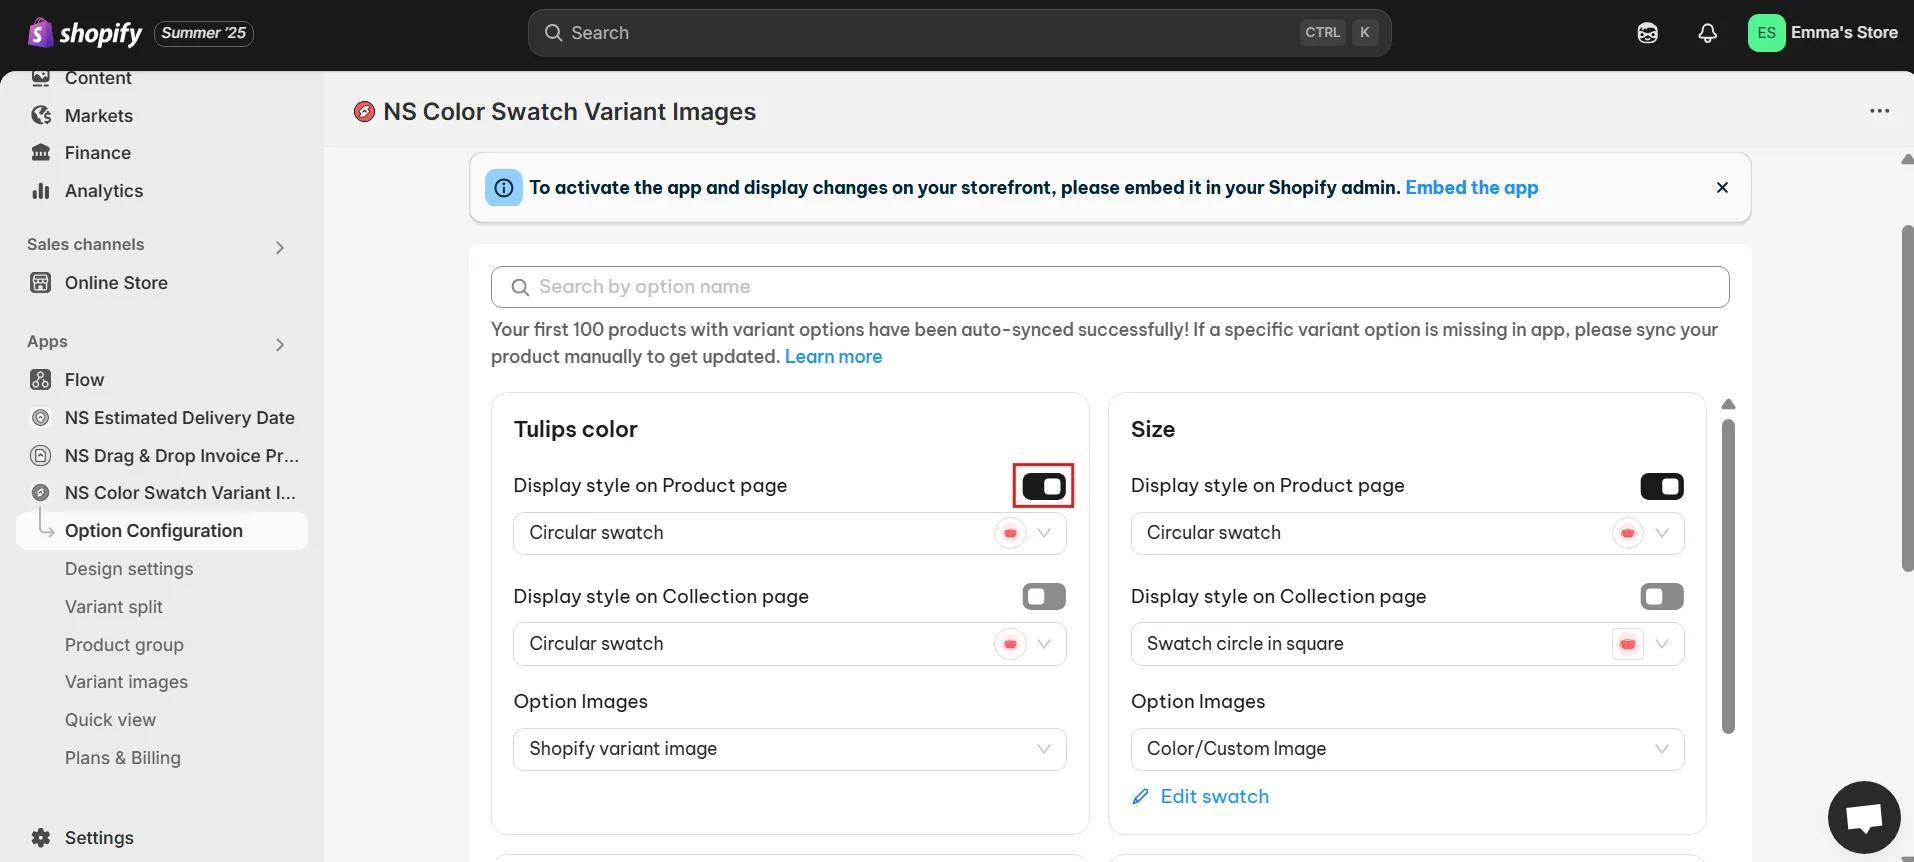
4. Enable the second toggle underneath for your swatches to show up on Collection Pages.
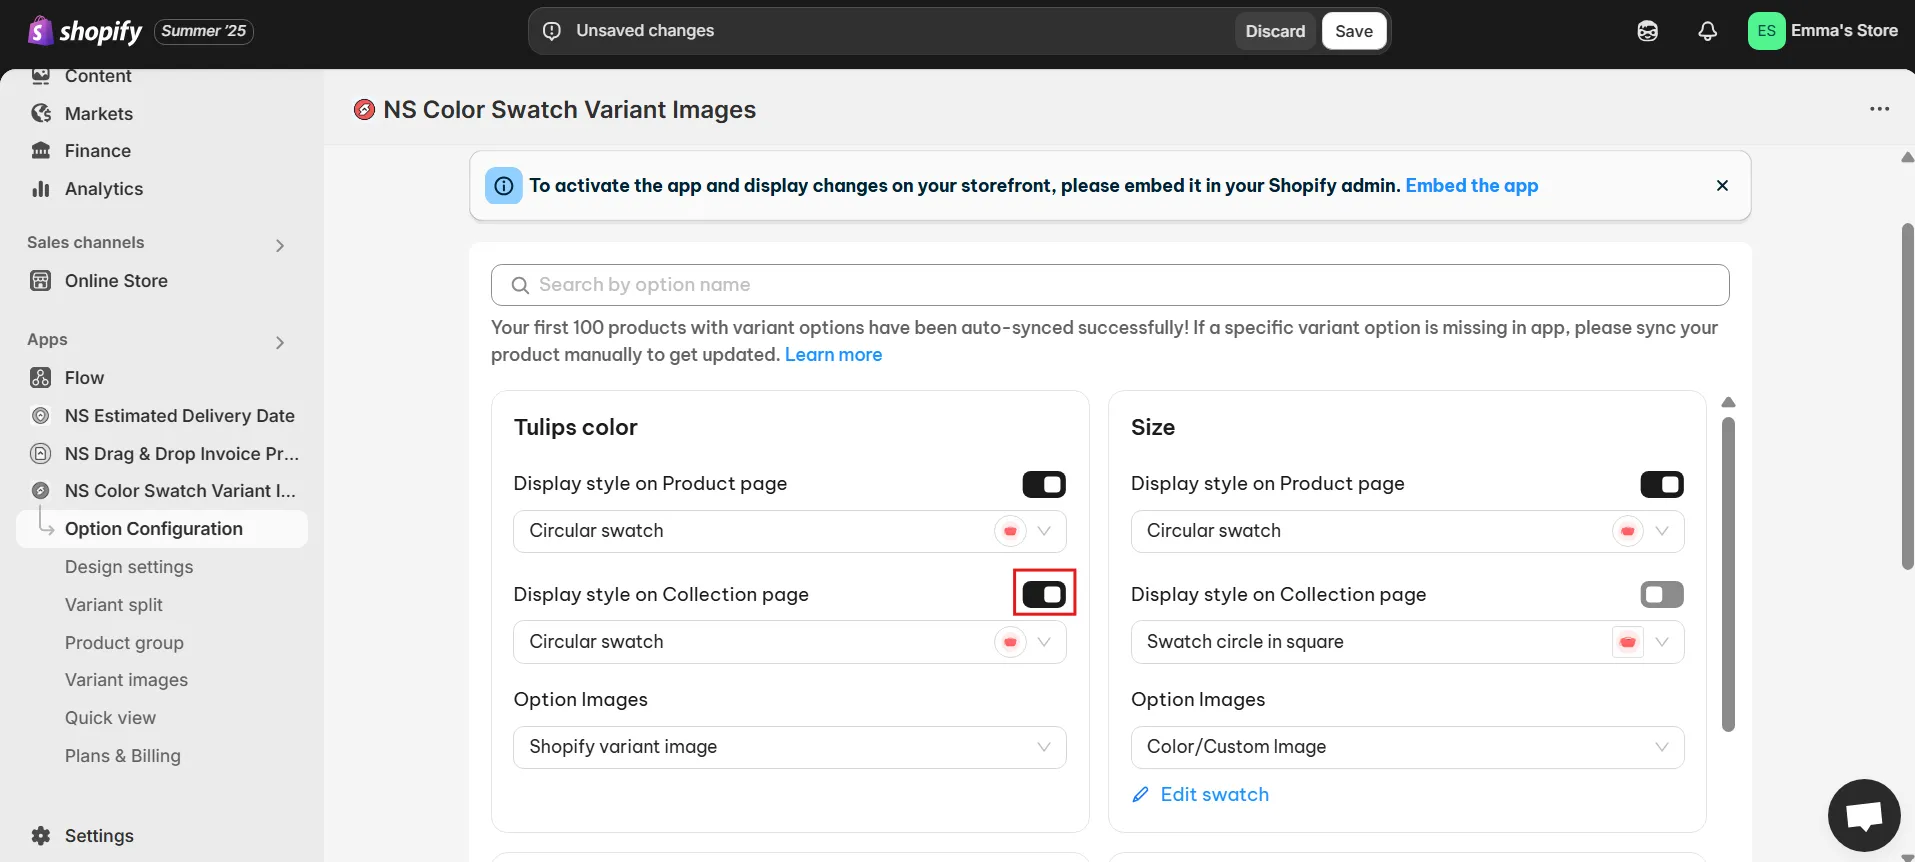
5. Underneath the toggles, you’ll see a dropdown menu with different swatch shapes, like squares, circles, and pills. Each comes with a handy preview so you can see how it’ll look.
I’ll go with the Circular swatch – simple and stylish.
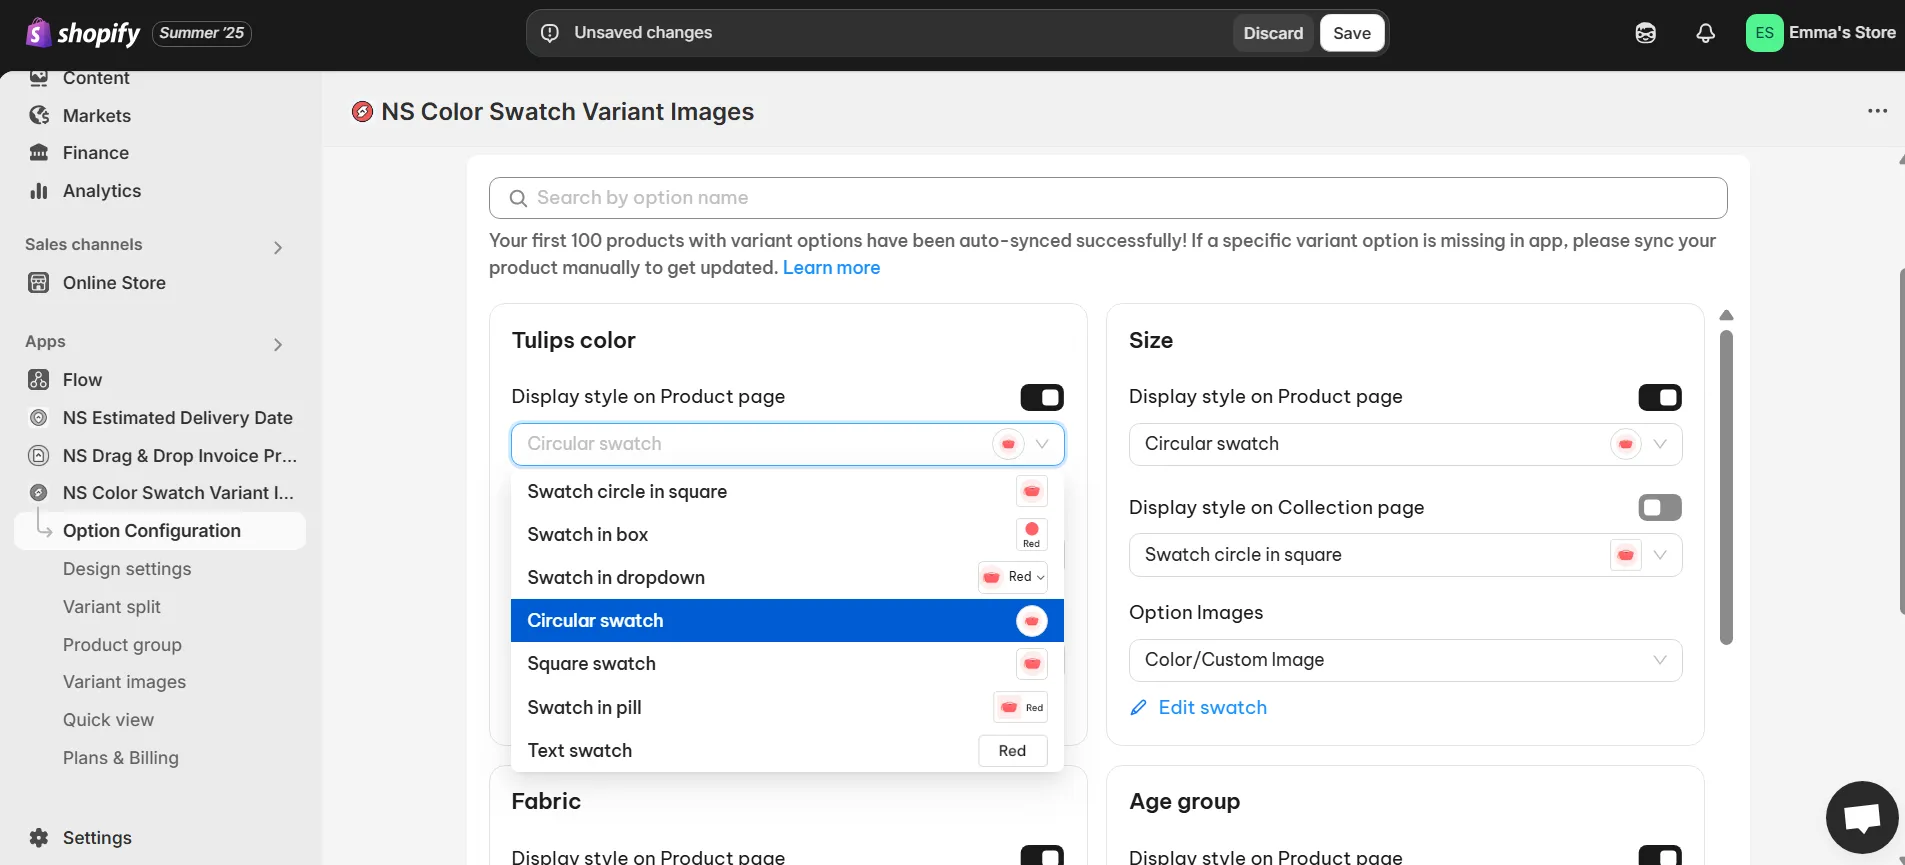
6. Next, decide how to present your variants:
Option 1: Use your Shopify variant images (if they’re already uploaded).
Option 2: Use Color / Custom images. This lets you:
- Pick a color using the color picker
- Enter a HEX code
- Upload a custom image from your computer
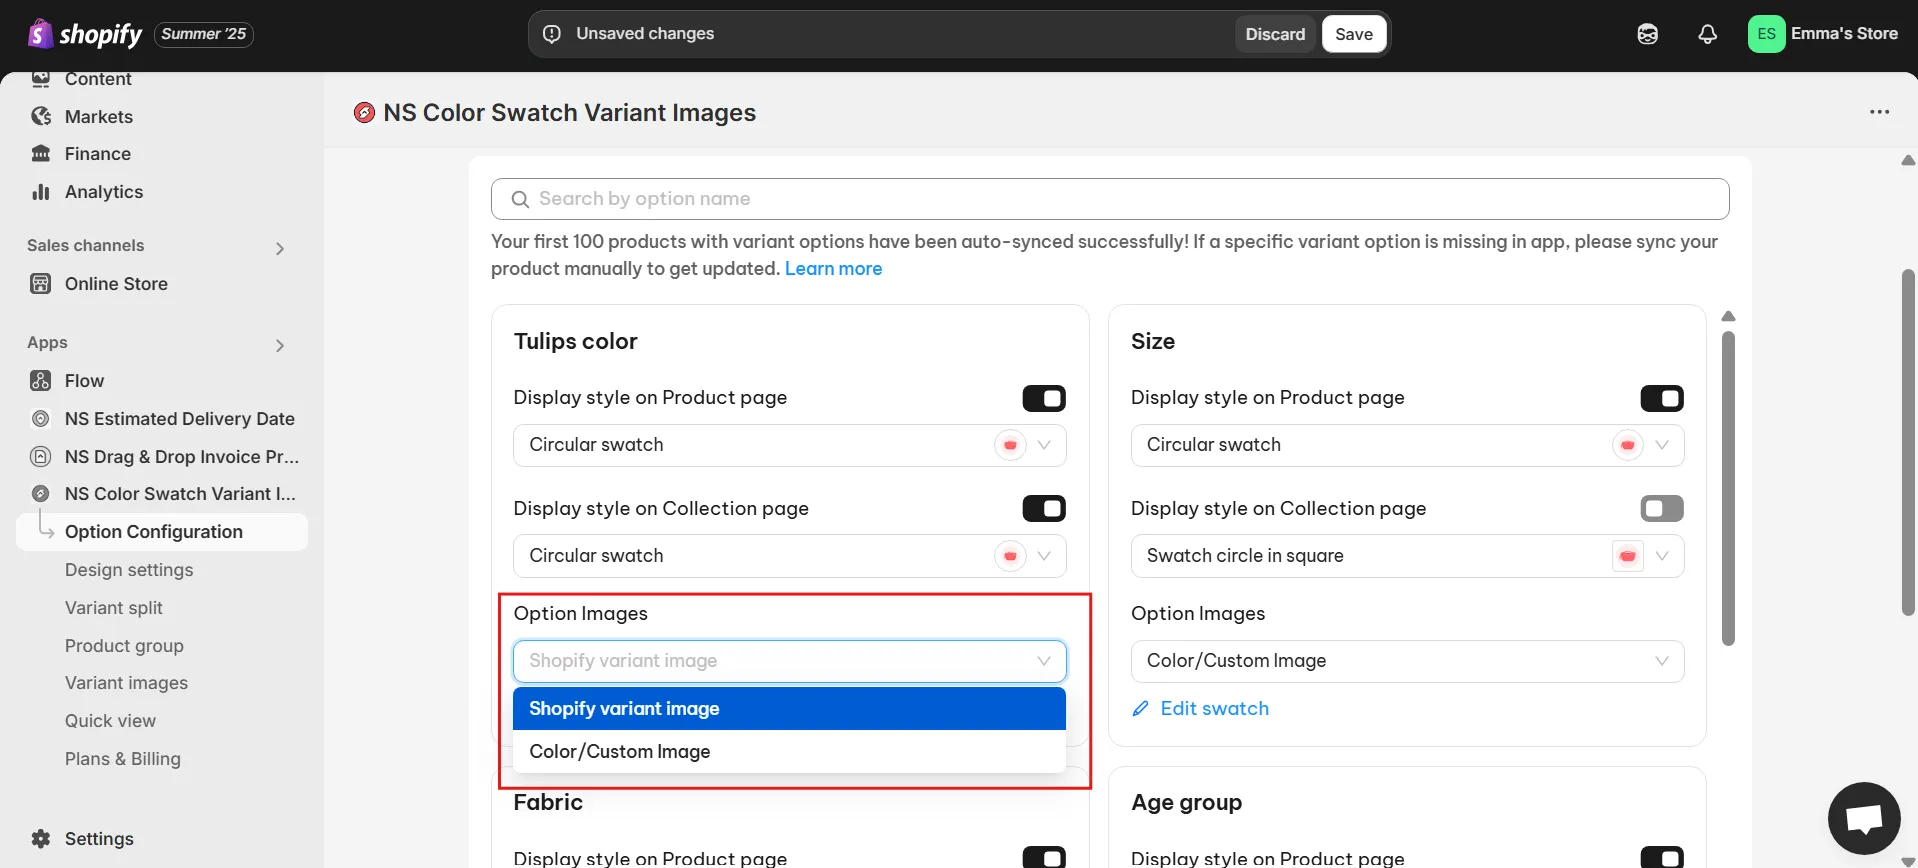
7. If you go with Option 2, click Edit Swatch to set up each variant visually.
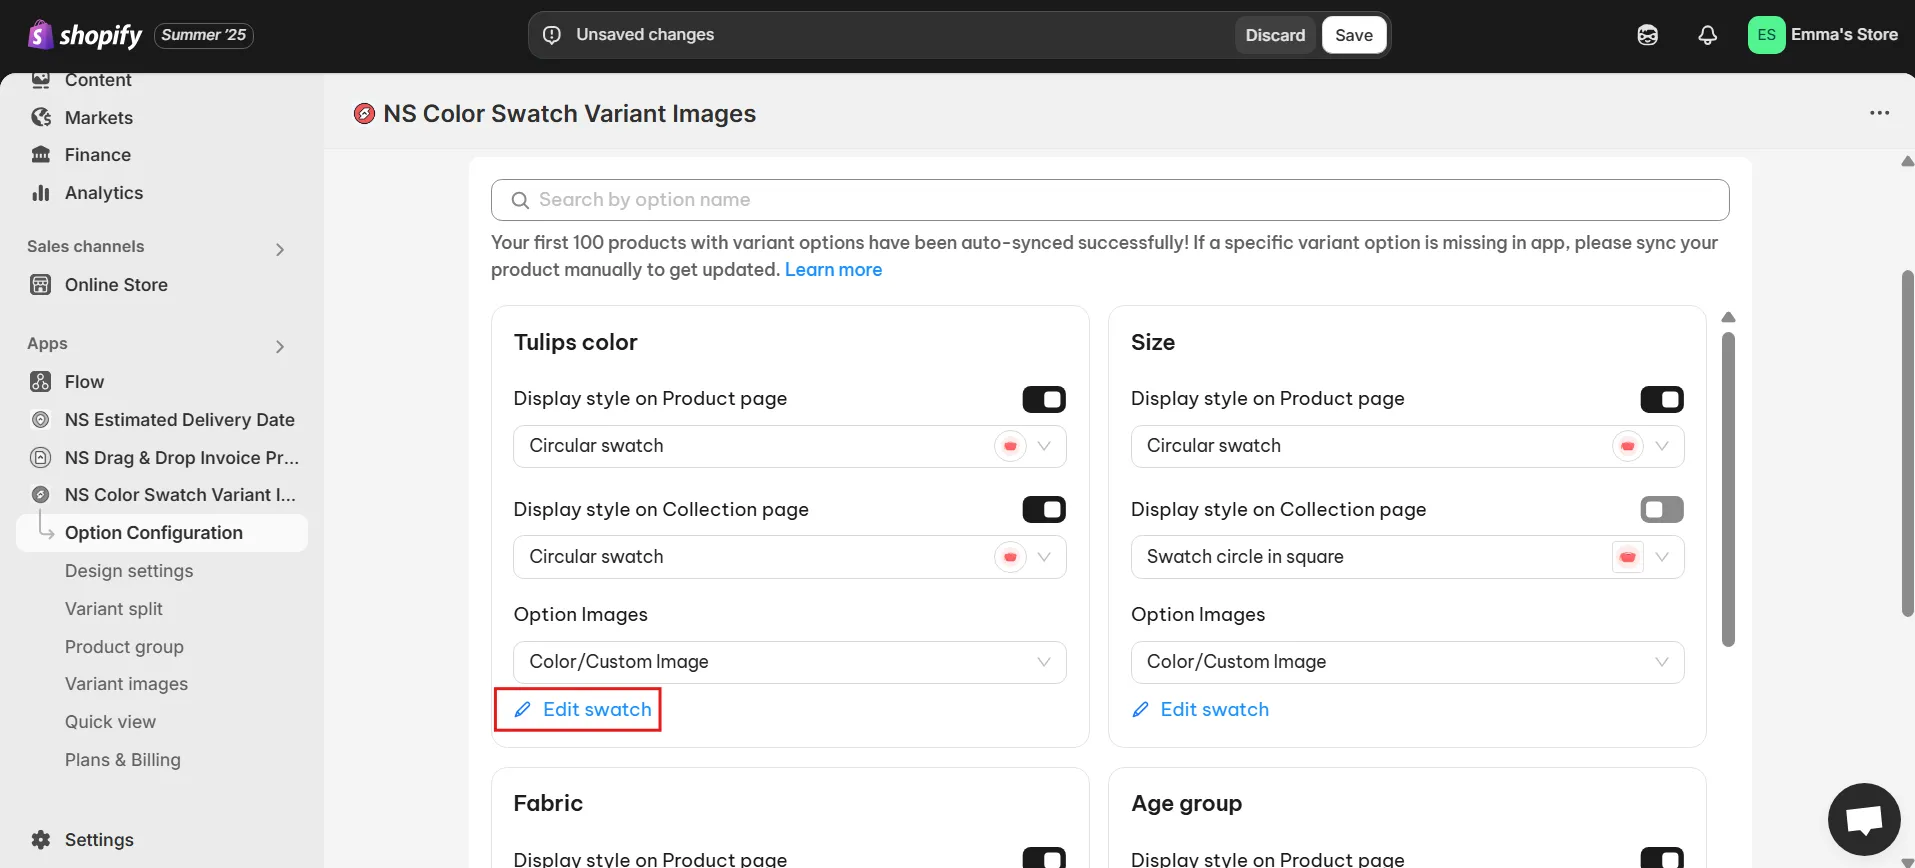
8. In the pop-up window, assign a color or image to each variant. Just make sure the swatch aligns with the correct variant name.
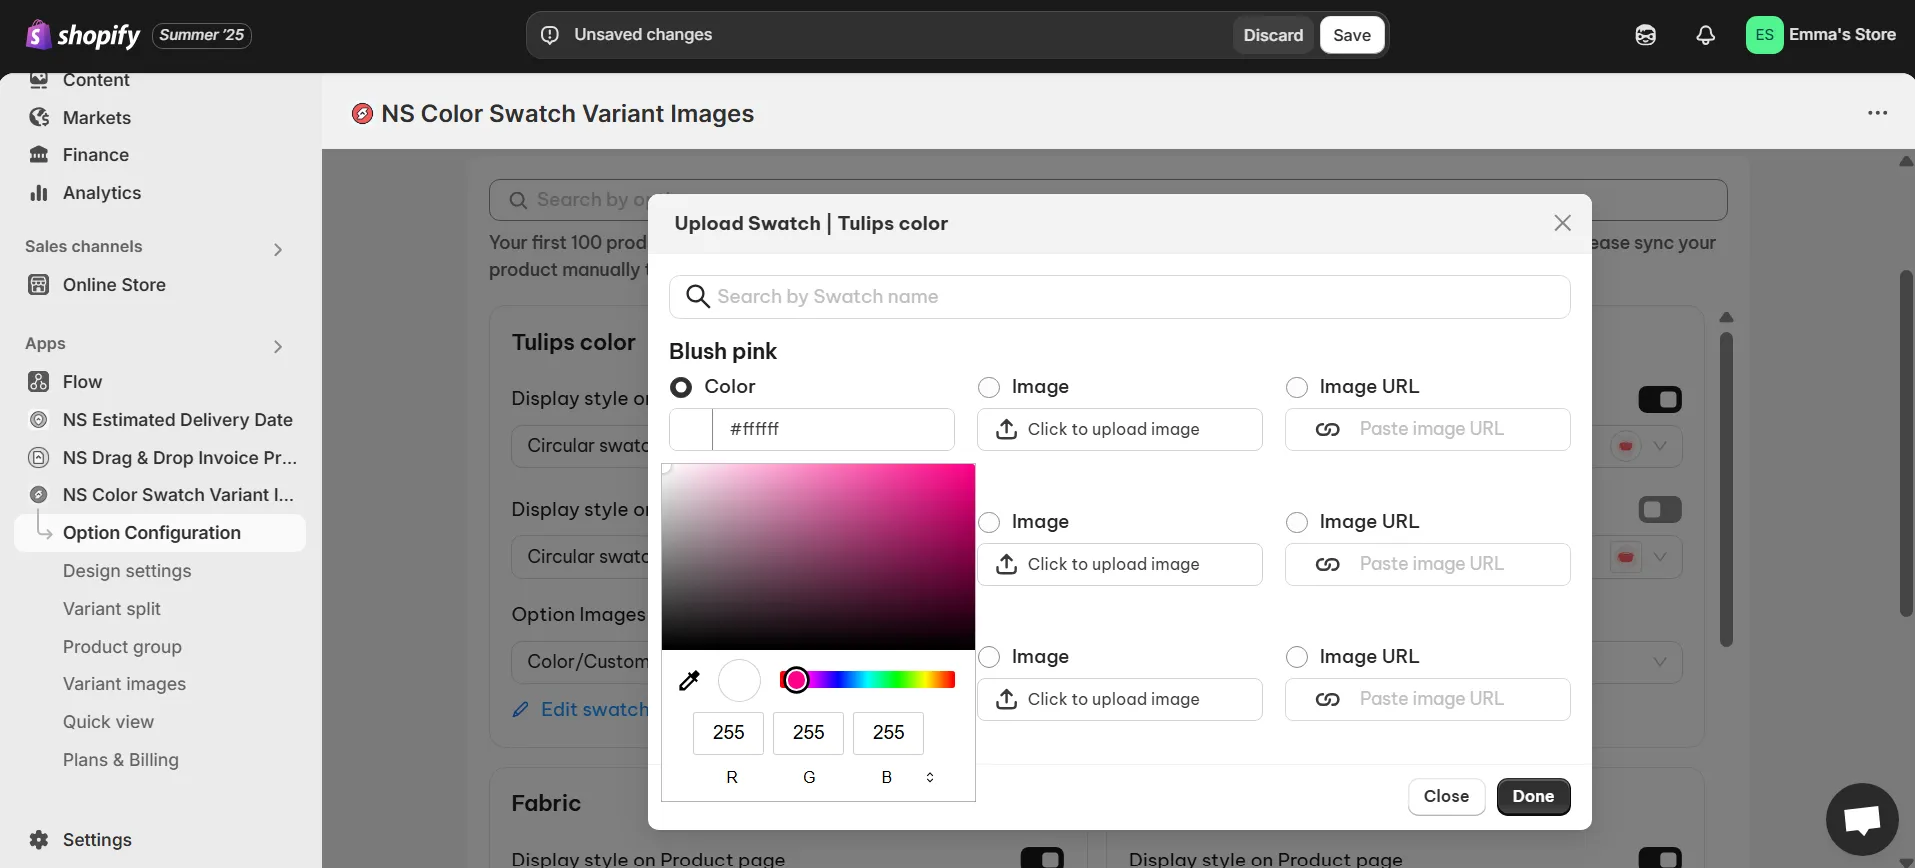
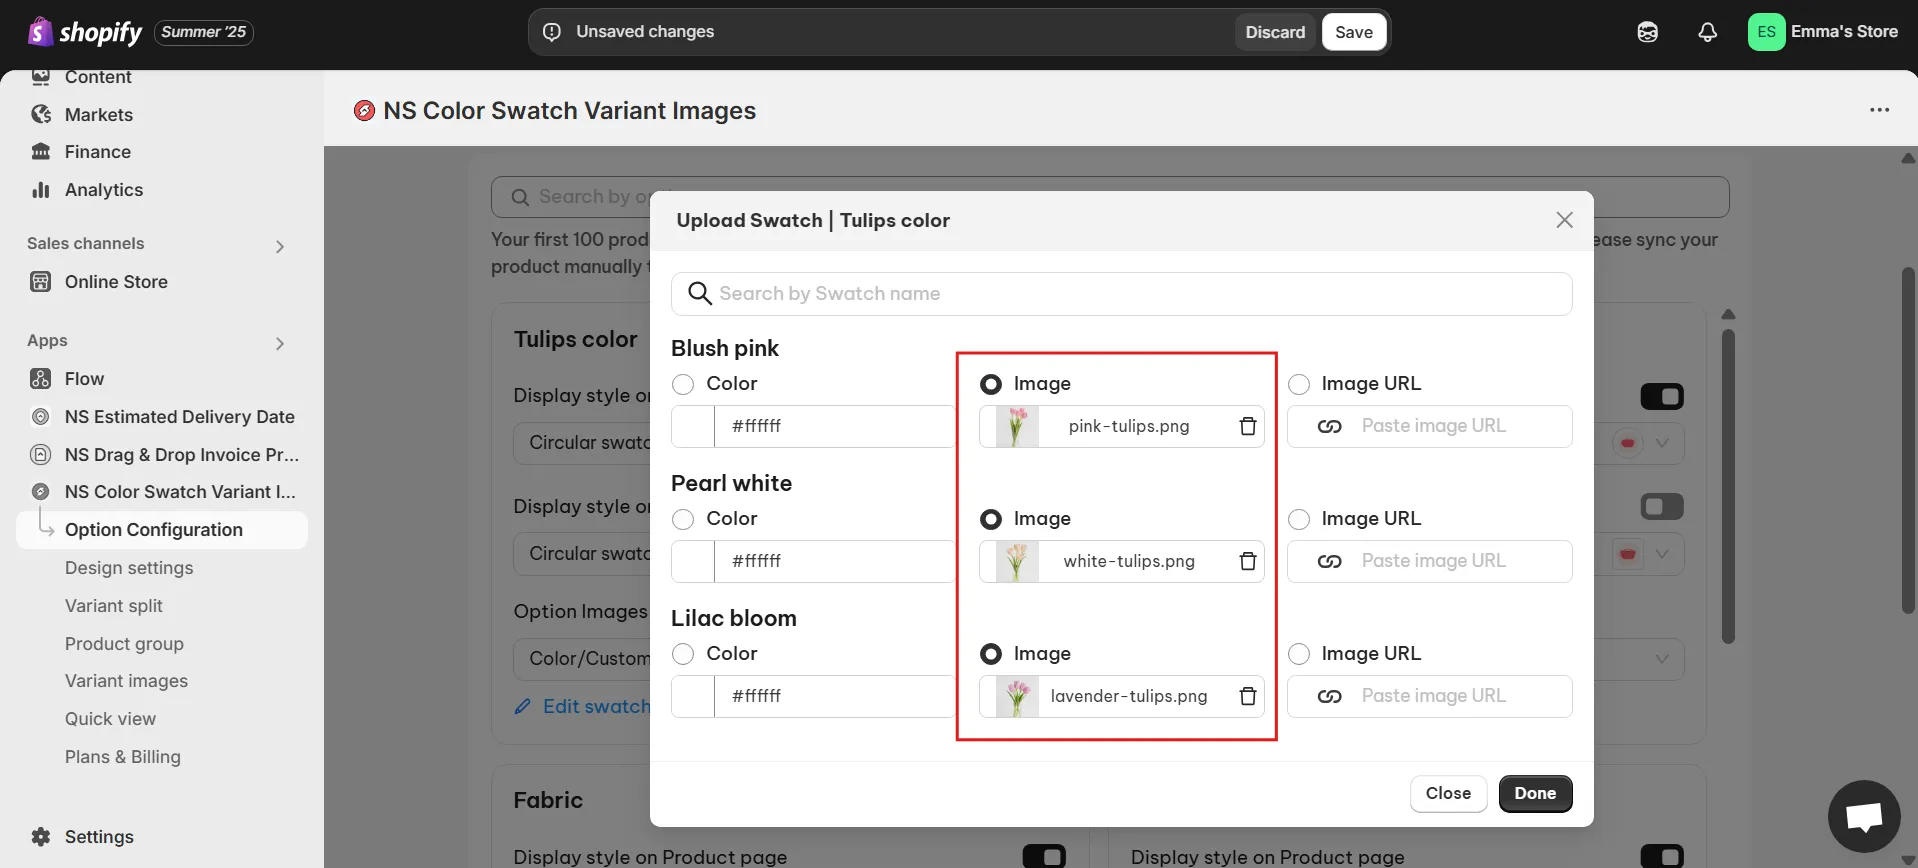
9. Once you’re done, click Done and hit Save.
Just like that, your color swatches are live on your store.
Customize your swatch design
Let’s give your swatches a little personality so they better match your store’s look.
1. From the app menu, head over to Design Settings.
You’ll see two sections here:
- One for Product Pages
- One for Collection Pages
This means you can style your swatches the same or differently between Product pages and Collection pages.
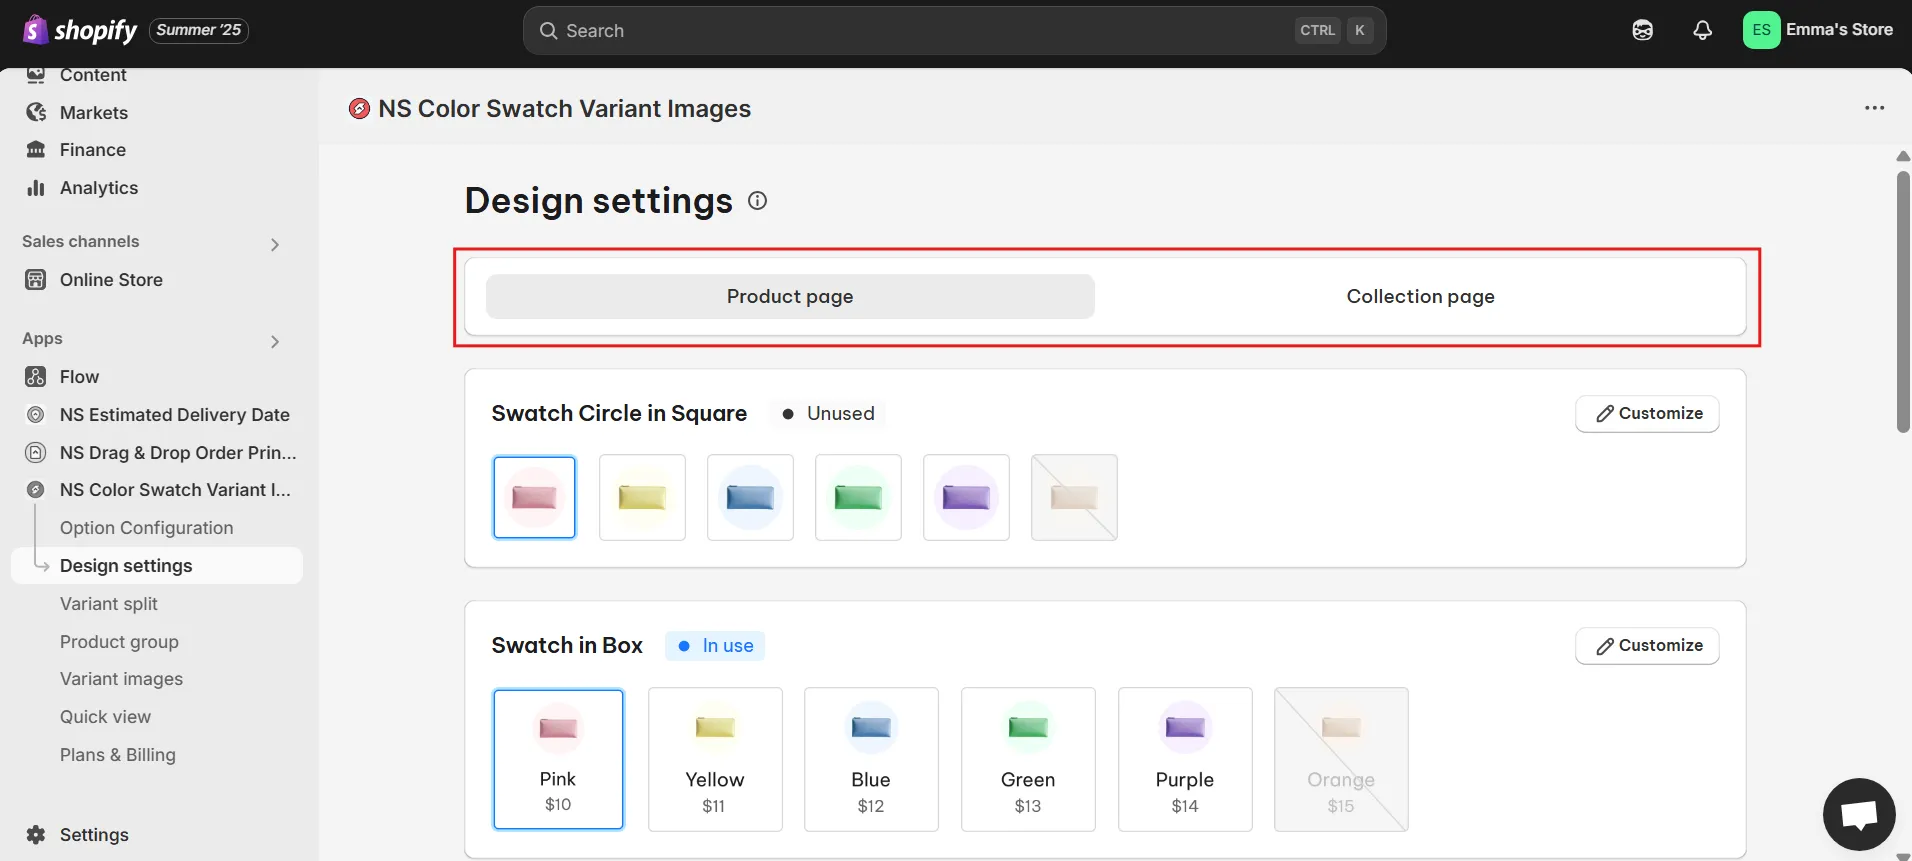
2. Under Product Page Swatch Settings, find the style you selected earlier (you’ll see “In Use” next to it). Click Customize.
I chose the Circular swatch, so that’s what I’ll be customizing.
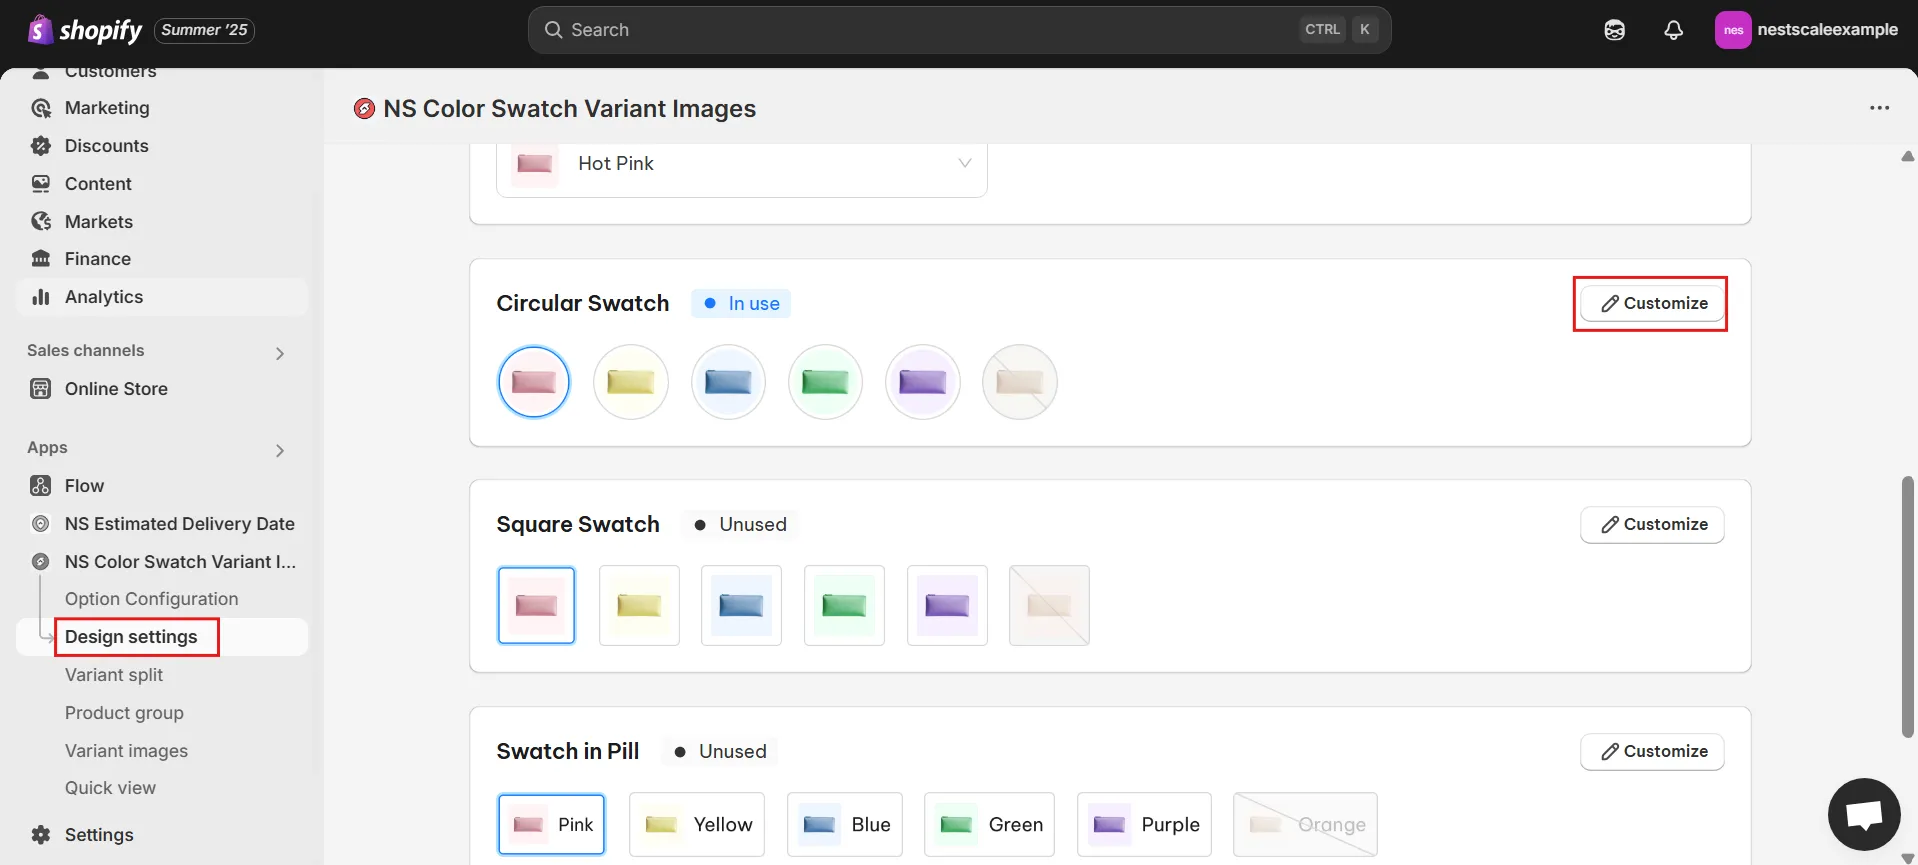
3. You’ll now see five design sections to explore:
- General Settings: Tweak swatch size, spacing, and border width

- Image Settings: Control image behavior on hover (zoom in/out, position)
- Selected Swatch: Set how selected swatches look (color, thickness)
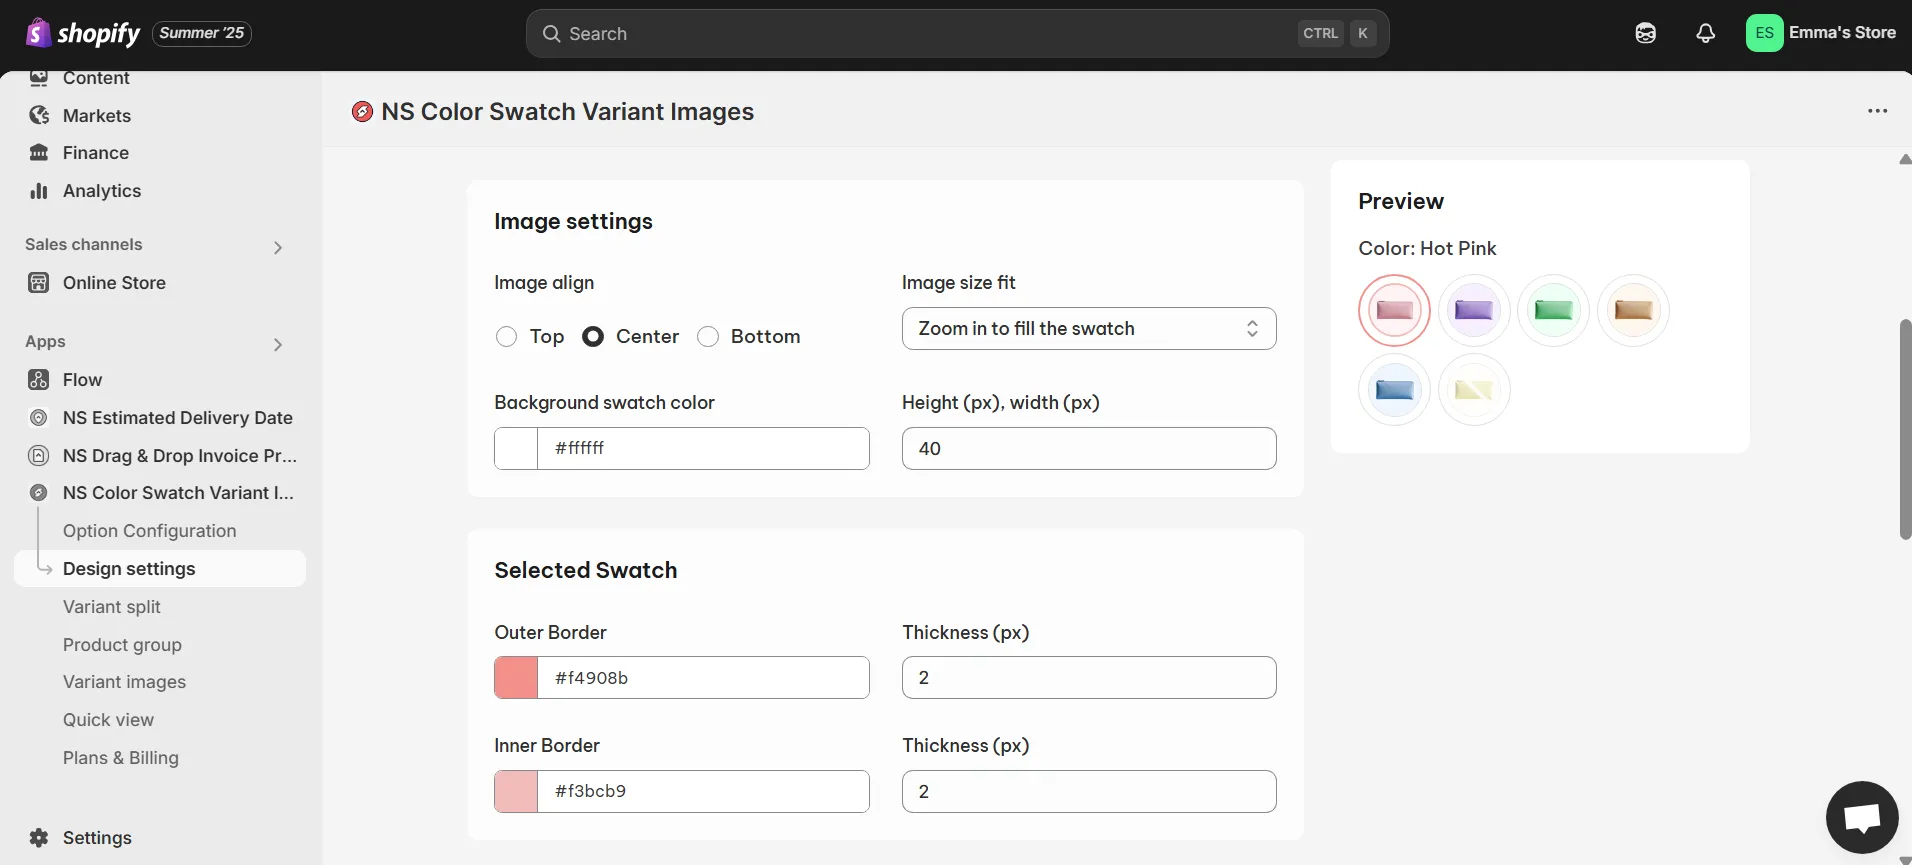
- Unselected Swatch: Style the default look of unselected swatches
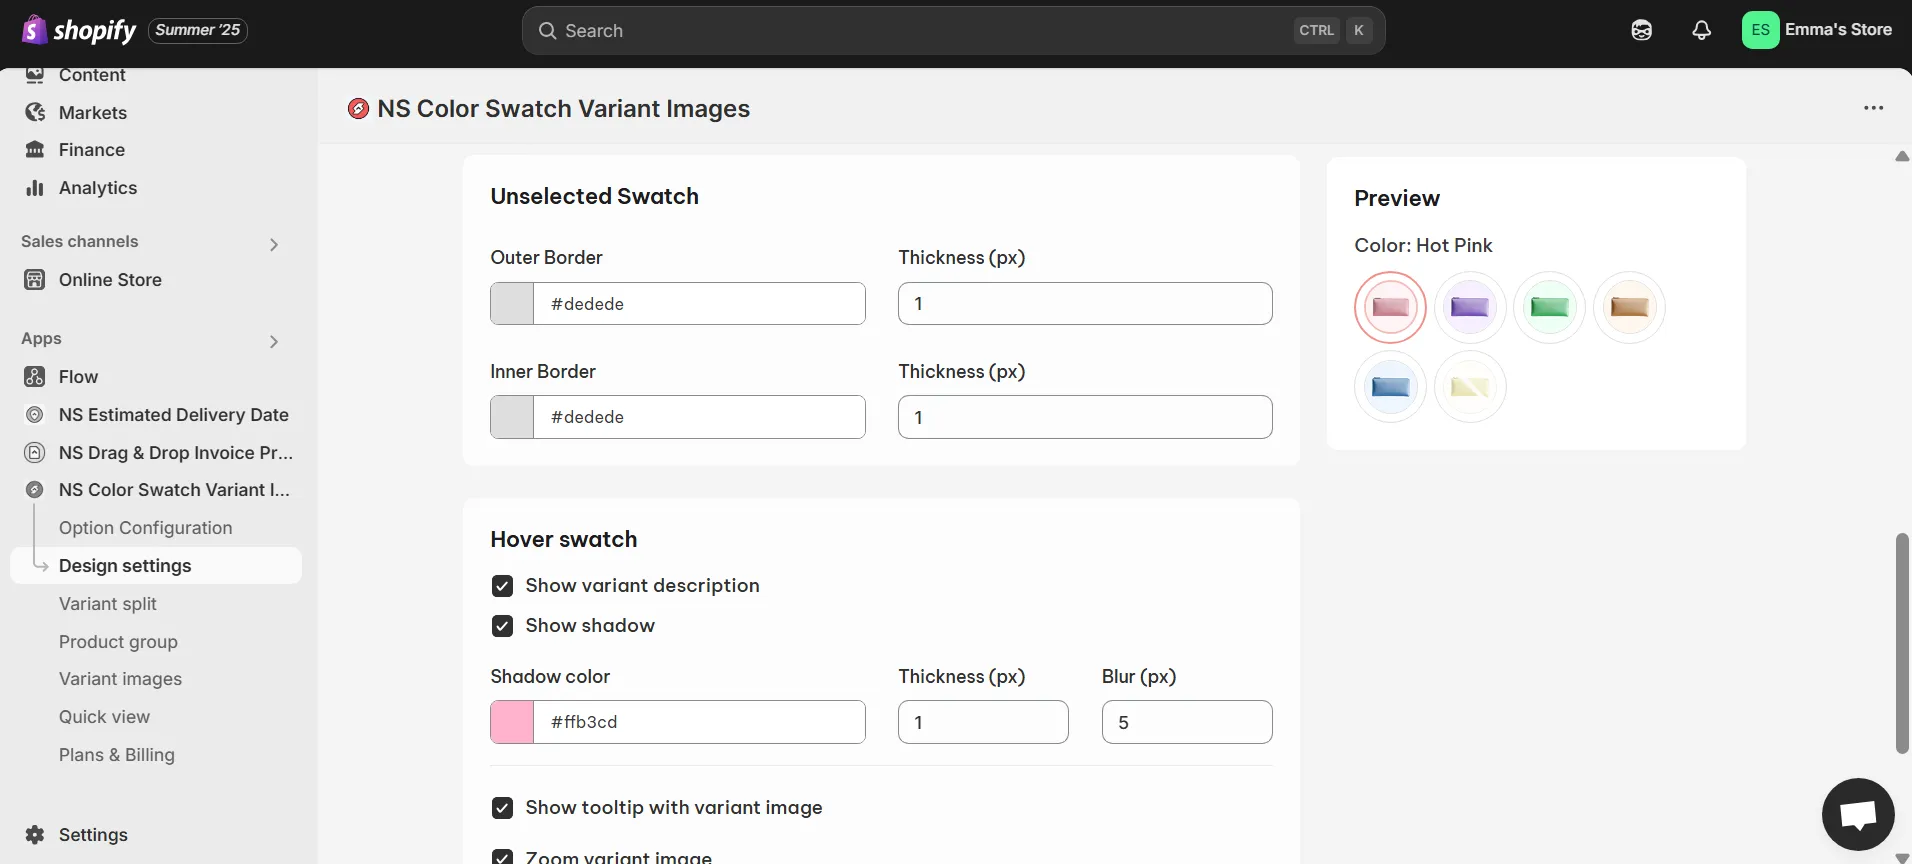
- Hover Swatch: Show variant name, add shadows, tooltips, or zoom on hover
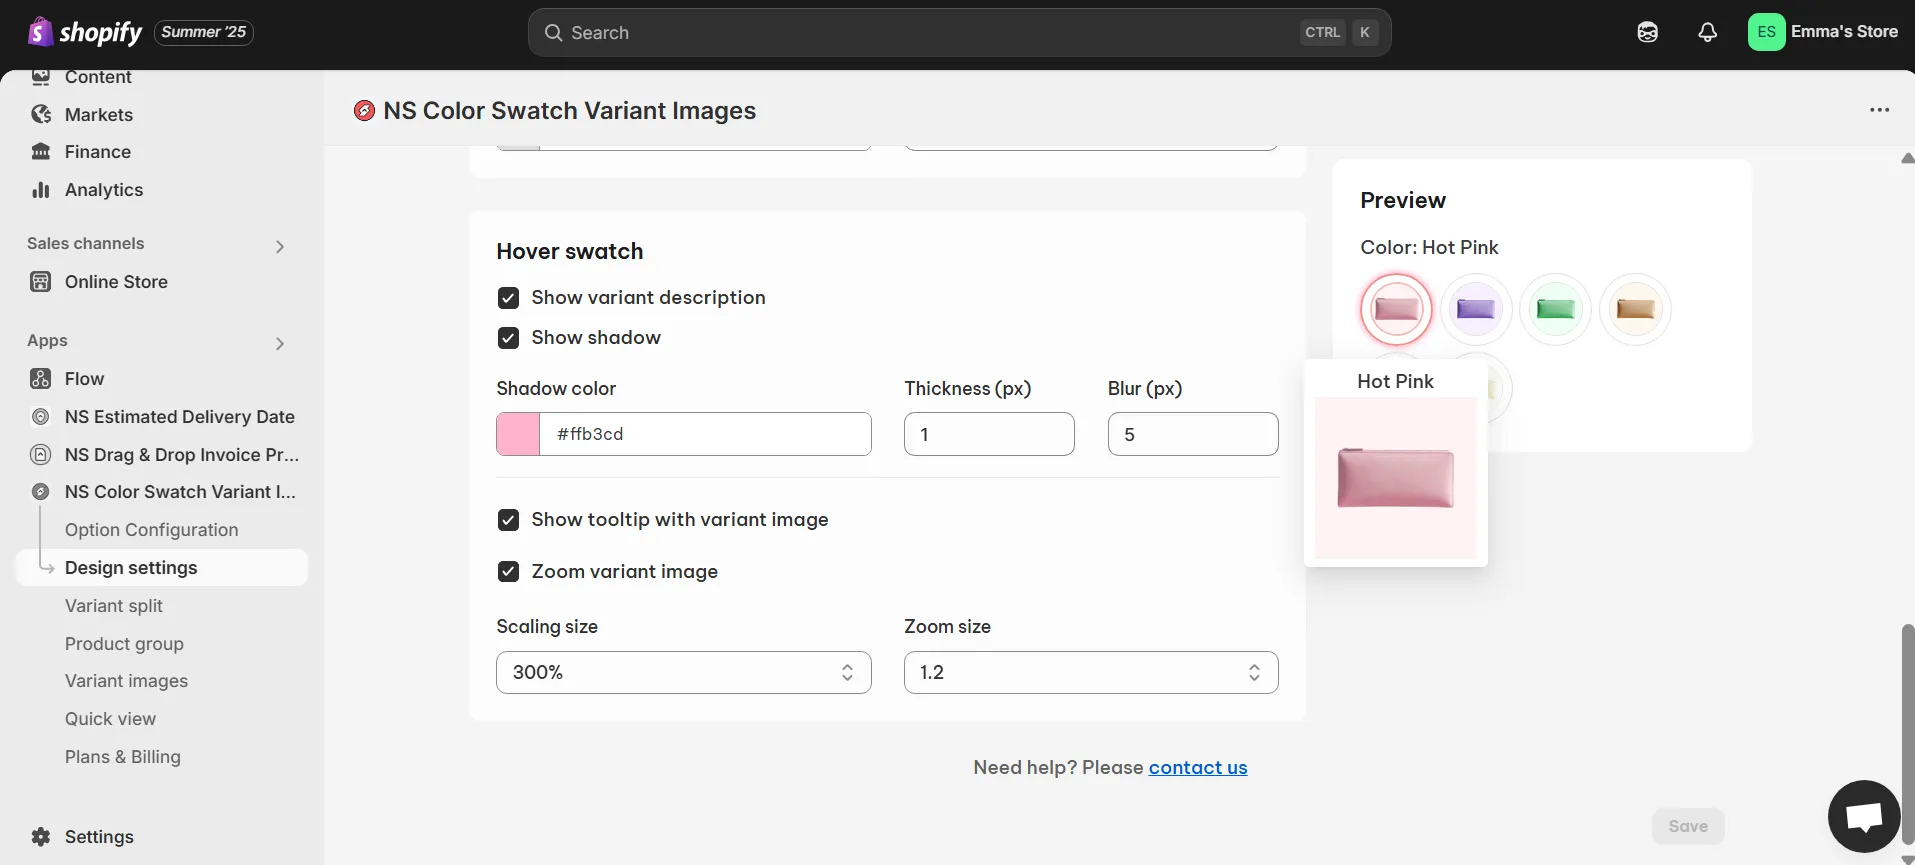
💡 Use the Preview Panel to test out your changes before saving anything.
You’ll find similar customization options for collection pages, so feel free to match or style them differently. It’s up to you.
4. Once everything looks the way you want, click Save to apply your changes.

Step 2: Set up multi-language color swatches with Shopify Translate & Adapt
Now that your swatches look great, let’s make sure they speak your customer’s language, literally.
Add multiple languages to your store
If your store already supports multiple languages, feel free to skip this part.
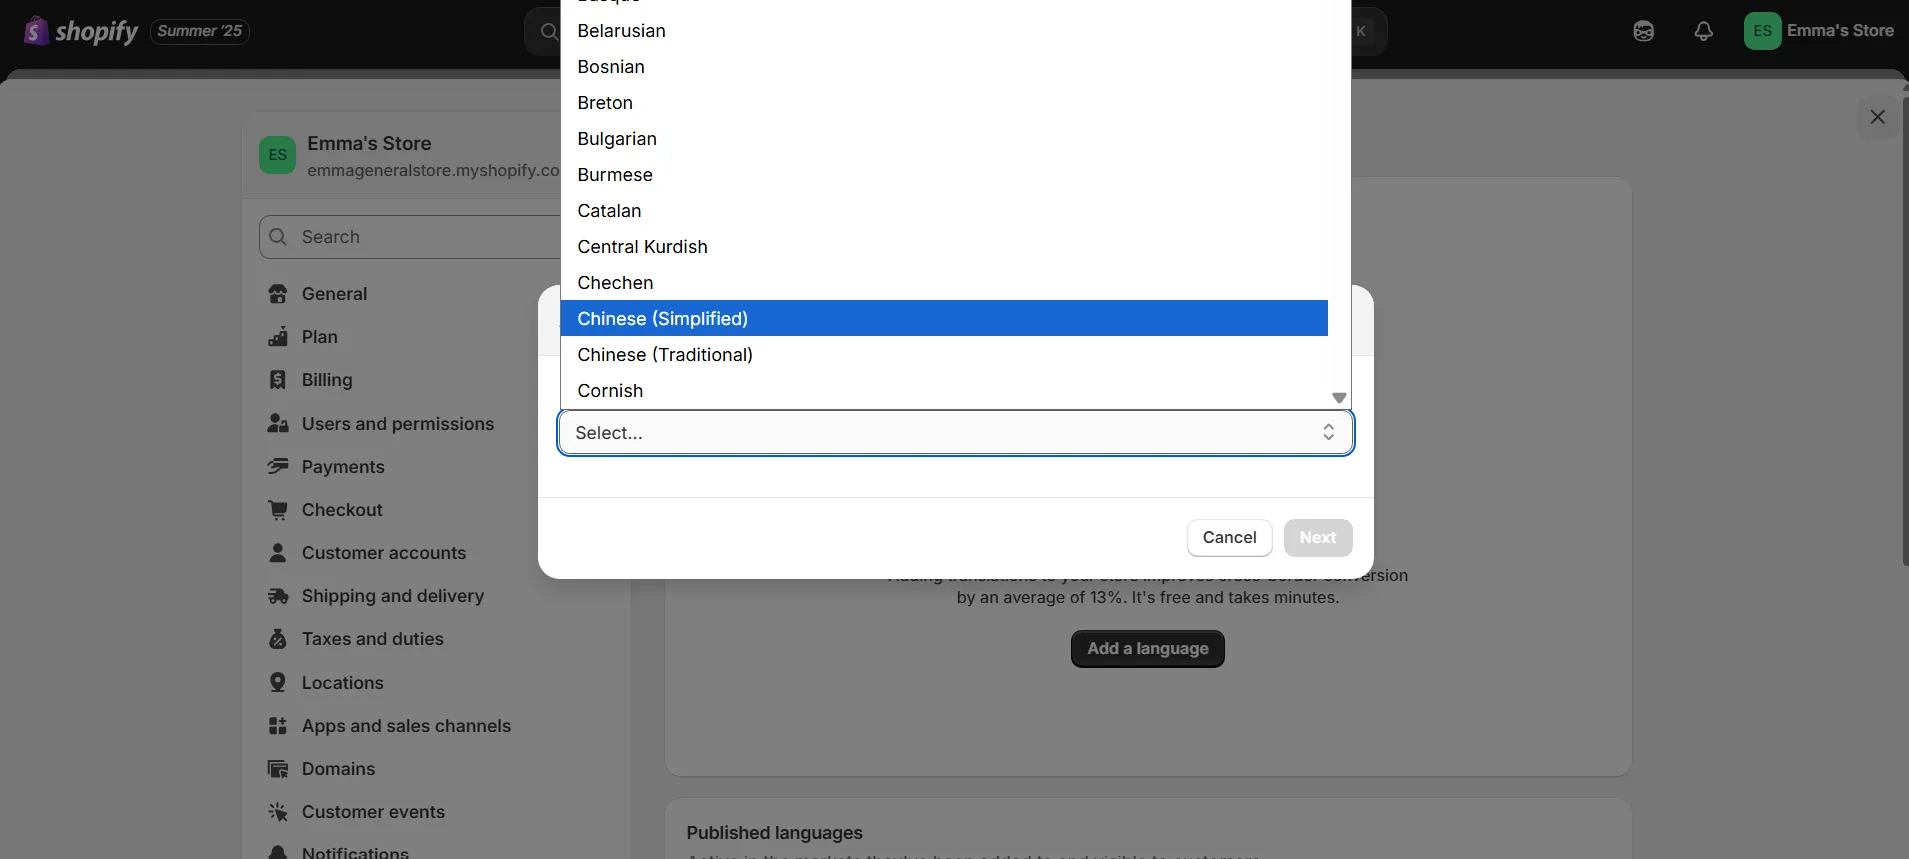
1. In your Shopify Admin, go to Settings > Languages > Add a Language.
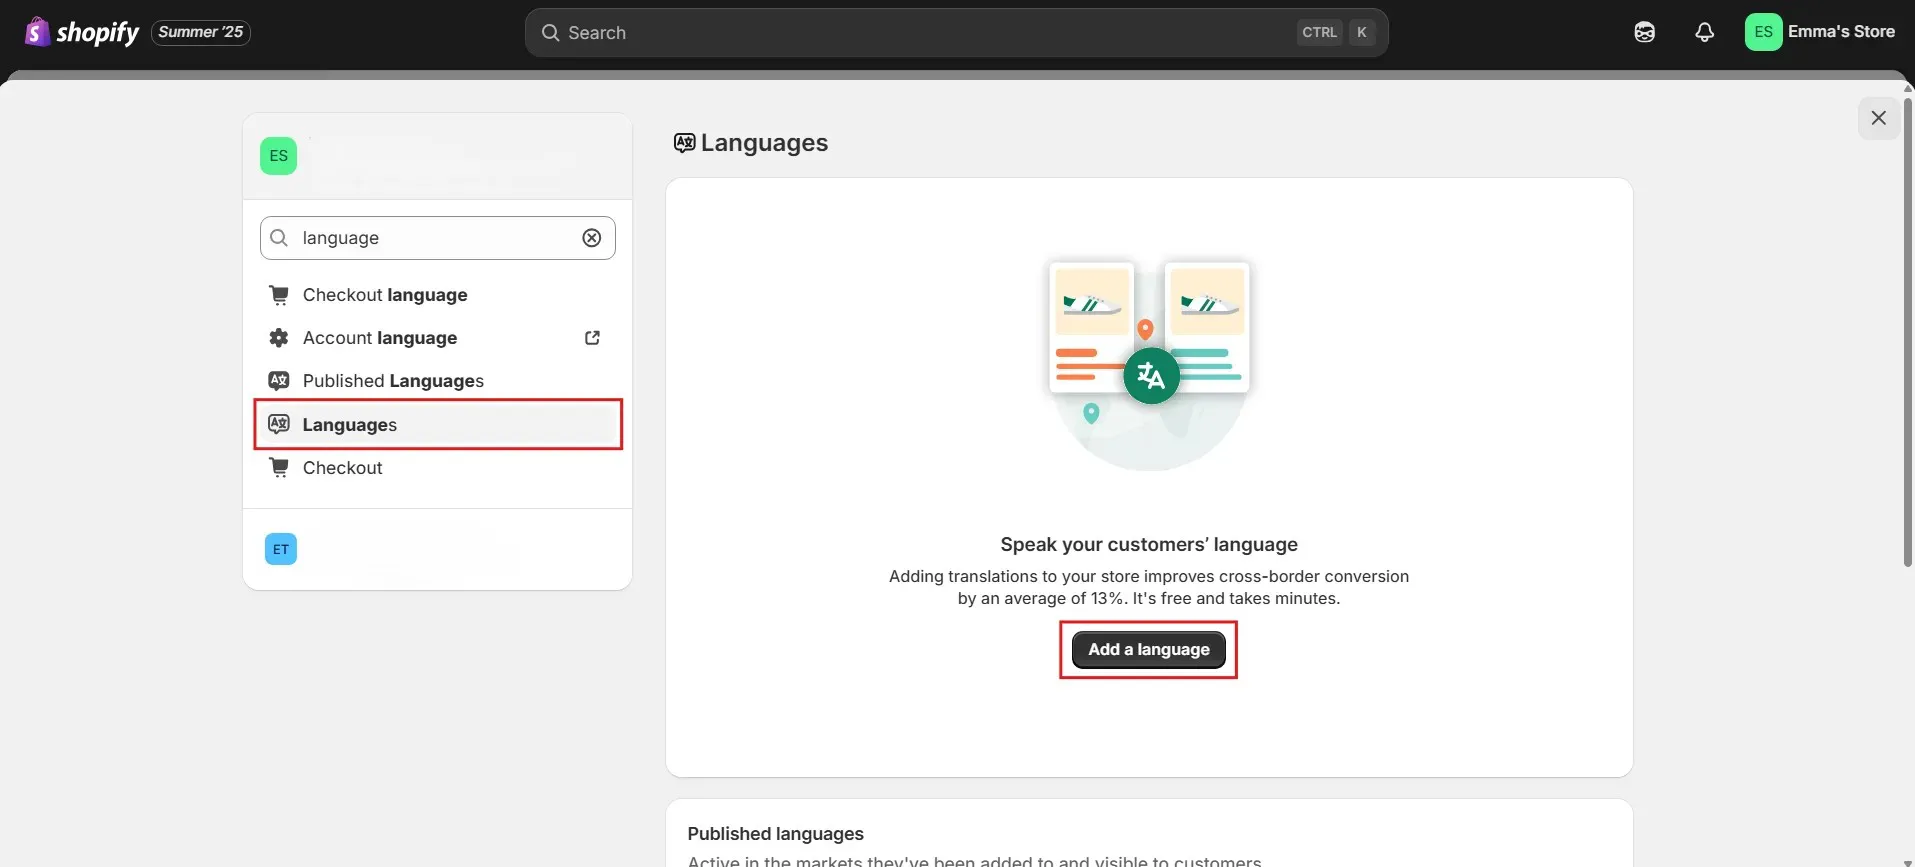
2. Choose the language(s) you want to add to your store.
For this guide, I’ll add Chinese.
3. Under Unpublished Languages, find the one you just added. Click the 3 dots next to it and choose Publish.
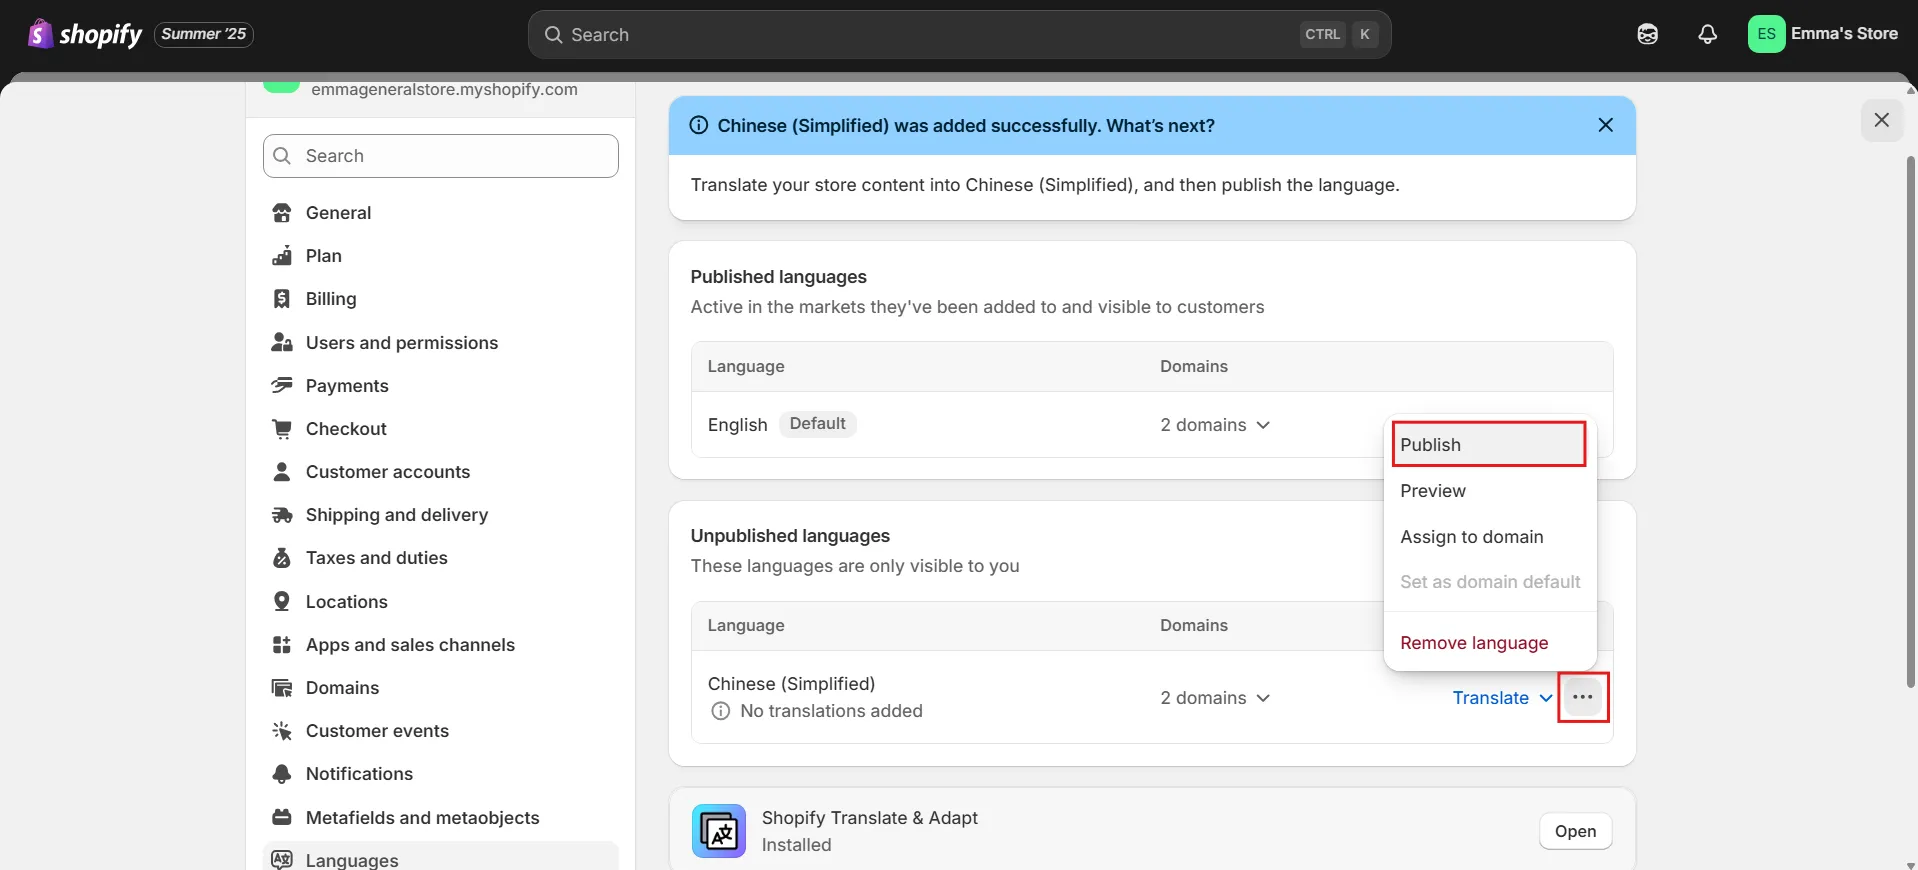
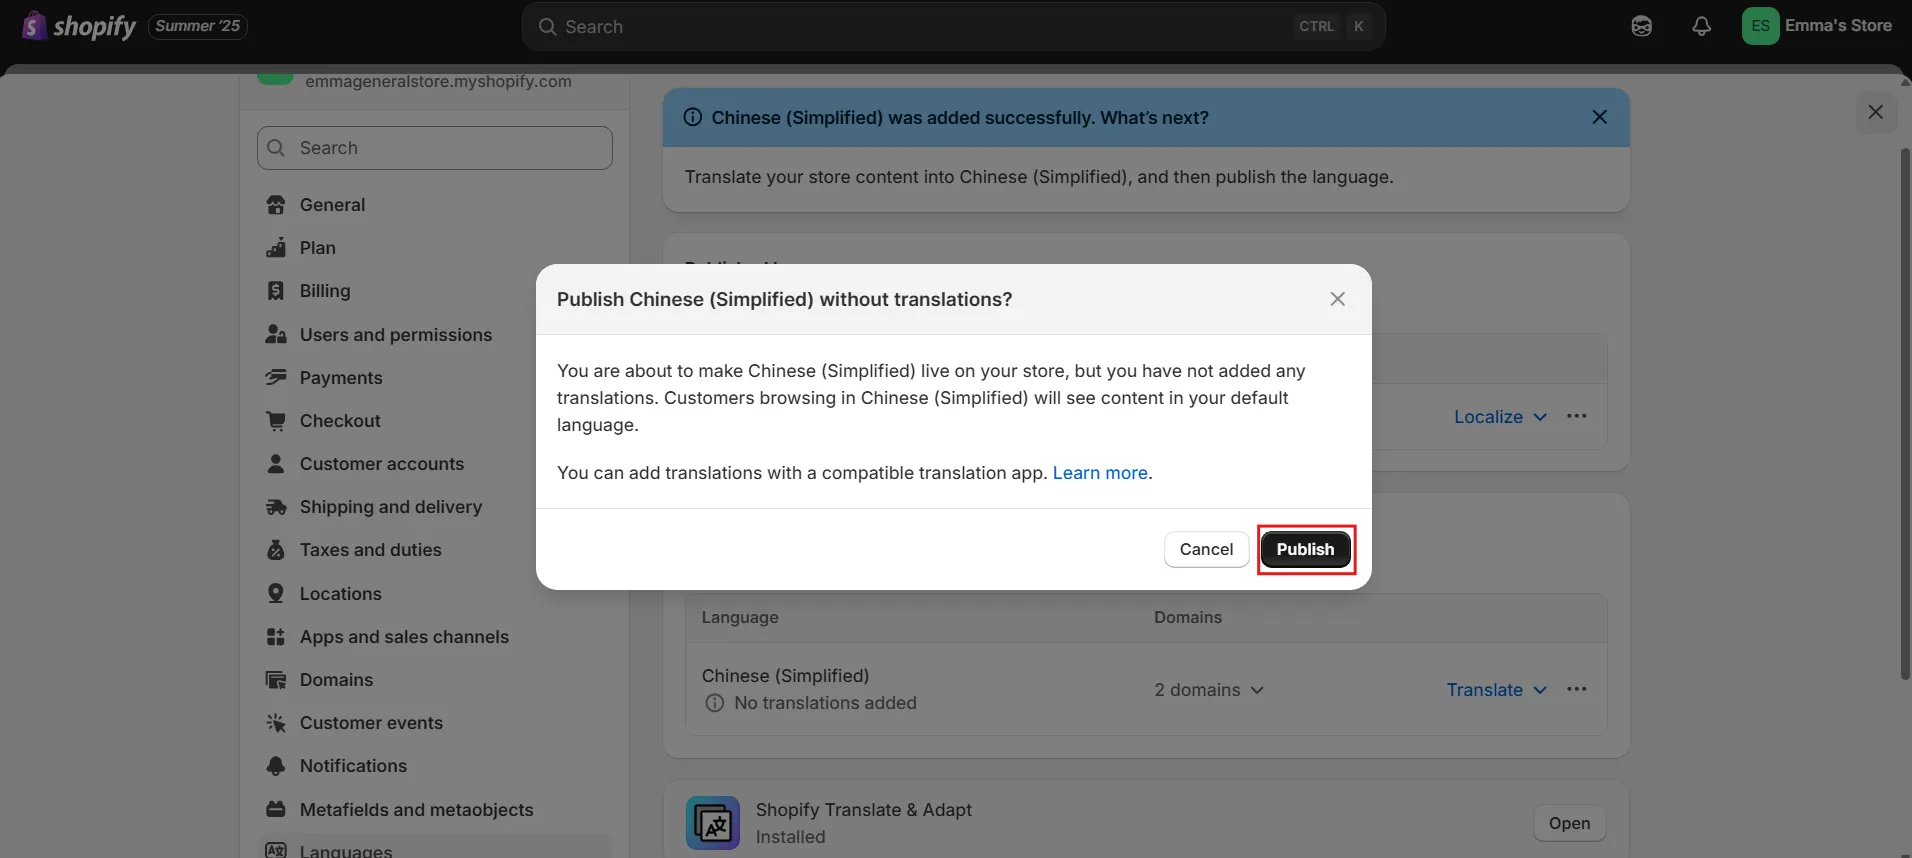
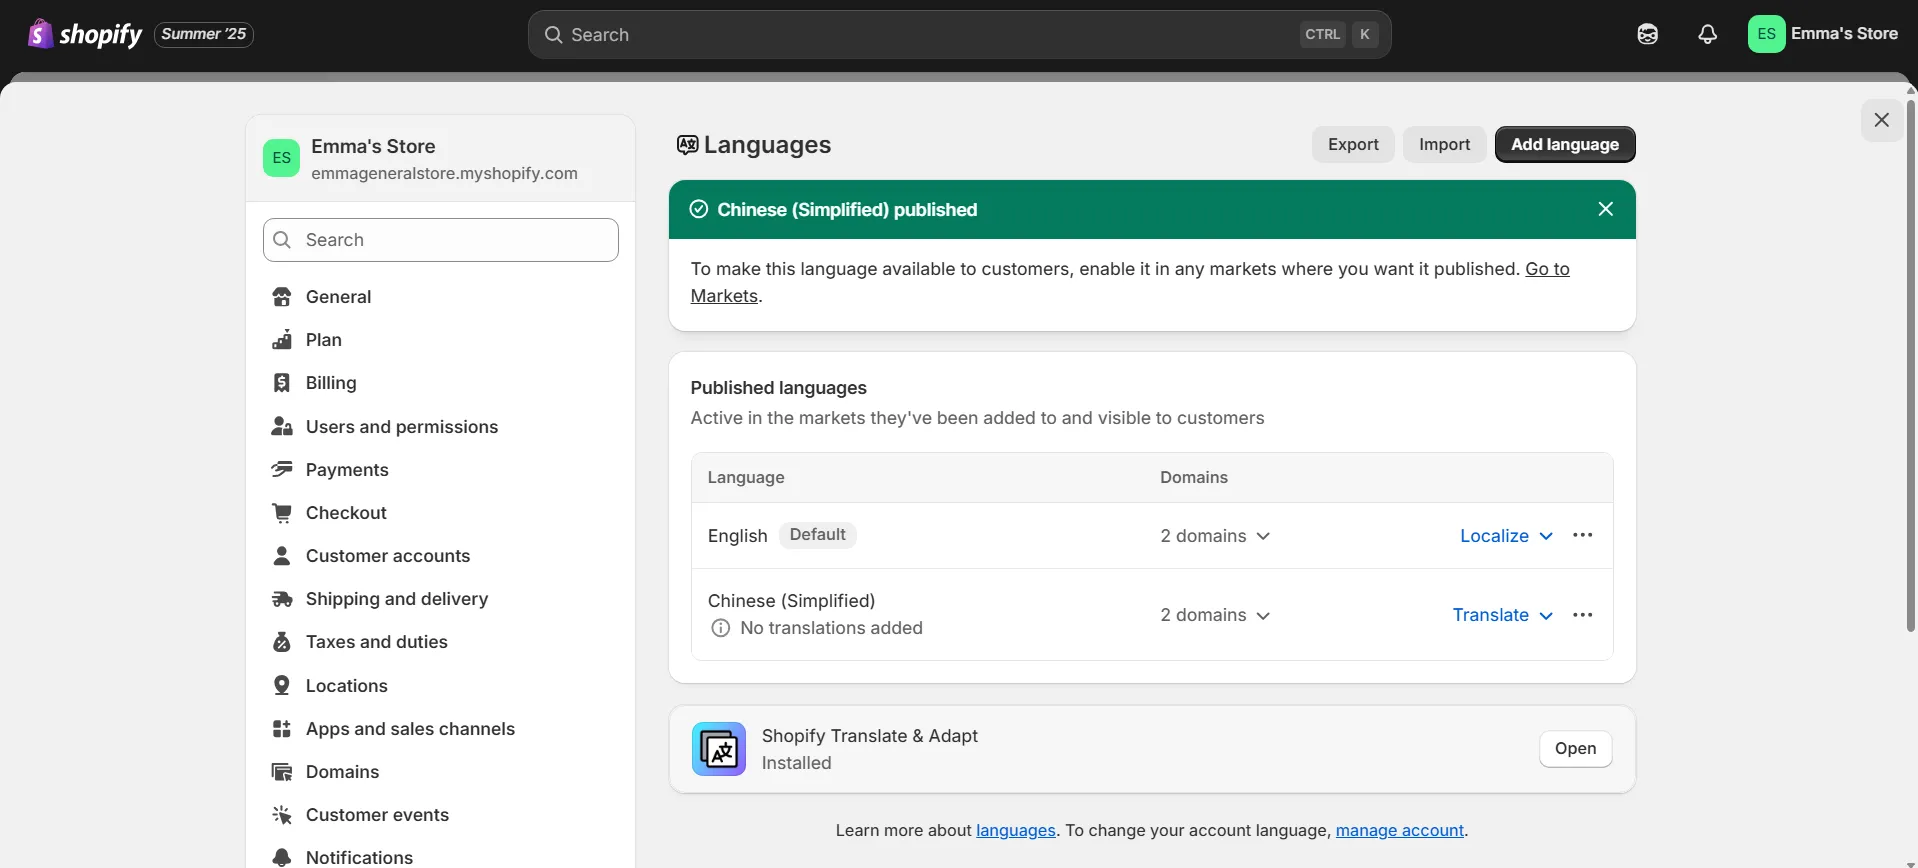
✅ When you see a green status, your new language is live!
Translate your store using Shopify Translate & Adapt
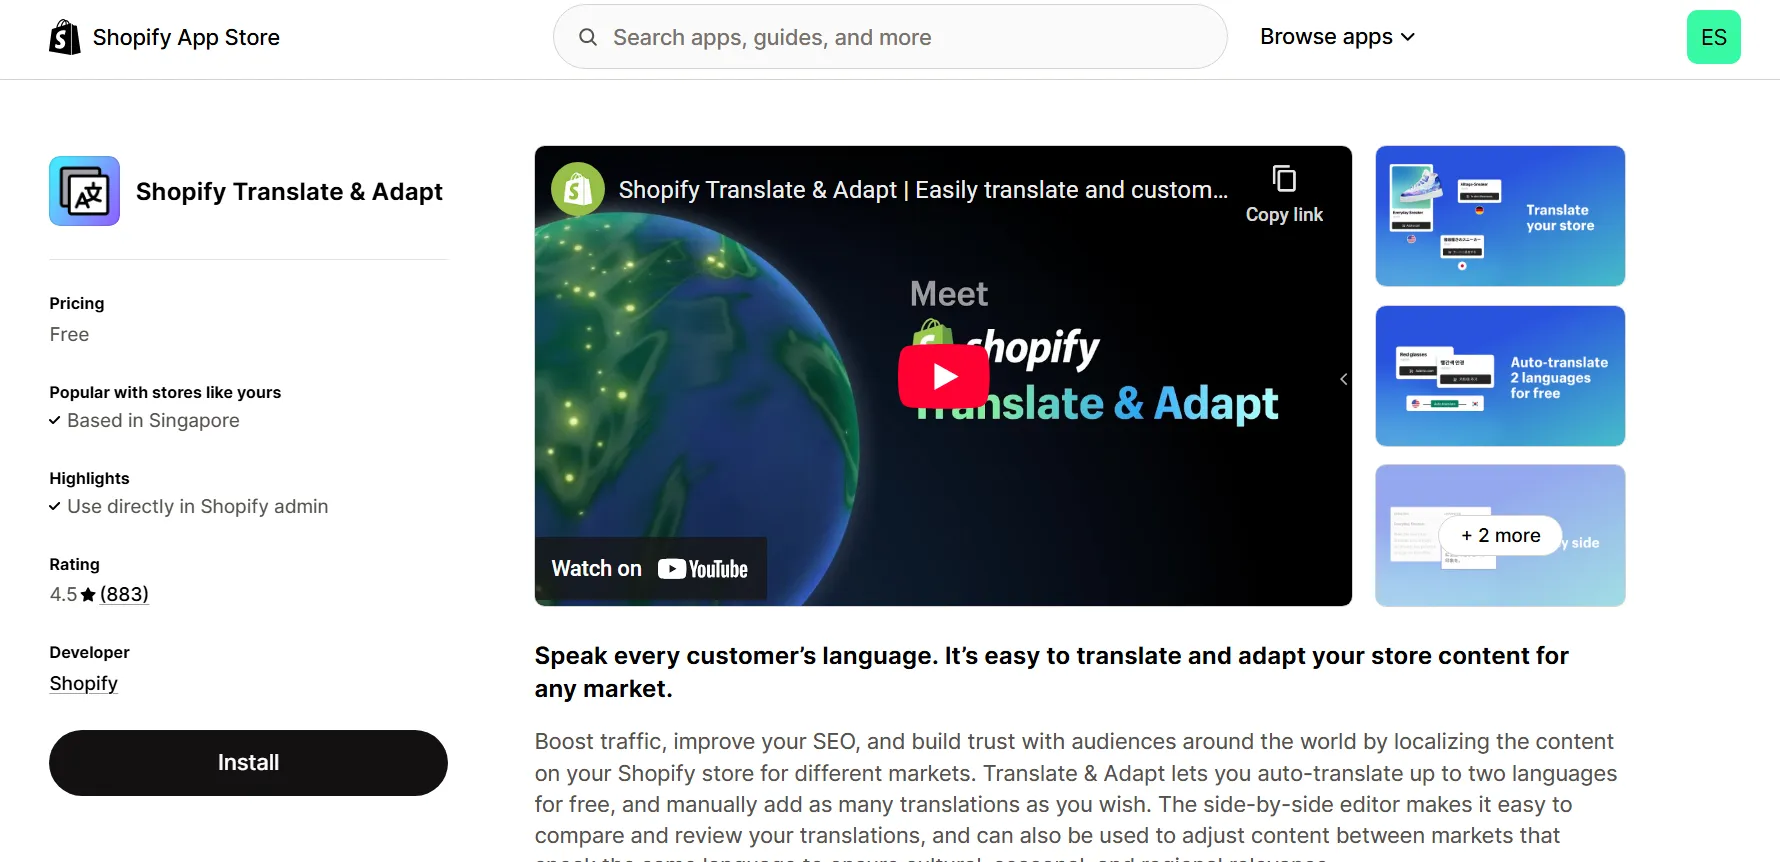
1. Go to the Shopify App Store and install Shopify Translate & Adapt.
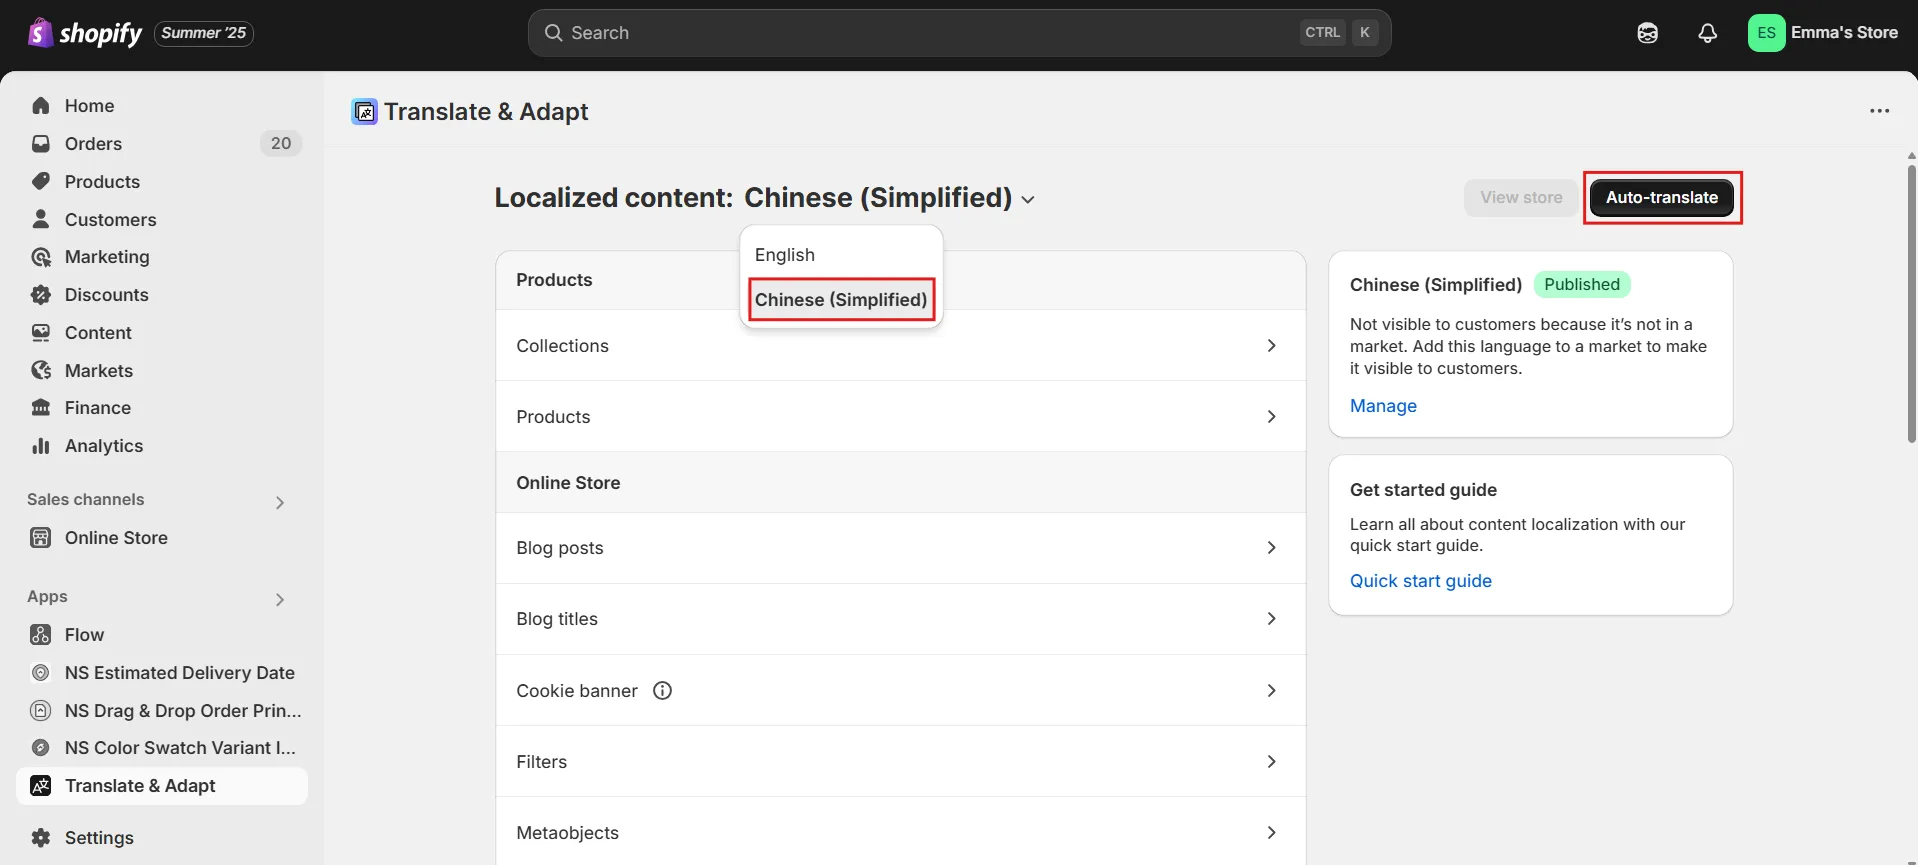
2. Open the app and choose the new language from the dropdown (in this case, Chinese).
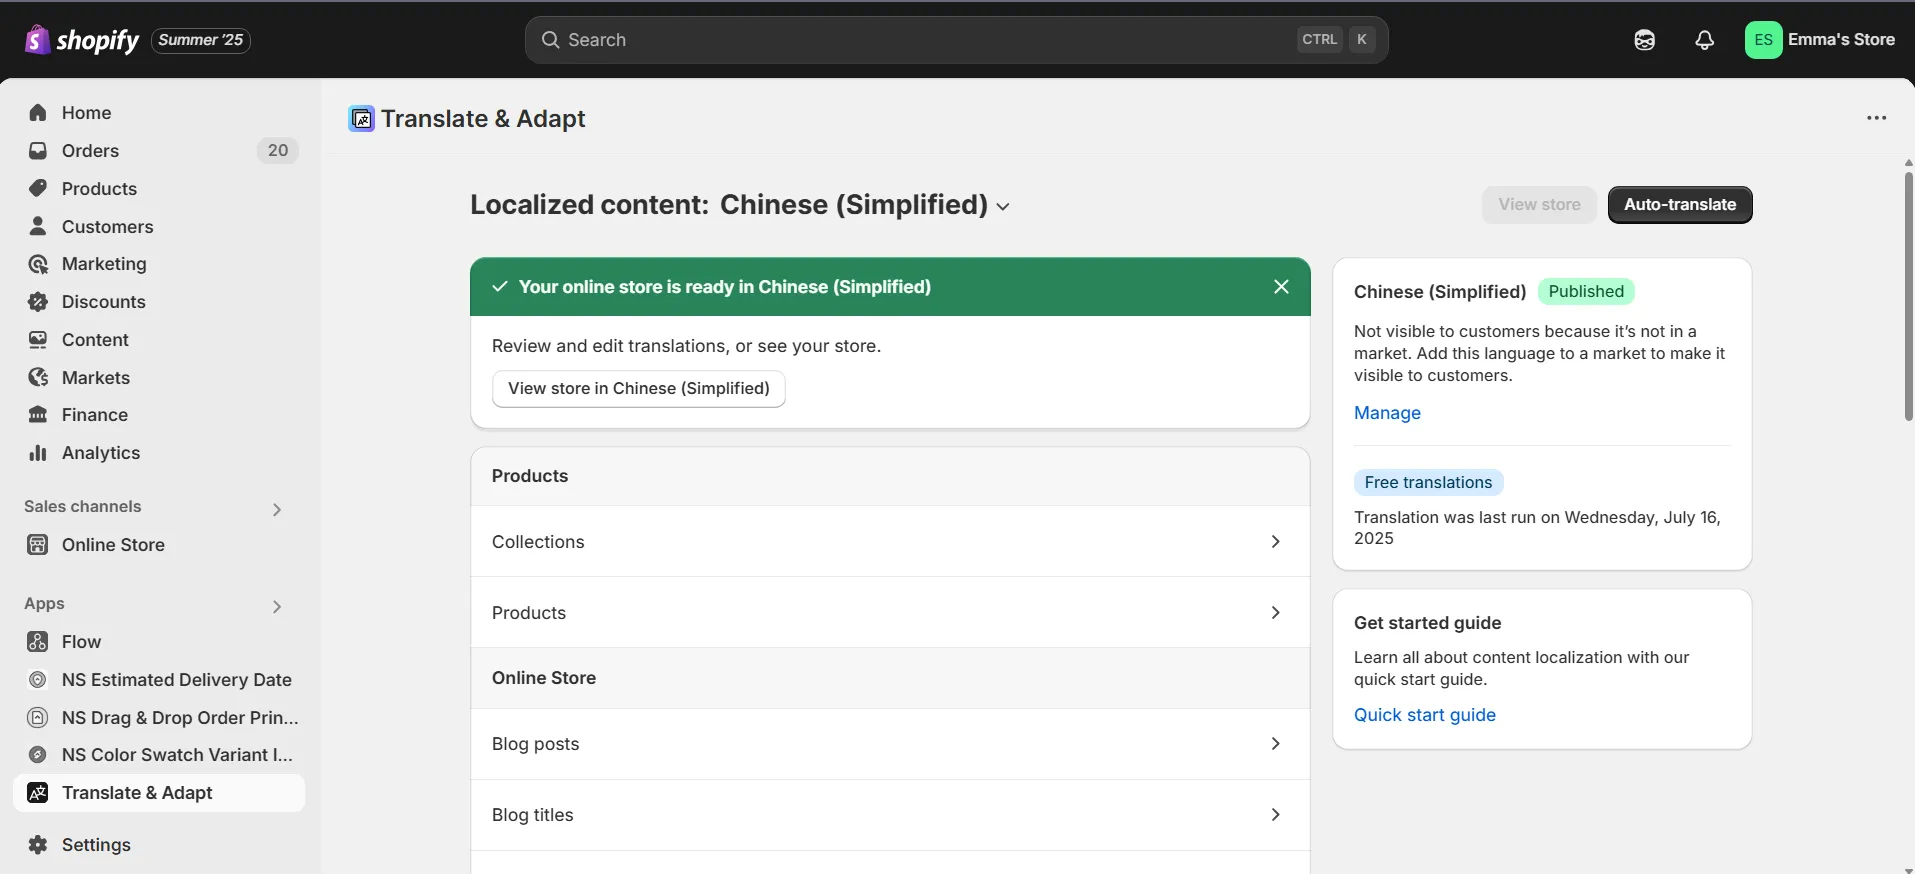
3. Click Auto-translate to apply Shopify’s default translations across your store.
4. Now head over to your storefront, switch your store’s language to the one you just added.
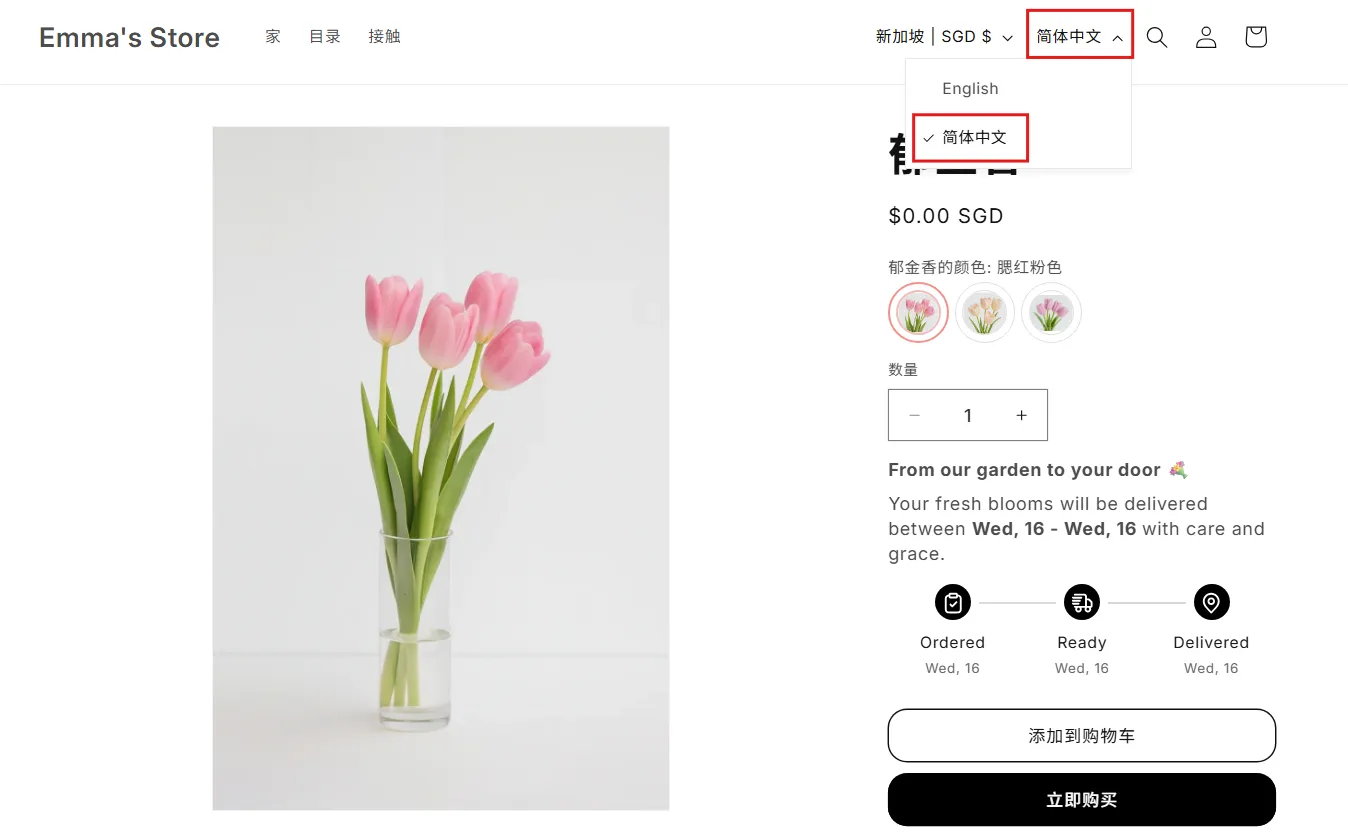
Voilà, your swatch labels are automatically translated ✨
FAQs
Why are my color swatches not visible in non-default languages?
This usually happens when there’s a conflict between your theme or swatch setup and the translation app you’re using. Some themes or apps might not fully support dynamic content in translated versions of your store.
One easy fix is to use a translation app that works well with your theme. Alternatively, if you’re using an app like NS Color Swatch Variant Images, it’s already built to be compatible with most translation setups. This helps reduce the chance of swatches disappearing when your store is viewed in a different language.
Which translation apps are compatible with NS Color Swatch Variant Images?
NS Color Swatch Variant Images works with most major Shopify translation apps. Some popular and reliable options include:
- Shopify Translate & Adapt
- LangShop AI Language Translate
- Transcy: AI Language Translate
- Weglot – Translate Your Store
- Langify – Translate Your Store
If you’re using a different app, that’s totally fine. In most cases, the swatches will still display as expected. And if something’s off, just reach out to the support team via live chat, we’ll be happy to check and help you get it working.
Can I translate swatch tooltips in different languages?
Yes! If your swatches use tooltips (like showing the color name on hover) in NS Color Swatch Variant Images, those can be translated into different languages using your translation app.