Welcome back to our comprehensive series on server-side tracking for Shopify merchants! In our previous blog, we delved into the nuances of Shopify server-side tracking, guiding you through the steps of setting up server-side tracking. Continuing our journey to equip you with advanced tracking knowledge and tools, this post will introduce an option to implement server-side tracking: Facebook Conversion API.
As e-commerce continues to evolve rapidly, leveraging precise and efficient tracking methods has become crucial for optimizing advertising strategies and staying compliant with privacy regulations. In this blog, we will explore how to set up Facebook Conversion API and why it is an indispensable tool for any Shopify merchant. Let’s dive in and discover how you can enhance your e-commerce business’s digital footprint effectively.
What is the Facebook Conversion API?
Traditionally, Facebook has relied on the Facebook Pixel, a snippet of JavaScript code that tracks user interactions on websites, such as page views, form submissions, and purchases. This tracking is done on the client side, meaning it occurs within the user’s browser. The
Facebook Conversion API, on the other hand, takes a different approach by allowing these interactions to be sent directly from your server to Facebook. This method bypasses the browser entirely, reducing dependencies on cookies and other browser-based storage, which are increasingly being blocked or restricted due to privacy settings and ad blockers. Facebook conversion API is a more reliable and efficient way to ensure accurate Facebook ad performance without relying solely on browser-based tracking.
Why Facebook Conversion API is a Must in 2026
In 2026, Meta’s advertising system is moving toward automation. This means the algorithm relies directly on the data it receives from your website to figure out who your buyers are and to keep your ad costs down. If you only use the traditional, browser-based Meta Pixel, you are cutting off the system’s data supply.
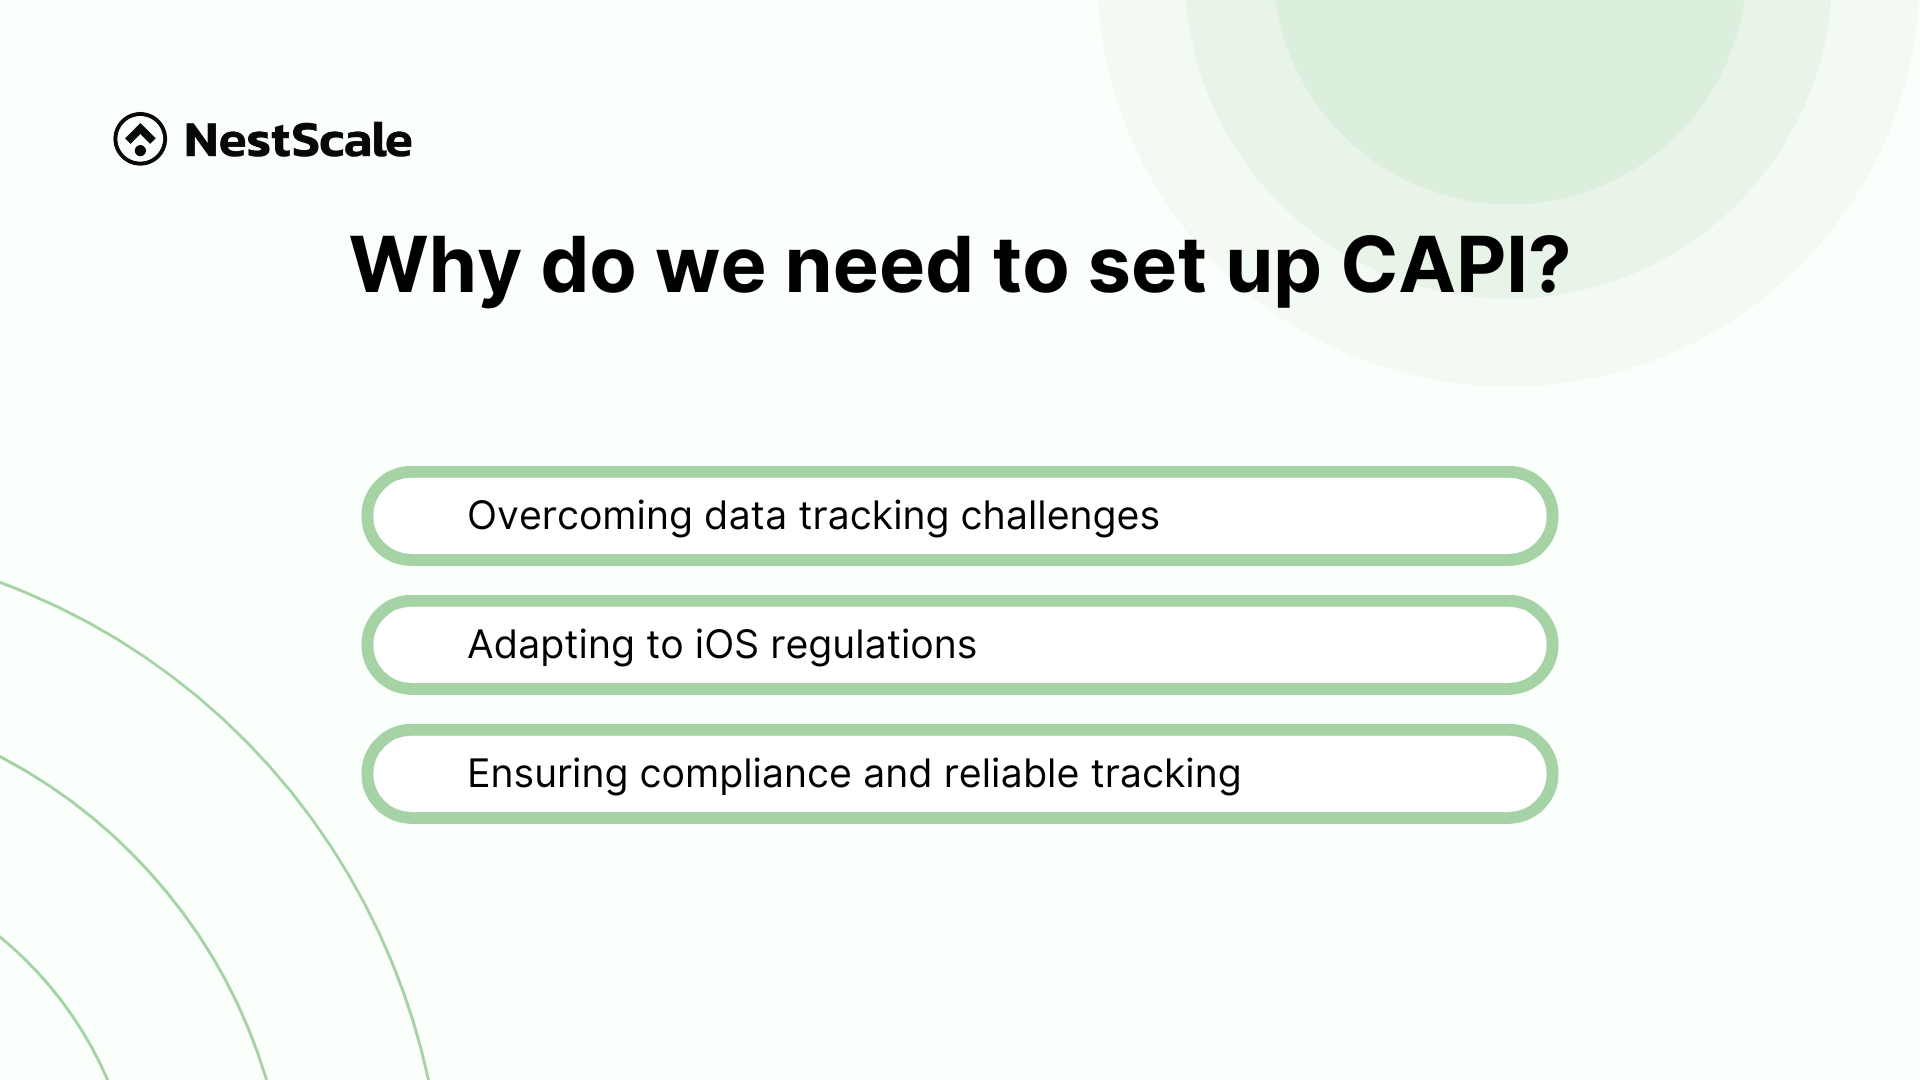
Here are the reasons why you need Facebook CAPI:
- Web browsers now block up to 50% of pixel data: Modern privacy settings and ad blockers frequently block the Pixel code from loading entirely. Because CAPI sends data directly from your website’s server to Meta, it completely bypasses browser blocks, ensuring your sales are recorded.
- Meta’s AI directly lowers costs when CAPI is active: Meta’s system needs consistent data to complete its “Learning Phase” and find the right audience for your ads. According to Meta’s performance metrics, advertisers who utilize the Conversions API alongside the standard Pixel see an average 17.8% lower cost per result.
- Protects Your A/B Testing Decisions: A Facebook ads A/B test is only useful if the results are accurate. If you test two ads without CAPI, Meta might fail to record several sales driven by “Ad A” simply because those specific buyers used ad blockers. This data gap can leading you to accidentally turn off good creatives based on incorrect information.
How does Facebook Conversion API work?
To understand Meta’s Conversions API (CAPI), think of it as a direct, private line between your website and Facebook.
Normally, Facebook tracks actions using a piece of code on your website called a Pixel. However, web browsers and ad blockers frequently block the Pixel from sharing data. CAPI fixes this by letting your website’s computer talk directly to Facebook’s computer, bypassing the browser entirely.
Here’s a detailed look at how the CAPI functions:
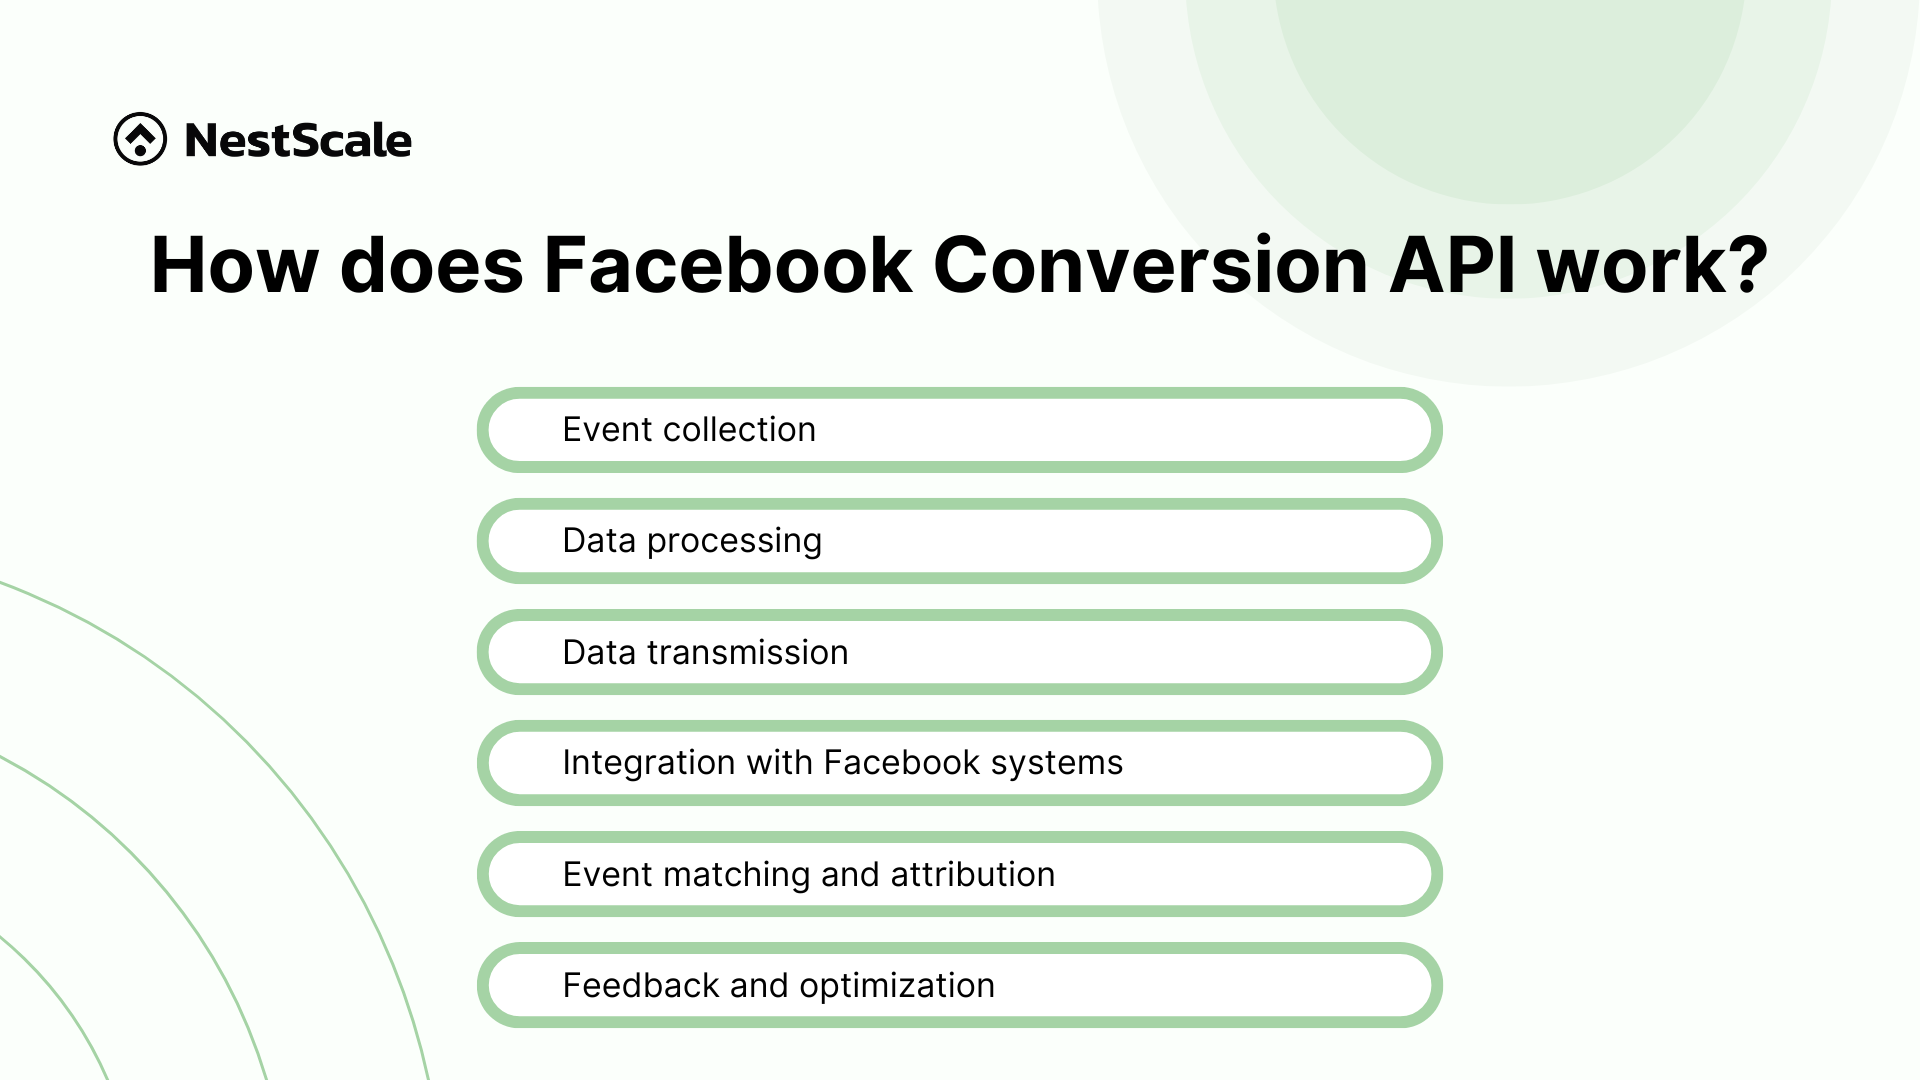
- Capture: Your website’s server instantly records when a customer takes an action (like a purchase), along with details like the price and time.
- Send: The server sends this data securely straight to Meta, completely bypassing web browsers and ad blockers.
- Optimize: Meta matches the data to the correct user, updating your Ads Manager dashboard so you can accurately track and scale your ads.
We can say that CAPI functions as a sophisticated analytical tool, providing businesses with a nuanced understanding of customer interactions and behaviors. Its ability to translate data into strategic insights elevates the decision-making process, enabling businesses to thrive in the competitive landscape of digital marketing.

Should we use Facebook Conversion API or Facebook Pixel?
The CAPI and the Facebook Pixel are both tools designed by Facebook to help advertisers measure the effectiveness of their advertising by understanding the actions people take on their websites.
The primary distinction between Facebook Conversion APIs vs Pixels is the type of data they capture and share, especially because users can easily become confused between these two essential tools. So, let’s explore the key differences between Facebook server-side tracking and Facebook pixels provided in the table below to find out which tool is better for your e-commerce business.
| Feature | Facebook Pixel | Facebook Conversion API |
| Data Collection Method | – Collects data client-side (browser-based) – Data is collected and sent by the pixel owner (you do not own the data) | – Collects data server-side – Own the first-party data created, enhancing data control and ownership |
| Dependence on Browser | High (affected by ad blockers, cookie restrictions) | Low (independent of browser conditions) |
| Privacy and Security | Less privacy-focused (uses cookies) | More privacy-focused (server-side control) |
| Data Accuracy | Can be compromised by browser issues | More reliable and stable |
| Offline Conversion Tracking | Limited mostly to online interactions | Can track both online and offline conversions |
| Customization and Flexibility | Limited customization of JavaScript code | High customization of data sent and events tracked |
| Implementation Complexity | Relatively simple (adding code to website) | More complex (requires server configuration) |
We can easily see that Conversion API, Server-side API is similar to Facebook Pixel but is much greater because you share data server-side with the server directly with you. These conversion tracking methods are more flexible due to their use of pixels and can also capture the interaction of the website.
How to set up Facebook Conversion API for Shopify (Step-by-step)
Setting up Facebook server-side tagging on Shopify can significantly enhance your ability to track user actions and manage data privacy more effectively. This integration ensures that you capture and attribute conversions accurately, even in environments where traditional browser tracking methods like cookies are restricted. Here’s a step-by-step guide on how to set up the Facebook Conversion API on your Shopify store.
Step 1: Prepare your Facebook Business Manager
Create and configure a Facebook app:
- Go to the Facebook for Developers portal and create a new app. Choose the app type that best fits your business needs.
- Add the Marketing API to your app.
- In the app settings, ensure your app is properly linked to your business by connecting it to your Facebook Business Manager account.
Generate system user and access token:
- Within your Facebook Business Manager, navigate to the “Users” section and create a system user.

- Assign the necessary roles (typically admin or developer) to this system user.
- Generate an access token for the system user. This token will authenticate the API requests sent from Shopify to Facebook.
Step 2: Set up the Conversion API on Shopify
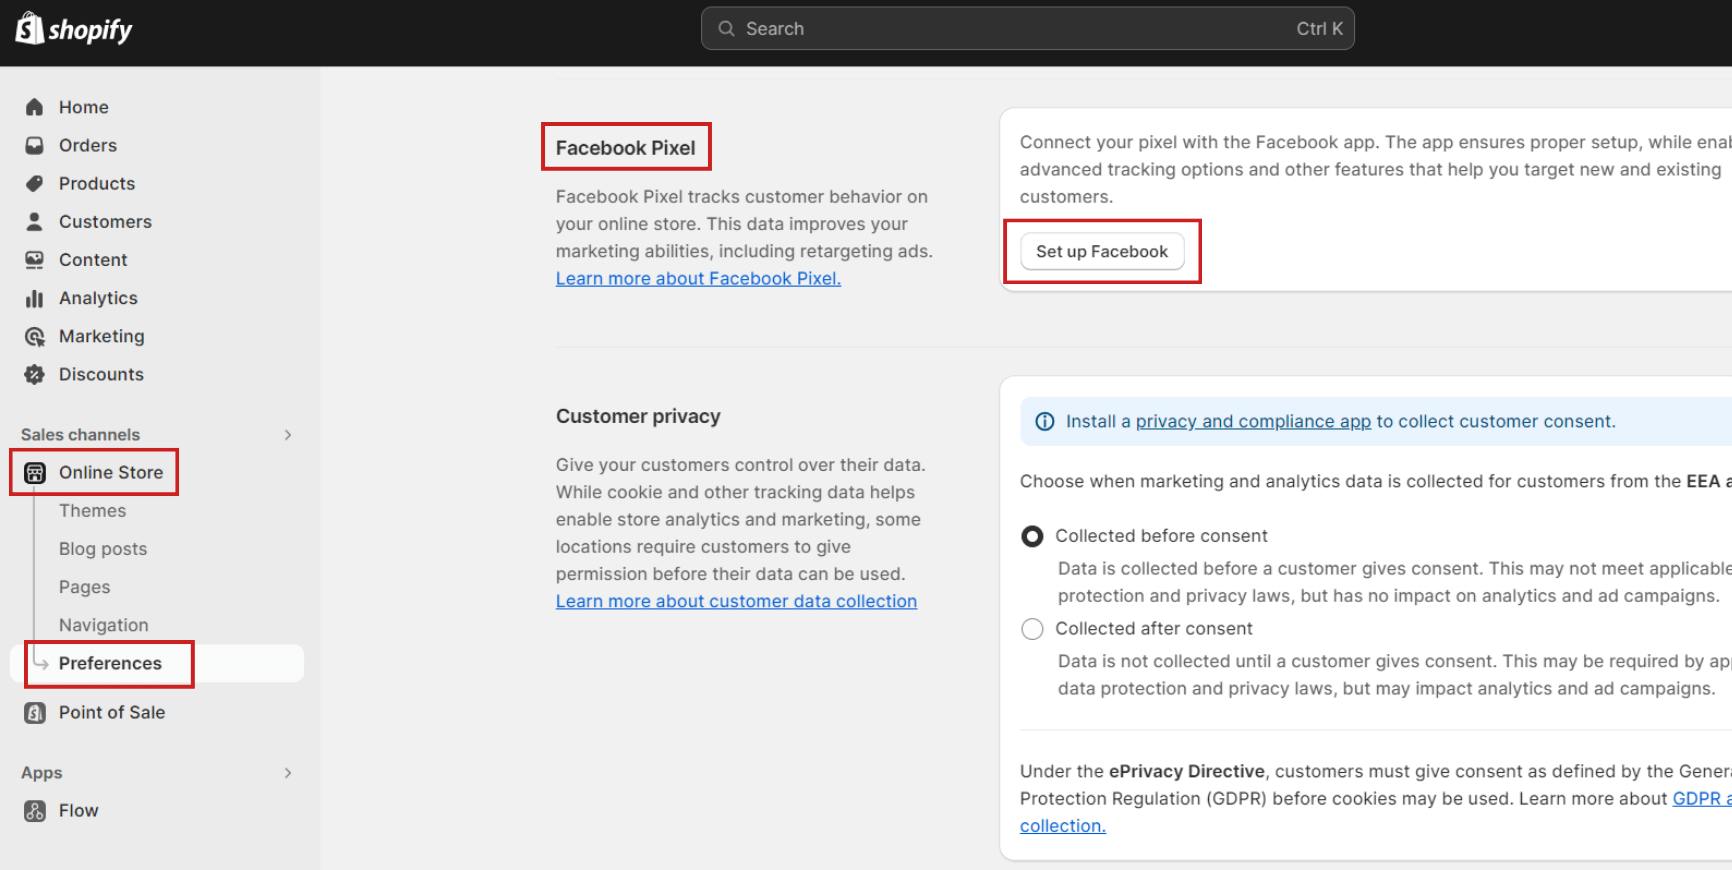
Install Facebook sales channel in Shopify: Go to Shopify Admin > Online Store > Preferences > Set up Facebook
Configure data sharing settings: Authorize your FB Business Manager account and choose the pixel
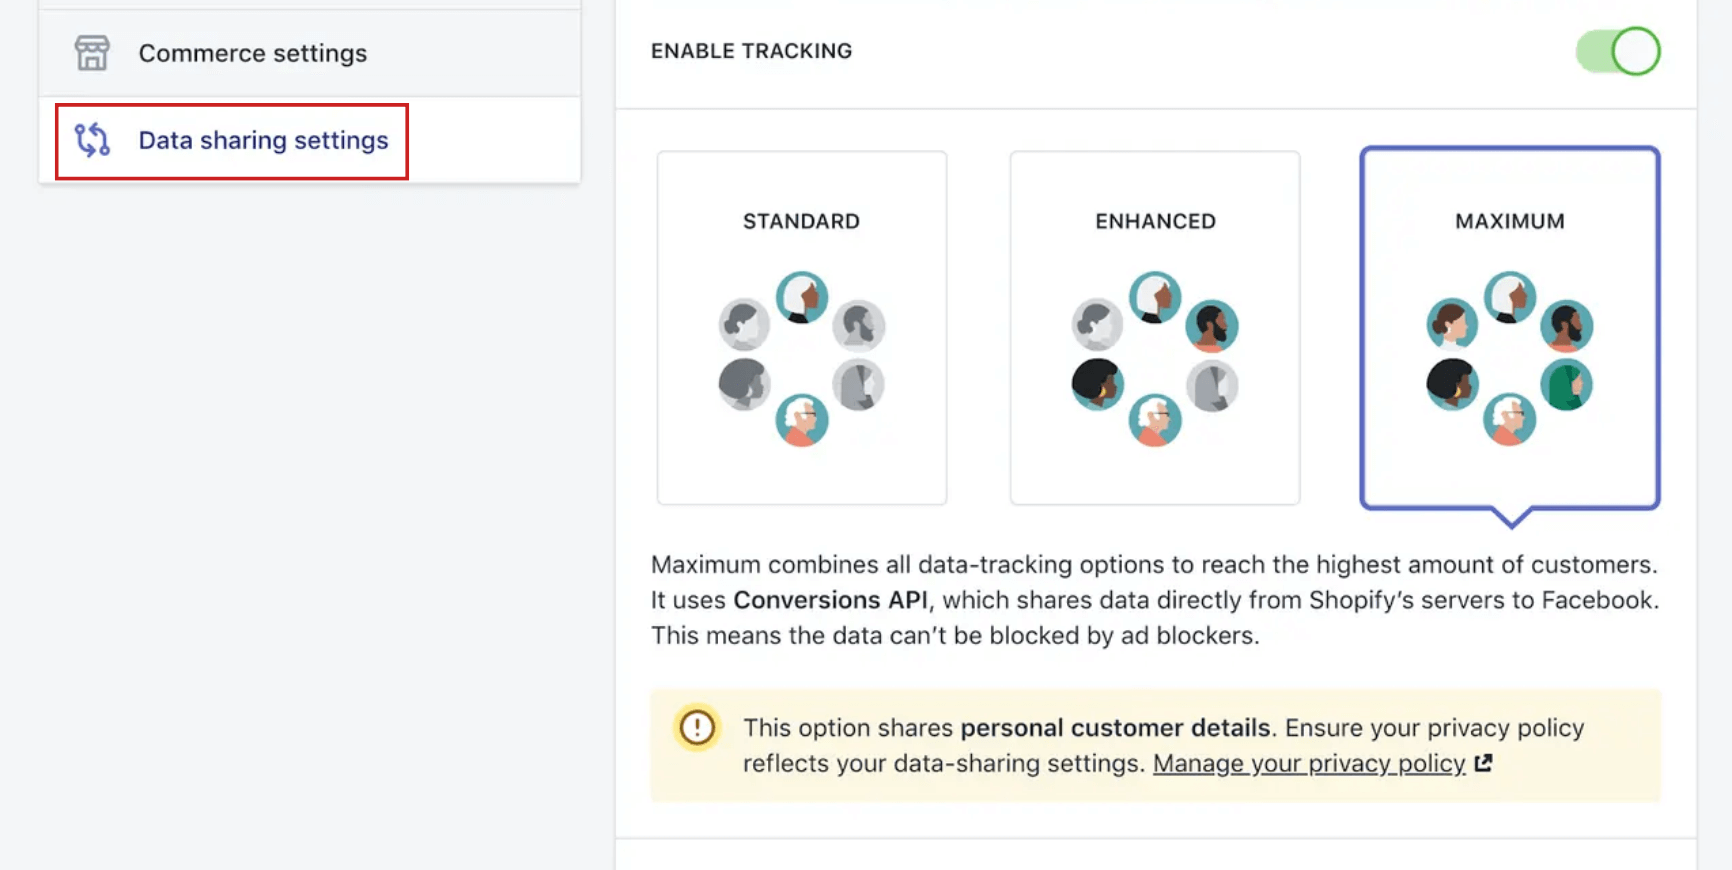
Moving on to an important part: Data sharing settings. Here, you determine the depth of your tracking with three levels to choose from: Standard, Enhanced, and Maximum.
**Option 1: Standard Setting (Not Recommended)
- Utilizes Facebook Pixel, a third-party cookie, for data collection.
- Vulnerable to browser-based ad blockers, limiting data collection accuracy, especially on browsers like Safari and soon-to-be Chrome.
**Option 2: Enhanced Tracking (Recommended Minimum)
- Incorporates Facebook’s Advanced Matching for improved data accuracy.
- Activated in Facebook’s Pixel Settings, enhancing tracking capabilities beyond the basic standard option.
**Option 3: Maximum Tracking (Recommended for Optimal Results)
- Activates Facebook’s Conversion API, ensuring comprehensive data collection.
- Provides maximum data, higher attribution, and superior advertising results, offering a robust solution for businesses aiming for optimal performance.
We recommend you should choose Maximum so that all the important data will be shared. Then, click on the confirm button, and now you’re ready.
If you go with Enhanced or Maximum make sure to check browser-based Facebook Pixel.
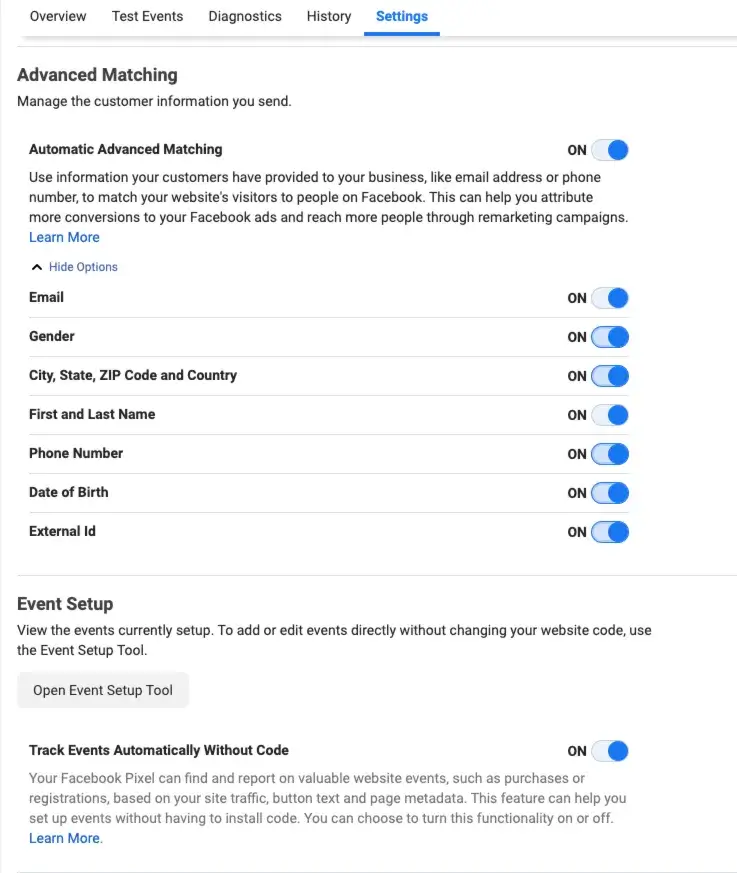
You need to go into FB Pixel Settings > Automatic Advanced Matching. Following that, you check again to ensure that you activate all the fields, starting from Email and extending to External ID.
Step 3: Implement the Conversion API Events
Define and map events:
- Determine which conversion events you need to track, such as ‘Purchase’, ‘Add to Cart’, and ‘View Content’.
- Configure these events within Shopify’s Facebook channel. Shopify automatically maps several standard e-commerce events to corresponding Facebook events.
Customize event data:
- For any custom events or additional data you want to send, you may need to modify your Shopify theme code or use Shopify apps that support the Facebook Conversion API to capture and send this data.
Step 4: Test and validate your integration
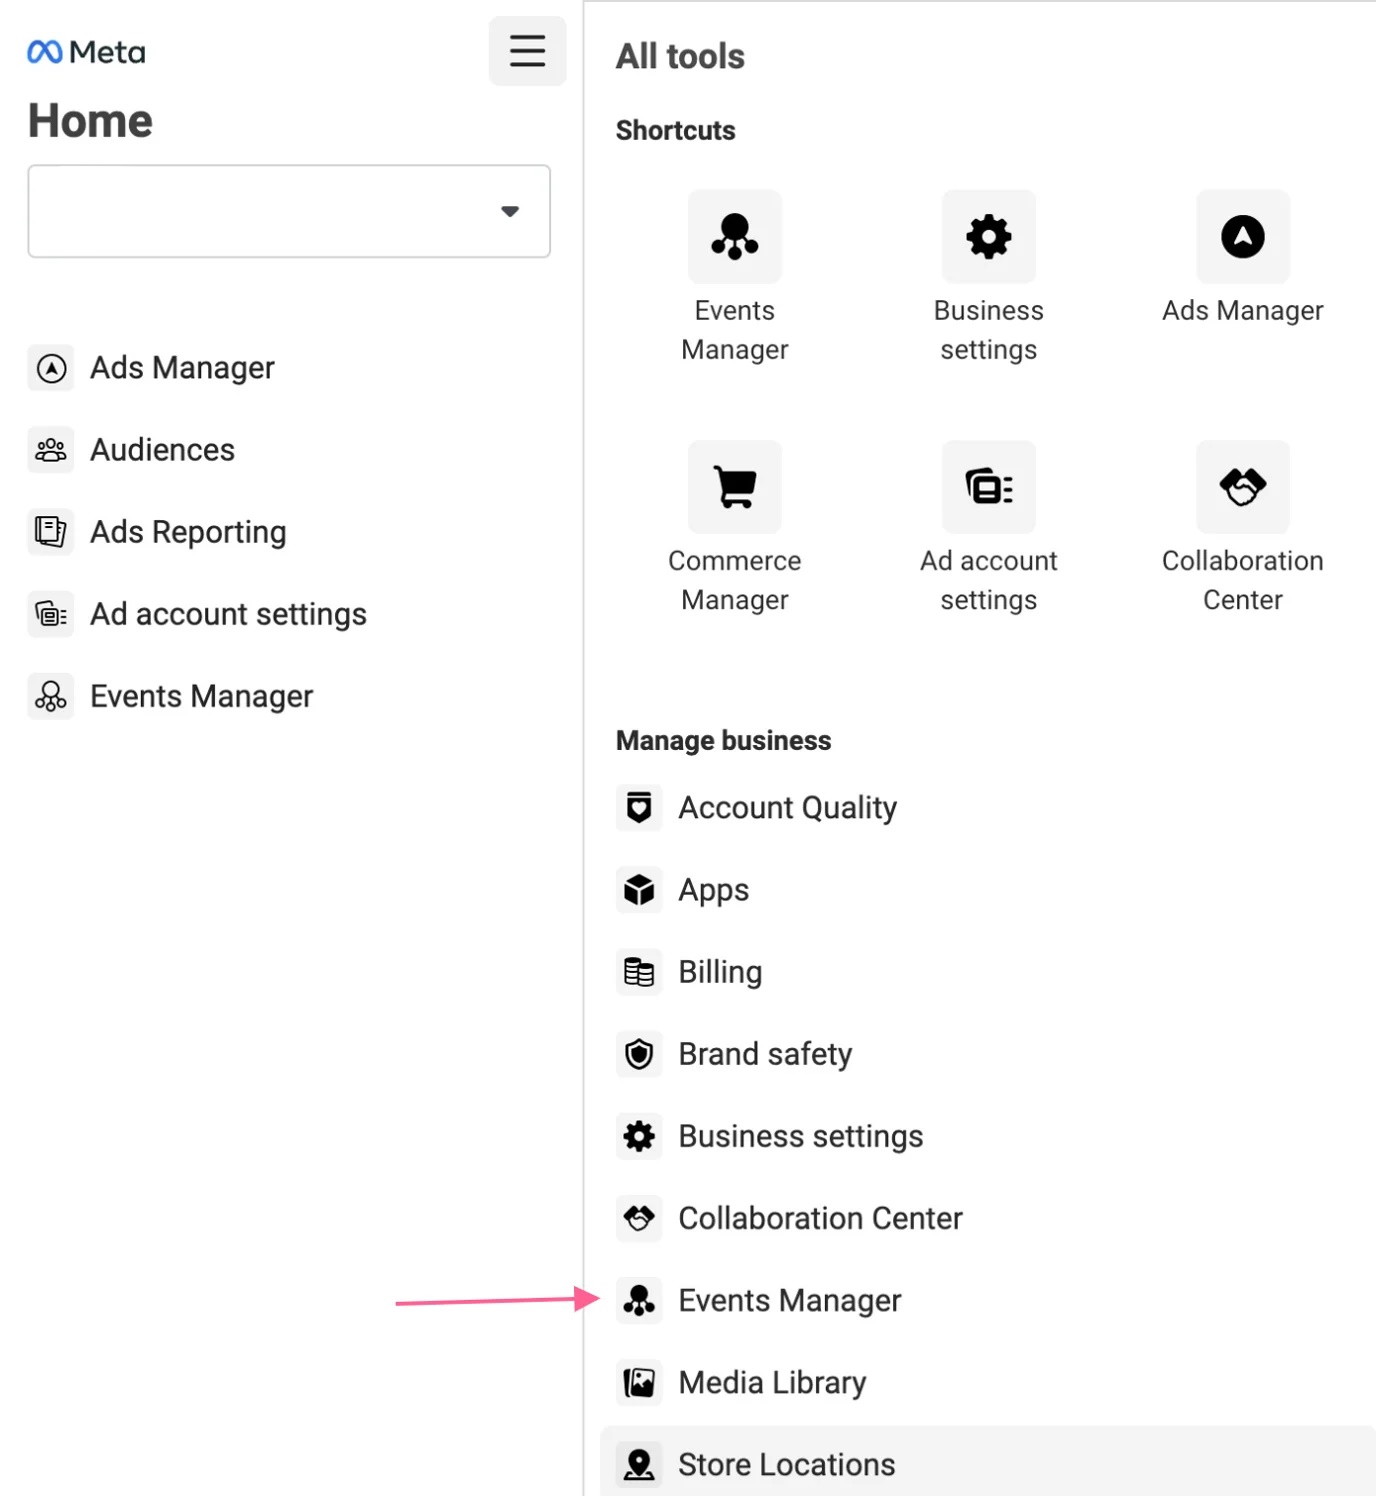
- Access the Test Events Tool from the Facebook Events Manager to test and verify that events are being sent correctly from Shopify to Facebook.
- Send test transactions and monitor if they appear correctly in the Events Manager, checking for any discrepancies or errors.
Step 5: Monitor and optimize
- Regularly check the performance of your setup in Facebook’s Events Manager. Look for insights on data accuracy and event matching.
- Monitor the effectiveness of your Facebook ads based on the conversion data received through the API.
- Ensure your use of the Facebook server-side Conversion API complies with data protection laws like GDPR.
- Use the insights gained from the API data to optimize your ad campaigns.
- Adjust targeting, ad spend, or creative based on the precise data provided by the server-side tracking.
Track conversions on Facebook effectively with NestAds
While Facebook Conversion API offers many advantages, it does come with specific limitations. One major drawback is its struggle to bypass iOS’s privacy restrictions, particularly affecting tracking insights for Apple users. Additionally, the complex setup often leads to wasted time and resources for businesses.
The good news is that NestAds resolves all these issues. By utilizing NestAds Pixels, you can effortlessly overcome the limitations of Facebook Conversion API. It not only ensures accurate server-side tracking and in-depth insights into user behavior but also simplifies the entire process with just one click, making your marketing efforts more efficient and effective.
Get started for free or book a demo to see NestAds in action!
FAQs: Facebook Conversion API
Yes, Meta does not charge you to use the Conversions API (CAPI) data pipeline or to send events to its servers.
Absolutely. In today’s privacy-focused environment, web browsers and ad blockers routinely block up to 50% of standard Pixel data. Without CAPI, Meta’s algorithm is forced to guess who your buyers are based on incomplete information, which drives up your ad costs. It is highly worth the effort because it stabilizes your ad delivery, ensures your A/B test results are 100% accurate, and maximizes the performance of Meta’s automated targeting systems.
You can easily verify CAPI without writing any code by opening Meta Events Manager and clicking on your data source. Navigate to the Test Events tab, where you will see a unique test code. Copy this code, paste it into your website’s tracking setup, and perform a test action on your site (like a checkout). Watch the real-time activity log fill up; you want to see your action appear with the connection type labeled as “Server”. Additionally, ensure a green deduplication badge appears, confirming that Meta successfully merged your server and browser data.