Are you looking to boost your email list and website engagement? Then you’re in the right place! In this blog, we’ll show you how to add an email pop-up to your Shopify website in just five simple steps. But first, let’s talk about what email pop-ups are, why they’re beneficial, and best practices to consider when adding them to your website.
So, whether you’re a newbie or an experienced marketer, keep reading to learn how to create a successful email pop-up campaign.
What is an email pop up
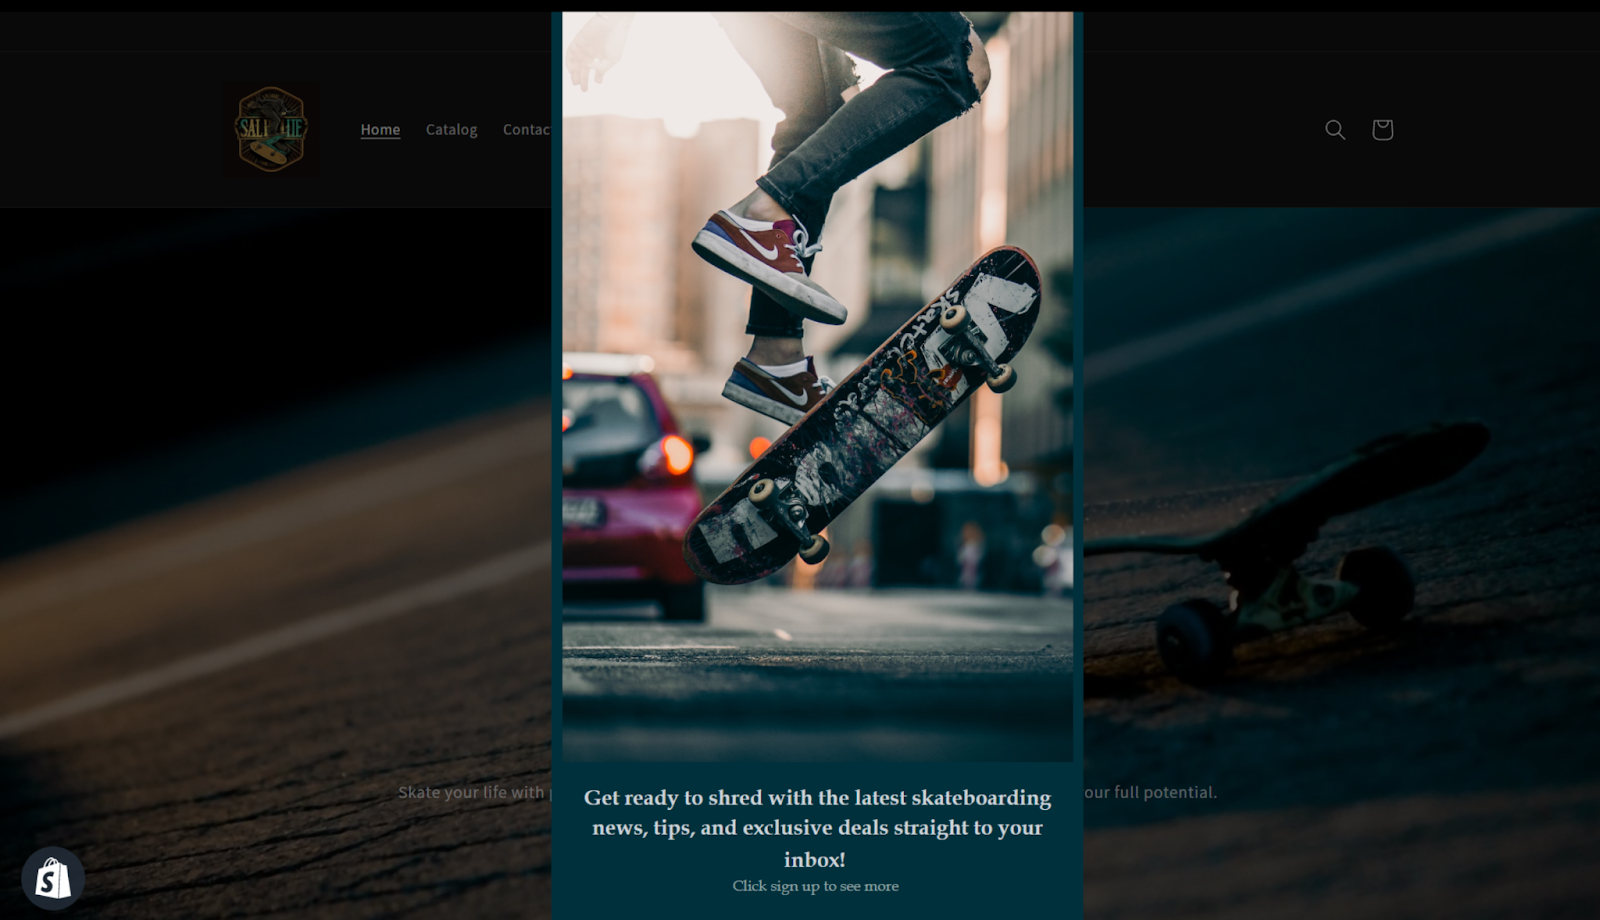
An email pop-up is a tool that you can use on your website to ask your visitors for their email address so that you can send them newsletters or other updates. It’s called a pop-up because it appears on the screen in a small window or box, usually in the middle of the page, and it “pops up” to get the visitor’s attention.
When someone enters their email address into your pop-up, they’re essentially “opting in” to receive email communication from you. This means that you have their permission to send them emails in the future, which can be a really valuable way to keep in touch with your audience and build a loyal following.
It’s important to note that while email pop-ups can be a really effective way to build your email list, some people find them annoying or intrusive. To avoid irritating your visitors, it’s a good idea to make sure your pop-up is well-designed, offers some kind of value (like a discount or free resource), and doesn’t appear too frequently.
Why you to have it in your website
Build your email list
An email pop-up is a great way to capture the email addresses of visitors to your website. By collecting email addresses, you can build a list of subscribers that you can email regularly with updates, promotions, and other relevant content.
Increase engagement
By encouraging visitors to sign up for your email list, you can increase their engagement with your website and your brand. You can use your email list to provide valuable content, exclusive promotions, and other incentives that keep your subscribers coming back for more.
Drive conversions
Depending on how you use your email list, you can also use it to drive conversions on your website. For example, you might send out promotional emails that encourage subscribers to make a purchase, sign up for a service, or take some other desired action on your website.
Personalization
Email pop-ups can be customized to display personalized content based on the visitor’s behavior or location. This can help to make the pop-up more relevant and engaging, increasing the chances that the visitor will sign up for your email list.
How to add email pop up using NestSend
NestSend is an email marketing app that is designed to assist you in creating pop-up forms, therefore, it comes with several features that make the process simple and effortless. By following these five steps, you’ll be able to design your pop-up form quickly and easily.
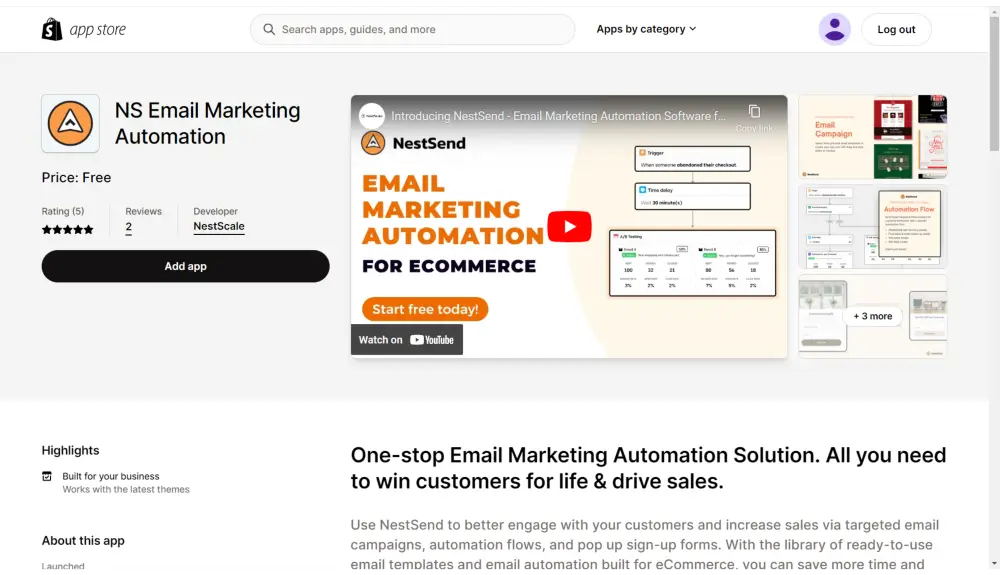
Step 1: Install NestSend from the Shopify App Store
To install the app, you can either search for it in the Shopify App Store or click the button below to simplify the process.
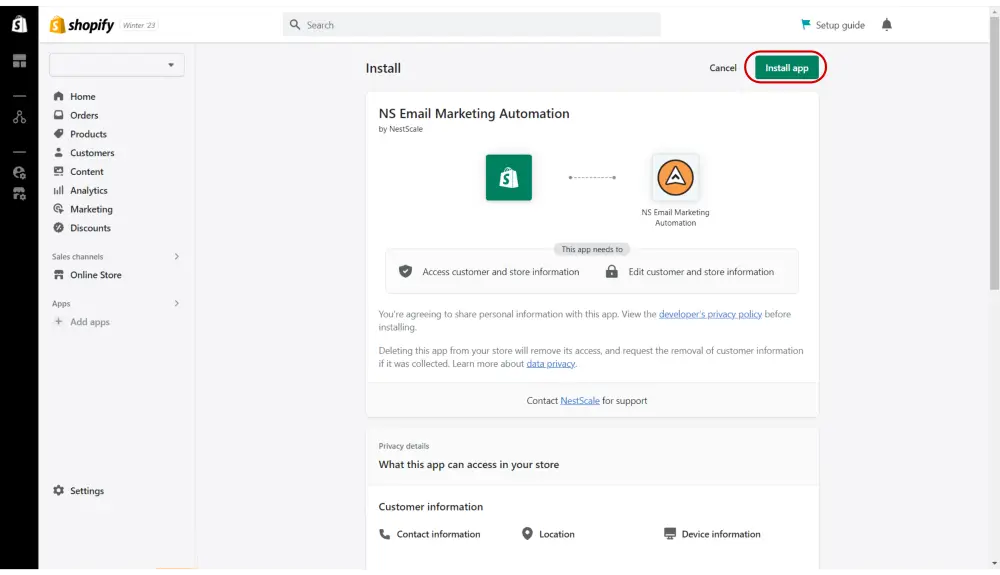
After adding it, the next step is to integrate this app with your existing Shopify store. Just click “Install app” to proceed.
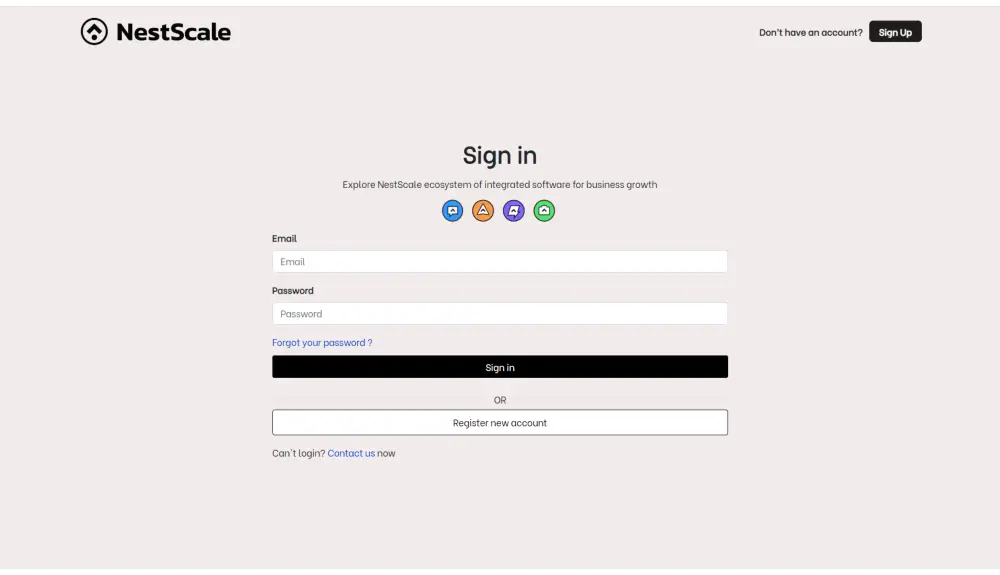
After clicking “Install app,” the next step is to create your NestScale account. However, if you have previously created one, simply log in to proceed.
Pro tip: It is noteworthy that owning a NestScale account enables you to tap into NestScale’s extensive app ecosystem, simplifying the management of your ecommerce business.
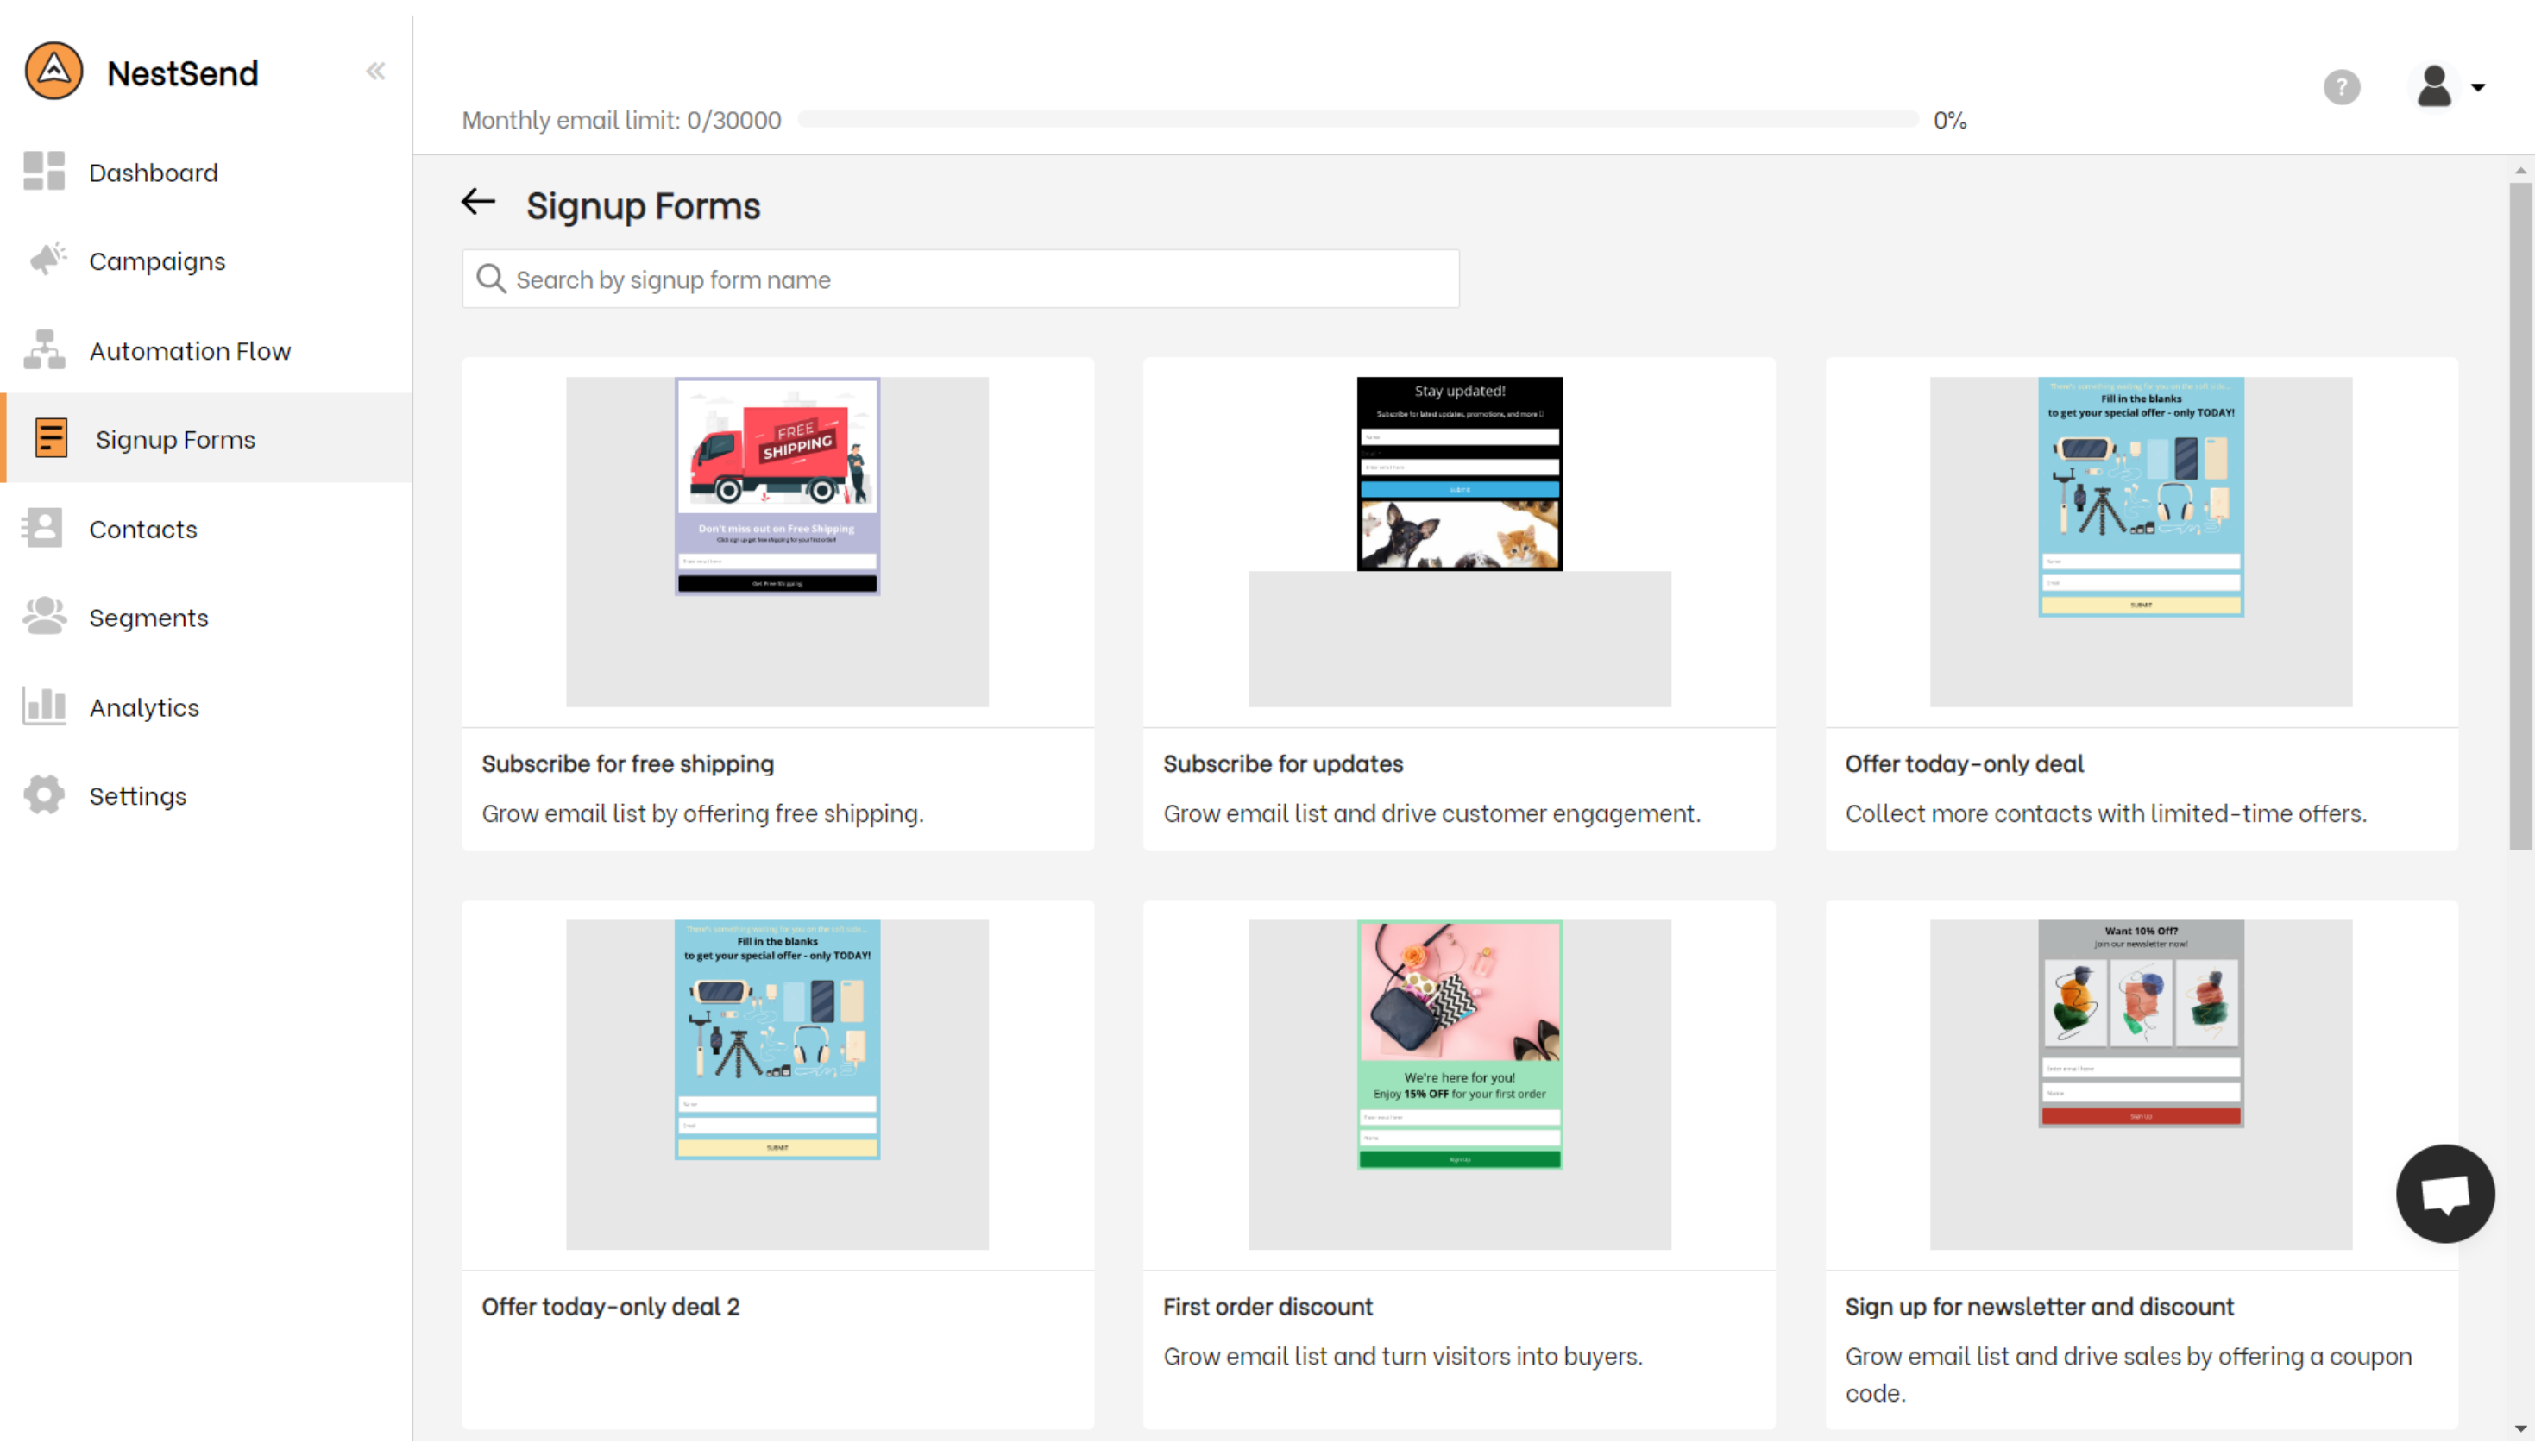
Step 2: Access Signup Forms
To access the signup form creation feature, navigate to the left-hand side of your screen and locate the fourth tab – “Signup Forms”. Once you have located it, give it a click and proceed to select the “Create Signup Form” to proceed.
Here, NestSend provides a range of pre-designed templates to choose from, but for a more impactful branding strategy, we suggest customizing them to align with your brand image. With this approach, you can create a distinct and memorable impression on your audience.
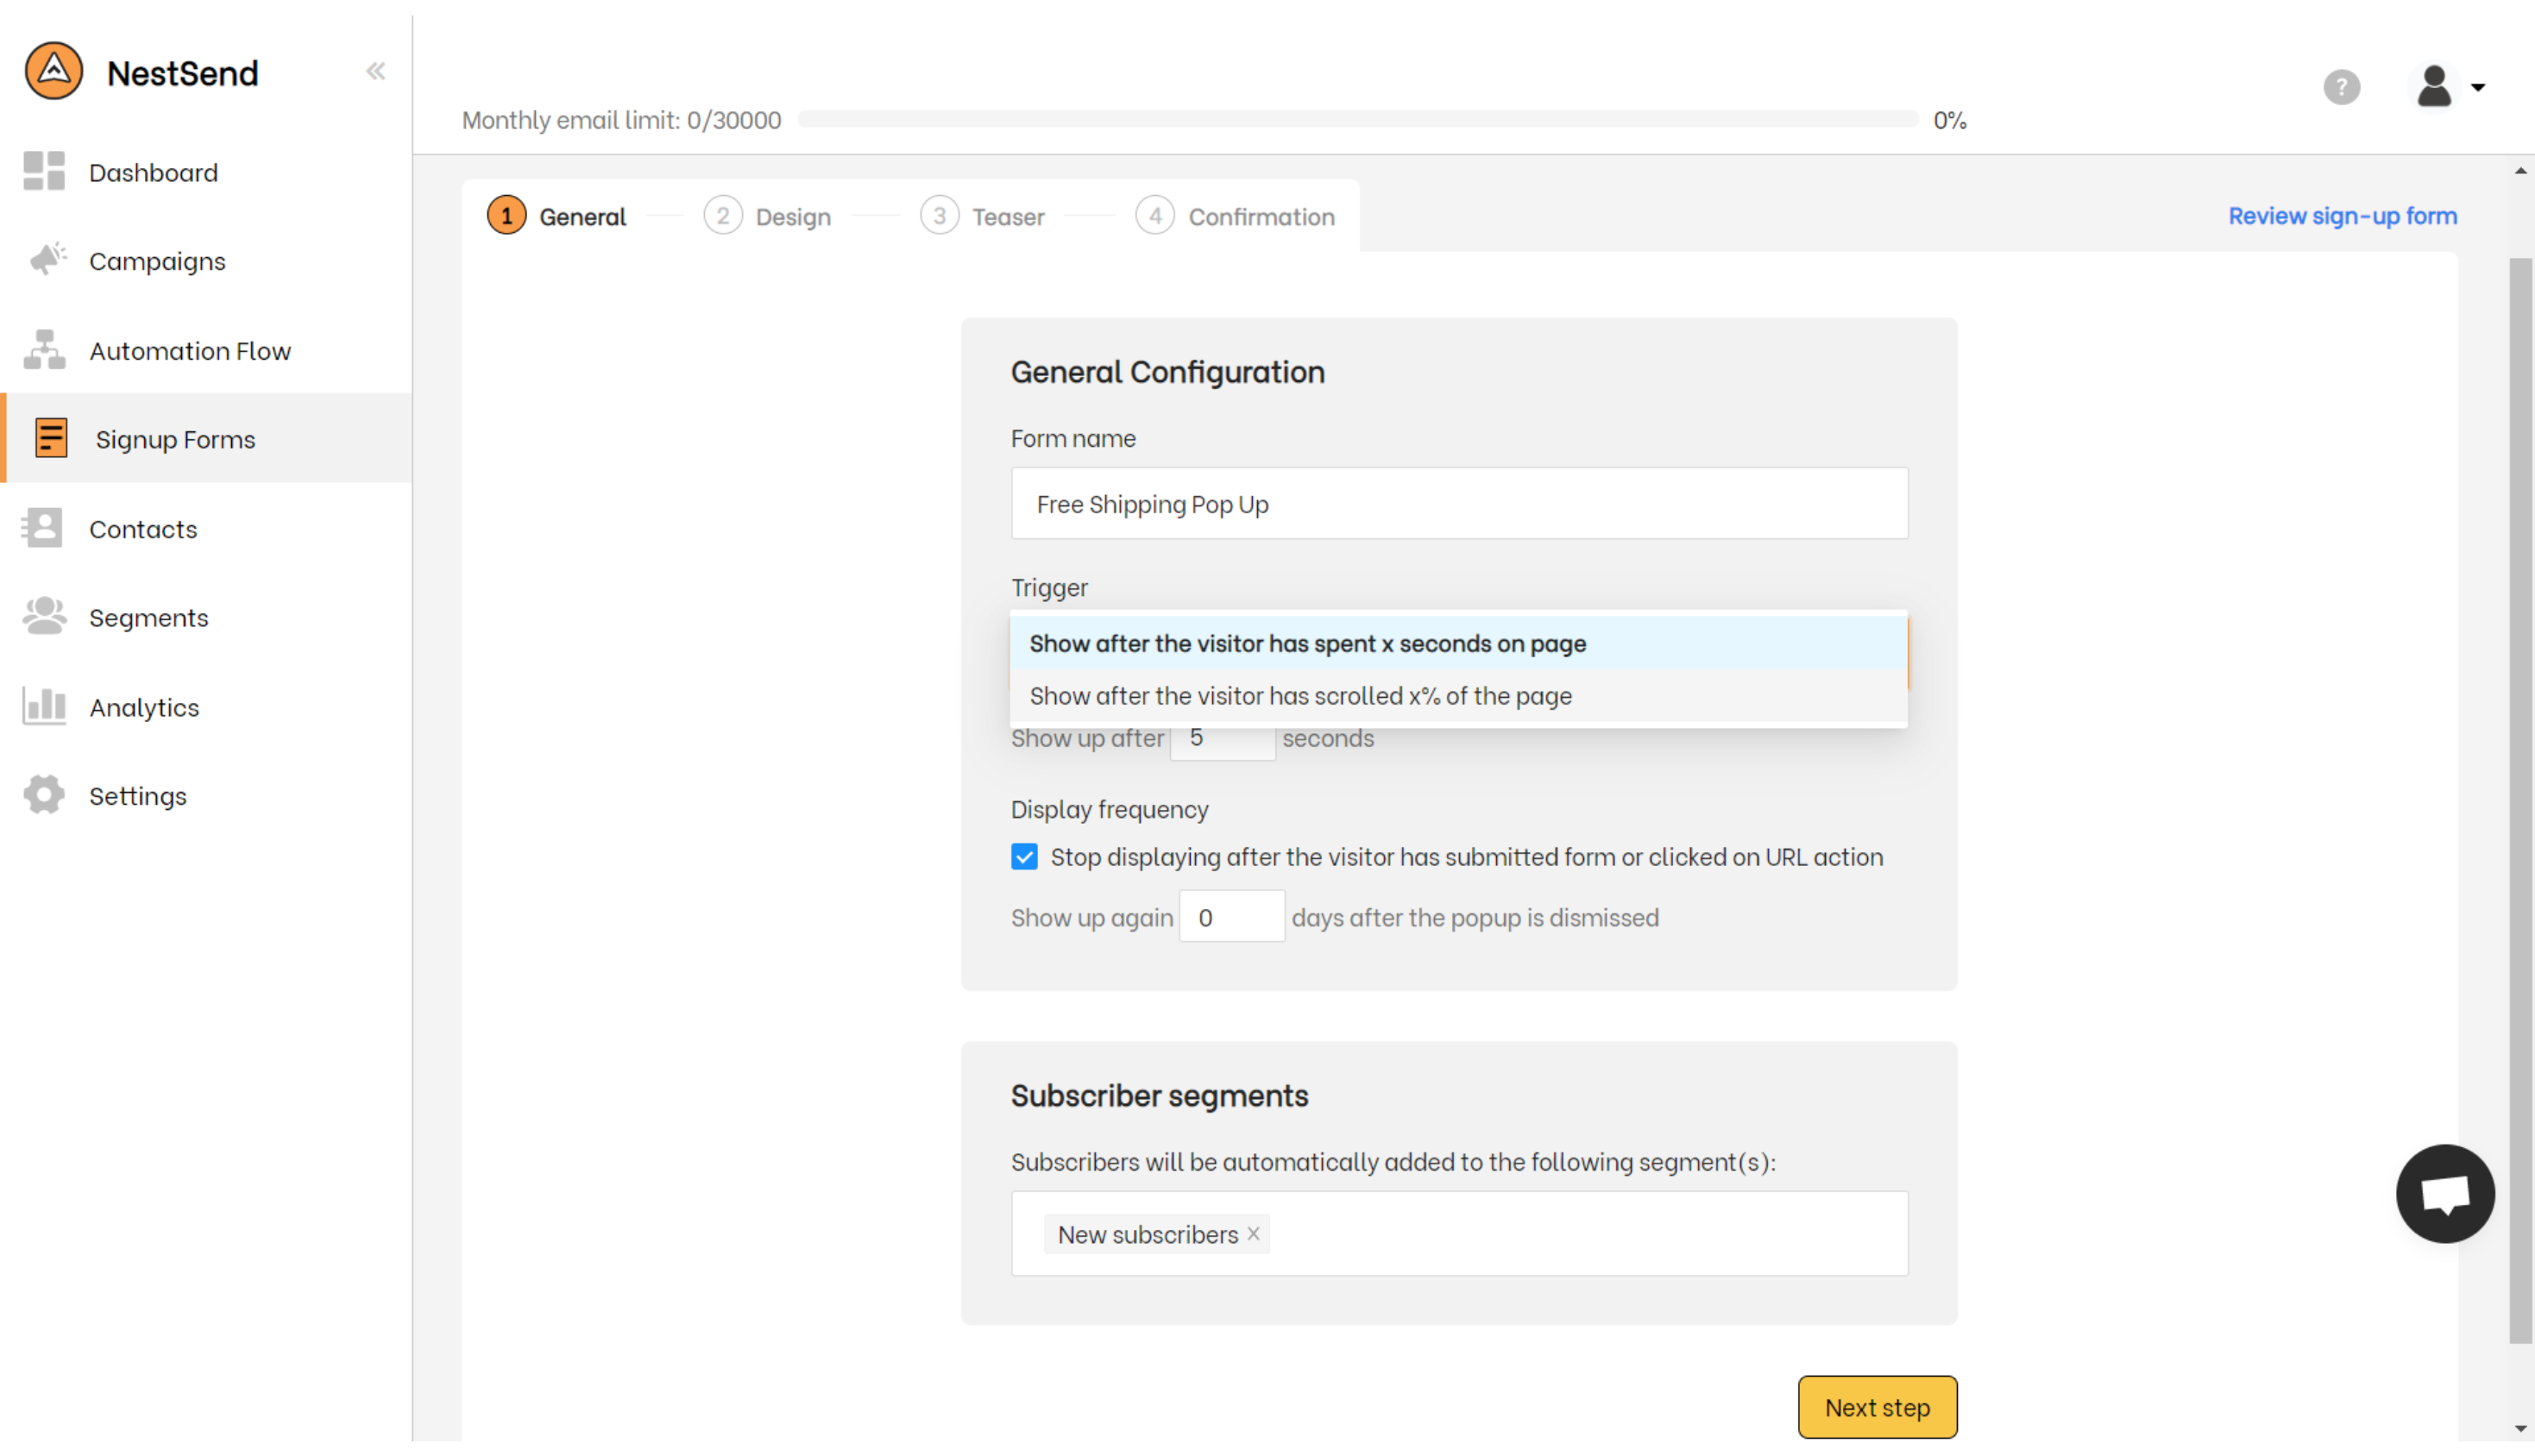
Step 3: Setting up your pop up form
After choosing the template, you are now able to determine how your pop up form would be triggered. You have two trigger options to choose from: time-based and scroll-based triggers.
Moreover, you can also designate new subscribers who sign up via the pop-up to a specific segment. This segment can then be used to initiate an email automation flow.
By segmenting your subscribers in this way, you can personalize your email campaigns and tailor them to specific audiences, thereby increasing their effectiveness.
Step 4: Customize your pop up form
NestSend offers a multitude of editing options to help you tailor your pop-up according to your preferences. You can modify everything from text to images, and even advanced features like HTML customization are available to you.
With NestSend, you can also customize the teaser and confirmation panel, giving you complete control over the appearance of your pop-up.
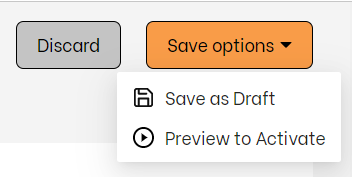
Step 5: Activate your email pop up campaign!
Once you have satisfied with the design of your email pop up, just simply hit on the “Save options” button and “Preview to Activate” to start your email pop up campaign.
Best practice for your email pop up
Choose the appropriate email pop up type for your marketing goal
Your goal will determine the type of pop-up message that would best suit your business. If your goal is to obtain visitors’ contact information, a simple email capture form may suffice. If a visitor is about to leave your site without subscribing or making a purchase, a pop-up can be triggered to compel them to finalize their purchase or sign up before they leave.
Other pop-up types can offer free content, discounts, and entry into giveaways or contests in exchange for an email address.
The two-step opt-in format for pop-ups employs psychology to encourage website visitors to subscribe or sign up. It presents the visitor with a yes or no option, which is an excellent way to prime visitors for further engagement.
Strategically timing
It’s best to wait at least ten seconds after a website visitor has opened your webpage before offering a message. You can then create different pop-ups for specific moments in a visitor’s experience, such as when they first enter the site, when they’re about to leave the site, or when they navigate to a specific page on your website.
Pro tip: If you’re unsure how to time pop-ups or define your audience segments, you can run A/B tests to determine the most effective messaging for different customer groups.
Choose the right offering
There are many different types of pop-up offers, including coupon codes, sweepstakes entries, free products, and mystery offers. Depending on your business and the timing of the pop-up, you may also want to offer future benefits or promise special consideration.
To choose the right offer, it’s important to consider the perceived barriers to engagement that your visitors may have. For example, if your business is new or unfamiliar to your audience, you may want to offer a free trial or sample to help build trust. Alternatively, if your audience is already engaged with your business but needs an extra push to convert, a limited-time offer or exclusive discount code may be more effective.
Craft compelling messaging
It’s very important to craft compelling messaging that resonates with your audience. The messaging in a pop-up is essential to its success, so take the time to choose your words carefully.
The first thing a website visitor should see on the pop-up is the benefit they can obtain. This could be an invitation to join an exclusive community or a promise of special consideration. Whatever it is, make sure it’s clear and compelling.
Next, consider the call to action. Instead of using generic language like “submit,” use action-oriented language that encourages visitors to take action. For example, “Count me in” or “Claim my surprise” are more specific and engaging.
Use humor, if appropriate, to foster a feeling of camaraderie and shared values with your audience. But make sure to avoid cliches and overly salesy language that can turn visitors off.
Ensure an mobile-friendly experience
In today’s digital age, most people use their mobile devices to browse the web. As a result, it is crucial to prioritize mobile-friendly designs when developing pop-ups for your website. To enhance the user experience, avoid placing pop-ups as sidebars or floating bars at the top of your website, as this can be annoying for customers.
Google has specific guidelines for pop-up messaging, and violating them can lead to an SEO penalty. Your pop-up should not prevent visitors from accessing the main content of your page. To comply with Google’s guidelines, add a trigger to your pop-ups that shows up at the right time.
Desktop screens can support larger pop-ups, which are harder to ignore, but they can be intrusive. It is a best practice to use full-screen pop-ups only when visitors intend to exit the website.
Ensure an visual impact
The power of visuals cannot be underestimated in communication. Pop-ups should feature high-quality images that draw viewers’ attention and reinforce the benefits of subscribing. An image can help create a connection with potential subscribers and reassure them that their contact information is safe.
The pop up image can be use to:
- Showcase team members to create a sense of human connection.
- Display product images that entice viewers to make purchases.
- Use other brands’ logos as social proof to convince potential subscribers to take action.
Be unique and standing out
Avoid creating pop-ups that look like your competitors’. Instead, choose colors that coordinate with your website and catch visitors’ attention. Use vibrant colors for call-to-action buttons and passive colors for buttons that let customers decline your offer.
Some marketers include “success” pop-ups in their strategy to show new subscribers that they’ve joined a club. Creating different pop-ups for new and returning users can increase conversion rates and engagement.
Let’s grow your email list with NestSend!
Email pop-ups are an excellent way to capture visitor’s contact information, increase engagement, drive conversions, and personalize your email campaigns. With NestSend, adding an email pop-up to your Shopify website is quick and simple. By following the five simple steps outlined above, you’ll have a well-designed pop-up form that aligns with your branding strategy in no time.
Remember to choose the appropriate email pop-up type for your marketing goals and avoid irritating your visitors by ensuring your pop-up offers value and doesn’t appear too frequently. So, start building your email list and take advantage of email marketing to build a loyal following and grow your ecommerce business today.