One of the easiest ways to build trust and reduce uncertainty at checkout is to add Shopify estimated delivery date on the product page. In this guide, you’ll learn exactly how to install, set up, and customize the estimated delivery date (EDD) to show accurate delivery timelines on your product pages. Here’s more of what we have to tell you in this tutorial:
- Add the delivery date widget to product pages
- Customize the message and display style
- Adjust delivery time for timezones, holidays, and cut-off times
Step 1: Install and set up NS Estimated Delivery Date
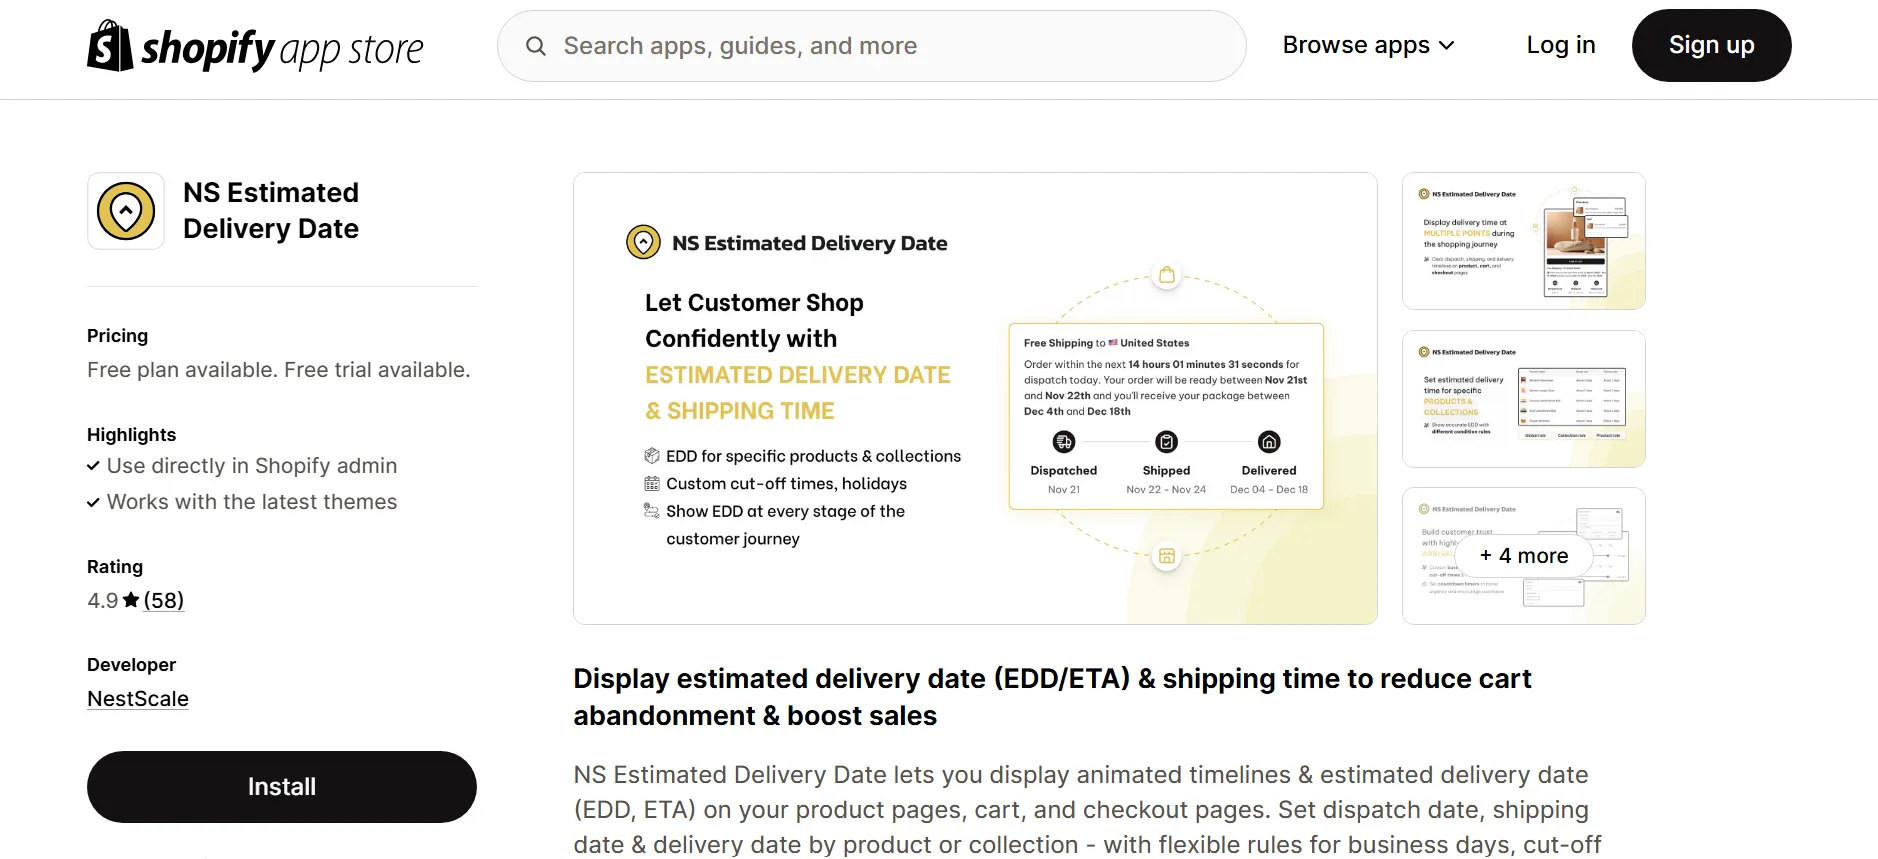
1. Begin by installing NS Estimated Delivery Date from the Shopify App Store.
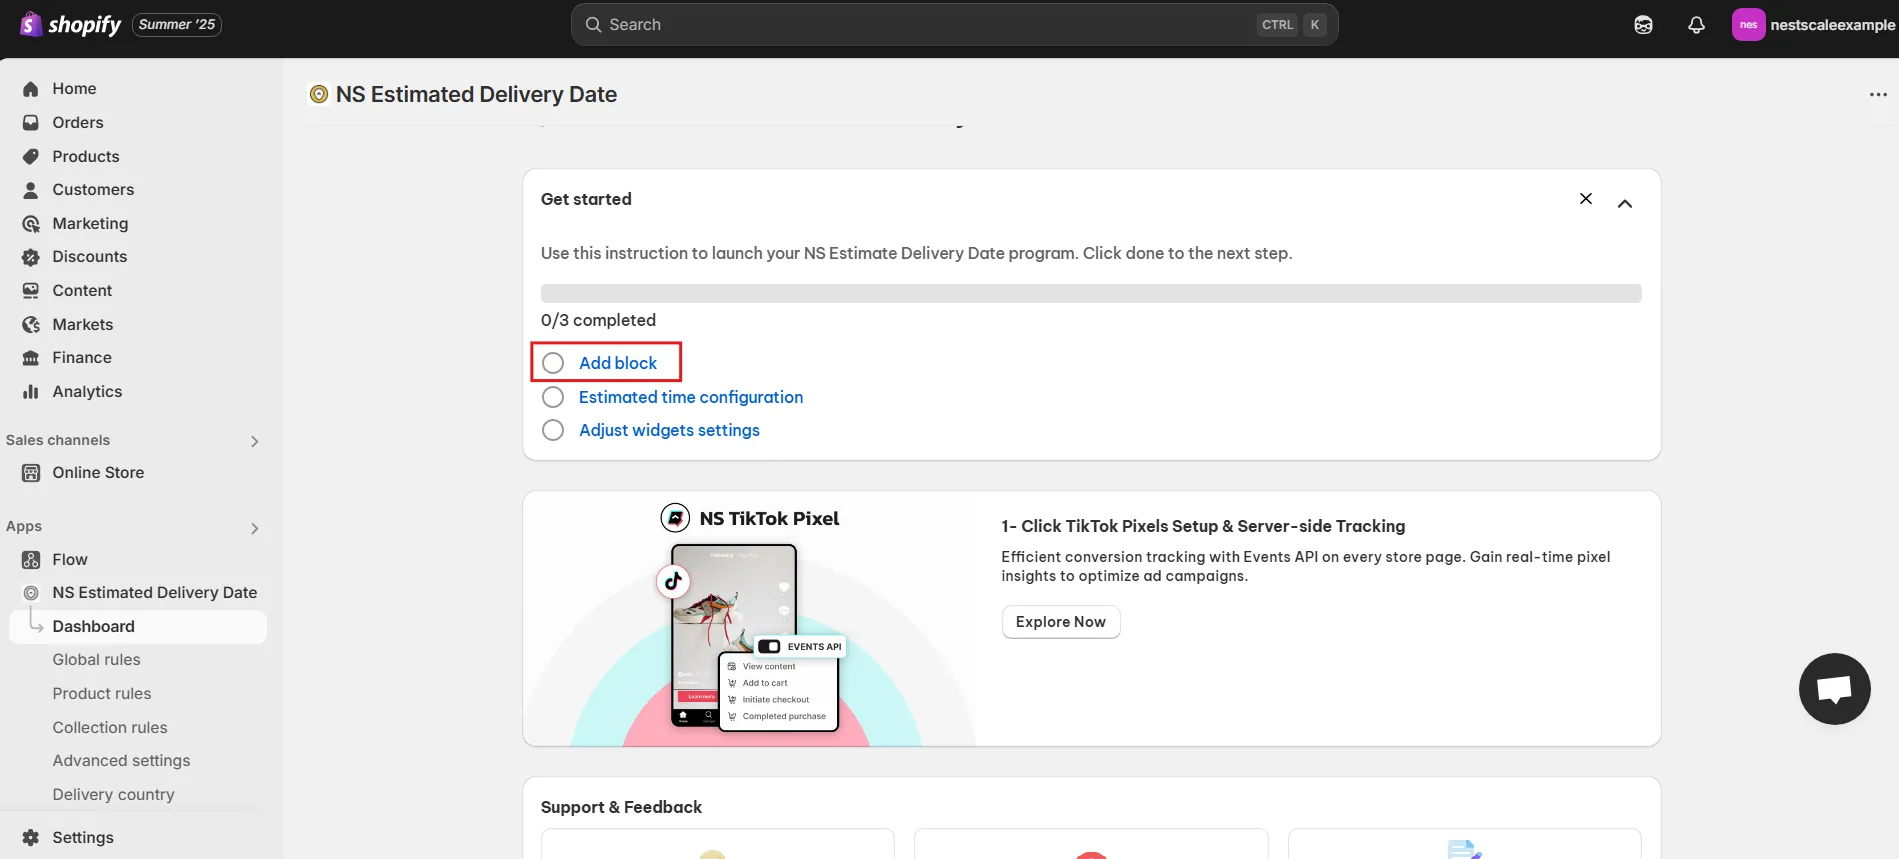
2. Open the app and follow the onboarding instructions provided.
3. Start by clicking Add block.
4. On the redirected page (Product Page customization), Click Add section > Apps > NS Estimated Delivery Date.

5. Drag and place the EDD widget where you’d like it to appear on the product page.
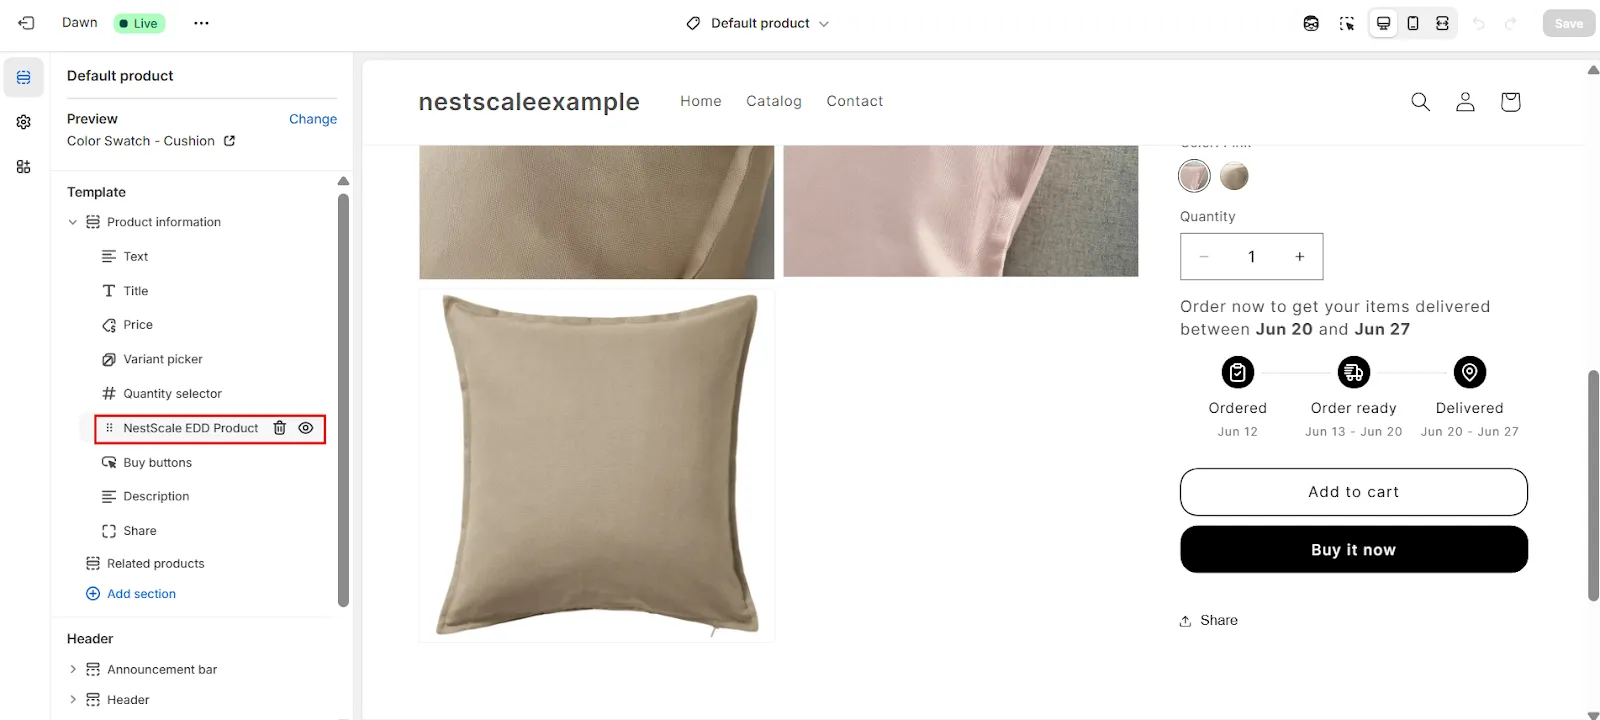
6. Click Save to confirm.
Step 2: Customize EDD widget
Customize the EDD message
1. Return to the app and go to the Global Rules tab.
2. Customize the delivery message text to reflect your brand’s tone and language.
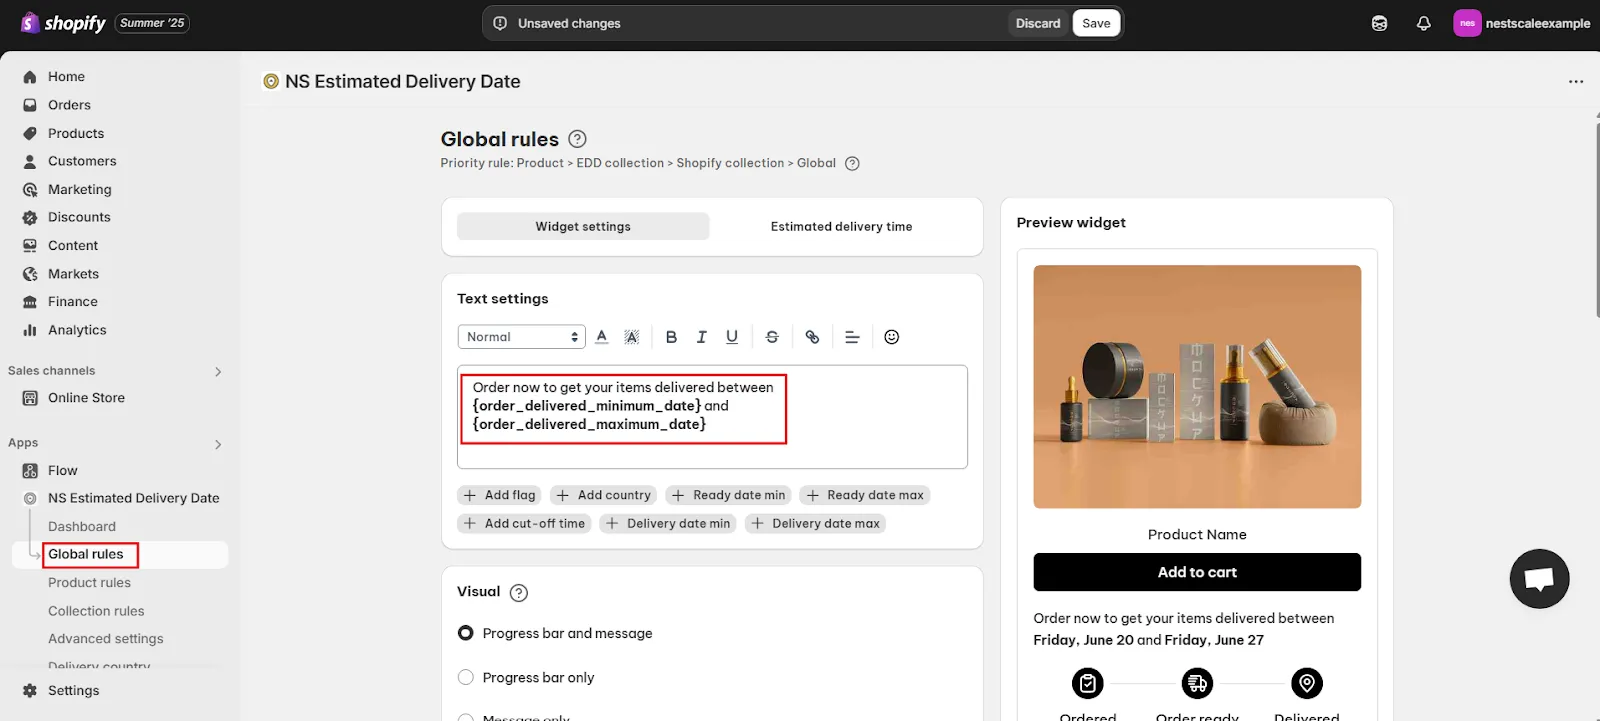
3. You can format the message further by adding: countries, flags, countdown timers (cut-off time), and more.
💡 The EDD widget includes both a message and a delivery timeline.
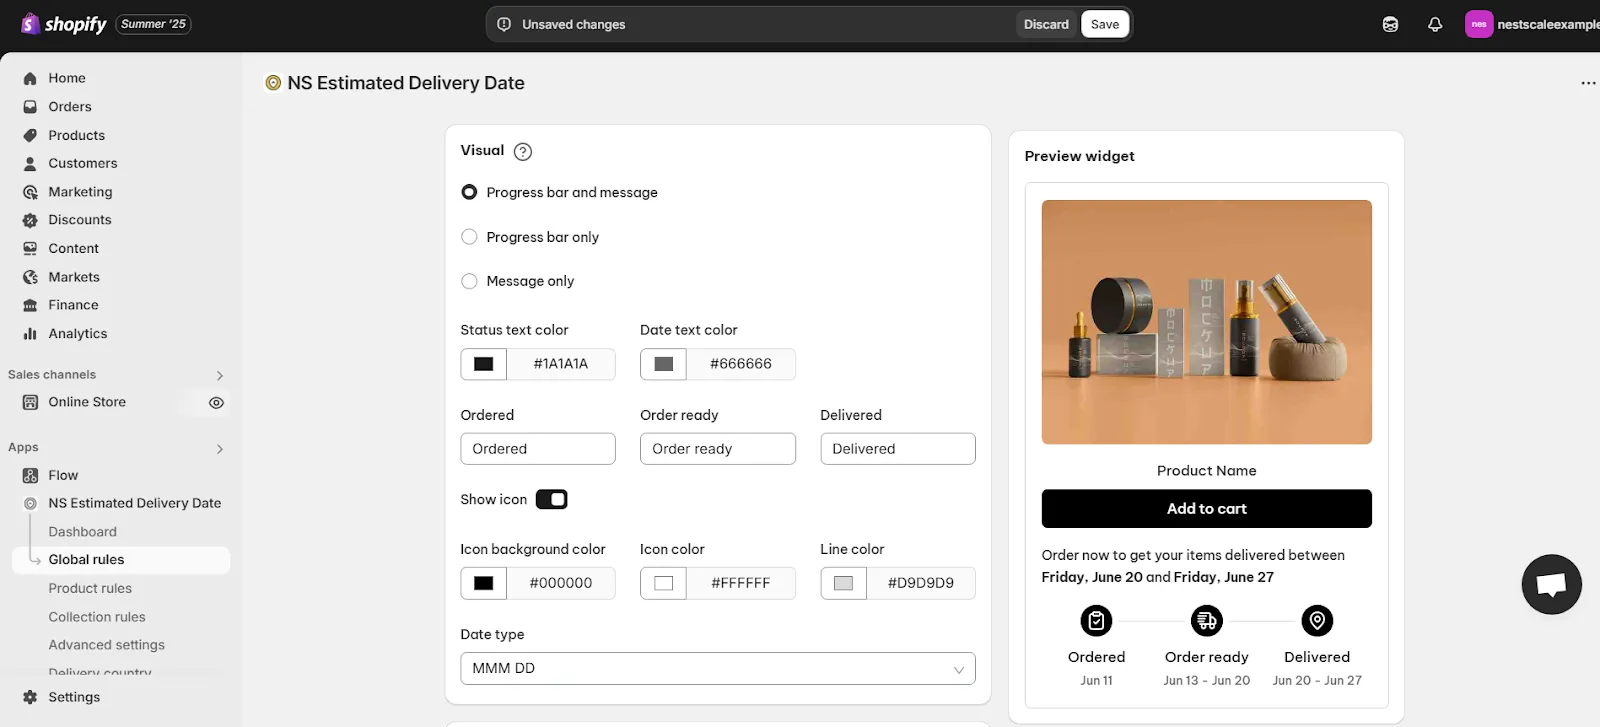
4. Choose the display option in the Visual section:
- Only the message
- Only the timeline
- Both (recommended if you want more room to explain delivery policies or run promotional messages)
5. Customize widget visuals, including icons, texts, date types.
💡 Use the Preview tab to view your changes live.
6. In the Padding section, adjust the spacing around the widget for more breathable page layout.
7. Under Date Format, select a suitable format for displaying delivery dates.
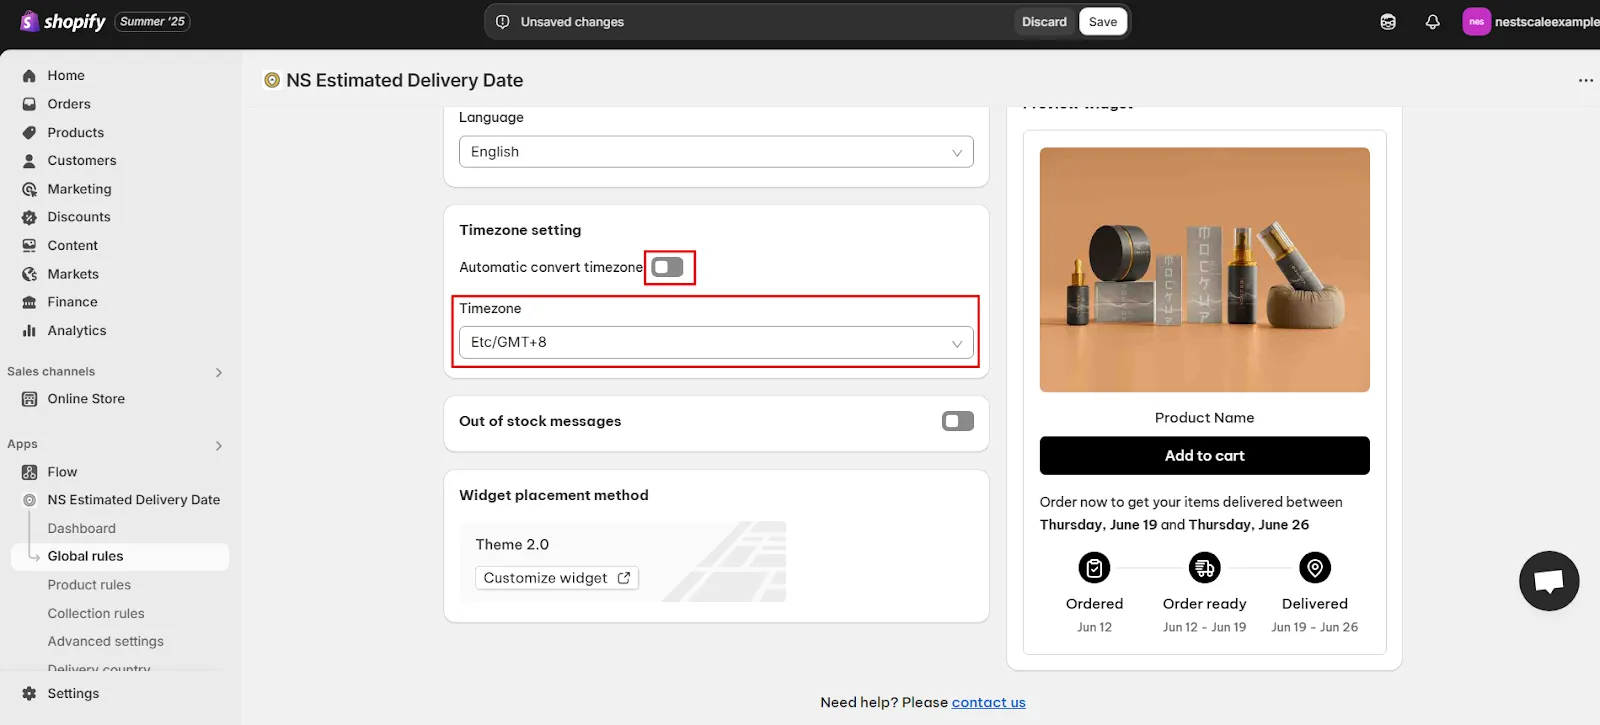
8. In the Language settings, choose a display language for your delivery date from the dropdown.

Set timezone-based delivery estimate
Under Timezone Settings:
- Toggle “Automatic convert timezone” to allow the app to detect the visitor’s IP and show delivery dates based on their local time.
- Or select a fixed timezone for consistent display.
Enable out-of-stock message
1. You can display a custom message when a product is unavailable. This is helpful for:
- Letting customers know a restock is coming
- Offering pre-order options
- Managing expectations around fulfillment
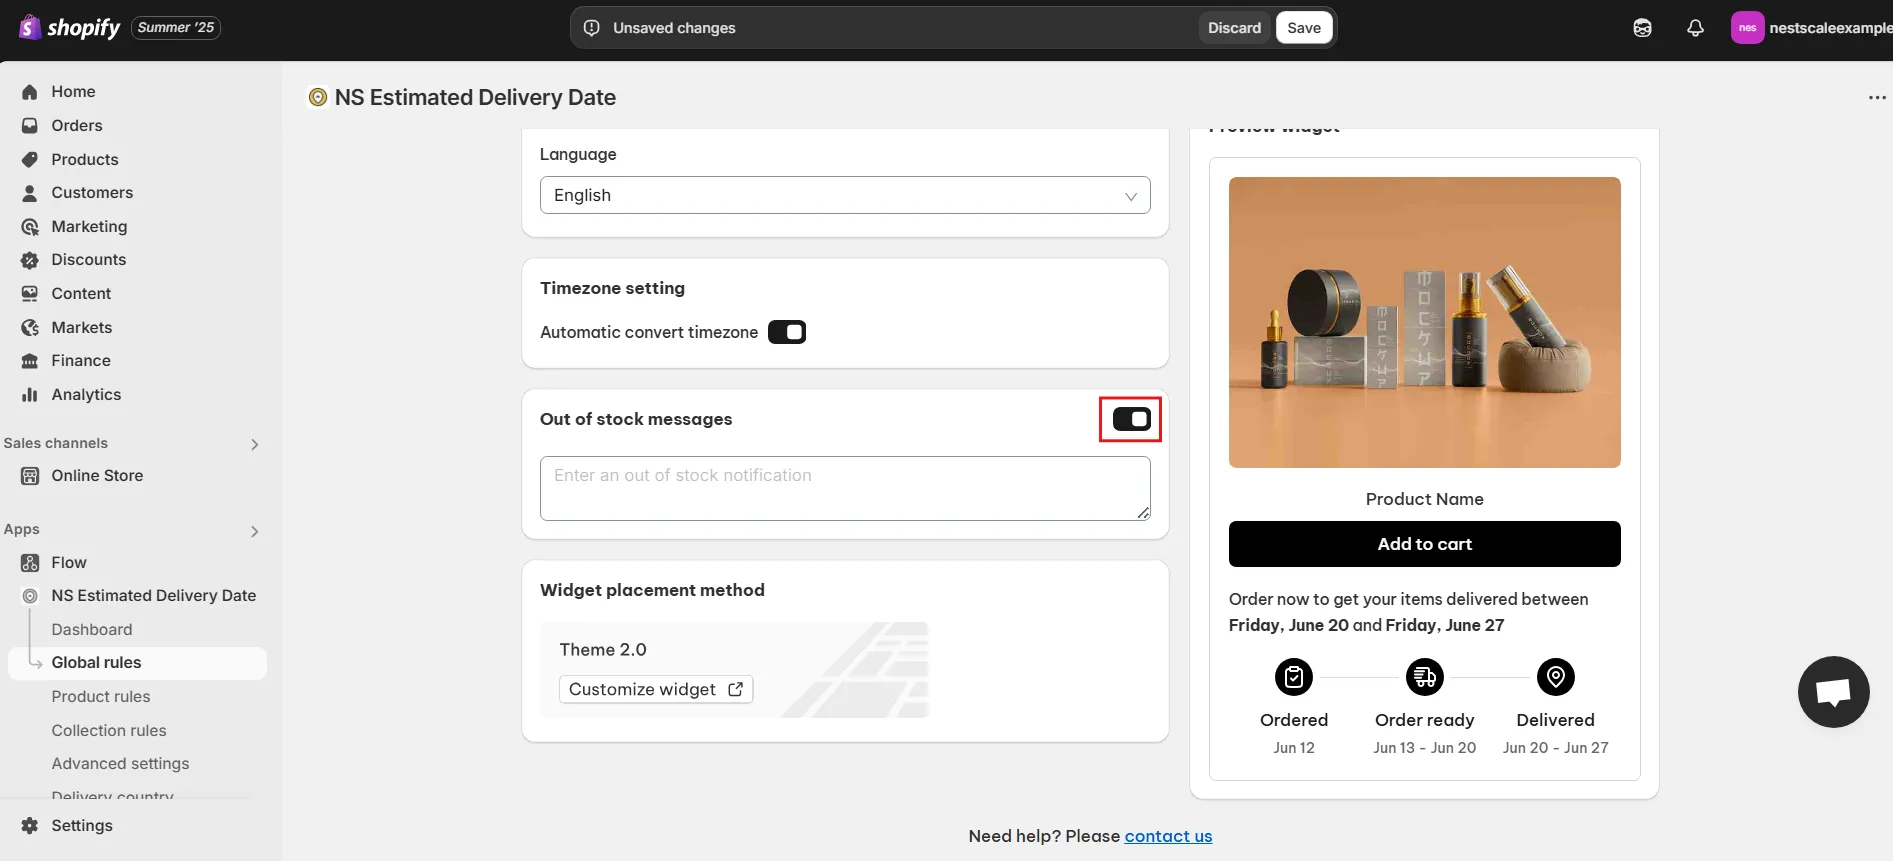
2. Click Save once done.
Step 3: Configure estimated delivery timing
1. Navigate to the Estimated Delivery Time section at the top of the settings tab.
2. Set your delivery time range based on how long it takes your store to fulfill and ship orders.
3. Check the boxes to exclude weekends or non-working days from the estimate.
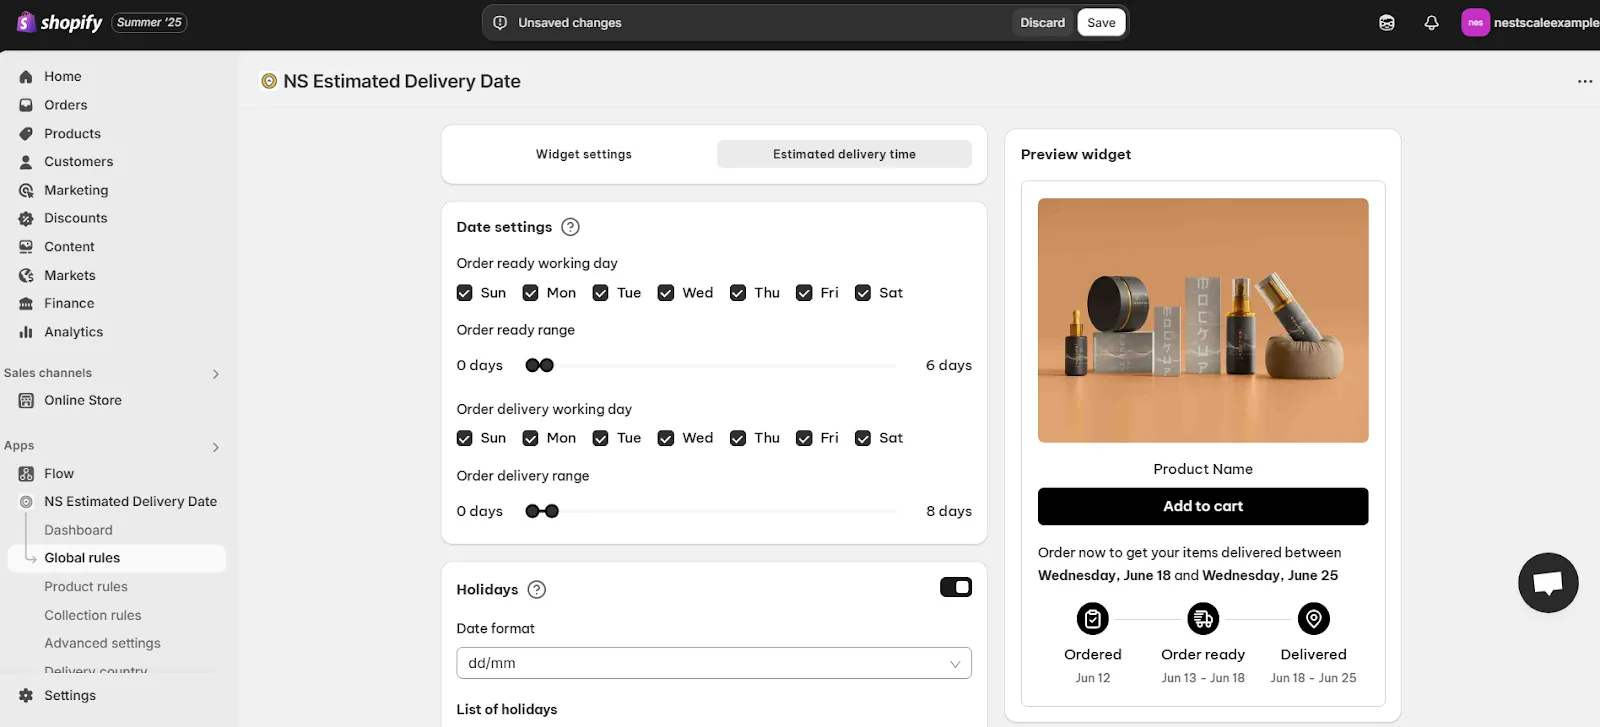
Exclude holidays
1. In the Holidays section, toggle the feature ON.
2. Click Add Date.

3. You can add multiple holidays by:
- Adding the holiday name
- Choosing the date
- Clicking Done to confirm

💡 Once set, the app will automatically skip those holidays when calculating delivery dates.
Set countdown timers (cut-off time)
With the Cut-off Times settings, you can configure the countdown timer to boost urgency when showing the delivery message.
1. Customize the message around the timer and choose your desired time format.
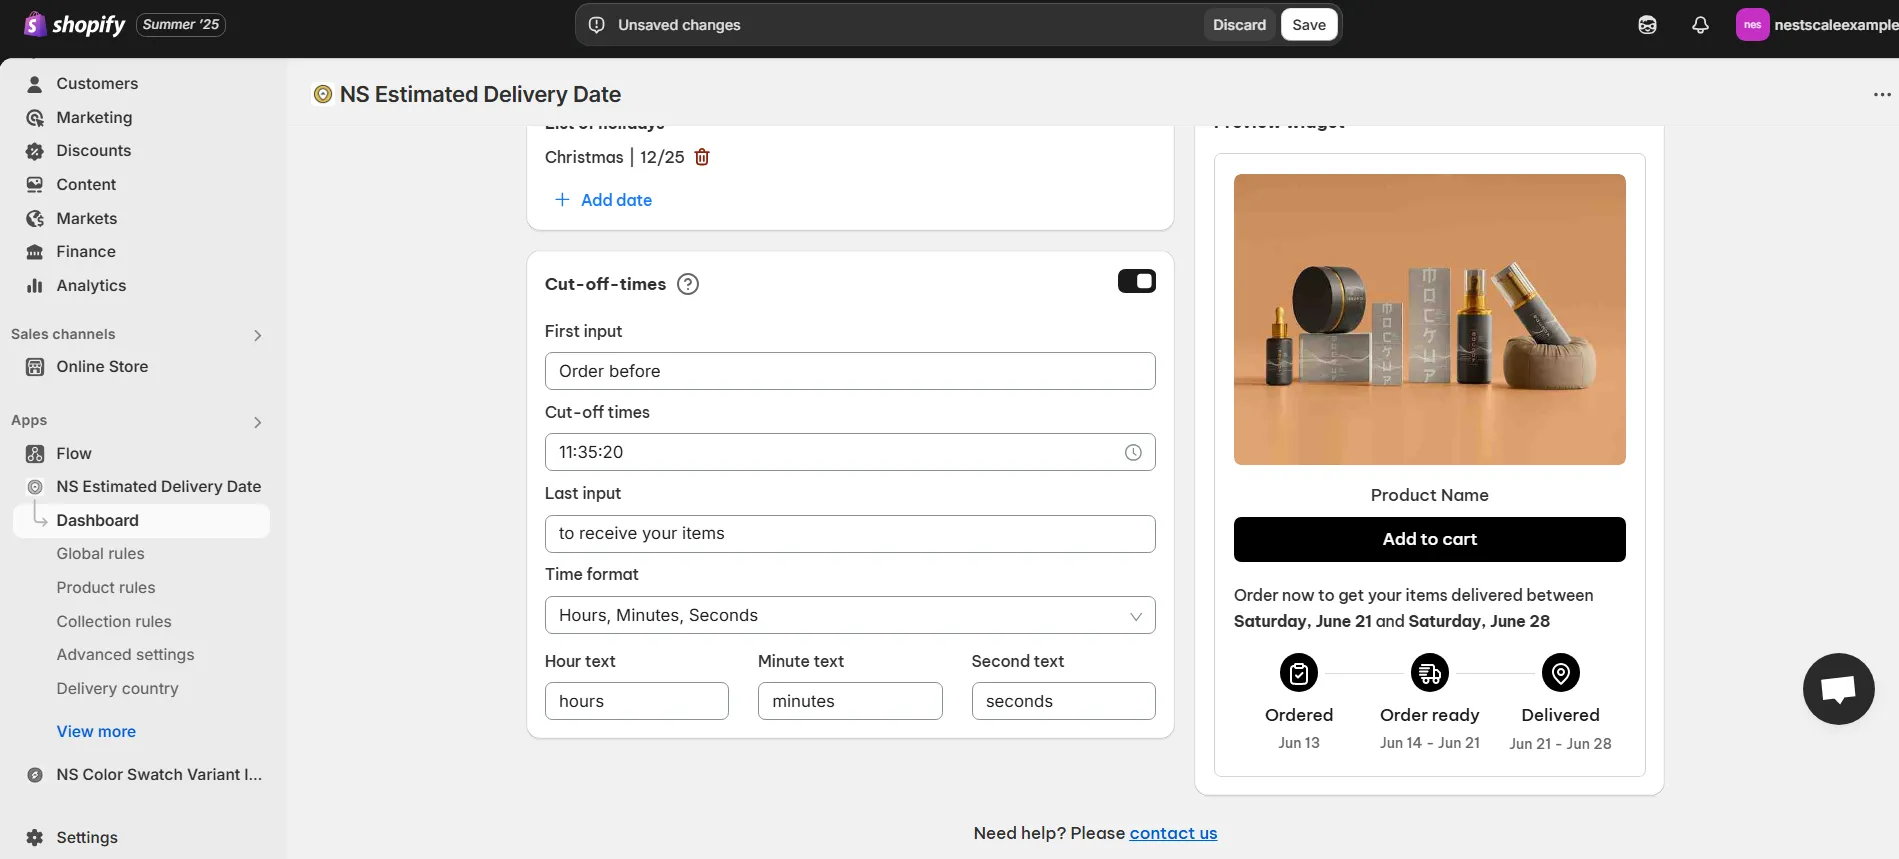
2. Click Save to apply.
3. Then go back to the widget settings tab, and click Add Cut-off Time to activate it in the widget.
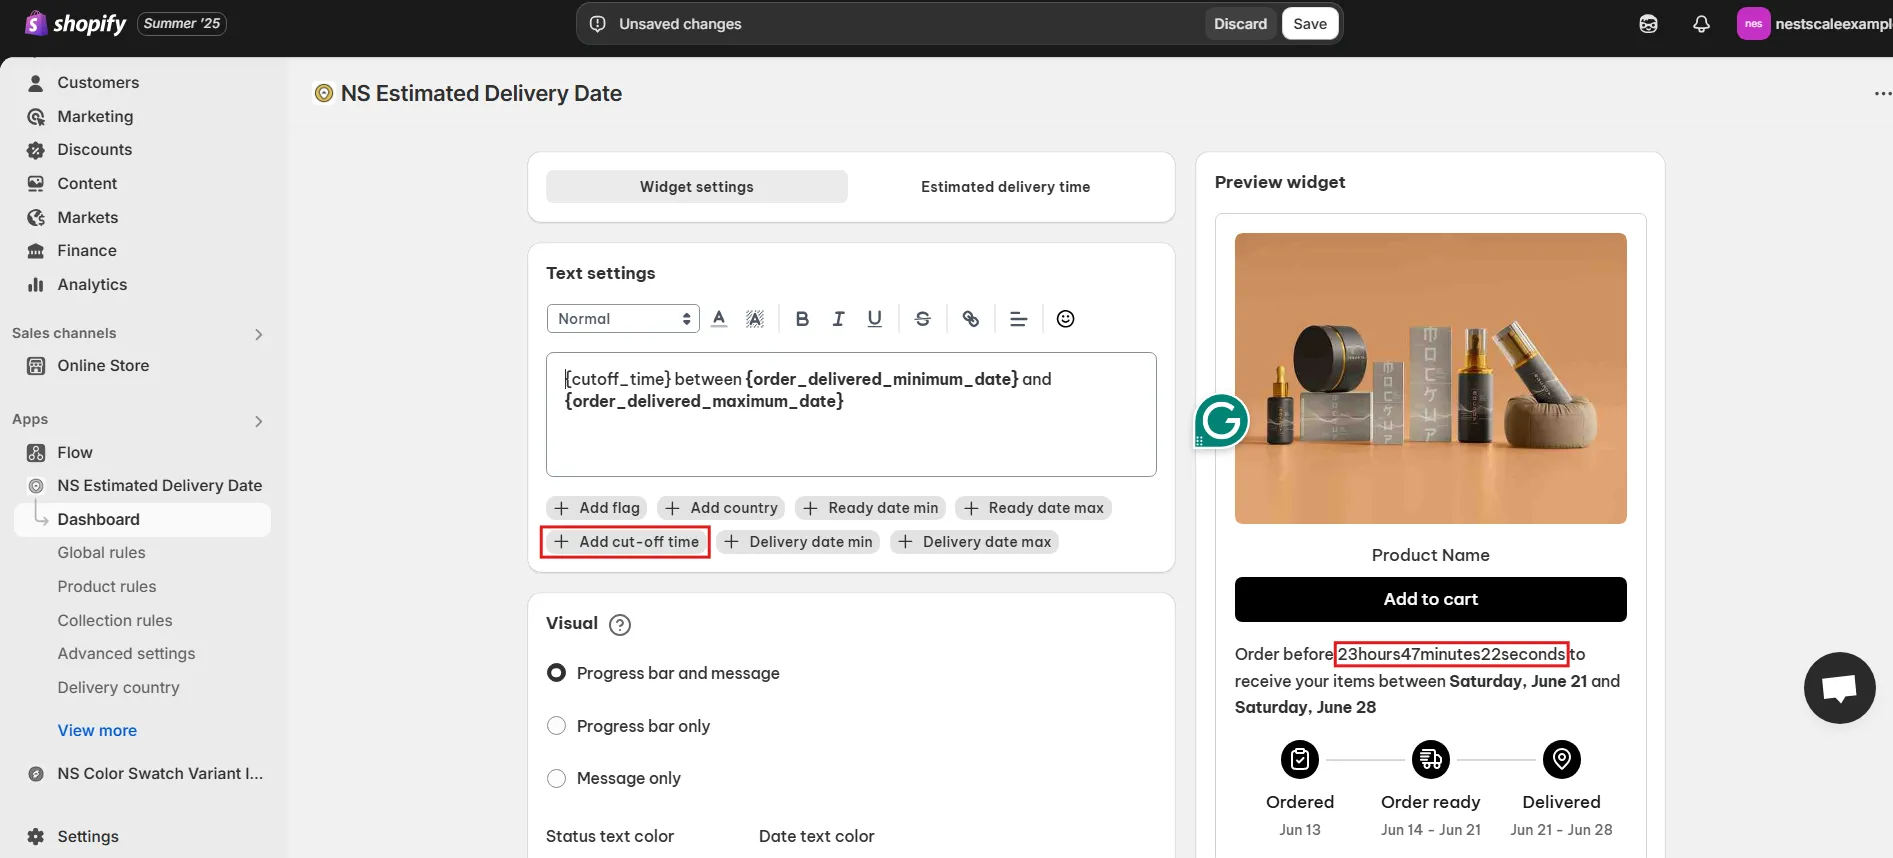
4. Click Save again to finalize your settings.
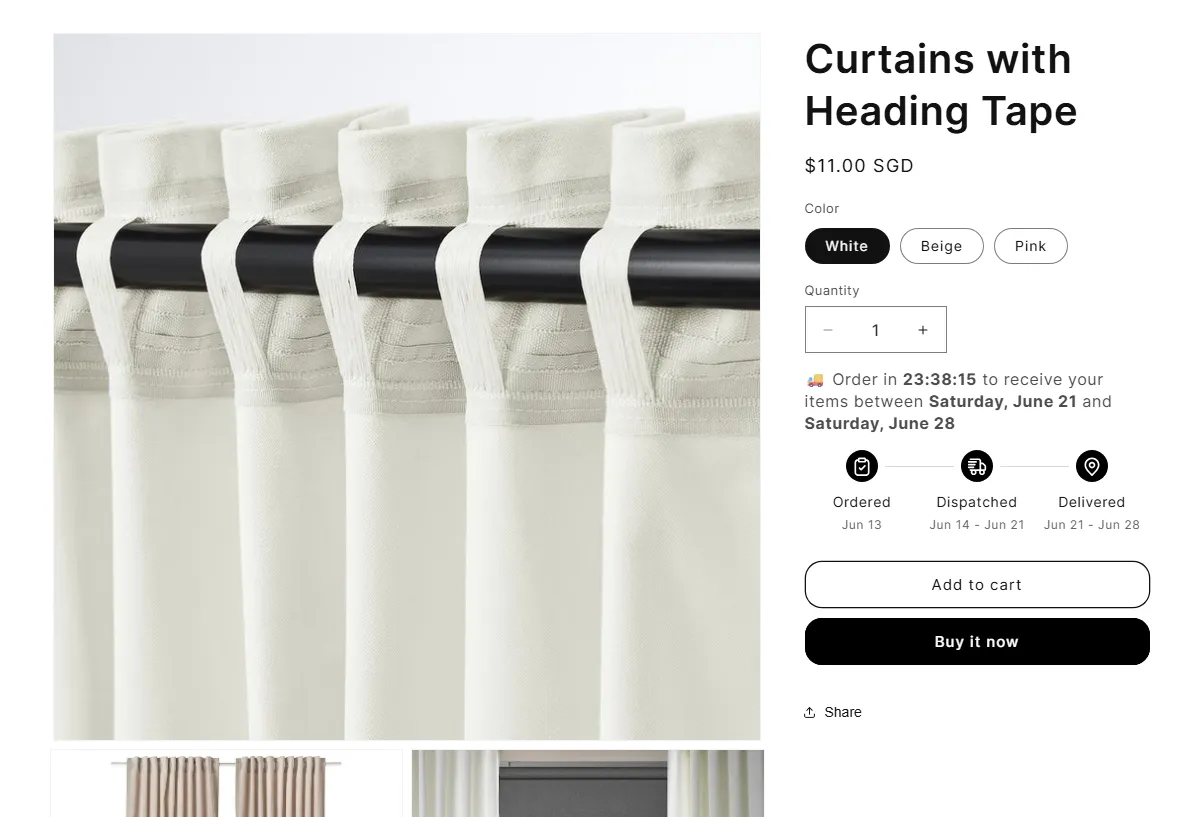
5. They’re all set! Now visit your product page to view the EDD widget in action with your customized message and delivery timeline.
✨ Here are a few more things you can also do with NS Estimated Delivery Date:
- Set EDD for specific products or collections: Great for stores with different fulfillment times based on product type.
- Display delivery messages on cart & checkout pages: Keep customers informed throughout the shopping journey.
- Set EDD by country: Set EDD for different countries, and the app auto-detects your customer’s country via IP and adjusts the estimated delivery date accordingly.
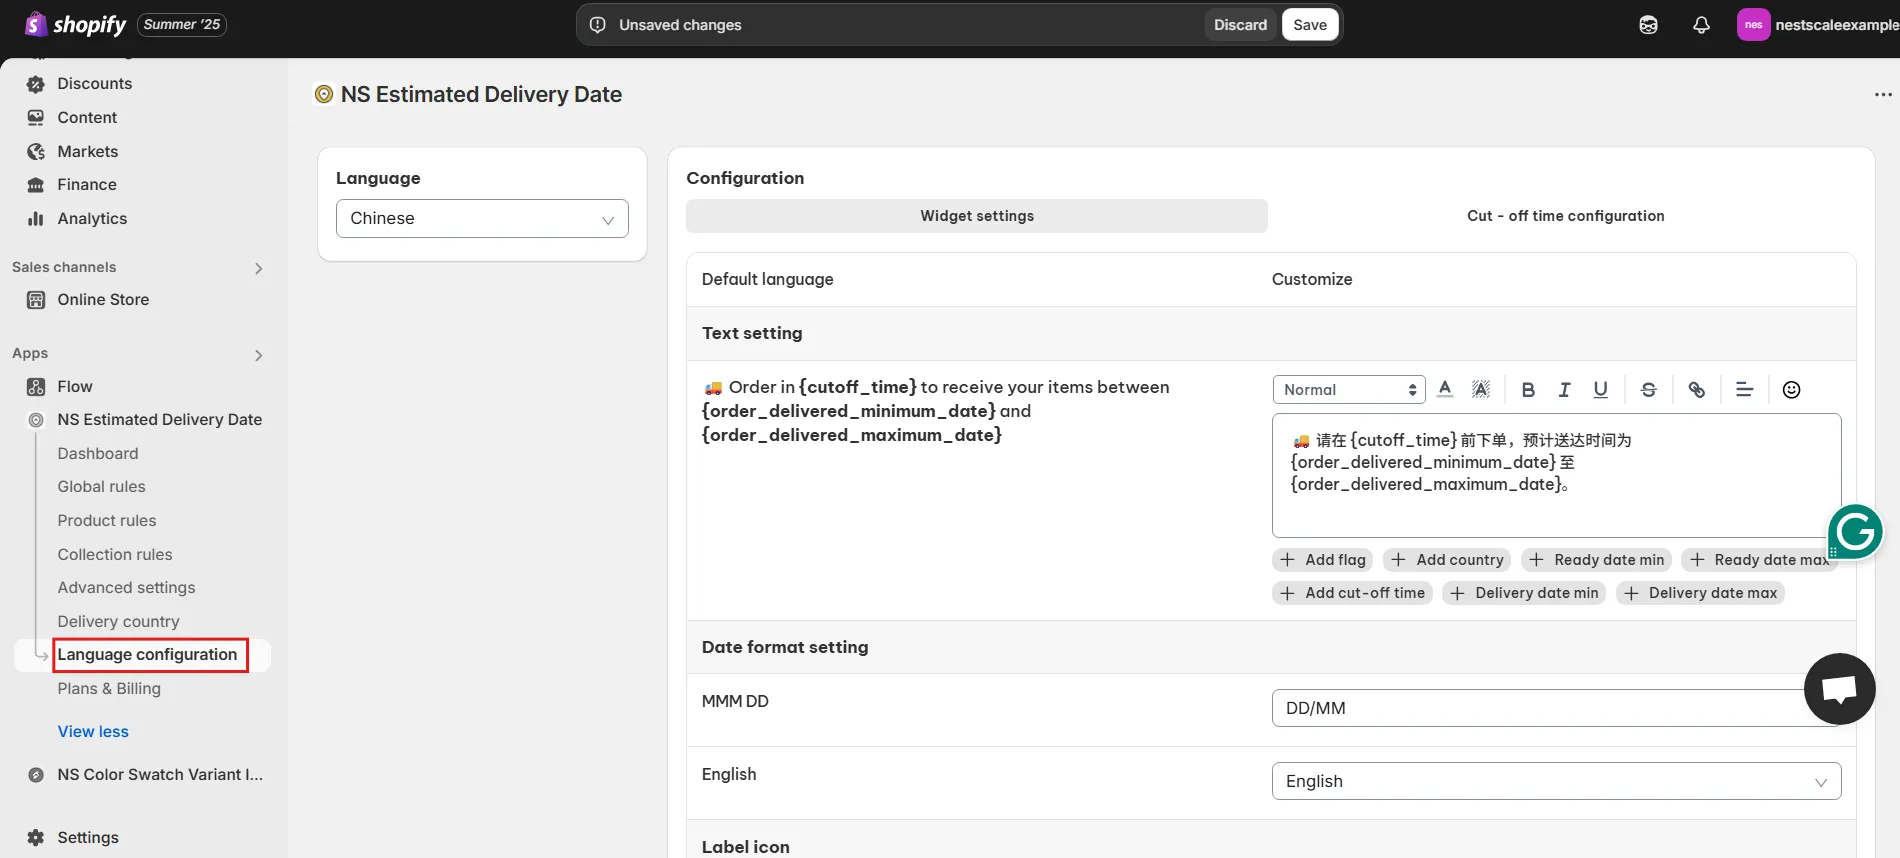
- Show EDD in multiple languages: Create and display custom delivery messages in different languages based on your visitors’ language settings.
FAQs
Can I show the estimated delivery date on the Shopify checkout?
Yes, with NS Estimated Delivery Date, you can display estimated delivery information not just on product pages, but also on the cart and checkout pages. This helps maintain transparency throughout the customer journey and can reduce hesitation during the final purchase step.
You’ll just need to enable Show widget on cart & checkout within the app’s Advanced settings to apply this feature.

How to set the delivery date by collection in Shopify?
You can do this using the Collection Rules in NS Estimated Delivery Date. It allows you to define specific delivery windows for entire collections. It’s ideal for handling groups of products with similar fulfillment times, such as pre-orders or made-to-order items.
Just go to the Collection rules tab in the app and assign the desired timing and message to the selected collection.

Does NS Estimated Delivery Date support multi-language stores?
Yes. With NS Estimated Delivery Date, you can create delivery messages in multiple languages for international customers. Instead of just picking one display language, the app lets you set different versions of the same message for each supported language.
This means customers will automatically see the delivery message in their preferred store language. It gives them more clarity and a localized shopping experience.