Are you struggling to set up an effective email campaign for your Shopify store? Well, worry no more! In this blog, we will take you through five easy steps to set up a Shopify newsletter email campaign. We will also look at the five essential elements to consider for an effective newsletter email campaign. So, let’s get started and set up your Shopify newsletter email campaign quickly and easily.
What is a Shopify newsletter email campaign?
Shopify newsletter campaign is basically a bunch of emails that a Shopify store sends out to a bunch of people who have subscribed to their email list. The store wants to keep these people updated on what’s going on with their business. They also want to keep them engaged and interested in their brand.
The newsletter might include blog posts, company news, or cool pictures. These elements aim to excite people about the store. It might also have special offers or contests to get people interested in buying something.
This kind of email is different from other kinds of emails that Shopify stores might send out. It’s not like an individual email that you get after you buy something, or an automated email that gets sent out when you do something specific. Therefore, this is an ongoing effort to build a relationship with customers over time.
5 Elements of an effective Shopify newsletter email campaign
Creating an effective newsletter email campaign is an excellent way to engage with your Shopify customers. It also helps to keep them up-to-date on your latest products, services, and promotions. So, here are some key elements to consider for an effective Shopify newsletter email campaign:
Catchy subject line
The subject line is the first thing your customers will see, and it’s crucial to make it attention-grabbing. Use actionable language that creates a sense of urgency or excitement.
Clear Call-to-Action (CTA)
Every email should have a clear CTA that prompts the recipient to take action. Make sure it’s visible, easy to understand, and leads to a specific goal, such as visiting your website, making a purchase, or signing up for a promotion.
Engaging content
Your email content should be engaging, informative, and relevant to your audience. Use a friendly and conversational tone to build a relationship with your subscribers. And make sure that your content is visually appealing, including images and videos where appropriate.
Personalized email
Personalize your emails to make them feel more individualized to each customer. Address your customers by their name, recommend products or services based on their past purchases or interests, and tailor your content to their specific needs.
Mobile-friendly design
With the majority of people now using mobile devices to check their emails, it’s crucial to ensure your email design is mobile-friendly. Use a simple, clean layout, and make sure your images and text are easy to read on smaller screens.
Set up a Shopify newsletter email campaign in just 5 steps!
Step 1: Install NestSend
You can find NestSend on the Shopify App Store by searching for it. But, to save you time, we’ve prepared a direct link to the app that you can access with just a click.
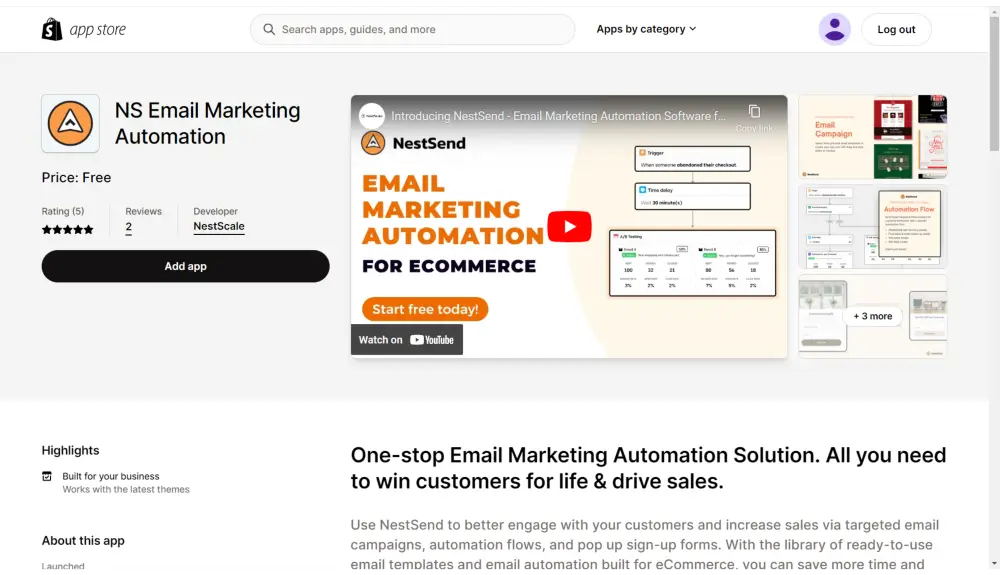
Once you’ve added NestSend to your Shopify store, simply click “Install App” to proceed.
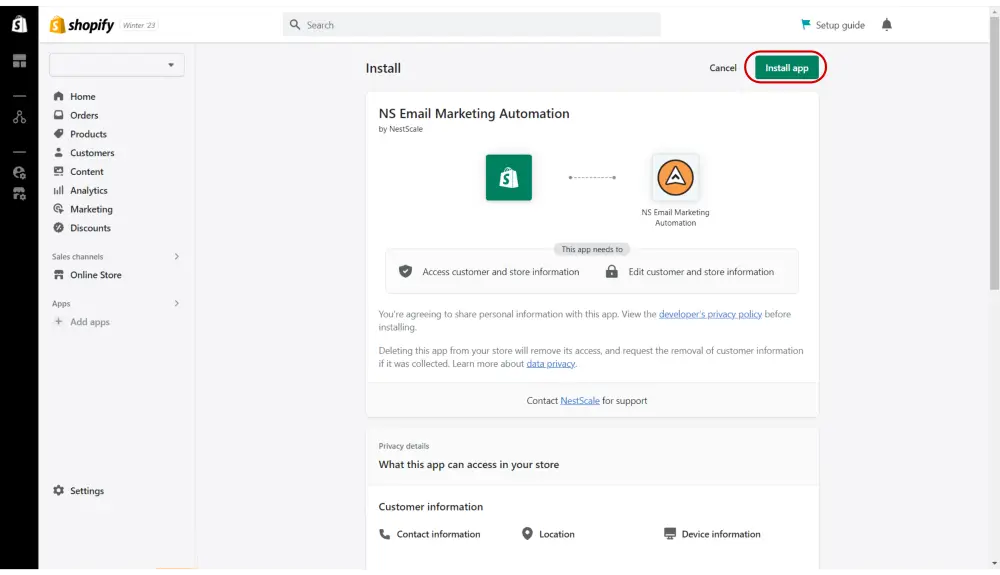
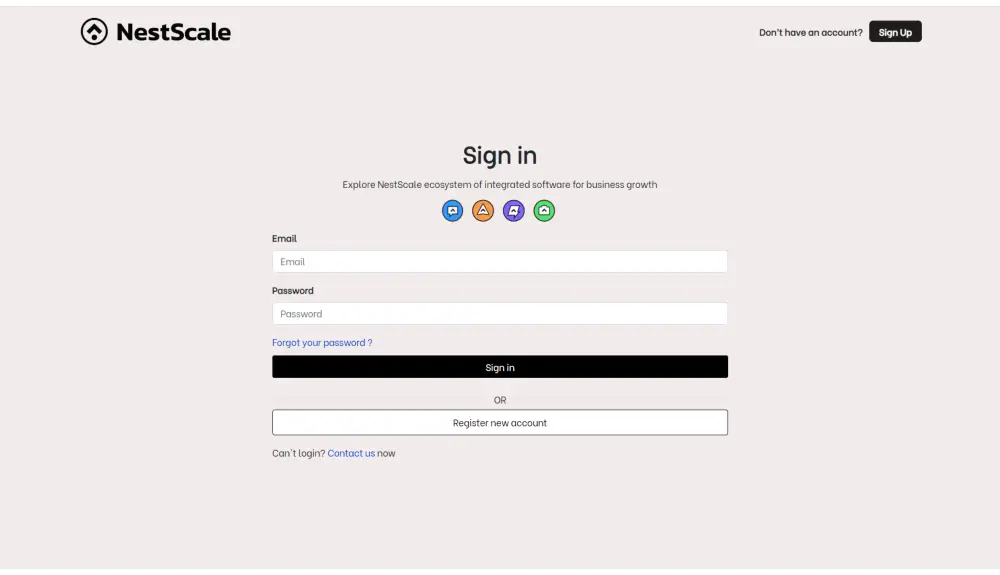
The next step is to either create a NestScale account or just simply log in if you already have one. By having a NestScale account, you’ll have access to their extensive app ecosystem, which can help you manage your ecommerce business with ease.
Step 2: Create your campaign
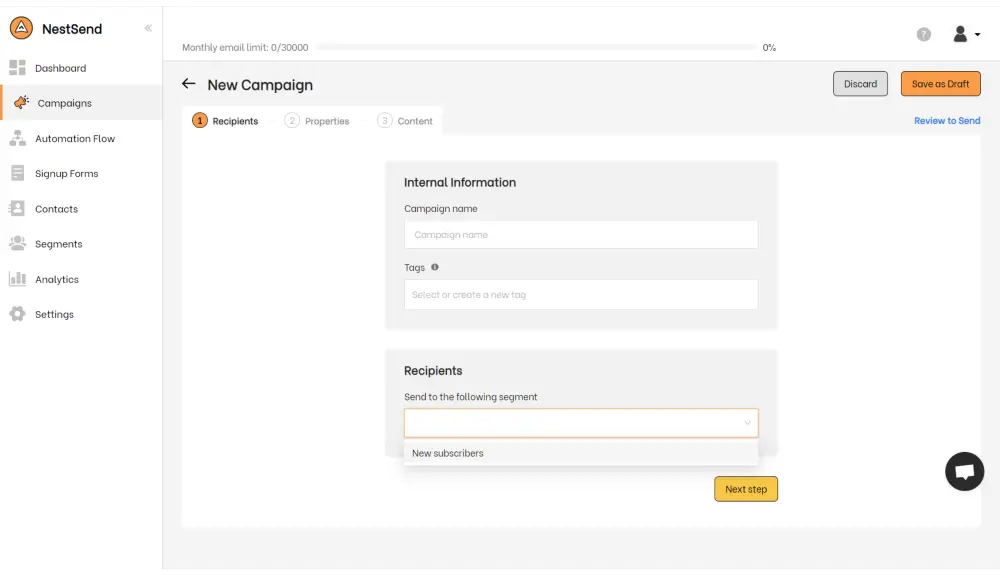
Congratulations, you’ve made it to the NestSend admin page! Now your next step is to access the campaign tab (which is the second tab on the left-side of your screen) and then click on “Create Campaign”.
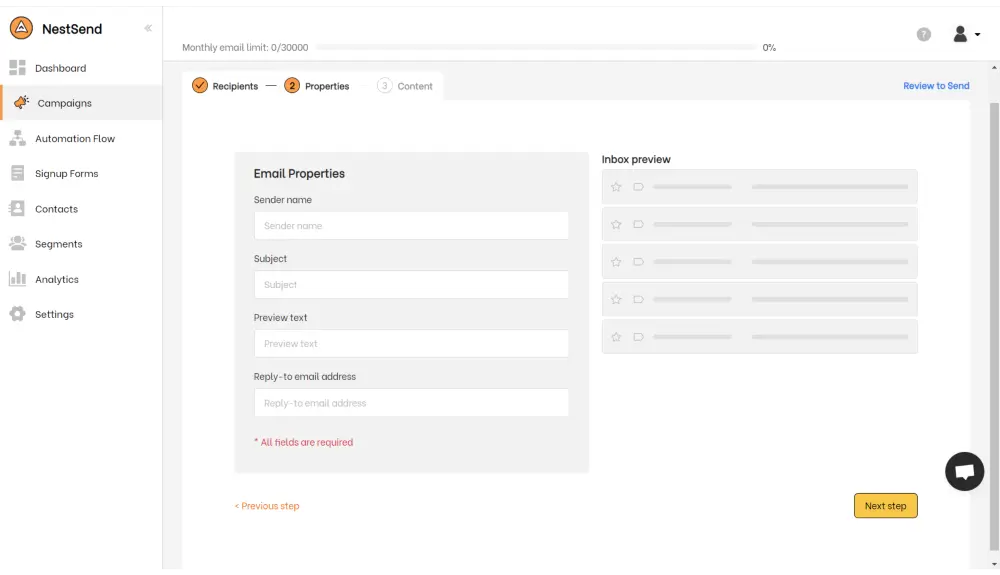
Step 3: Set up your campaign
Don’t be overwhelmed by all the information you have to fill out, I will walk you through every section.
Campaign name: Here is where you name your campaign, it could be “New Product Launch” or “Seasonal Promotion,” for example.
Recipients: This is where you can select the customer segment to whom you want to send your campaign. For further personalization options, I recommend exploring the “Segment” tab, where you can create additional segments.
Sender name: This is the name that appears in the recipient’s inbox as the sender of the message, and it’s an opportunity to further align your brand with your email communication.
Subject: This is the first thing that the recipient will see, it can be seen as the title of your email.
Preview text: This is a short summary displayed beside or below the subject line in some email clients or on mobile devices’ inbox view, providing a sneak peek of the email’s content to encourage recipients to open and read it.
Reply-to email address: Here is where you can designate an email address for responses to a message, separate from the sender’s address, to ensure efficient and accurate communication.
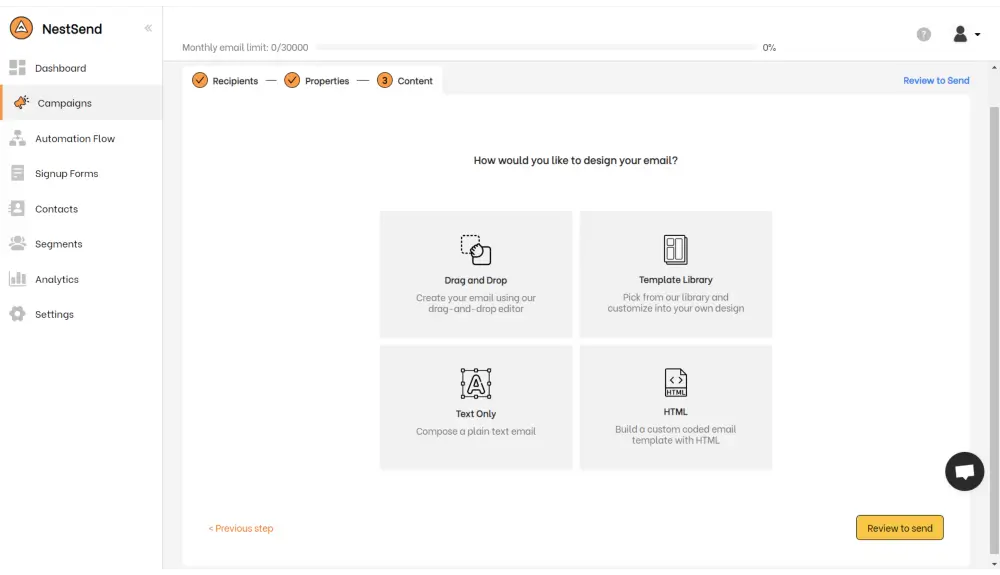
Step 4: Design your campaign
Now that we have done all of the paperwork stuff, the next step is to design your newsletter. NestSend provide 4 different ways of crafting newsletter:
- Drag and Drop: Create your newsletter manually using the drag-and-drop editor.
- Template Library: Fasten your workflow with NestSend pre-built templates.
- Text Only: Create a text-only newsletter version.
- HTML: Build a custom coded email template.
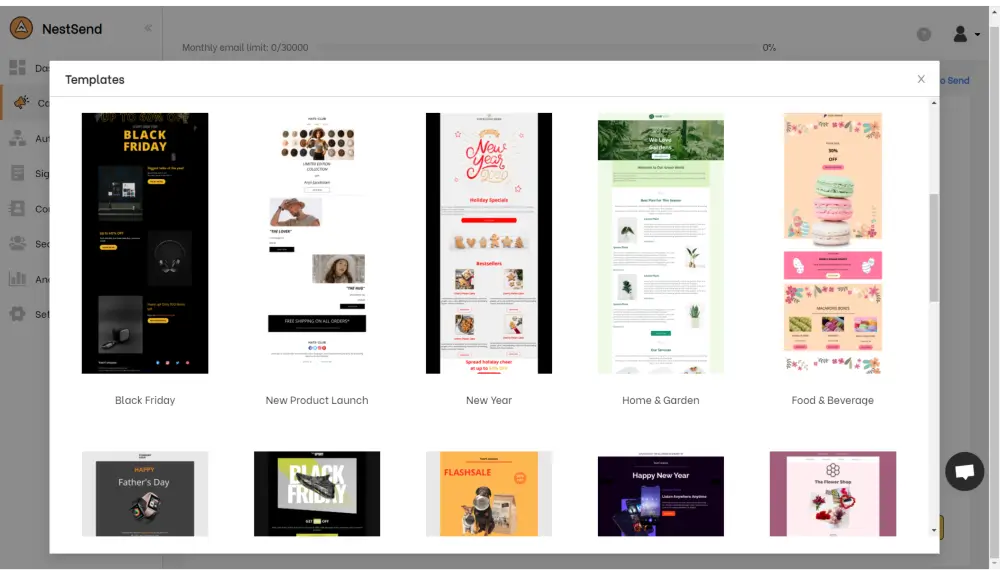
To save you the most time, we suggest checking out NestSend’s template library, which contains many pre-built emails that can be used for various moments.
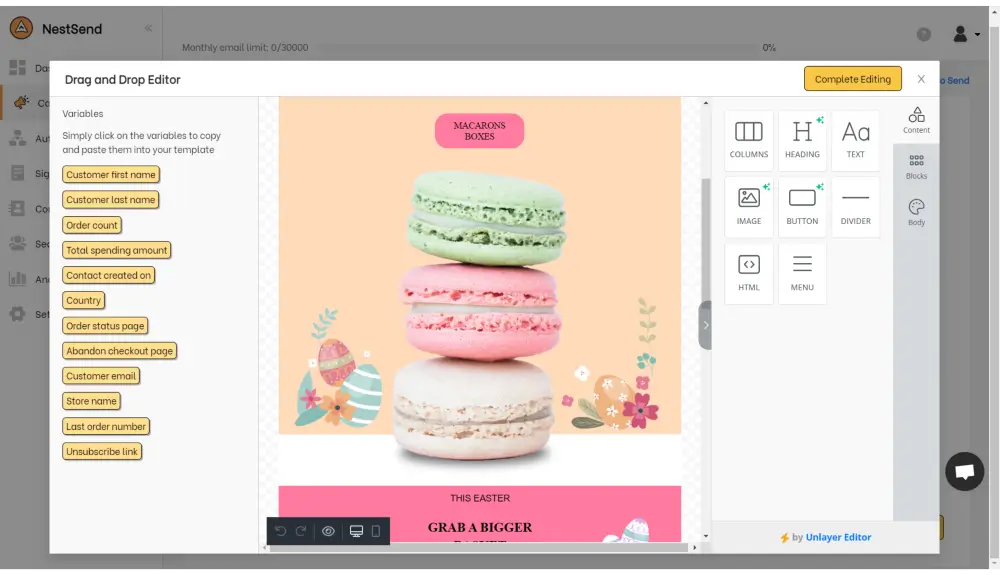
After choosing the most suitable template for your business, the next step is to further customize it to make it fully align with your brand and your campaign.
Step 5: Launch your campaign
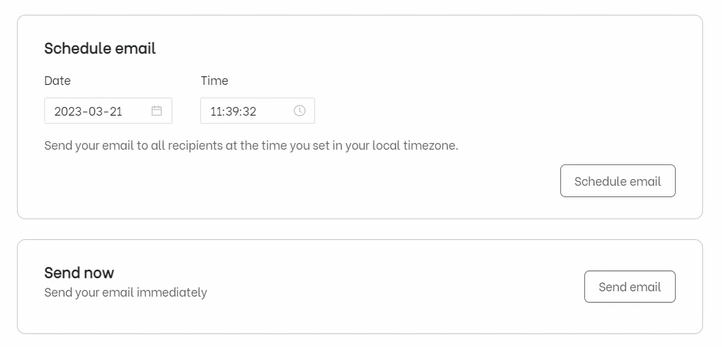
Now that you are satisfied with your newsletter design, it’s time to send it to your dear customer! Simply hit “Review to send” to have a final check about all of the campaign information, making sure that everything is on point.
After checking all of the information, you can either choose to send your newsletter right away, or you can schedule it to send it to send it later.
3 Best practices for newsletter email campaign
Maintain brand consistency in your email newsletters
It’s a good idea to keep your email newsletters consistent with your brand because it helps your customers recognize your business as soon as they see your email. This is important because people receive a lot of emails every day, and you don’t want your message to get lost in the crowd.
By using your brand consistently throughout your newsletter, you can make it easier for your customers to identify your business and avoid missing out on important information. You should also make sure to use your branding consistently over time, so your customers will continue to recognize and trust your business.
Deciding between short and long newsletter formats
Choosing between a short or long format newsletter is important for your email campaign’s success. It depends on the goal of your newsletter and the type of content you want to share. Short newsletters work well for directing subscribers to external content, like a blog post or video, while longer newsletters are better suited for promoting products or services.
However, no matter the length, it’s essential to include only the necessary information and break up text with relevant images. Too much text can turn off readers and decrease your conversion rates. So, keep it concise and to the point!
Ensure your newsletters are sent at the appropriate times
Sending newsletters at the appropriate times is a best practice for email campaigns because it can significantly affect the open rates of your emails. According to data, emails are best sent around 10:00 AM or 1:00 PM.
Additionally, Monday and Tuesday tend to be slightly better days to send newsletters. By sending your emails at these times, you may only gain a slight advantage over your competitors, but in a highly competitive market, any advantage can be great news.
It’s also important to find a balance between the frequency and timing of your email campaigns, so you don’t overwhelm your customers with too many emails, but you also don’t let them forget about you.
Start building a strong relationship with your customers today!
Sending newsletters at appropriate times is a great way for Shopify stores to engage with their customers and keep them informed about the latest promotions, services, and products. With the five key elements of an effective Shopify newsletter email campaign in mind, setting up your Shopify newsletter email campaign can be quick and easy with NestSend.
From installing the app to launching your campaign, NestSend provides a user-friendly platform that can help you personalize, design, and send your newsletters to your customers with ease. Don’t wait any longer, try NestSend for free and start building a strong relationship with your customers today!